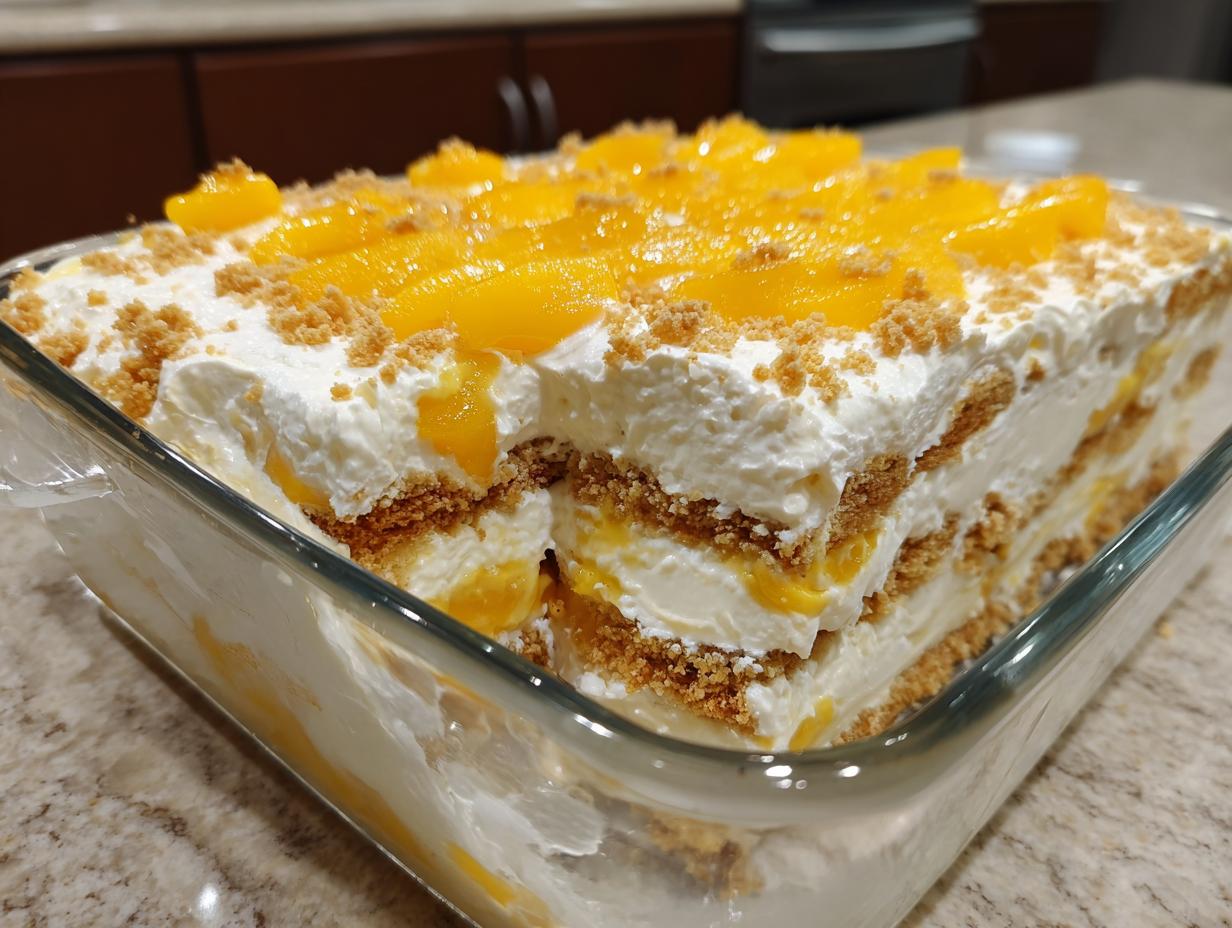
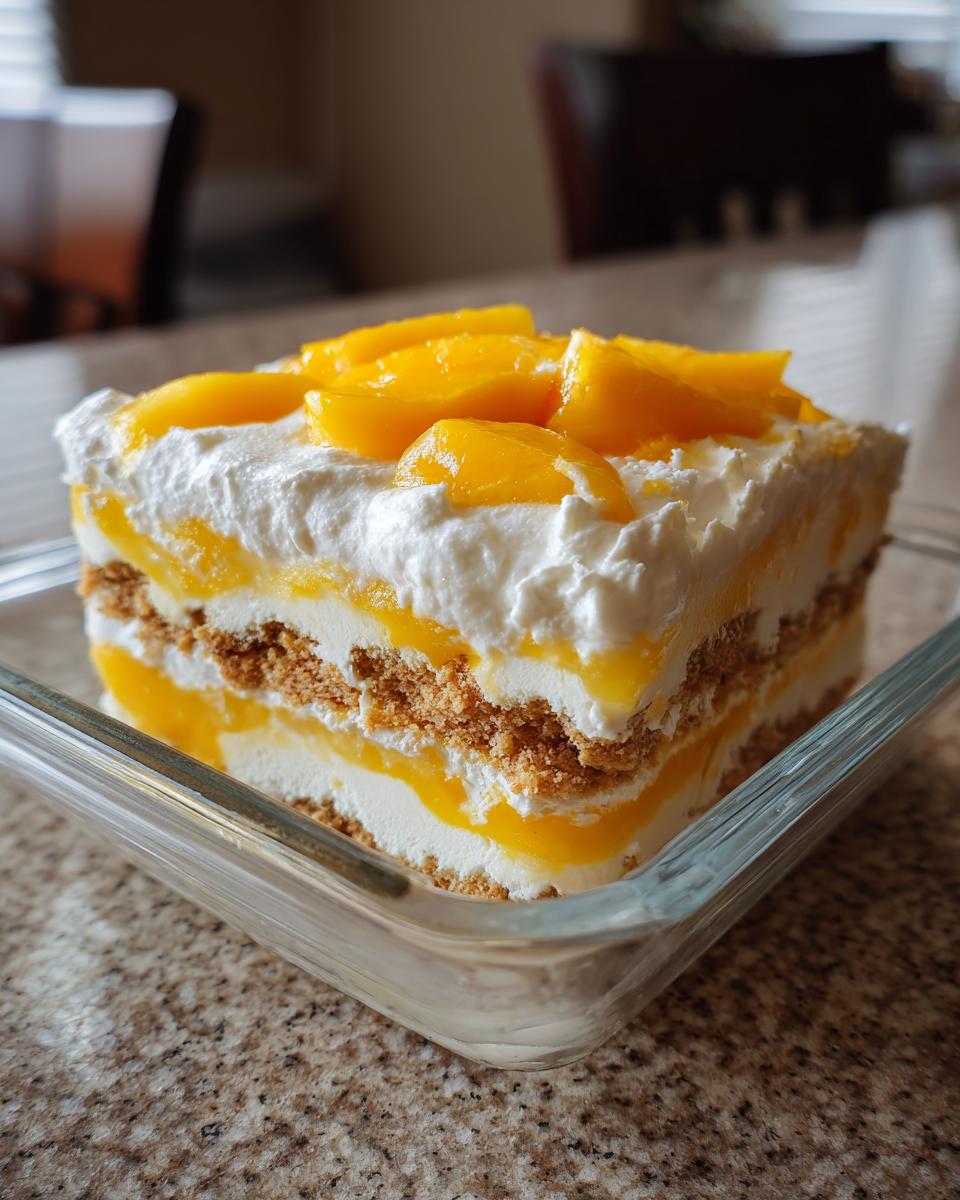
Oh, how I love mango season! Some of my happiest childhood memories involve sitting around my lola’s (grandmother’s) table in Manila, eagerly waiting for her famous Filipino no bake mango float to chill in the fridge. The anticipation was torture – watching those golden mango slices peek through layers of creamy goodness and graham crackers. What makes this dessert magical is how ridiculously simple it is – just four ingredients and zero oven time! When Manila’s heat becomes unbearable (which is always), this cool, creamy treat becomes my go-to. It’s the perfect solution for when you need something sweet fast, or when you want to impress guests without sweating over a hot stove. And trust me, once you try this tropical delight, you’ll understand why it’s a staple at every Filipino party!
By the way, if you’re looking for more no-bake inspiration, you might enjoy these no-bake peach dessert cups too – they’re another family favorite of ours!
Why You’ll Love This Filipino No Bake Mango Float
Oh, where do I begin? This dessert checks all the boxes for me, especially when I’m craving something sweet but don’t want to turn on the oven. Let me tell you why you’ll fall for it too:
- No oven needed – Perfect for those scorching summer days when even thinking about baking makes me sweat!
- Just 4 simple ingredients – That’s right, you probably have most of them in your kitchen already.
- Creamy yet refreshing – The contrast between the rich cream and juicy mangoes? Absolute perfection.
- Mango season special – When those golden mangoes are ripe and sweet, this is how we celebrate in the Philippines.
- Impresses everyone – Looks fancy, tastes heavenly, but takes barely any effort – my secret weapon for last-minute guests!
I make this all summer long – it’s disappeared faster than I can make it at every family gathering I can remember. And the best part? You can whip it up in practically no time!
Ingredients for Filipino No Bake Mango Float
Gather these simple ingredients – I promise you won’t need to make a special trip to the store! The magic happens when these four basic components come together. Let me break it down for you:
For the Cream Layer
- 2 cups heavy cream – Must be chilled! I pop mine in the freezer for 15 minutes before whipping – makes all the difference.
- 1 can (14 oz) condensed milk – That sweet, sticky goodness that binds everything together. Don’t skimp here!
For the Assembly
- 20 pieces graham crackers – The crunchy foundation that soaks up all that creamy deliciousness.
- 3 ripe mangoes, sliced – Look for the golden ones that smell heavenly – they should give slightly when gently pressed.
Ingredient Notes & Substitutions
Okay, let’s talk swaps! If you’re watching calories (though why would you with dessert?), you can use Greek yogurt instead of whipped cream – just mix it with the condensed milk. No graham crackers? Digestive biscuits work beautifully too. But please, please use fresh, ripe mangoes – canned ones just don’t have that bright, tropical flavor we’re after here. And if your mangoes aren’t super sweet? A tiny drizzle of honey between layers saves the day!
Equipment You’ll Need
Here’s the beautiful part – you don’t need any fancy gadgets to make this Filipino no bake mango float! Just grab what you probably already have in your kitchen:
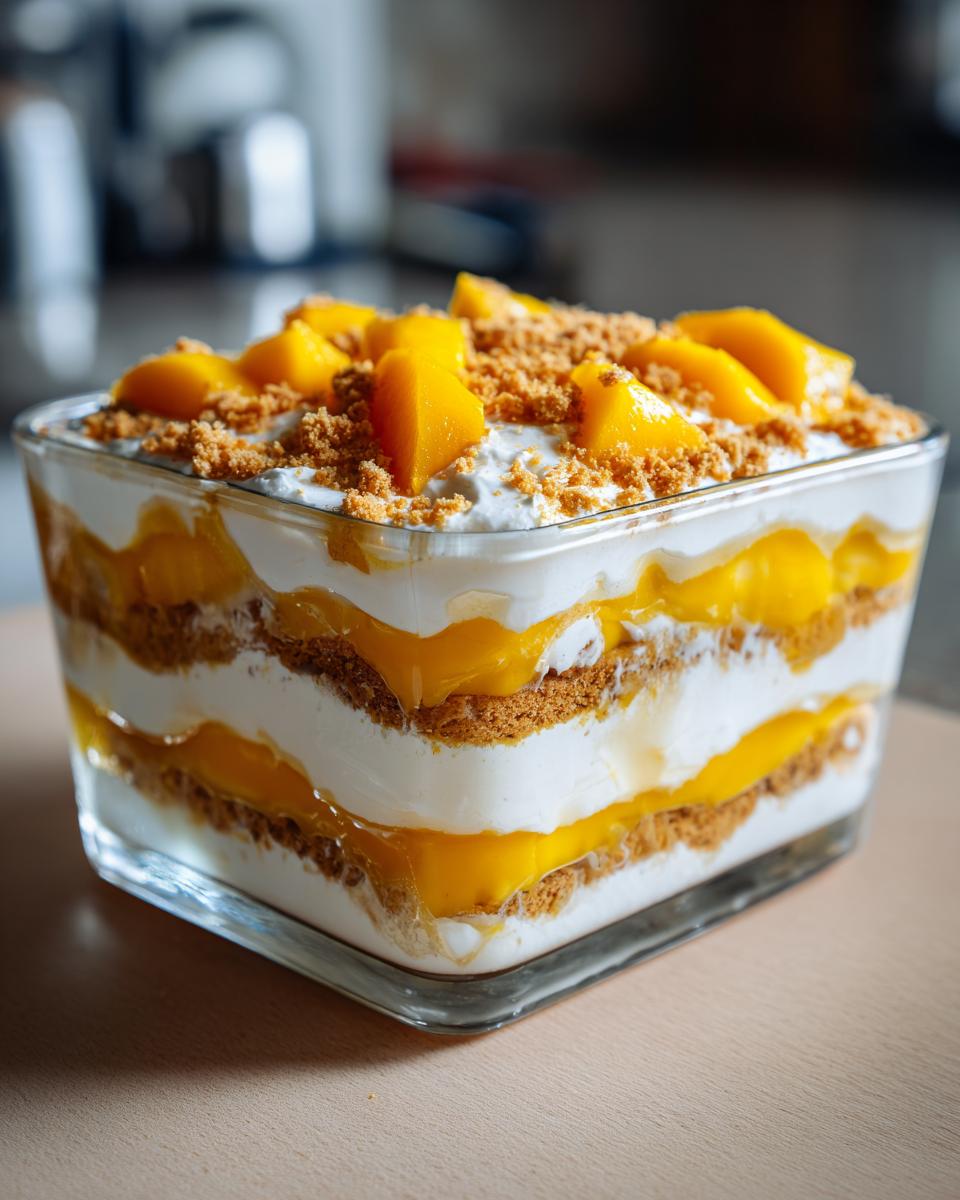
- 8×8 inch rectangular dish – That’s my go-to, but really any similar-sized dish will do. Glass lets you see those pretty layers!
- Electric mixer – My arm gets tired just thinking about whipping cream by hand! A hand mixer works perfectly.
- Spatula – For gently folding in that condensed milk without deflating all your hard-earned whipped cream.
That’s it – no special pans, no complicated tools. Just simple equipment that makes this dessert a breeze to prepare. Now let’s get mixing!
How to Make Filipino No Bake Mango Float
Alright, let’s get to the fun part – assembling this dreamy dessert! I’ve made this mango float more times than I can count, and I’ve learned a few tricks along the way. Follow these steps, and you’ll have a showstopper that’ll have everyone asking for seconds (and the recipe!).
- Whip that cream! In your mixing bowl, beat the chilled heavy cream until it forms stiff peaks. You’ll know it’s ready when you can lift the beaters and the cream holds its shape beautifully. Don’t rush this step – properly whipped cream is the secret to that cloud-like texture.
- Fold in the sweet stuff. Here’s where you need a gentle touch. Add the condensed milk to your whipped cream and fold it in using a spatula. I like to make big, slow swoops – think of it like giving the mixture a hug rather than stirring it. This keeps all that air in the cream so your float stays light and fluffy.
- Start layering. Grab your dish and arrange a single layer of graham crackers. You might need to break some to fit – no perfection needed here! Then spread about a third of your cream mixture over the crackers. The cream should be about as thick as your pinky finger.
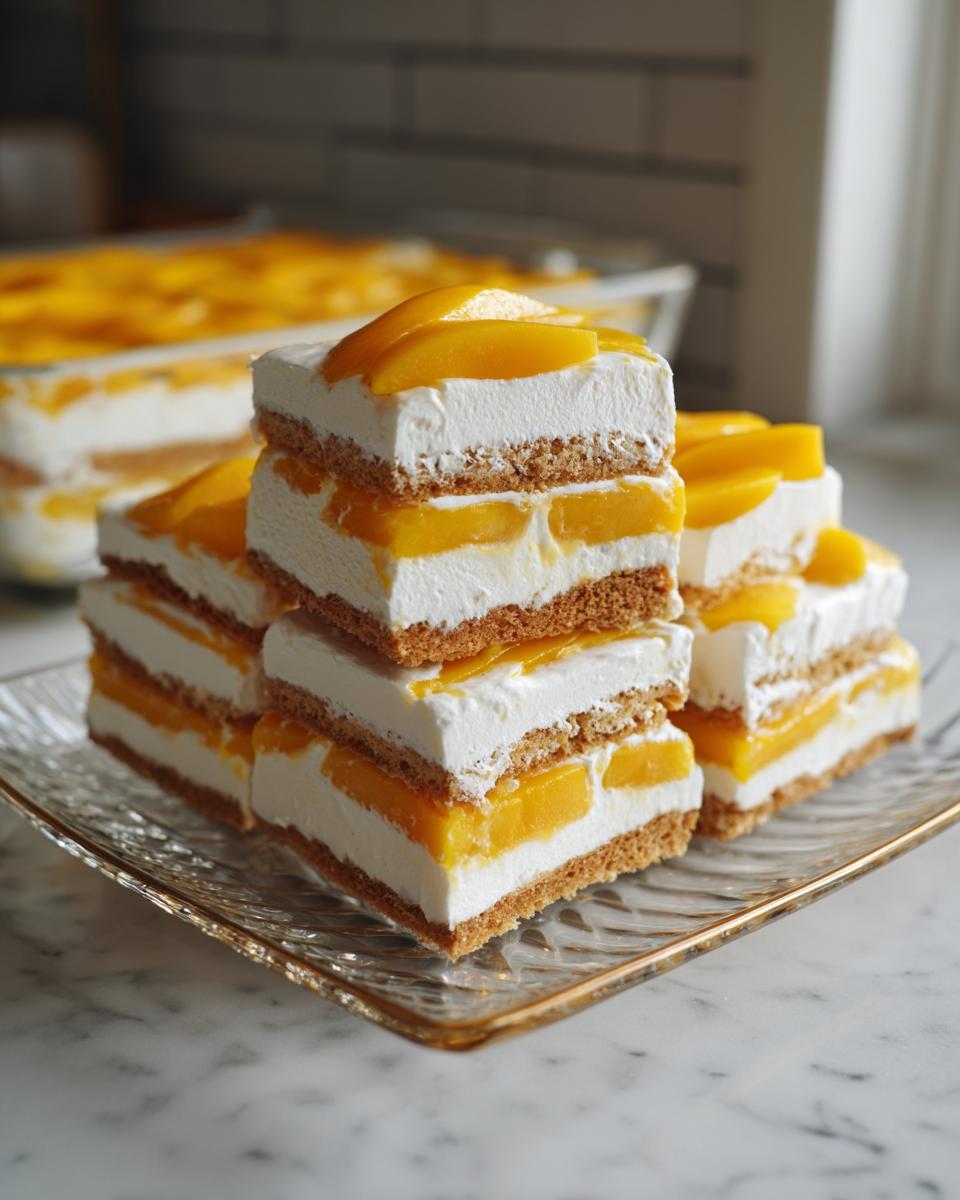
- Add the mango magic. Now for my favorite part – arrange those gorgeous mango slices over the cream. I like to overlap them slightly so every bite gets plenty of fruity goodness. Pro tip: save your prettiest slices for the top layer!
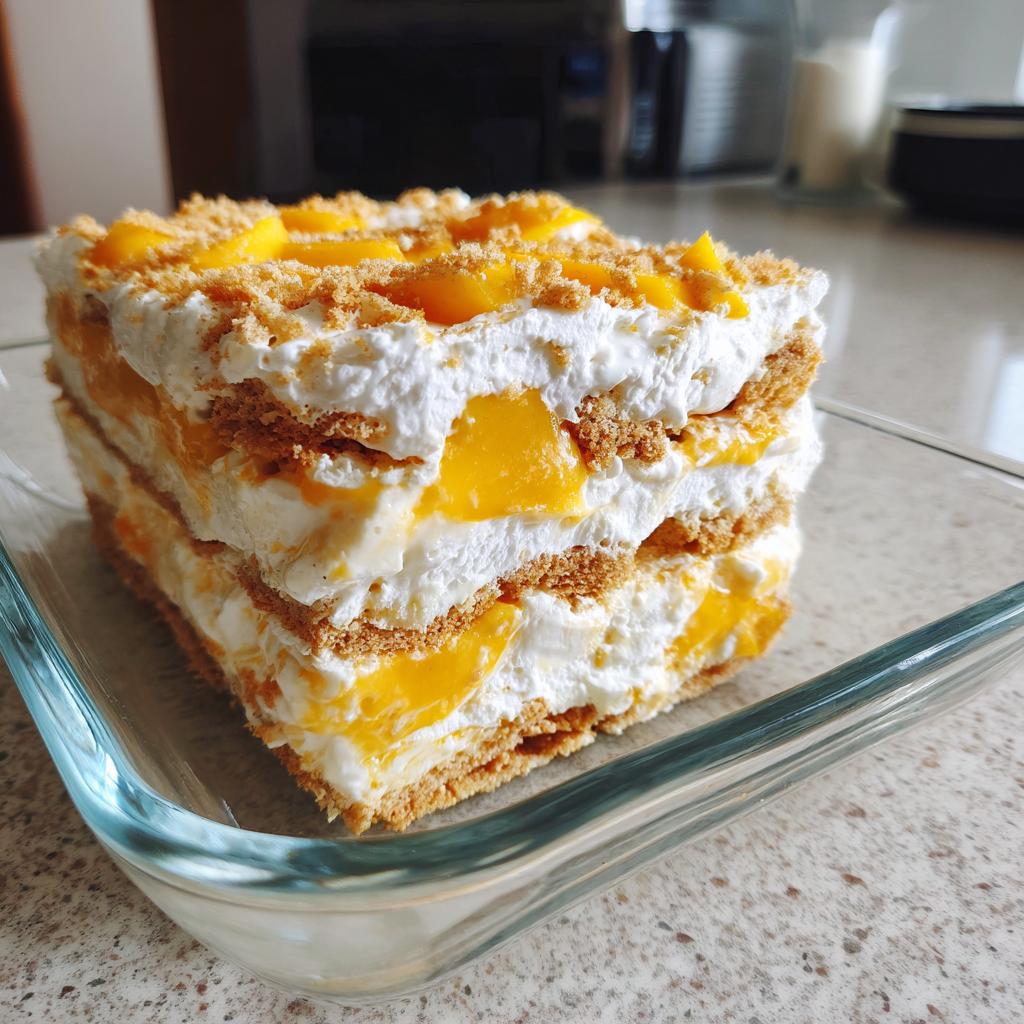
- Repeat and chill. Keep building those layers – graham, cream, mango – until you run out. I usually get 2-3 layers depending on my dish size. Finish with a final cream layer and decorate with mango slices. Then comes the hardest part – waiting! Pop it in the fridge for at least 4 hours, though overnight is even better. The graham crackers soften into this perfect cake-like texture that’s just divine.
While you’re waiting for your mango float to set, why not check out this tropical pineapple dessert jars recipe? It’s another no-bake wonder that’s perfect for summer!
Pro Tips for Perfect Layers
Want your mango float to look as good as it tastes? Here’s my secret: after adding each cream layer, gently press the graham crackers down with your fingers. This helps them stay put and absorb some cream. And when arranging mango slices, work from the outside in – it makes for a prettier presentation when you slice it later. Trust me, these little touches make all the difference when you bring this beauty to the table!
Variations to Try
Oh, the fun part! Once you’ve mastered the classic Filipino no bake mango float, it’s time to play around. Here are my favorite twists that keep things exciting while staying true to that no-bake magic:
- Tropical crunch – Sprinkle toasted coconut flakes between layers for that extra island vibe
- Sweet caramel drizzle – A zigzag of caramel sauce takes this from simple to spectacular
- Berry delicious – Alternate mango layers with fresh strawberries for a fruity contrast
- Chocolate lover’s dream – Dust cocoa powder between layers or add chocolate shavings on top
- Nutty surprise – Crushed peanuts or cashews add wonderful texture and flavor
The best part? You can mix and match these ideas – I’ve done coconut and caramel together, and wow! Just remember to keep the layers balanced so nothing overwhelms those gorgeous mangoes.
Serving and Storage Tips
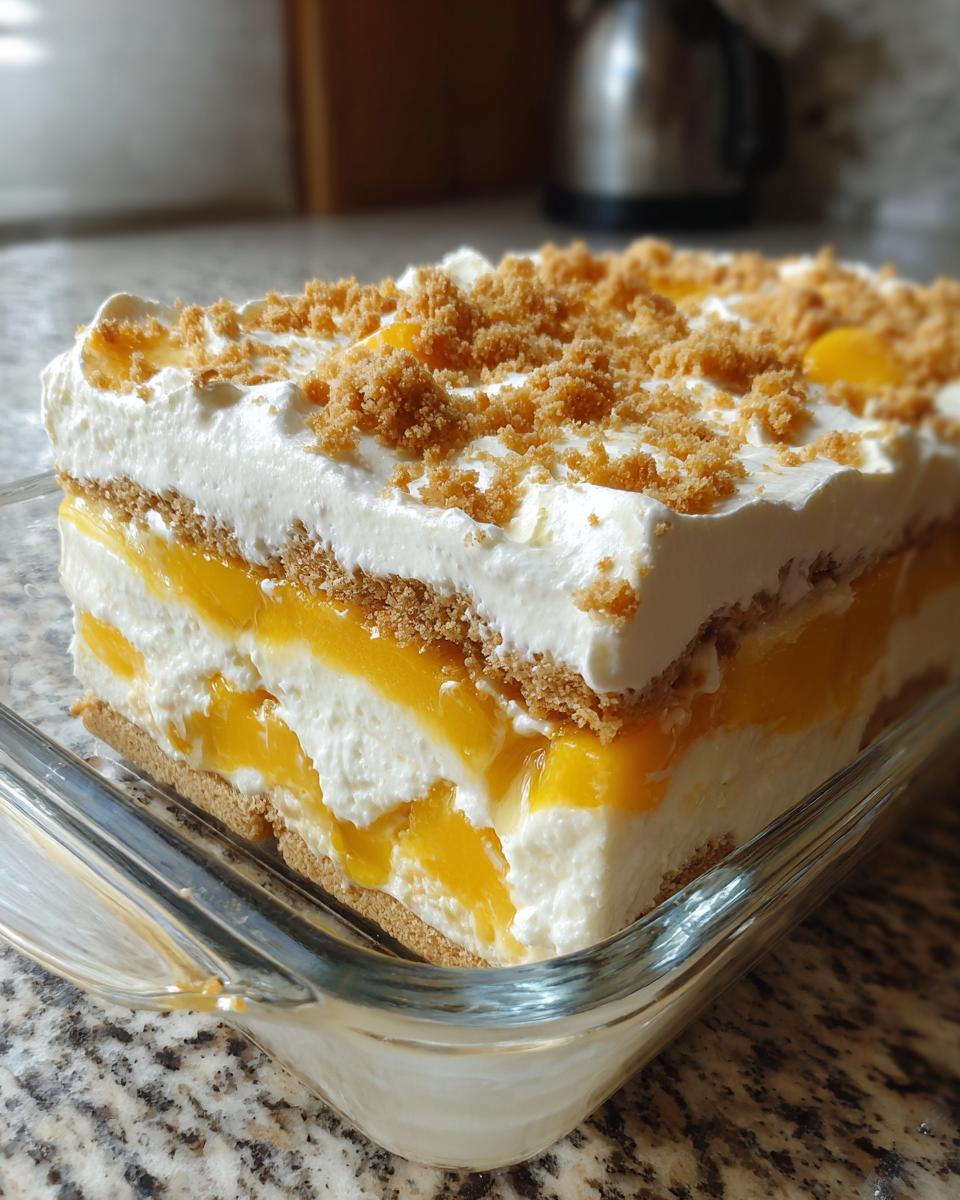
Okay, let’s talk about the grand finale – serving this beauty! I always garnish with a sprinkle of crushed graham crackers for that extra crunch and a few fresh mint leaves if I’m feeling fancy. It adds such a pretty pop of green against the golden mangoes. Pro tip: let it sit at room temperature for about 10 minutes before serving – just enough to take the chill off so all those flavors can really shine.
Now, about leftovers (if you’re lucky enough to have any!). This mango float keeps beautifully in the fridge for up to 2 days – just cover it tightly with plastic wrap. But here’s the thing – don’t even think about freezing it! The cream will separate and get all weird, and we definitely don’t want that. Trust me, I learned this the hard way after a mango float emergency (yes, those exist in my world!).
FAQ About Filipino No Bake Mango Float
I get asked these questions ALL the time when I bring my mango float to parties – and honestly, I asked most of them myself when I first started making this dessert! Here’s the scoop on everything you need to know:
Can I use canned mangoes instead of fresh?
Oh honey, I know it’s tempting, but fresh is absolutely the way to go for this Filipino dessert! Canned mangoes just don’t have that bright, tropical flavor we’re after. If you absolutely must use canned (maybe mangoes aren’t in season?), drain them really well and pat them dry – the extra moisture can make your layers soggy.
How long does mango float last in the fridge?
In my house? Maybe 20 minutes after serving! But seriously, it keeps beautifully for up to 2 days if you cover it tightly with plastic wrap. The graham crackers do get softer the longer it sits, so I actually prefer eating it within 24 hours for that perfect texture balance.
Can I make mango float ahead of time?
Yes and no! You’ll want to make it at least 4 hours ahead so it can set properly (overnight is even better). But try not to make it more than a day in advance – it’s really best served fresh. The good news? The prep is so quick that you can whip it up the morning of your gathering!
Why did my cream layer turn out runny?
Oh no! This happened to me too on my first try – turns out the cream wasn’t cold enough when I started whipping. Make sure your heavy cream is chilled (I even pop my mixing bowl in the freezer for 10 minutes first). And don’t rush the whipping – keep going until you get those beautiful stiff peaks that hold their shape.
Can I use other fruits besides mango?
Totally! While mango is traditional for this Filipino no-bake dessert, I’ve had great success with strawberries, peaches, and even bananas. Just make sure whatever fruit you choose isn’t too watery – you don’t want soggy layers! The key is keeping that perfect balance between creamy, crunchy, and fruity.
Nutritional Information
Now, let’s be real – we’re not eating mango float for its health benefits! But for those curious, here’s the scoop: nutritional values vary based on your specific ingredients and brands. For a rough estimate per serving (and let’s be honest, who stops at one?), expect about 320 kcal, 18g fat, 35g carbs, and 5g protein. It’s dessert, after all – enjoy every creamy, mango-y bite!
More No-Bake Dessert Ideas
Once you’ve fallen in love with mango float (and trust me, you will!), you’ve got to try these other no-bake favorites of mine. When Manila’s heat has me melting, these chilled treats are my go-to lifesavers! The no-bake peach dessert cups are perfection when peaches are in season – so juicy and light. And don’t even get me started on the tropical pineapple jars – they look adorable in little glasses and taste like sunshine in every bite. Each one takes under 30 minutes to whip up, meaning more time relaxing and less time sweating in the kitchen!
Mango Float
Ingredients
Equipment
Method
- In a mixing bowl, whip the heavy cream until stiff peaks form.
- Gently fold in the condensed milk until fully combined.
- In a rectangular dish, arrange a layer of graham crackers.
- Spread a portion of the cream mixture over the graham crackers.
- Add a layer of sliced mangoes on top of the cream.
- Repeat the layers, ending with a cream layer and mango slices on top.
- Chill in the refrigerator for at least 4 hours before serving.