There’s something magical about white chocolate dessert recipes—so simple, yet they always feel indulgent. Whether it’s last-minute guests or a fancy dinner party, this creamy white chocolate treat saves me every time. I remember the first time I made it for my best friend’s birthday—she thought I’d spent hours in the kitchen, when really, it came together in under 25 minutes! The velvety texture and delicate sweetness make it perfect for any occasion. You don’t need fancy skills—just good ingredients and a little love. Try it once, and it’ll become your go-to dessert, just like it did for me. Seriously, it’s easier than you think!
This recipe is so versatile—you can dress it up with berries (I love pairing it with fresh raspberries when they’re in season) or keep it simple with just a dusting of powdered sugar. And when I’m craving something sweet but don’t want to bake, this is my secret weapon—way better than any store-bought dessert! Trust me, once you taste that first spoonful of rich, creamy white chocolate goodness, you’ll understand why it’s my all-time favorite quick dessert.
Why You’ll Love These White Chocolate Dessert Recipes
Oh my goodness, where do I even start? This white chocolate dessert is like a little bowl of happiness that comes together in no time. Here’s why it’s become my absolute favorite:
- Effortless elegance – Looks fancy but takes less effort than making a sandwich (seriously!)
- Dreamy texture – That silky smooth melt-in-your-mouth feel gets me every time
- Instant crowd-pleaser – From kids to foodies, everyone goes crazy for this
- Endless variations – Dress it up with berries, nuts, or keep it pure and simple
- No-bake magic – Perfect for when you want something decadent without turning on the oven
The best part? You probably have most ingredients in your pantry right now. It’s that kind of recipe that feels like a secret weapon – simple enough for weeknights but special enough for celebrations. Just wait until you see how quickly it disappears from the bowl!
Ingredients for White Chocolate Dessert Recipes
Now let’s talk about what makes this dreamy dessert come to life! The ingredients list is wonderfully simple, but I’ve learned that quality really matters here. Here’s exactly what you’ll need:
- 200g white chocolate – Chopped into small pieces (trust me, the better quality chocolate you use, the creamier your dessert will be!)
- 1 cup heavy cream – Cold and straight from the fridge for best results
- 1 tsp vanilla extract – The real stuff, please – that imitation vanilla just won’t cut it
- 2 tbsp powdered sugar – Also called icing sugar, it dissolves beautifully void of any graininess
That’s it! Just four simple ingredients that transform into something magical. Pro tip: don’t be tempted to skimp on the chocolate – splurge on the good stuff. I learned that lesson the hard way when I tried using baking chips once (let’s just say the texture wasn’t quite right!). Also, make sure your cream is fresh – I once used cream that was nearing its date, and it wouldn’t whip properly. Lesson learned!
Equipment Needed for White Chocolate Dessert Recipes
Don’t worry – you won’t need any fancy gadgets for this dreamy dessert! Just gather these everyday kitchen tools (I bet you already have most of them):
- Medium saucepan – For gently melting that gorgeous white chocolate without burning it
- Mixing bowl – A medium-sized one works perfectly for whipping the cream
- Whisk – Either a balloon whisk or electric hand mixer (I alternate between both depending on my energy level!)
- Spatula – For scraping every last bit of that creamy goodness from the bowl
- Serving dishes – I use cute little ramekins, but wine glasses or even coffee mugs work in a pinch!
See? Nothing complicated at all. The day I realized I could make something this luxurious with just basic kitchen tools was a real game-changer for me!
Step-by-Step Instructions for White Chocolate Dessert Recipes
Alright, let’s dive into making this dreamy white chocolate dessert! I’ve made this so many times I could probably do it in my sleep, but I’ll walk you through each step carefully. Don’t worry – it’s foolproof if you follow these simple instructions. And hey, if I can do it while simultaneously wrangling my toddler, you’ve got this!
1. Melting the White Chocolate
First things first – let’s melt that gorgeous white chocolate. I like to chop it into small, even pieces (about the size of chocolate chips) so it melts evenly. Use a medium saucepan on the lowest heat setting possible – white chocolate burns easily, and we don’t want that!
Here’s my trick: I keep stirring constantly with a silicone spatula, and the moment about 90% of the chocolate is melted, I take it off the heat. The residual heat will melt the rest without risking scorching. If you’re nervous, you can use a double boiler, but honestly, I find the saucepan method works perfectly once you get the hang of it.
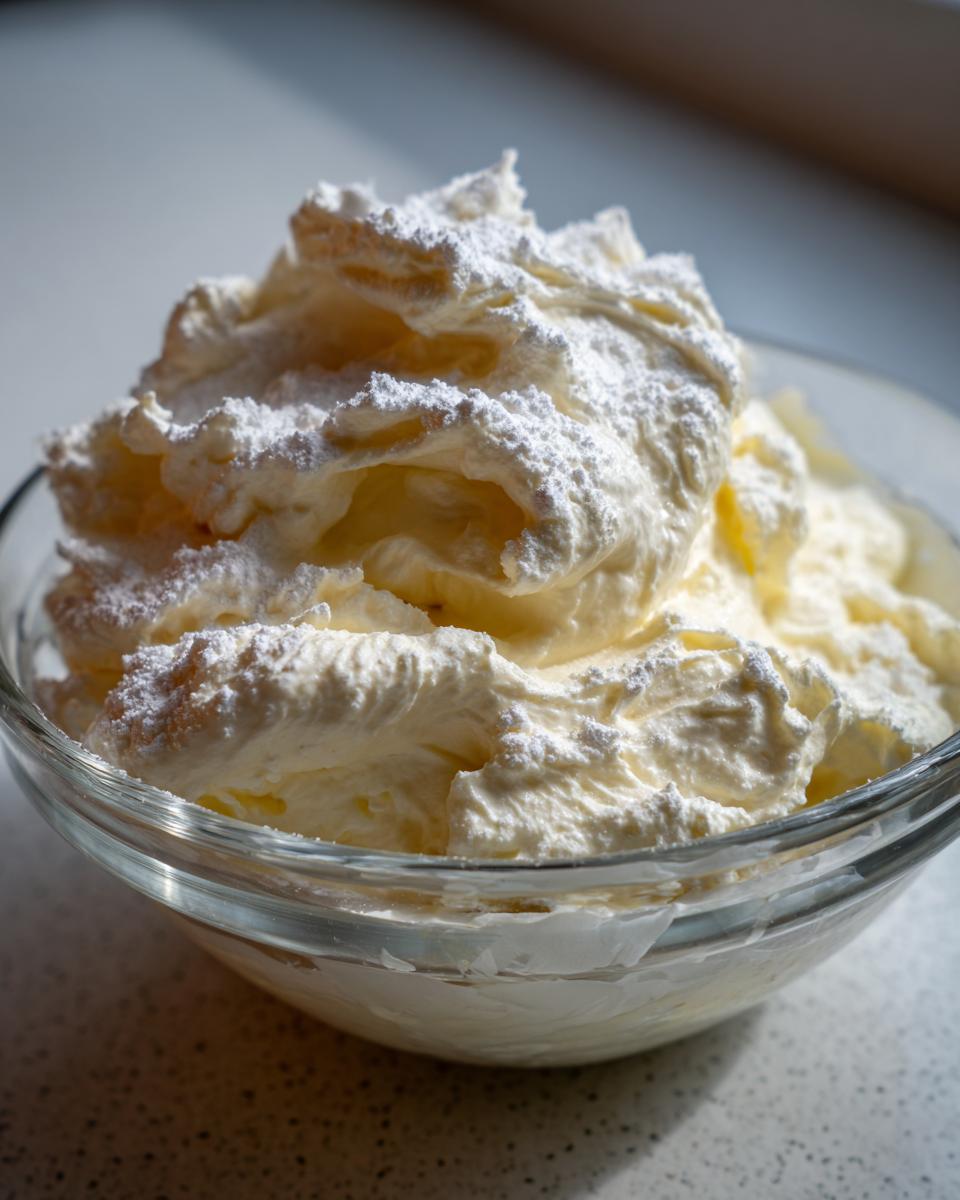
2. Whipping the Cream to Perfection
While your melted chocolate cools slightly (about 5 minutes), let’s whip that cream. Make sure your bowl and beaters are cold – I sometimes pop them in the freezer for 10 minutes beforehand. Start on medium speed until you get soft peaks – that’s when the cream holds its shape but the tip curls over when you lift the whisk.
Now, here’s where people often go wrong: don’t overwhip! Once you add the powdered sugar and vanilla, the cream will thicken more. I stop when it looks like fluffy clouds – if it starts looking grainy, you’ve gone too far. No worries though, just add a splash of fresh cream and gently fold it in to rescue it.
3. The Magical Folding Process
This is where the magic happens! Take about a third of your whipped cream and stir it into the slightly cooled white chocolate. This lightens the chocolate mixture so it blends smoothly with the rest of the cream. Now gently fold in the remaining cream with a big sweeping motion – I go around the bowl then through the middle, rotating as I go.
Be patient here – you want to keep as much air in the mixture as possible. Some streaks are fine at first; they’ll disappear as you continue folding. The mixture should look like a smooth, creamy dream when you’re done. If you’re feeling fancy, this is when you could add some crushed cookies or berries for extra texture!
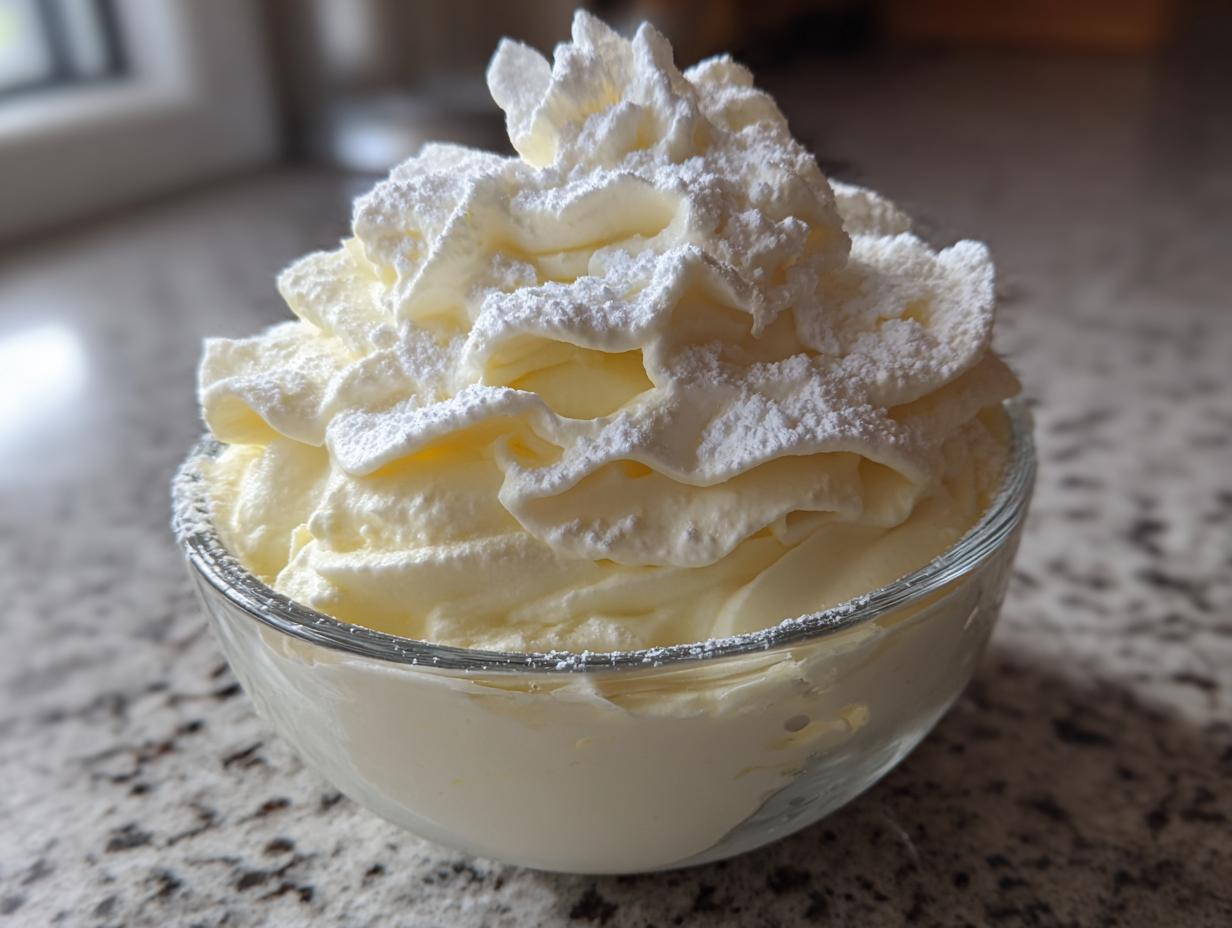
4. The Final Touches
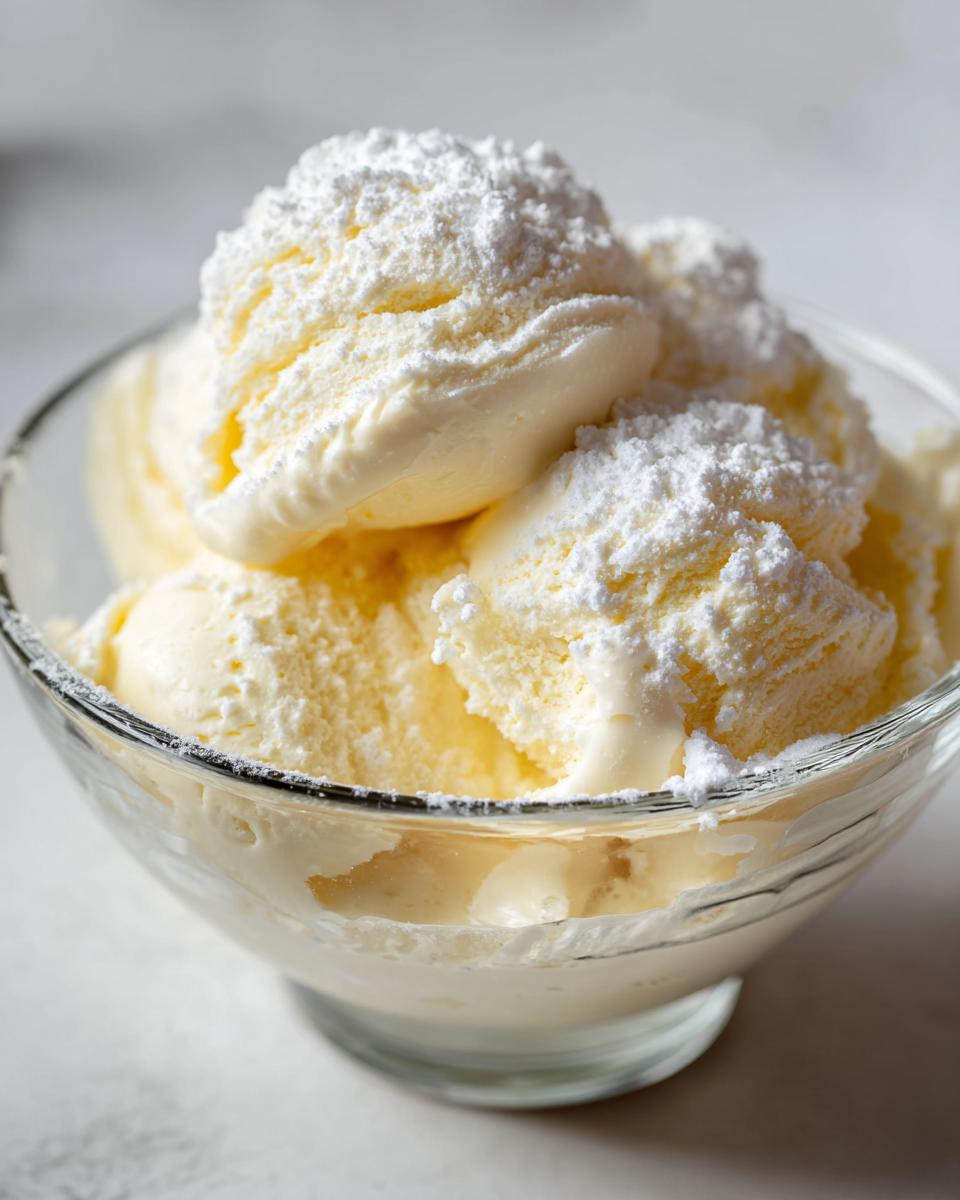
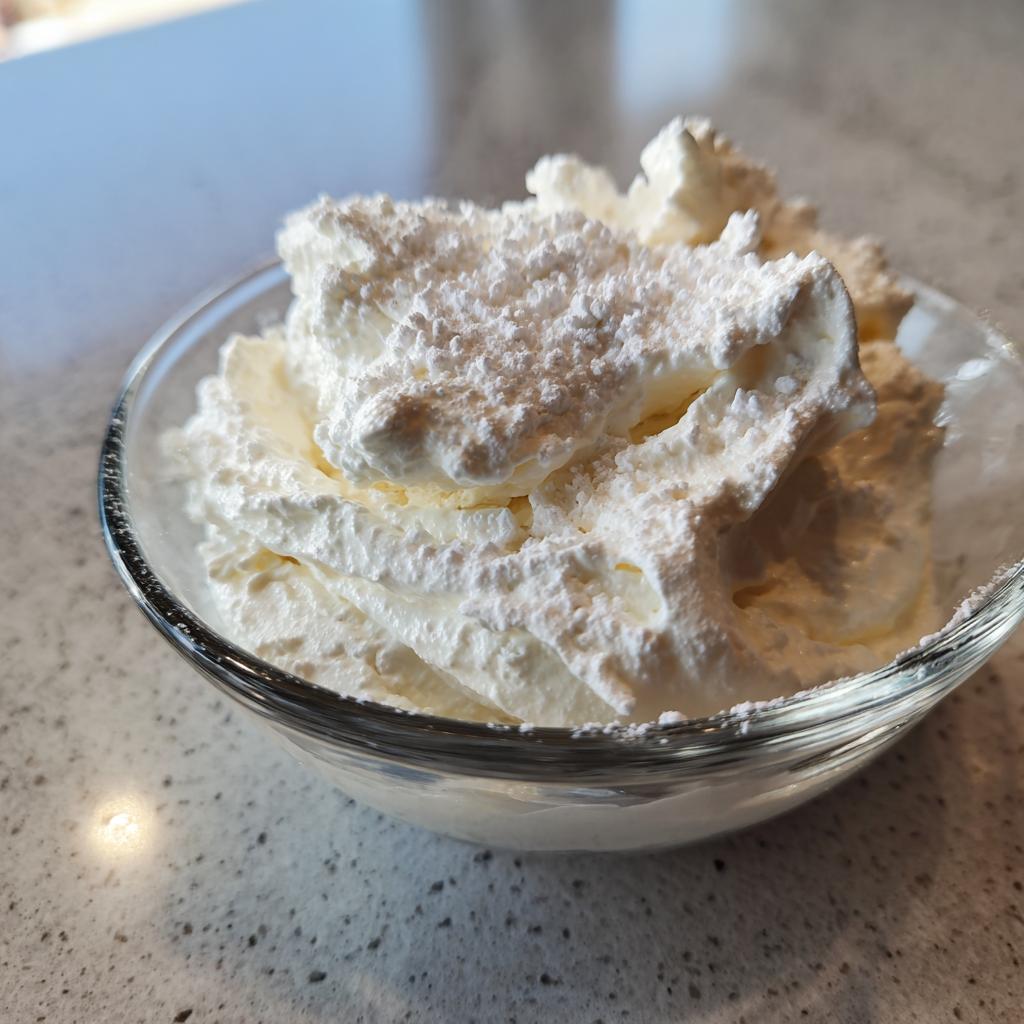
Spoon your creamy mixture into serving dishes – I love using clear glasses so you can see the beautiful layers if you’re adding toppings. A light dusting of powdered sugar adds the perfect finishing touch. Now, here’s the hard part: waiting! Pop it in the fridge for at least an hour to set (I know, the anticipation kills me too).
Pro tip: If you’re making this ahead, cover with plastic wrap pressed directly onto the surface to prevent a skin from forming. When you’re ready to serve, top with fresh berries, a drizzle of caramel, or just enjoy it pure and simple. Trust me, that first spoonful will make all your efforts totally worth it!
Tips for Perfect White Chocolate Dessert Recipes
After making this dessert more times than I can count, I’ve picked up some foolproof tricks to make it absolutely perfect every time. First off – don’t skip the chilling time! That hour in the fridge isn’t just for show – it lets the flavors meld and gives you that dreamy, mousse-like texture. If you’re impatient like me, pop it in the freezer for 20 minutes instead (just don’t forget about it!).
When folding in the chocolate, think “gentle hug” rather than “vigorous stir” – you want to keep all that lovely air in the whipped cream. And here’s my secret weapon: if your chocolate seizes up while melting (it happens to the best of us!), add a teaspoon of vegetable oil and keep stirring – it’ll smooth right out. Last tip: always taste as you go! The sweetness can vary depending on your chocolate, so adjust the powdered sugar accordingly.
Variations of White Chocolate Dessert Recipes
Oh, the fun part! This white chocolate dessert is like a blank canvas just waiting for your creative touches. My family loves when I switch it up – here are our favorite twists that always get rave reviews:
For fruit lovers, fold in some mashed raspberries or swirl in strawberry puree before chilling – the tartness cuts through the sweetness beautifully. Around Easter, I layer it with crushed Oreos for a “dirt pudding” effect that kids adore. Nutty? Try folding in toasted chopped hazelnuts or almonds for crunch. And for coffee addicts (like me!), a tablespoon of instant espresso powder mixed into the melted chocolate creates a mocha dream.
The possibilities are endless – citrus zest, cookie crumbs, even a splash of liqueur for grown-up gatherings. Once you master the basic recipe, you’ll find yourself inventing new versions all the time!
Serving Suggestions for White Chocolate Dessert Recipes
Oh, the fun doesn’t stop at making this dessert – serving it is where you can really shine! I love pairing it with strong black coffee – the bitterness balances the sweetness perfectly. Fresh berries are my go-to topping when I want to feel fancy (raspberries and strawberries work magic). For special occasions, I’ll drizzle some caramel sauce or sprinkle crushed pistachios on top. And here’s my secret: serve it in vintage teacups for instant charm that’ll wow your guests. Honestly, it’s delicious straight from the bowl too – no judgment here!
Nutritional Information for White Chocolate Dessert Recipes
Okay, let’s talk numbers – but don’t let this scare you off this heavenly dessert! Each serving (about ½ cup) packs around 320 calories, with 24g of that dreamy fat (15g saturated – hey, it’s a treat!). You’re looking at 25g carbs and 24g sugar, plus a little protein (3g) to balance things out. Now, here’s my disclaimer: these numbers can vary based on your exact ingredients – like if you use a different brand of chocolate or heavy cream. And obviously, if you go wild with toppings (no judgment!), those numbers will change too. But honestly? Sometimes you just need to indulge in that creamy white chocolate goodness without overthinking it!
Frequently Asked Questions About White Chocolate Dessert Recipes
I get so many questions about this dreamy white chocolate dessert – and I love sharing all my tips and tricks! Here are the ones that come up most often:
Can I use milk chocolate instead of white chocolate?
Oh honey, I totally get the temptation – but trust me, it won’t be the same! White chocolate has that special creamy sweetness that makes this dessert magical. Milk chocolate would make it too rich and overpowering. If you’re not a white chocolate fan (though this recipe might convert you!), try a different quick dessert instead.
How long does this dessert keep in the fridge?
In my house? Maybe 20 minutes! But seriously, it stays perfect for about 3 days if you can resist it that long. Just make sure to cover it tightly with plastic wrap pressed right on the surface. The texture actually gets even better after a night in the fridge as the flavors meld.
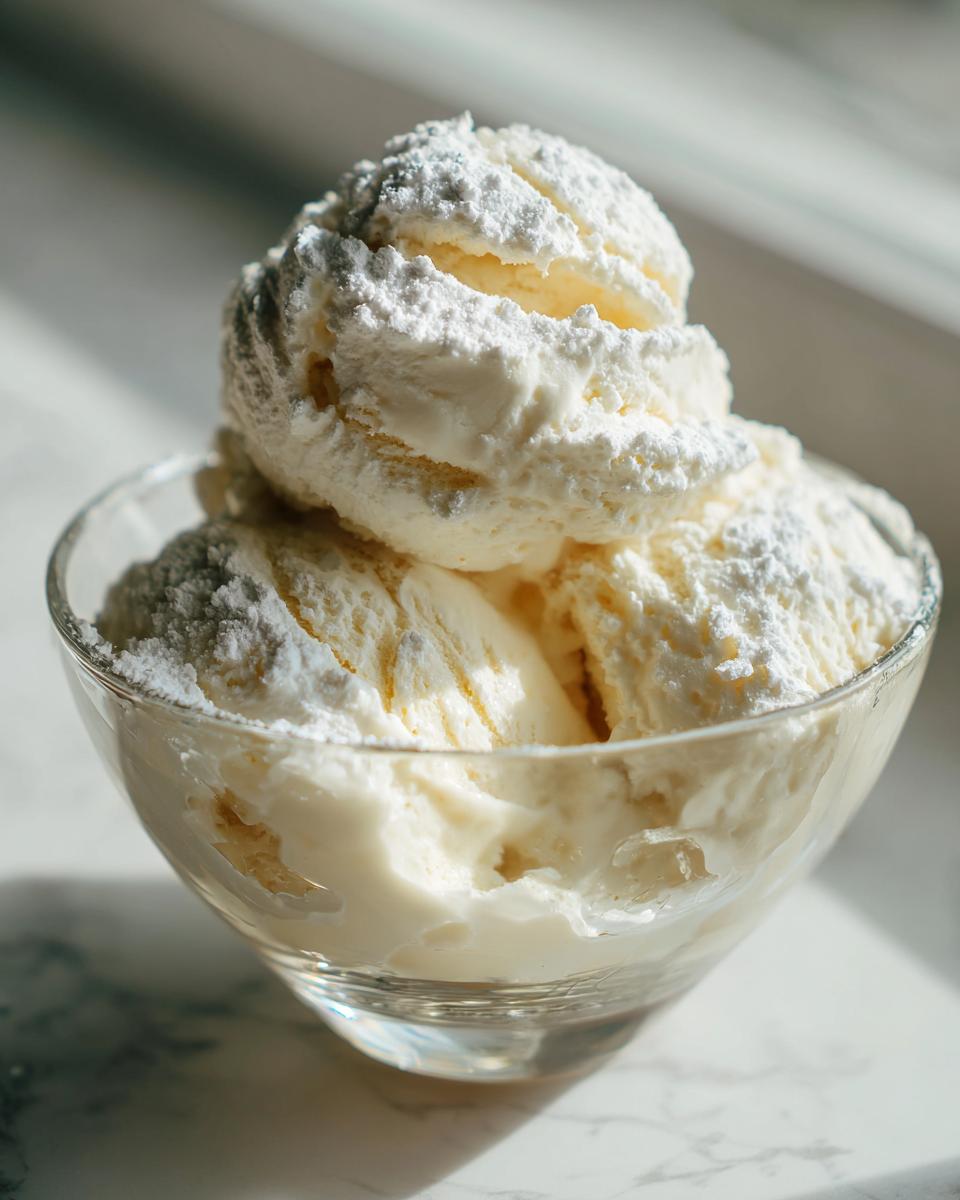
Can I freeze this white chocolate dessert?
You absolutely can! I’ve frozen individual portions for up to a month. Thaw in the fridge overnight – the texture changes slightly (it’s more like ice cream when partially thawed, which is delicious!). Give it a quick stir before serving to bring back that creamy consistency.
My mixture turned out runny – what did I do wrong?
Don’t panic! This usually happens if the cream wasn’t cold enough or if you overwhip it. Next time, chill your bowl and beaters first. If it’s already runny, pop the whole mixture in the fridge for an hour, then gently fold in a bit more whipped cream. It’ll still taste amazing!
Can I make this dairy-free?
I’ve experimented with coconut cream instead of heavy cream, and it works pretty well! Just make sure to use a high-quality dairy-free white chocolate. The texture will be slightly different but still delicious. Let me know if you try it – I’m always looking for new variations!
White Chocolate Dessert
Ingredients
Equipment
Method
- Melt the white chocolate in a saucepan over low heat, stirring continuously.
- In a mixing bowl, whip the heavy cream until soft peaks form.
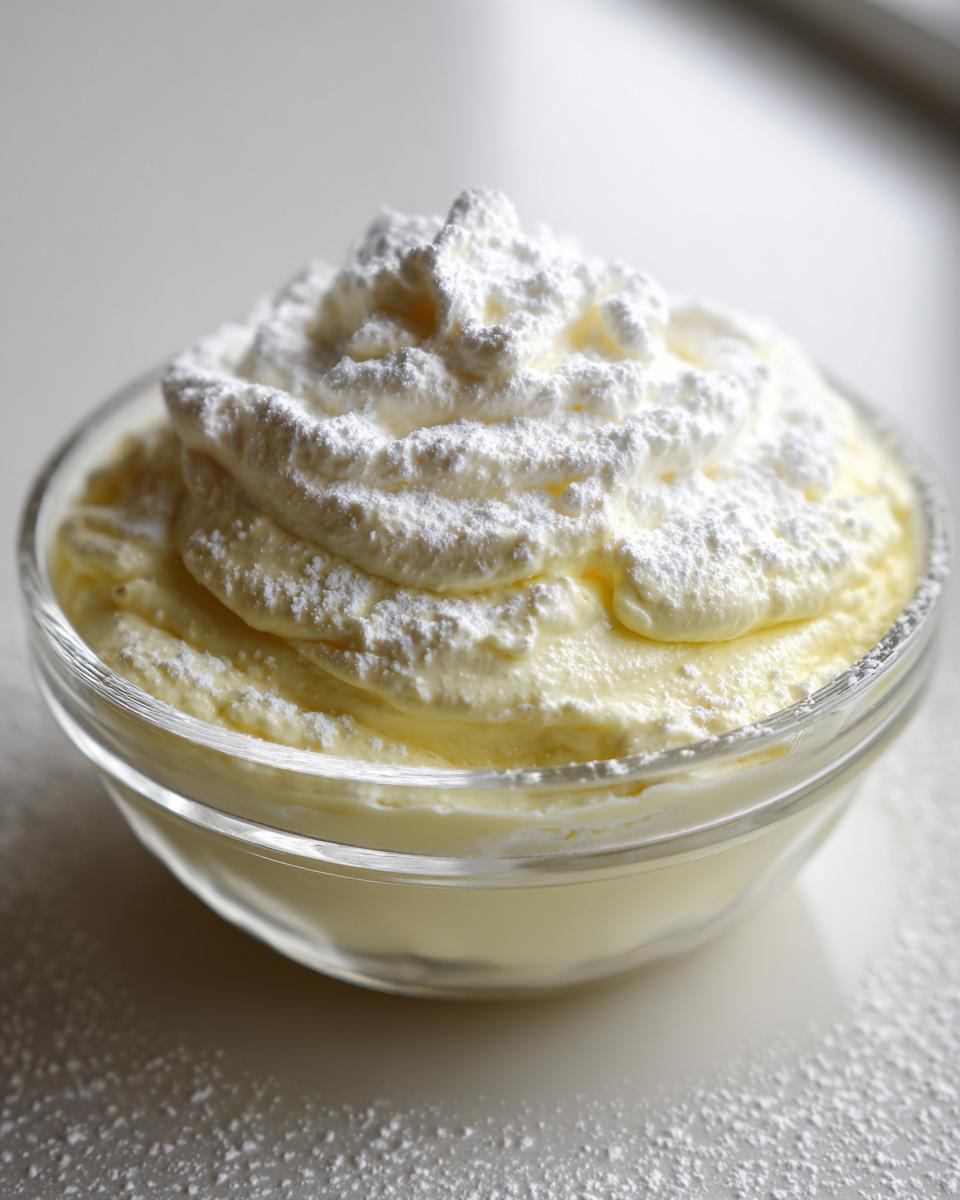
- Gently fold the melted white chocolate and vanilla extract into the whipped cream.
- Sprinkle powdered sugar on top before serving.