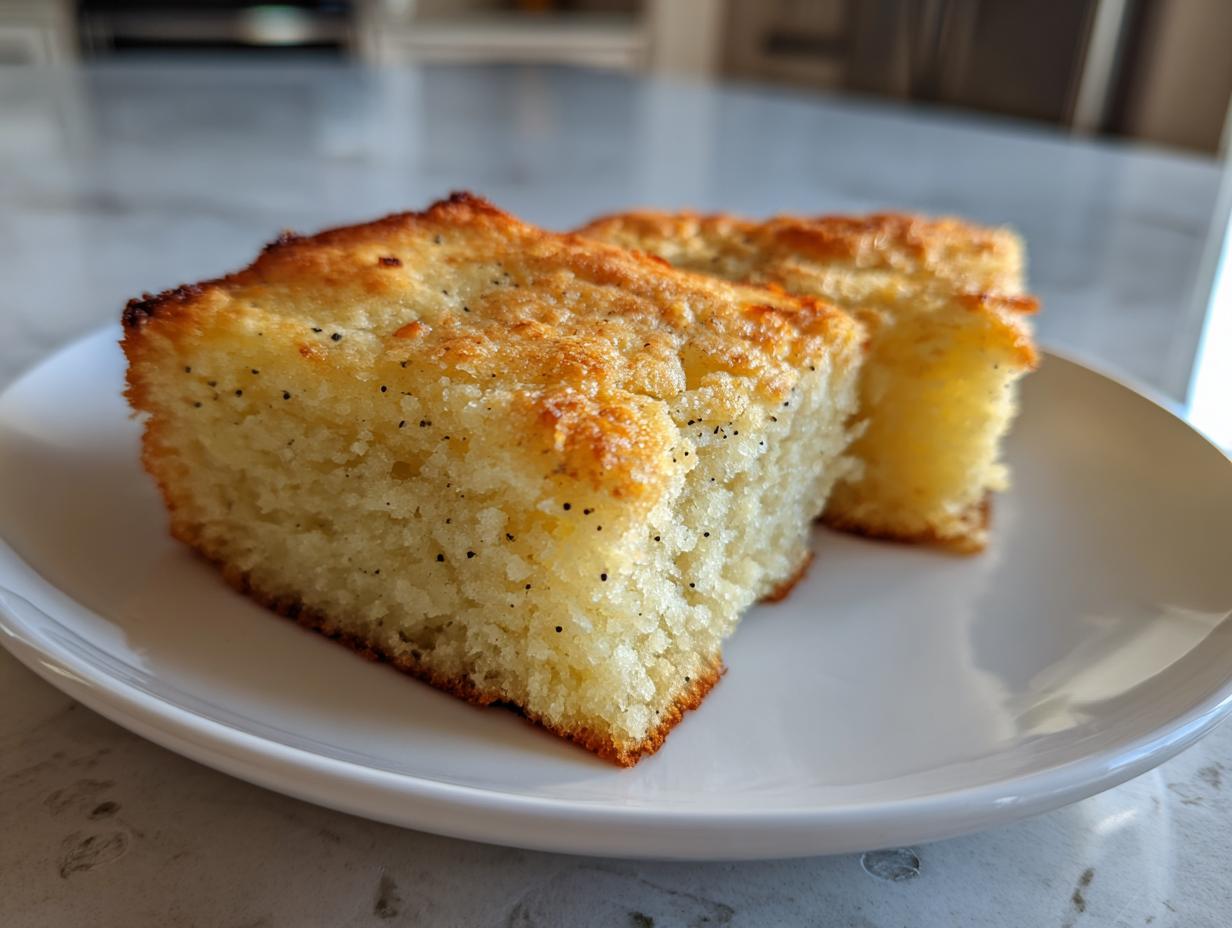
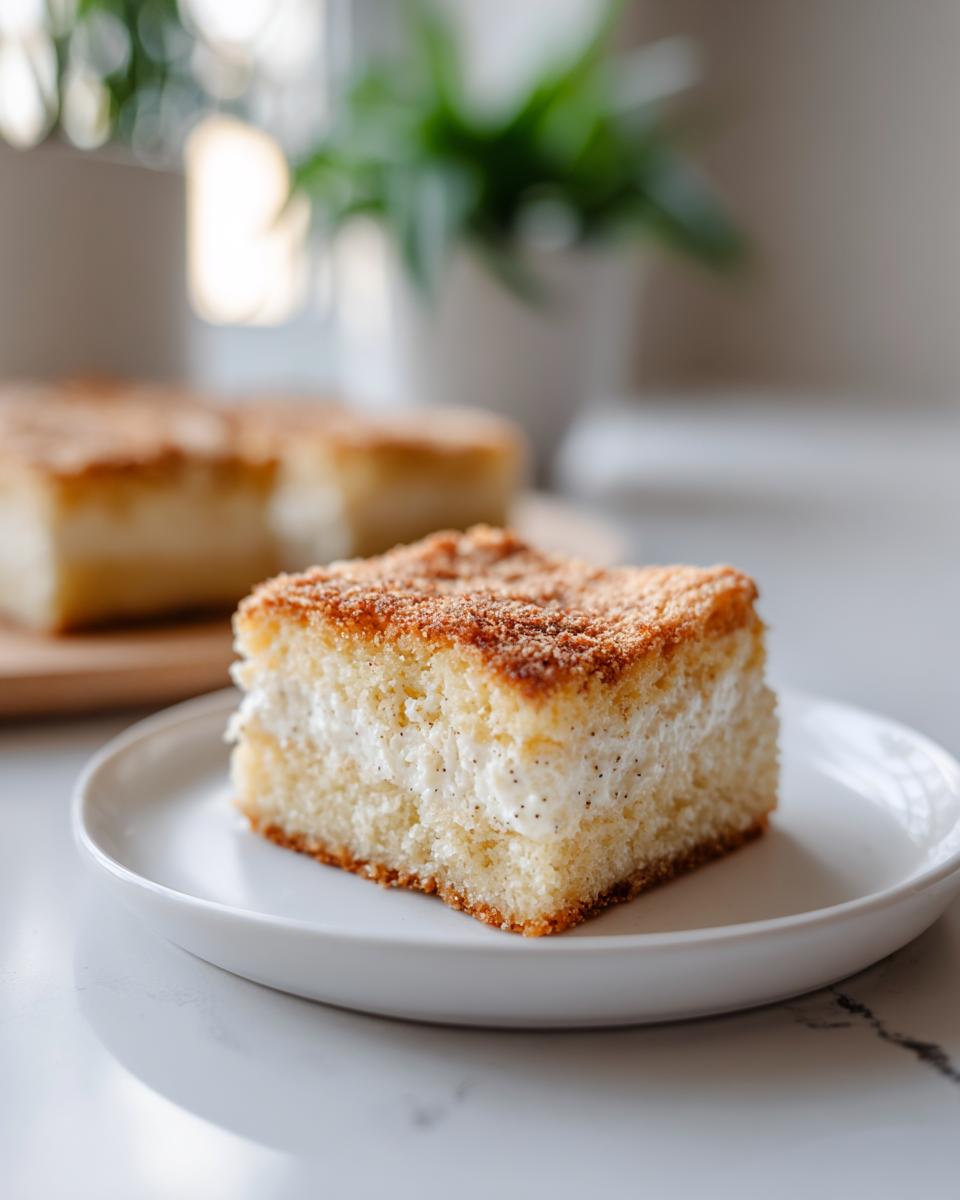
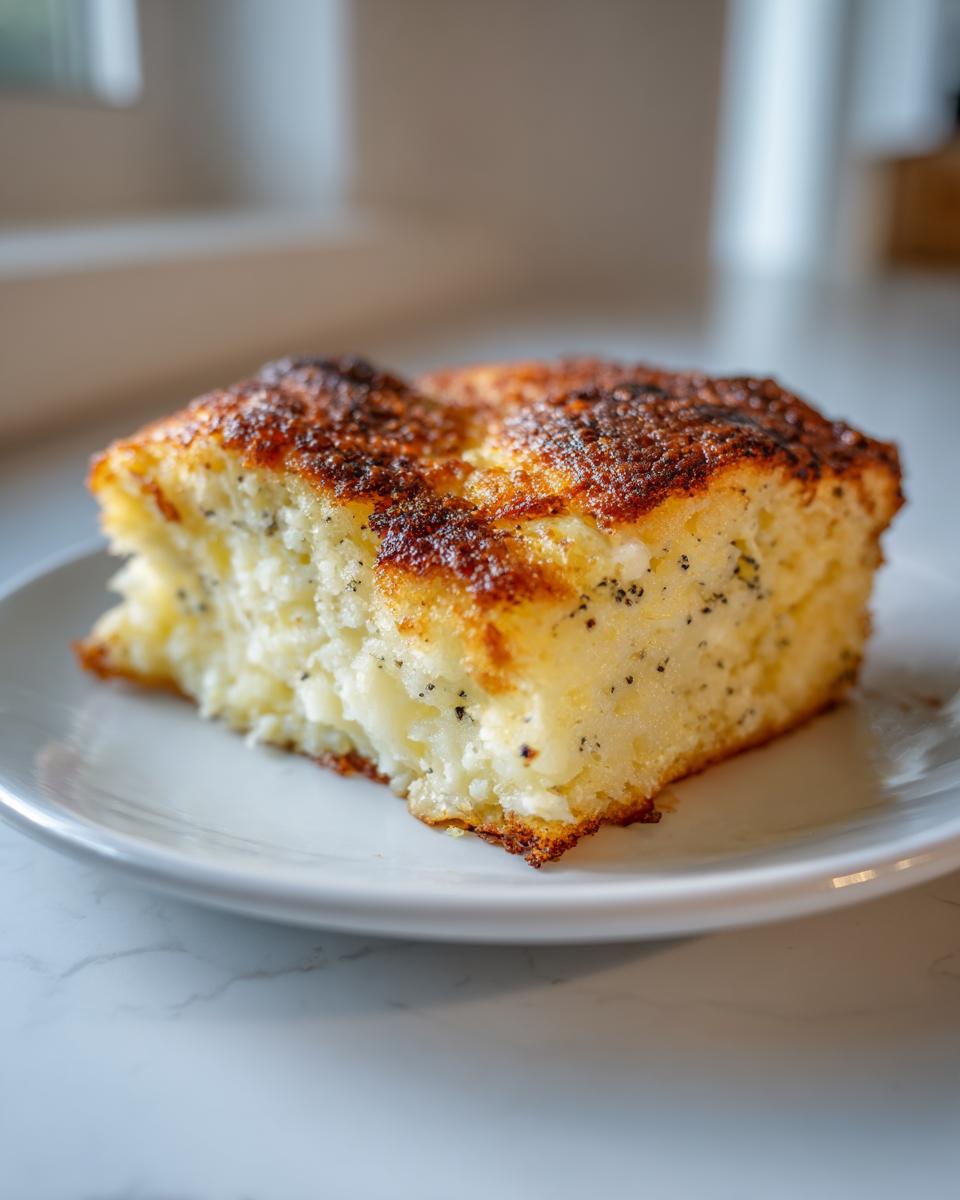
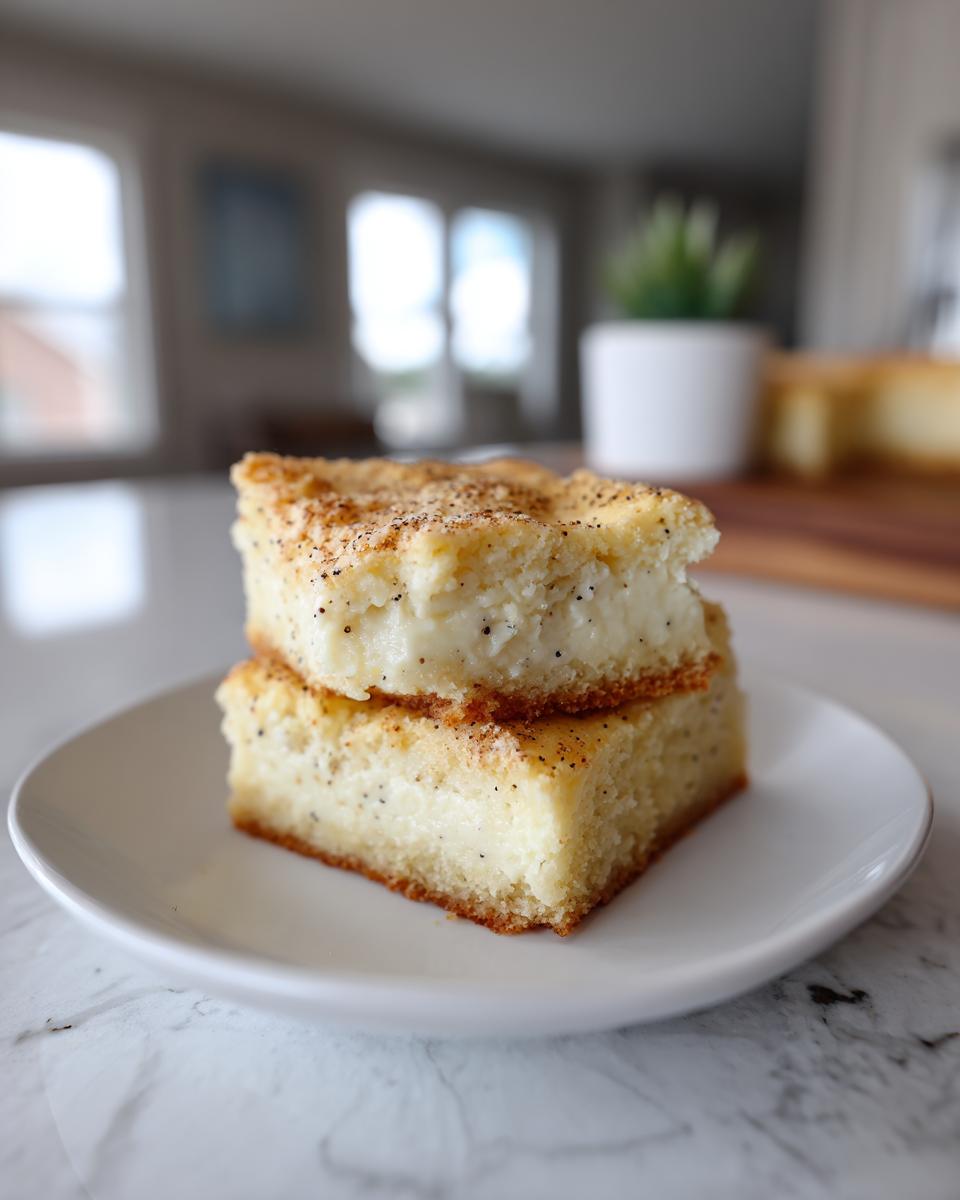
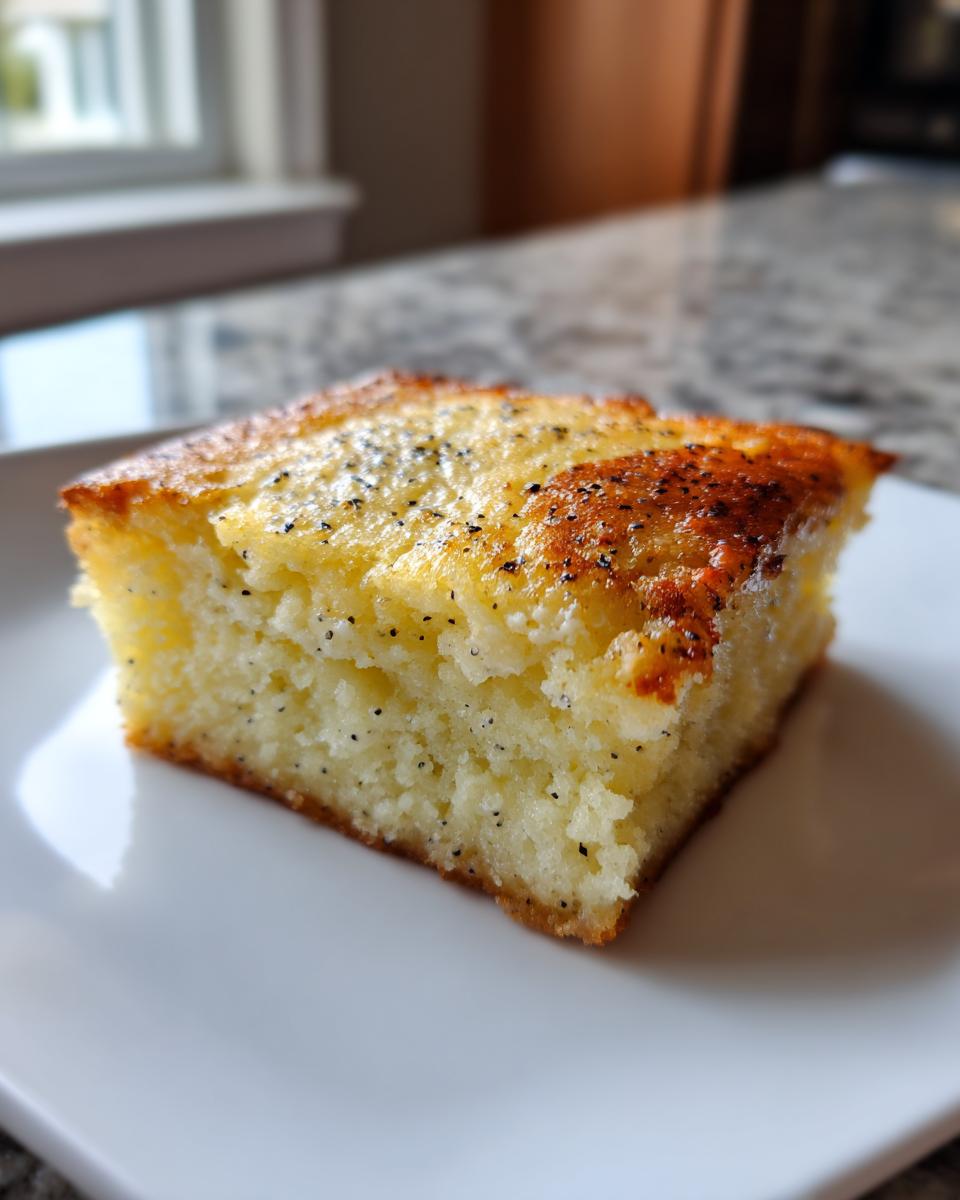
Oh, let me tell you about my vanilla bean dessert bars – they’re like little squares of sunshine on a plate! That rich, intoxicating vanilla flavor? It comes from using real vanilla bean paste with all those gorgeous little specks you can see in every bite. I first made these for my niece’s baby shower when I needed something simple but special, and now they’re my go-to when I want to impress without stressing. The crust is buttery perfection, the filling just sweet enough, and that vanilla…oh, that vanilla! It’s the kind of dessert that makes people close their eyes and sigh after the first bite.
Why You’ll Love These Vanilla Bean Dessert Bars
Let me count the ways these little bars will steal your heart! First off, that vanilla bean flavor – it’s like someone bottled up sunshine and mixed it with butter. Those tiny black specks in every bite? Pure magic. And get this – you probably have all the ingredients in your pantry right now. No fancy equipment needed, just a bowl and a spoon (and maybe a little elbow grease).
Here’s what makes them so special:
- That vanilla punch – Using real vanilla bean paste means you get that deep, complex flavor you just can’t get from extract alone
- Foolproof prep – If you can stir ingredients together, you can make these (my 8-year-old nephew helps me sometimes!)
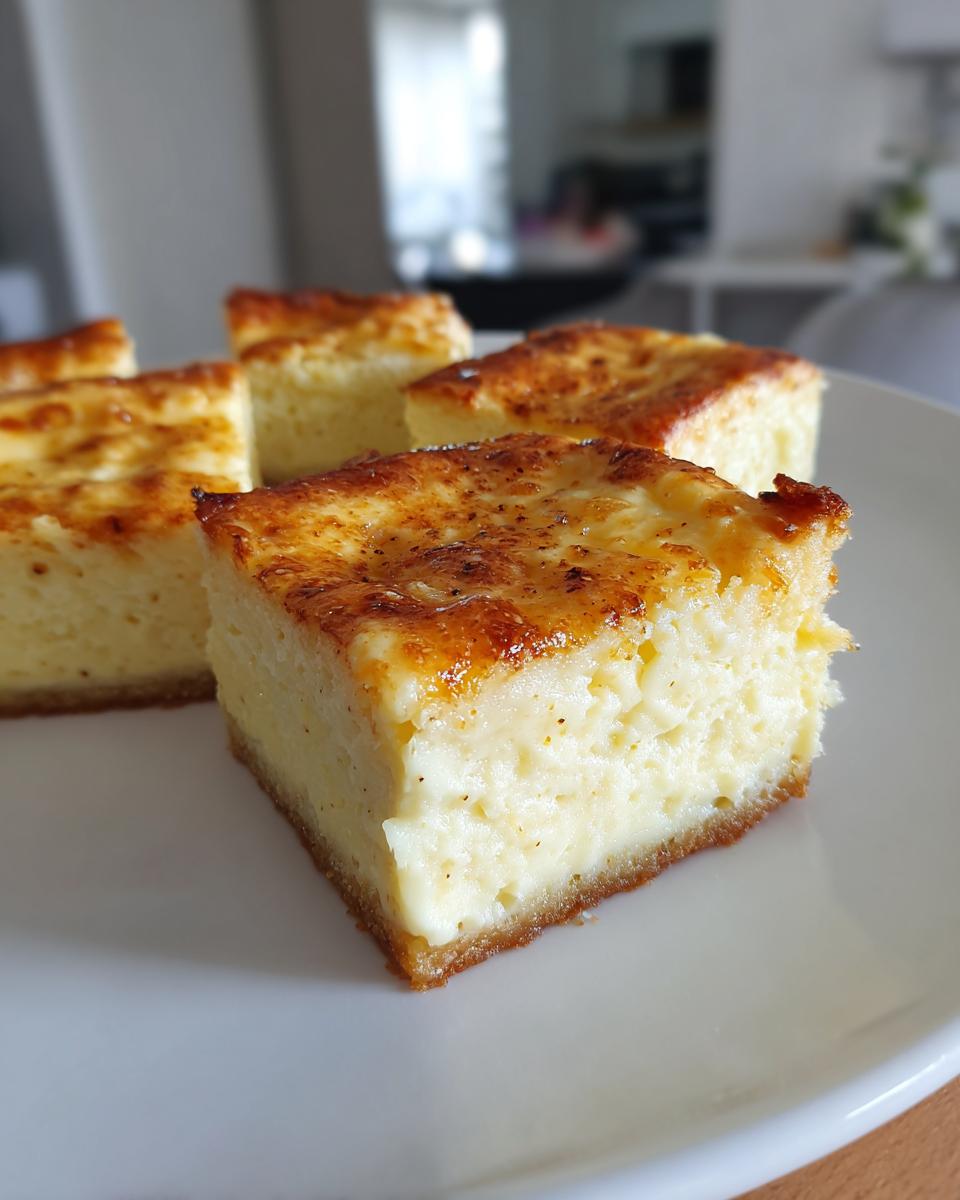
- Perfect texture – The crust stays crisp while the filling stays creamy – it’s like the dessert version of a perfect hug
- Works for any occasion – Fancy enough for dinner parties, easy enough for weeknight cravings (I may or may not eat them for breakfast sometimes…)
Trust me, once you try these, you’ll be making them on repeat like I do. They disappear faster than I can say “vanilla bean” at my house!
Ingredients for Vanilla Bean Dessert Bars
Okay, let’s talk ingredients – and I mean the good stuff! I’ve made these vanilla bean dessert bars so many times I could probably do it in my sleep, but I’ve learned that quality ingredients make all the difference. Don’t skimp on the vanilla bean paste – those little black flecks are worth every penny!
For the Crust
- 1 cup all-purpose flour – Just your regular flour, nothing fancy needed
- 1/4 cup granulated sugar – This little bit of sweetness makes the crust sing
- 1/2 cup unsalted butter, melted – And I mean really melted, not just softened (trust me, it matters!)
For the Filling
- 1 cup granulated sugar – Yes, another cup – we’re making dessert here!
- 2 tbsp all-purpose flour – This little bit helps the filling set just right
- 1/4 tsp salt – Don’t skip this! It balances all that sweetness
- 2 large eggs – Room temperature works best (I leave mine out while I prep everything else)
- 1 tsp vanilla bean paste – The star of the show! You can use extract in a pinch, but the paste gives those gorgeous specks
See? Nothing too crazy, right? Just simple ingredients that come together to make something magical. Now let’s get baking!
How to Make Vanilla Bean Dessert Bars
Alright, let’s get to the fun part – making these dreamy vanilla bean dessert bars! I’ve made this recipe so many times I could do it with my eyes closed (though I don’t recommend that – hot ovens and all). Follow these steps, and you’ll have perfect bars every time. Promise!
1. Prep Your Pan Like a Pro
First things first – preheat that oven to 350°F (175°C). While it’s heating up, line your 8×8-inch baking pan with parchment paper. Here’s my trick: leave some overhang on the sides so you can lift the whole thing out later. No more wrestling with sticky bars! If you’re feeling extra, give the paper a light butter spray – it helps everything release beautifully.
2. Make That Buttery Crust
Grab a mixing bowl and toss in your flour, sugar, and that glorious melted butter. Stir it until it looks like wet sand – you’ll know it’s right when you can pinch it and it holds together. Now, dump it into your prepared pan and press it down firmly with your fingers or the back of a spoon. We want it nice and even – no crumbly bits here! Pop it in the oven for exactly 10 minutes. It should look lightly golden when it’s ready.
3. Whip Up the Vanilla Filling
While the crust is baking, let’s make that luscious filling. In another bowl (yes, more dishes – but so worth it), whisk together the sugar, flour, and salt. Crack in those eggs one at a time, whisking well after each. Now for the star – that vanilla bean paste! Stir it in and watch those beautiful black specks swirl through the mixture. The filling should be smooth and slightly thick – if you’ve ever made a vanilla cake, it’s a similar consistency.
4. Assemble and Bake to Perfection
When your crust comes out (it’ll be hot, so careful!), pour the filling right over the top. Gently tilt the pan to spread it evenly. Back in the oven it goes for 25 minutes. You’ll know it’s done when the edges are set but the center still has a slight jiggle – like firm jelly. Don’t overbake it, or you’ll lose that creamy texture we love!
5. The Hardest Part – Waiting!
I know, I know – you want to dive right in. But trust me, let these babies cool completely in the pan. I usually leave them for at least 2 hours, sometimes popping them in the fridge if I’m impatient. Once cooled, use the parchment paper to lift them out, then slice into squares with a sharp knife. Pro tip: wipe the knife between cuts for clean edges!
And there you have it – vanilla bean dessert bars that’ll make you feel like a pastry chef! The hardest part now will be sharing them… but that’s a problem for future you.
Expert Tips for Perfect Vanilla Bean Dessert Bars
Listen, I’ve burned my fair share of dessert bars in my day (don’t ask about the Great Kitchen Fire of 2018), so let me save you some heartache with these hard-earned tips. These little tricks will take your vanilla bean bars from “good” to “oh-my-gosh-where-have-these-been-all-my-life” status!
1. Splurge on the Good Vanilla
That cheap vanilla extract in your cabinet? Yeah, put it back. For these bars, you want the real deal – vanilla bean paste with those gorgeous black flecks. It makes all the difference! I once made these with grocery store vanilla extract and my husband actually noticed (and he’s the guy who puts ketchup on everything). The paste gives that deep, complex flavor that’ll make people think you studied pastry in Paris.
2. Patience is a Virtue (Especially When Cooling)
I know it’s tempting to cut into these warm – that vanilla smell is downright hypnotic. But resist! Let them cool completely in the pan, then chill them in the fridge for at least an hour. This sets the filling perfectly so you get clean slices instead of gooey messes. My trick? I bake these in the morning so they’re ready by dessert time. The wait kills me every time, but it’s worth it!
3. Parchment Paper is Your Best Friend
Remember how I mentioned my parchment paper trick earlier? Here’s why it’s non-negotiable: it prevents sticking disasters and lets you lift the whole slab out for easy slicing. Fold the edges over the pan sides like you’re wrapping a present – this makes handles for lifting. Bonus? Less pan scrubbing later (because who actually enjoys washing dishes?).
4. My Secret Weapon – The Butter Trick
Here’s something I learned from my pastry chef friend: after melting your butter for the crust, let it cool slightly until it’s warm but not hot. This prevents the flour from cooking prematurely and gives you that perfect sandy texture. I test it by dipping my pinky in – if I can comfortably hold it there for 3 seconds, it’s ready. Simple, but game-changing!
Follow these tips, and you’ll have vanilla bean dessert bars that look and taste professional – no culinary degree required. Now go forth and bake (and try not to eat all the batter… I won’t judge if you do)!
Variations for Vanilla Bean Dessert Bars
Oh, the fun doesn’t stop with plain vanilla (though trust me, plain vanilla is anything but plain here)! I love playing around with this recipe – it’s like a blank canvas for your dessert dreams. Here are my favorite ways to mix things up when I’m feeling adventurous:
Citrus Twist: Add the zest of one lemon or orange to the filling – it brightens up the vanilla beautifully. I did this for Easter brunch last year and people couldn’t stop raving!
Nutty Swap: Replace half the vanilla bean paste with almond extract for a marzipan-like flavor. My aunt swears this is the only way to make them now!
Berry Bliss: After pouring the filling, scatter fresh raspberries or blueberries on top before baking. They sink in slightly and create gorgeous pockets of fruity goodness. Perfect for summer gatherings – and pairs amazingly with that spring fruit dessert I love so much!
The best part? You can mix and match these ideas too. Lemon zest with berries? Divine. Almond extract with a dusting of powdered sugar? Heavenly. Go wild – that’s half the fun of baking!
How to Store Vanilla Bean Dessert Bars
Okay, let’s talk storage – because let’s be real, you might actually have leftovers (though in my house, that’s rare)! These vanilla bean dessert bars keep beautifully if you treat them right. Here’s how I store them to keep that perfect texture:
At room temperature, pop them in an airtight container with parchment between layers. They’ll stay dreamy for about 2 days – any longer and they start to lose that crisp crust. For longer storage, the fridge is your friend! Same airtight container method keeps them fresh for up to 5 days. The filling firms up a bit when chilled, but that vanilla flavor just gets deeper.
Now, freezer lovers, listen up! These bars freeze like champs. Wrap individual bars tightly in plastic wrap, then pop them in a freezer bag. They’ll keep for a solid month. When the craving hits, thaw overnight in the fridge or give them a quick 10-second zap in the microwave if you can’t wait. Pro tip: sprinkle fresh powdered sugar on top after thawing – makes them look freshly baked!
Nutritional Information
Just a quick note about nutrition – these vanilla bean dessert bars are definitely a treat! The nutritional values will vary depending on the specific ingredients and brands you use. While I don’t track exact numbers (because honestly, I’m too busy enjoying them), I can tell you they’re packed with love and vanilla goodness. Everything in moderation, right?
FAQs About Vanilla Bean Dessert Bars
I get questions about these vanilla bean dessert bars all the time – they’re that good! Here are the answers to everything you might be wondering before you bake:
Can I use vanilla extract instead of vanilla bean paste?
Absolutely! The paste gives those gorgeous black specks and richer flavor, but extract works in a pinch. Just use the same amount – 1 teaspoon. Though between you and me? Once you try the paste, you’ll never go back!
How do I prevent soggy bars?
Ah, the dreaded soggy bottom! The secret is letting that crust cool slightly before adding the filling. Those 10 minutes in the oven plus about 5 minutes cooling time creates a protective layer. Also – don’t skip the parchment paper! It helps air circulate underneath.
Can I double this recipe?
You bet! Double all ingredients and use a 9×13-inch pan instead. Baking time might need an extra 5-10 minutes – just watch for those set edges and slightly jiggly center. Perfect for potlucks when you need to feed a crowd!
Why is my filling cracking?
Oh honey, you probably overbaked it! These bars should come out when the center still has a slight jiggle – it’ll set as it cools. If the edges are pulling away from the pan, it’s definitely done. Next time, set a timer for 23 minutes and check early!
Can I make these gluten-free?
I’ve had great results swapping the all-purpose flour for a 1:1 gluten-free blend. Just make sure it contains xanthan gum – that helps with texture. The crust might be a tad more crumbly, but the flavor’s still amazing!
Got more questions? Slide into my DMs anytime – I could talk vanilla bean bars all day!
More Dessert Recipes to Try
If these vanilla bean dessert bars stole your heart like they did mine, you’ve gotta try these chocolate chip dessert bars next – they’re my other obsession! Did you make this recipe? I’d love to hear how it turned out! Leave a rating below or tag me on social media so I can see your beautiful creations. Nothing makes me happier than seeing people enjoy my recipes – except maybe eating these bars straight from the pan!
Vanilla Bean Dessert Bars
Ingredients
Equipment
Method
- Preheat oven to 350°F (175°C). Line an 8×8-inch baking pan with parchment paper.
- In a bowl, mix flour, sugar, and melted butter for the crust until combined. Press evenly into the prepared pan.
- Bake the crust for 10 minutes, then remove from oven and let cool slightly.
- In another bowl, whisk together sugar, flour, salt, eggs, and vanilla bean paste for the filling until smooth.
- Pour the filling over the crust and bake for 25 minutes, or until set.
- Let cool completely before cutting into bars.