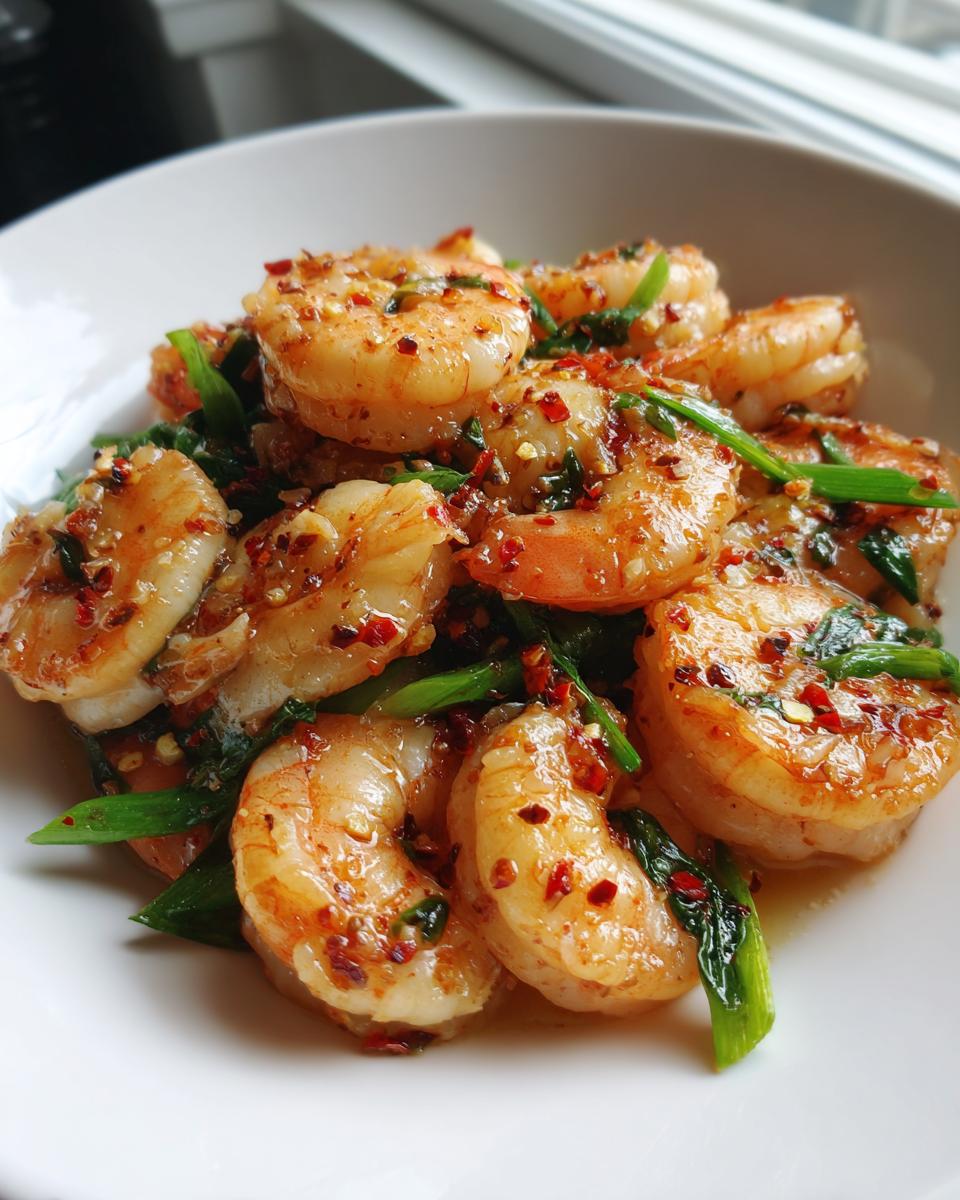
Oh my goodness, let me tell you about the first time I made these spring garlic shrimp recipes – it was pure love at first bite! I stumbled upon some fresh spring garlic at the farmers market last April, and on a whim tossed it with shrimp for a quick weeknight dinner. The moment that sweet, mild garlic aroma hit the pan, I knew I’d found something special. This recipe has become my absolute go-to during those busy spring evenings when I want something fast (we’re talking just 15 minutes from start to finish!) but packed with bright, flavorful goodness.
What makes spring garlic so magical here is its delicate flavor – not as punchy as mature garlic, but with this wonderful fresh greenness that pairs perfectly with sweet shrimp. And the best part? You don’t need fancy techniques or dozens of ingredients. Just toss everything in a pan, and boom – dinner’s ready before you can even think about ordering takeout. Trust me, once you try this, you’ll be making it all season long!
Why You’ll Love These Spring Garlic Shrimp Recipes
Let me count the ways this dish will steal your heart! First off, it’s my magic trick for those “what’s for dinner?” panic moments – ready in just 15 minutes flat. I swear it takes longer to decide to order pizza than to cook this beauty.
Here’s why you’ll keep coming back:
- Effortless prep: No fancy knife skills needed – just slice the garlic, toss everything in, and you’re golden
- Big flavor bang: That sweet spring garlic and spicy red pepper flakes? Absolute fireworks in your mouth
- Guilt-free goodness: Packed with protein but light on carbs – my kinda weeknight win
- Dress it up or down: Fancy over pasta or lazy-style straight from the pan – I’ve done both many times!
Seriously, if quick, delicious, and healthy had a love child, this would be it. The aroma alone will have everyone running to the kitchen!
Ingredients for Spring Garlic Shrimp Recipes
Now let’s talk ingredients – but first, let me share my favorite kitchen hack for this recipe! I keep frozen peeled shrimp in the freezer at all times because you just never know when the craving will hit. The rest is so simple you might already have everything in your pantry right now.
For the Shrimp:
- 1 lb large shrimp – peeled and deveined (trust me, leave the tails on for extra flavor!)
- 3 tbsp olive oil – my Greek grandmother would kill me if I used anything less than extra virgin
- 4 cloves spring garlic – thinly sliced (use a mandoline if you’ve got one – but watch those fingers!)
- 1 tsp red pepper flakes – adjust this based on how brave you’re feeling
- 1 tbsp fresh lemon juice – never that bottled stuff, please!
- Salt and pepper – to taste (I’m generous with both)
See? Simple as can be. Pro tip: I once tried this with tiger shrimp when they were on sale – oh my word, game changer! The bigger shrimp soak up all that garlicky goodness so beautifully.
How to Make Spring Garlic Shrimp Recipes
Oh, this is where the magic happens! Cooking these beauties is so simple you’ll wonder why you ever bothered with complicated recipes. Just follow my lead and you’ll have restaurant-worthy shrimp in no time. I’ve made this dozens of times (maybe hundreds, who’s counting?), so trust me when I say sticking to these steps makes all the difference.
- Get that oil hot first! Pour your olive oil into a large skillet (I use my trusty cast iron) over medium heat. You’ll know it’s ready when a tiny piece of garlic sizzles on contact – about 1-2 minutes usually does it. Don’t be impatient and crank the heat too high, or you’ll burn that precious garlic in the next step!
- Garlic time! Toss in those gorgeous spring garlic slices and red pepper flakes. The smell is going to kill you – in the best possible way! Cook them just until fragrant, about 1 minute max. Seriously, keep an eye on it – garlic burns so fast and then you’ve gotta start over (ask me how I know…).
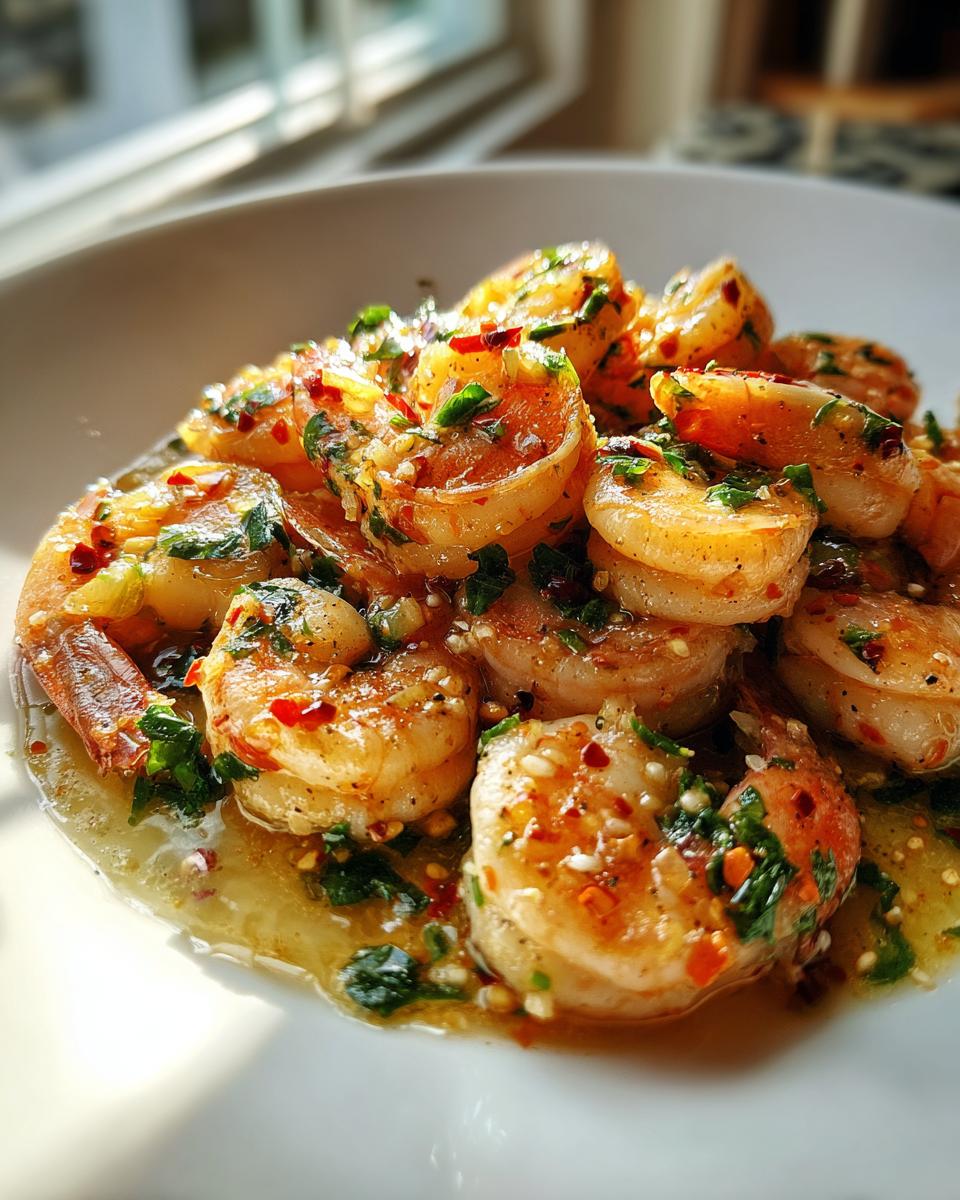
- Shrimp goes in! Add your shrimp in a single layer – no overcrowding! I cook them for 2 minutes on one side, then flip and do 1 more minute. They’ll turn that perfect pink with just a hint of golden brown. If your shrimp are smaller or bigger than mine (I use 16/20 count), adjust the timing accordingly.
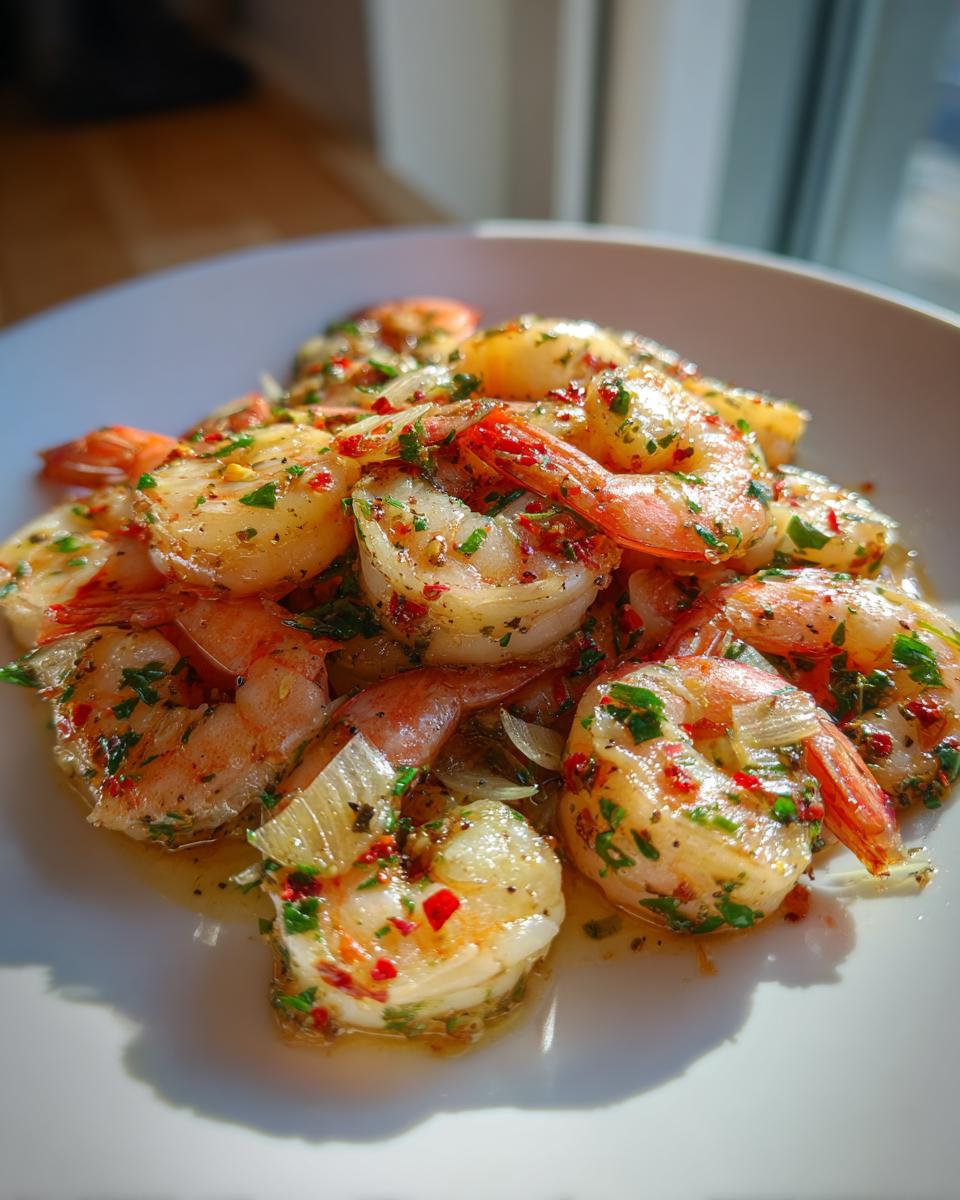
- Final flourish! Squeeze in that fresh lemon juice – I usually do it straight from the half over the pan. A quick sprinkle of salt and pepper (I do about 1/2 tsp salt and 1/4 tsp pepper), give it one gentle stir, and boom – done!
- Serve it up! I love piling these onto a big platter, maybe with some chopped parsley if I’m feeling fancy. Always, always serve immediately – hot shrimp are happy shrimp! A couple extra lemon wedges on the side never hurt anyone either.
See? Told you it was easy! The whole thing cooks faster than I can pour a glass of wine (which, by the way, makes the perfect pairing with this dish). Once you’ve done it a couple times, you won’t even need the recipe – it becomes second nature!
Tips for Perfect Spring Garlic Shrimp Recipes
Alright, let me share my hard-earned secrets for the absolute best spring garlic shrimp! After making this recipe more times than I can count, I’ve learned a few tricks that take it from good to “oh wow, what is this magic?”
Don’t crowd the pan! I know it’s tempting to dump all the shrimp in at once, but listen – give them some personal space. Working in batches makes all the difference between nicely seared shrimp and a sad, soggy pile. If your shrimp aren’t sizzling when they hit the pan, they’re too close together!
Play with the heat level. That teaspoon of red pepper flakes? More of a guideline, really. Start with half if you’re not into spicy food (my kids do this), or go wild and add extra if you’re feeling brave like I usually am. Just taste as you go – you can always add more spice but you can’t take it out!
Fresh lemon juice is non-negotiable. That bottled stuff just doesn’t cut it here, folks. I keep a bowl of lemons on my counter just for recipes like this. Pro tip: microwave your lemon for 10 seconds before juicing – you’ll get way more juice out with way less effort.
Serve it piping hot. This isn’t one of those dishes that benefits from sitting around. The moment those shrimp come off the heat is when they’re at their absolute best. My sneaky trick? Warm the serving platter in the oven while cooking. That way the shrimp stay toasty while everyone scrambles to the table.
Oh and that garlicky oil left in the pan? Never waste it! I always have some crusty bread on standby to soak it all up – best “cleanup” ever. Sometimes I’ll even drizzle it over roasted veggies or pasta the next day. Zero waste, maximum flavor – that’s my cooking philosophy!
Serving Suggestions for Spring Garlic Shrimp Recipes
Oh honey, let me tell you how I love to serve these garlicky beauties! My absolute favorite is piled high over a bed of steaming jasmine rice – that garlicky oil soaking into every grain? Pure heaven. But don’t stop there! Here are my go-to ways to make this dish shine:
- Toss them with spring veggie pasta for a light yet satisfying meal
- Stuff into warm tortillas with avocado and cilantro for killer shrimp tacos
- Serve over quinoa veggie bowls when I’m feeling extra healthy
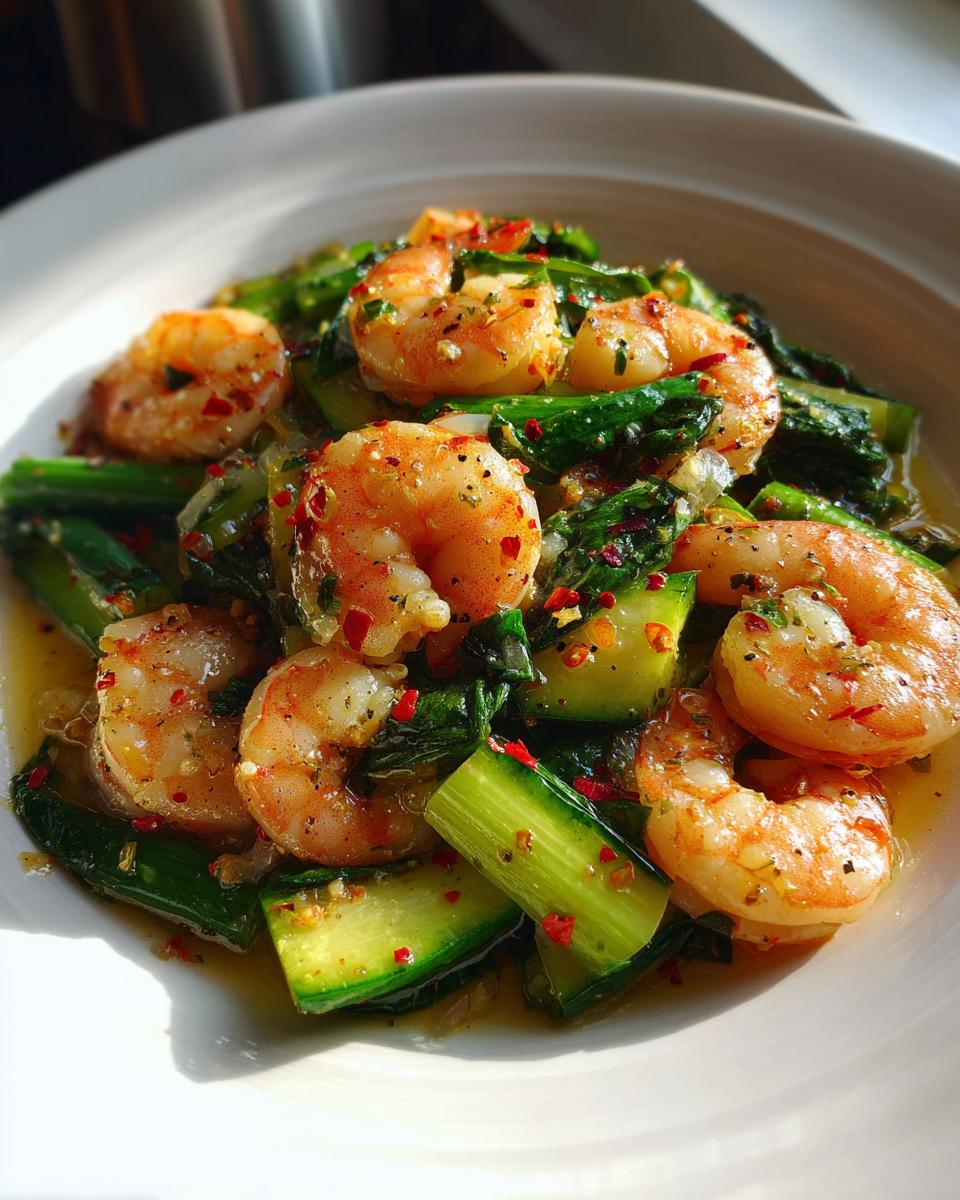
- Pair with roasted asparagus or zucchini – spring veggies love garlic too!
Honestly though? Sometimes I just grab a fork and eat them straight from the pan – no judgment here! However you serve them, just make sure to have plenty of napkins handy for all that garlicky goodness.
FAQ About Spring Garlic Shrimp Recipes
I get so many questions about this recipe at dinner parties – everyone wants to know the tricks! Here are the answers to the things people ask me most:
Can I use regular garlic instead of spring garlic?
Absolutely! Though I’ll warn you – spring garlic is my forever favorite for this dish. Regular garlic works in a pinch (we’ve all been there), but it packs a much stronger punch. If you go that route, maybe start with 2 cloves instead of 4 and adjust from there. The first time I tried regular garlic, I nearly knocked my socks off with garlic breath for days!
How should I store leftovers?
Honestly, this dish shines brightest fresh from the pan. But if you must keep leftovers (who am I kidding, I’ve never actually had leftovers!), pop them in an airtight container in the fridge for up to 2 days. Just know the texture won’t be quite as magical when reheated – those shrimp go from juicy to rubbery real quick in the microwave. My sneaky tip? Toss cold leftovers into a salad the next day – delicious!
Can I freeze cooked shrimp from this recipe?
Oh honey, I wouldn’t if I were you. Freezing cooked shrimp is like expecting a beautiful soufflé to stay puffy – it just ain’t gonna happen. The texture turns almost mushy when thawed. If you really need to prep ahead, I’d suggest making the garlic oil base to freeze, then add fresh shrimp when you’re ready to cook. Trust me, some things are worth doing fresh, and this is one of them!
Nutritional Information
Now let’s chat nutrition – but first, my grandma’s golden rule: “Food is love, not just numbers!” These spring garlic shrimp are naturally packed with protein and low in carbs, making them a guilt-free indulgence. The olive oil adds healthy fats, while that fresh lemon juice gives you a vitamin C boost.
Important note: Nutritional values are estimates and can vary based on your specific ingredients and brands. I’ve had readers ask why their counts differ from mine – well, maybe your shrimp were bigger, or your olive oil richer! That’s the beauty of cooking – every batch tells its own delicious story.
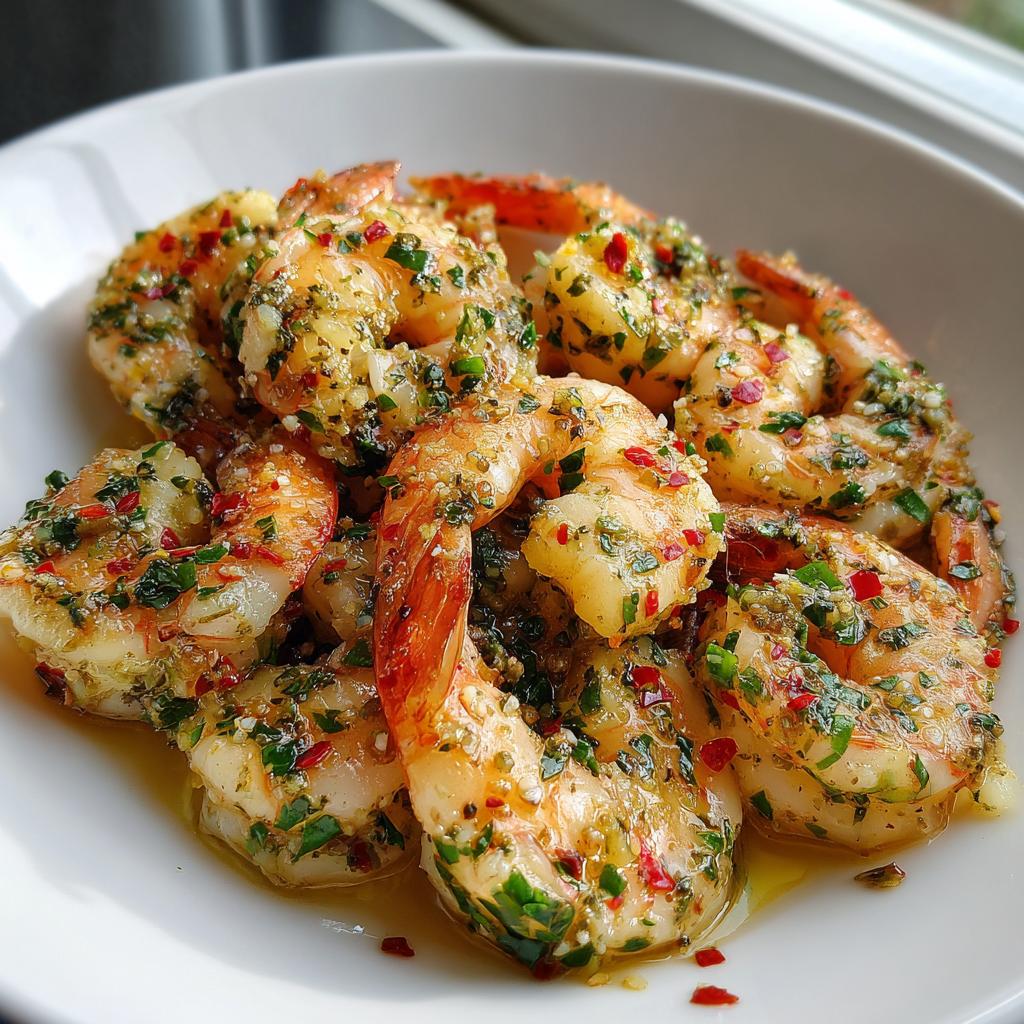
Spring Garlic Shrimp
Ingredients
Equipment
Method
- Heat olive oil in a large skillet over medium heat.
- Add spring garlic and red pepper flakes. Cook for 1 minute until fragrant.
- Add shrimp to the skillet. Cook for 2-3 minutes per side until pink.
- Stir in lemon juice. Season with salt and pepper.
- Serve immediately.