There’s something magical about a pot of black eyed peas simmering on the stove. I swear, the smell alone takes me straight back to my grandma’s kitchen in Alabama, where she’d make a big batch every New Year’s Day for good luck. These little legumes pack so much flavor and nutrition into such a humble package – protein, fiber, and that creamy texture that just melts in your mouth. Southern cooks have known the secret for generations: black eyed peas are the ultimate comfort food that fills bellies without emptying wallets. I still make them exactly how my grandma taught me, with just a few simple ingredients that transform into something truly special.
Why You’ll Love This Black Eyed Peas Recipe
Let me tell you why this black eyed peas recipe has been my go-to for years:
- Nutritious comfort food: Packed with protein and fiber, these little guys keep you full without weighing you down.
- Seriously easy: If you can sauté onions, you can make this dish – I swear!
- Budget-friendly magic: A handful of ingredients turns into a pot full of goodness that feeds a crowd.
- Endlessly versatile: Eat them plain, over rice, or dress them up with hot sauce and cornbread – they always shine.
The best part? Your kitchen will smell like cozy Southern comfort while they simmer.
Ingredients for Black Eyed Peas
Oh friends, let me tell you about my simple little lineup of ingredients that somehow transform into the most delicious pot of black eyed peas you’ll ever taste. I still can’t believe how much flavor comes from just this handful of items – it’s like kitchen magic!
- 1 cup dried black-eyed peas (rinsed and soaked overnight – trust me, this step matters)
- 4 cups water (just plain tap water does the trick)
- 1 onion, chopped (I like yellow ones for that sweet flavor)
- 2 cloves garlic, minced (fresh is best – my grandma would haunt me if I used powder)
- 1 tsp salt (add more at the end if you need to)
- ½ tsp black pepper (freshly ground if you’re feeling fancy)
- 1 tbsp olive oil (or whatever oil you’ve got – I’m not picky here)
See? Nothing fancy, just real simple ingredients that come together to make something amazing. That’s the beauty of black eyed peas – they don’t need much to shine!
How to Make Black Eyed Peas
Okay, let’s get cooking! Making black eyed peas is easier than you think – it’s mostly just patience and letting the flavors work their magic. Don’t worry, I’ll walk you through each step just like my grandma taught me. The secret? Low and slow is the way to go with these little beauties. Here’s how we do it:
Step 1: Sauté the Aromatics
First things first – grab your favorite heavy-bottomed pot and heat that olive oil over medium. When it shimmers just slightly (that’s when you know it’s ready), toss in your chopped onions and give them a good stir. We’re not trying to brown them here, just get them nice and soft – about 3 minutes should do it. When they start looking translucent, add your garlic and give it just 30 seconds more. Oh! That smell? That’s your flavor foundation right there.
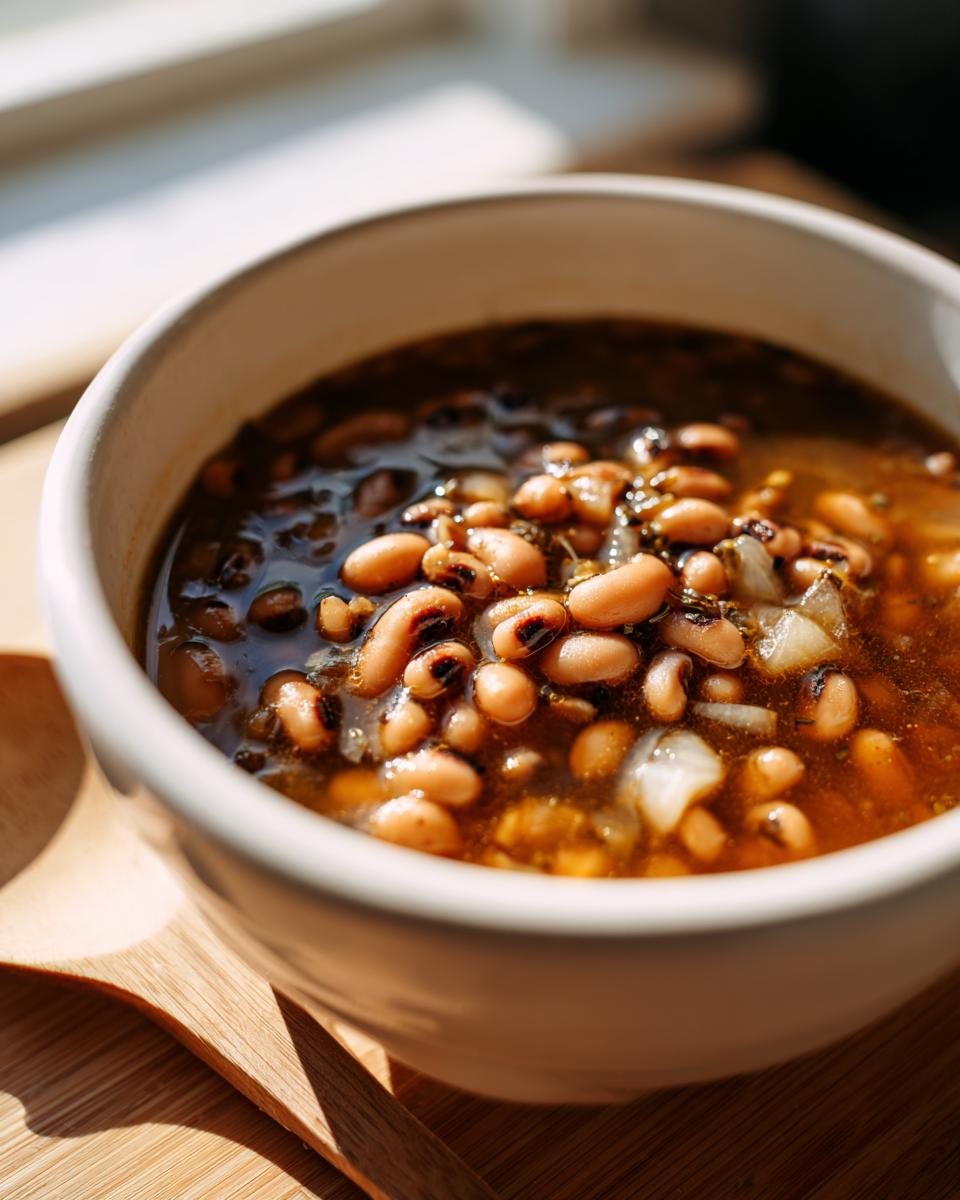
Step 2: Cook the Black Eyed Peas
Now for the main event! Drain those soaked peas you’ve got waiting (you didn’t forget to soak them, did you?) and add them to the pot with your water. Bring everything to a boil, then immediately reduce to a gentle simmer – we’re talking tiny bubbles here, not a rolling boil. Now here’s the patience part: let them cook uncovered for about an hour. I know it seems long, but trust me – this is when the magic happens. You’ll know they’re done when a pea smushes easily between your fingers but still holds its shape when you stir. Peek at them around the 45-minute mark to check progress.
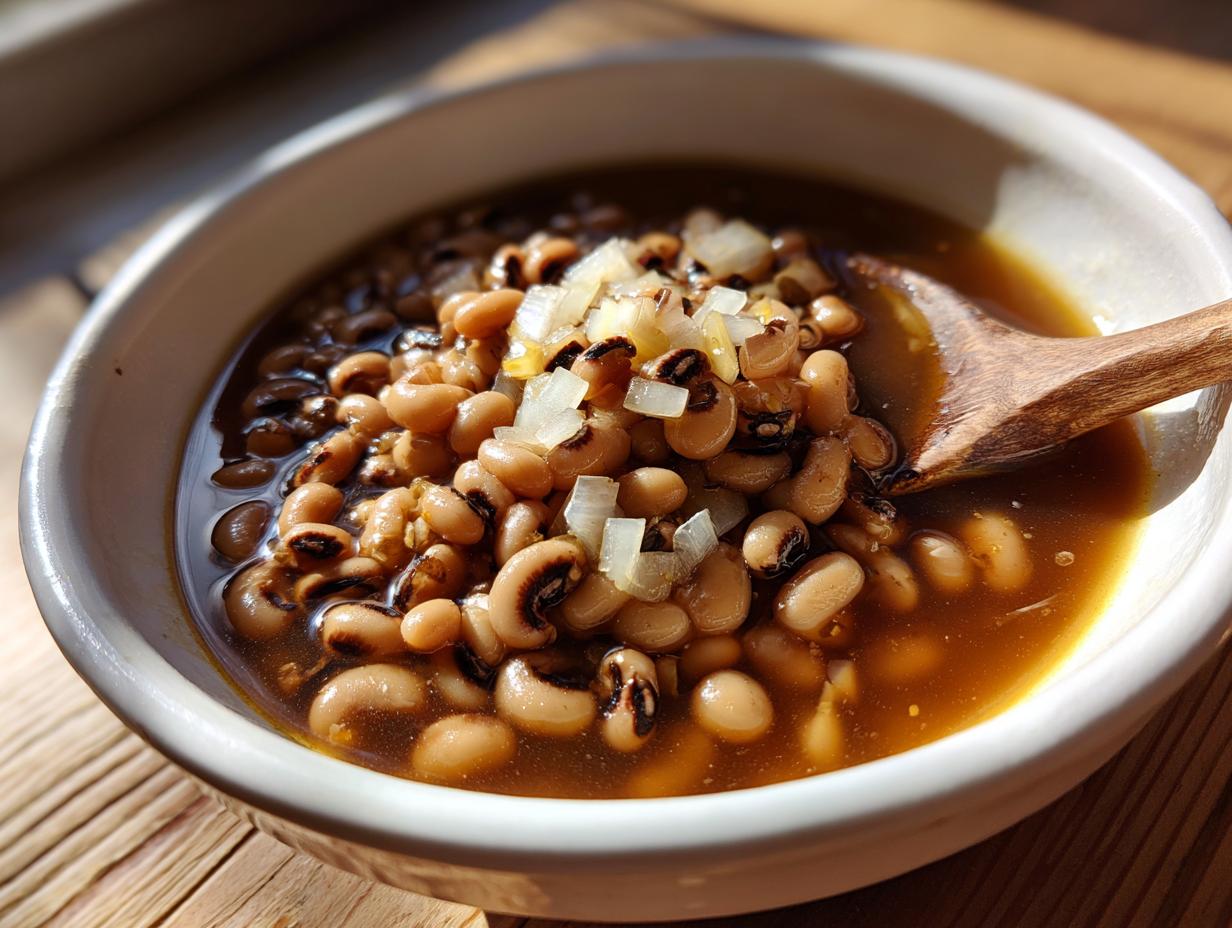
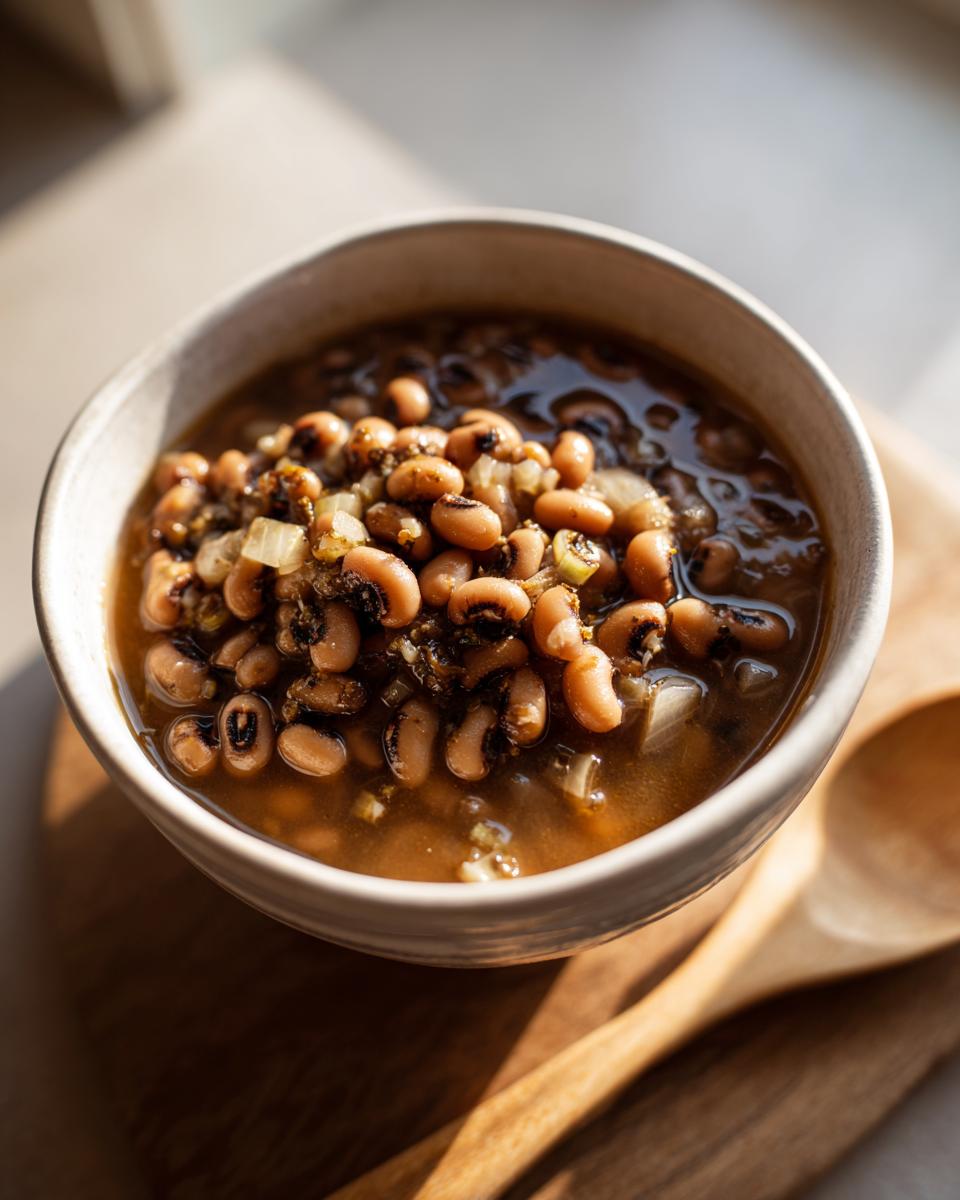
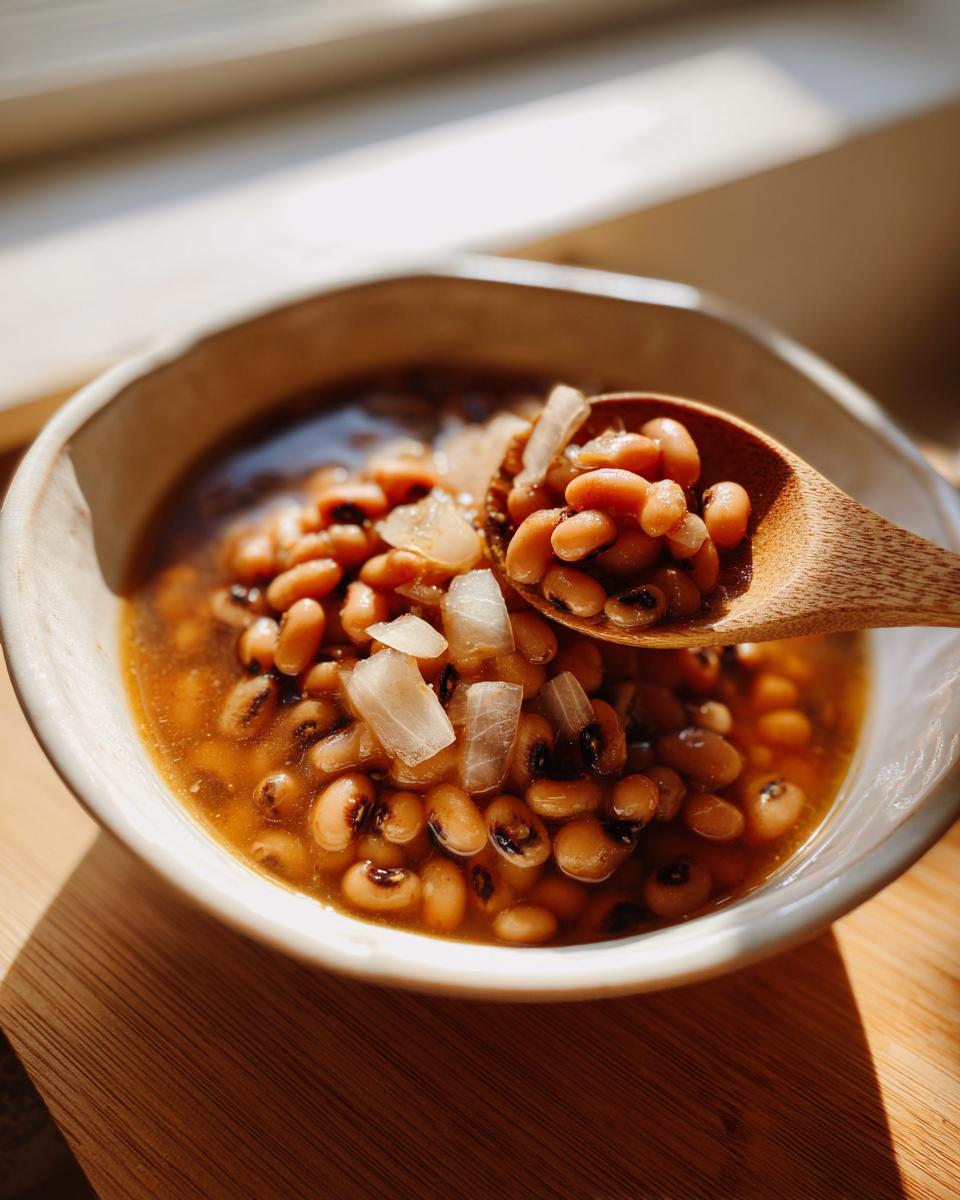
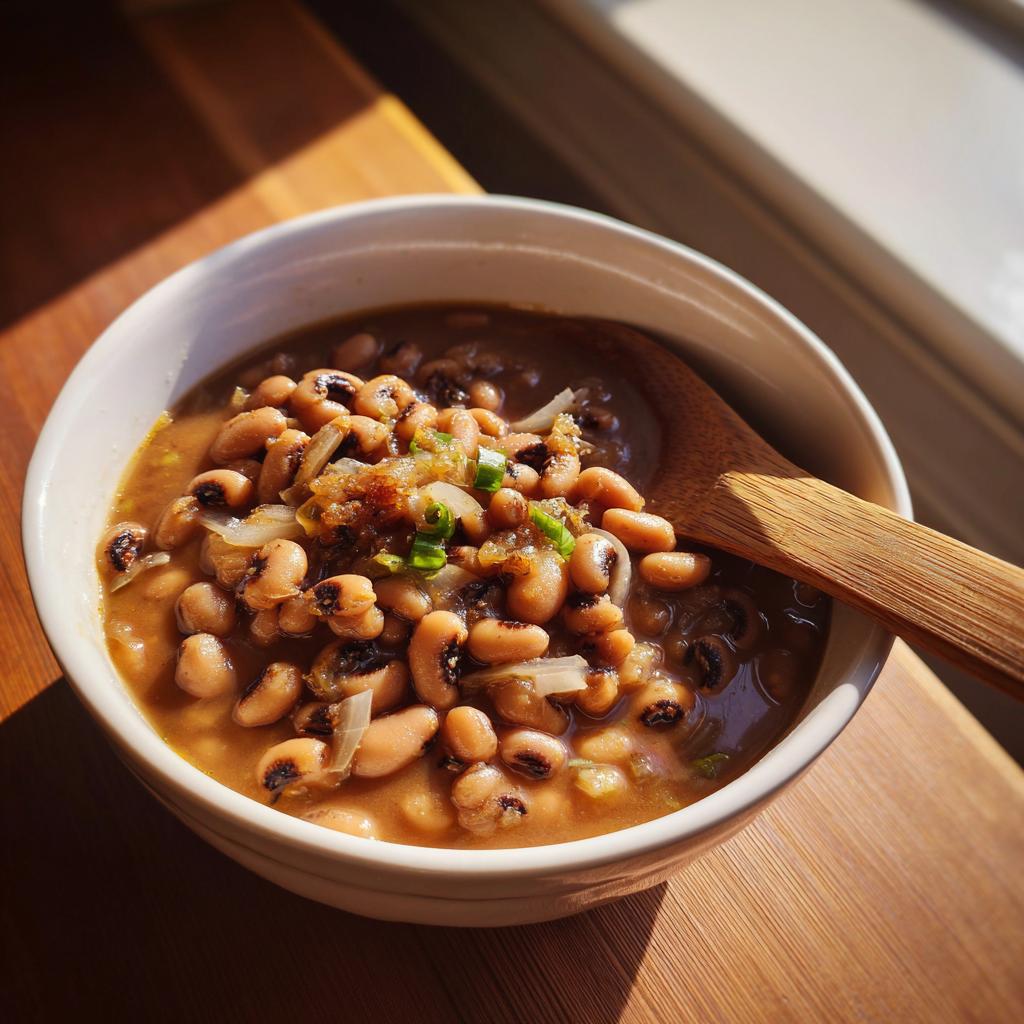
Step 3: Adjust Seasoning and Serve
Almost there! Now’s the time to taste and adjust – add more salt if needed (I always do) and another crack of black pepper. Then comes the best part – serving them up! I love mine with a big hunk of cornbread for soaking up all that delicious pot liquor, or spooned over rice if I’m feeling fancy. Sometimes I’ll add a dash of hot sauce if I want a little kick. However you serve them, just make sure to get a big bowl – nobody ever stops at just one helping of these!
Tips for Perfect Black Eyed Peas
After years of making black eyed peas (and plenty of trial and error), I’ve learned a few tricks that take them from good to “oh-my-goodness-can-I-get-that-recipe” amazing. First, never skip soaking those peas overnight – it cuts cooking time in half and gives them that perfect creamy texture. My grandma swore by adding a smoked turkey leg or ham hock while they simmer – that smoky flavor seeps right into every bite! And here’s my biggest tip: don’t overcook them! You want tender peas, not mushy ones. Check them at 45 minutes – they should smash easily but still hold their shape when stirred.
Ingredient Substitutions for Black Eyed Peas
Life happens, and sometimes you gotta improvise – that’s why I love how flexible black eyed peas are! If you’re in a pinch, here are my tried-and-true swaps that still give you delicious results. Just remember: canned peas are your best friend when you forgot to soak the dried ones overnight. Use two 15-oz cans (drained and rinsed) and cut the cooking time to just 20 minutes. No onion? A teaspoon of onion powder works in a pinch (but don’t tell my grandma I said that). Vegetable broth instead of water? Absolutely – it adds extra depth of flavor. And if you’re out of olive oil, any neutral oil will do. The peas honestly don’t mind!
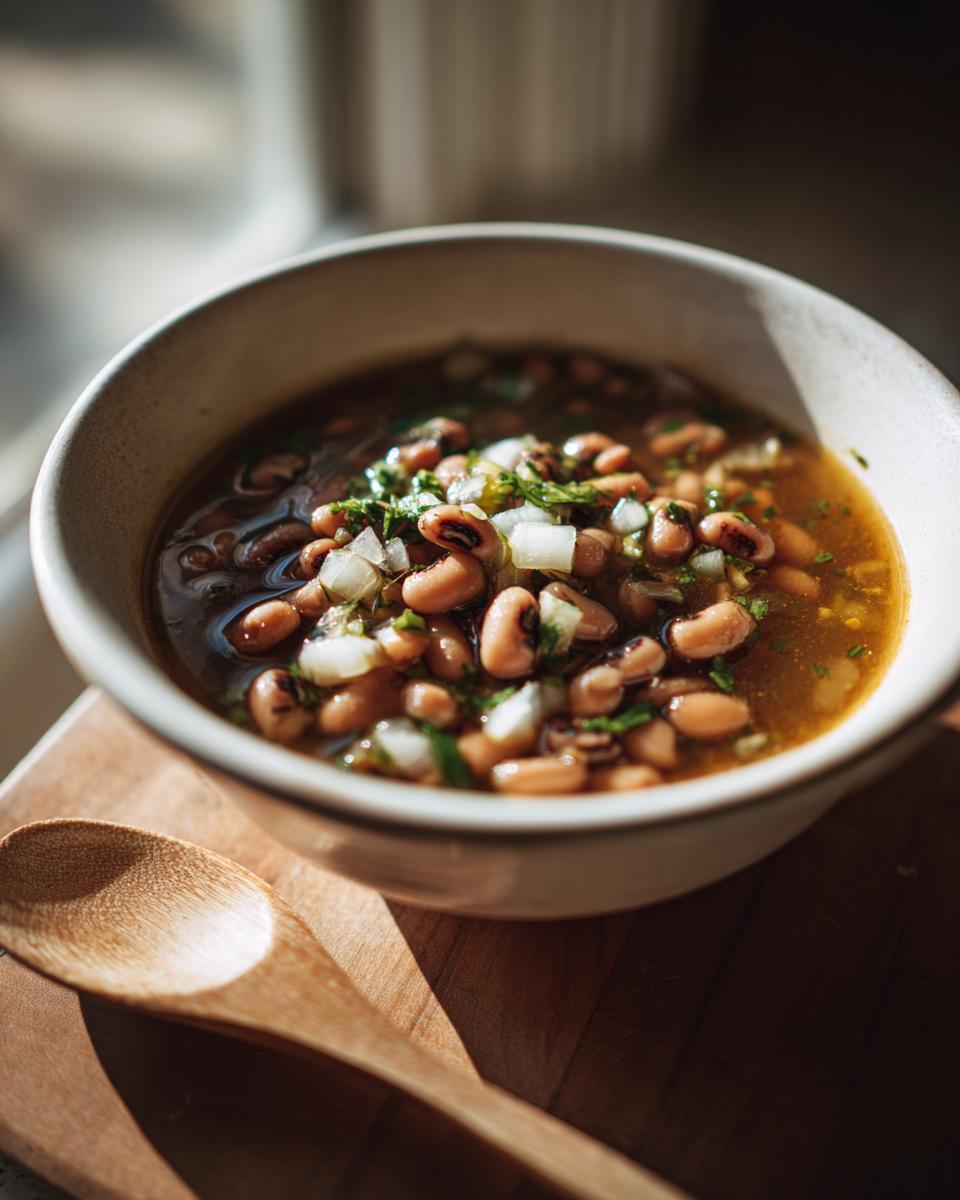
Serving Suggestions for Black Eyed Peas
Oh honey, let me tell you how we serve up black eyed peas back home – it’s all about that perfect pairing of flavors and textures! A big square of buttery cornbread is absolutely non-negotiable at my table – nothing soaks up that delicious pot liquor better. For a heartier meal, I love serving them over steamed rice with a side of collard greens – the way the slightly bitter greens contrast with the creamy peas just sings. And don’t even get me started on adding a fresh tomato salad for brightness, or some crispy fried okra for crunch. Now that’s what I call Southern comfort on a plate!
Storage and Reheating Instructions
Oh, you’ll want to save every last bite of these black eyed peas! Let me tell you exactly how I store mine so they stay just as delicious as when they first hit the pot. Once cooled, I pour them into an airtight container – they’ll keep in the fridge for up to 5 days. For freezing, I use mason jars (leave an inch of space at the top!) where they last 6 months beautifully. To reheat? Just pop them in a saucepan with a splash of water and warm gently – you don’t want to boil the life out of them! Microwave works too – cover and heat in 30-second bursts until perfect.
Nutritional Benefits of Black Eyed Peas
Let me tell you why I feel so good about eating black eyed peas – they’re like nature’s little nutritional powerhouses! A single serving packs 10 grams of protein and a whopping 8 grams of fiber to keep you full for hours. My grandma always said they were “good for what ails you,” and turns out she was right – they’re loaded with iron (15% of your daily needs!) and potassium for heart health. The best part? At just 180 calories per serving, you can enjoy that creamy comfort without guilt. For more science-backed info, check out Healthline’s deep dive or Medical News Today’s breakdown on why these little legumes deserve a regular spot in your meal rotation.
Frequently Asked Questions About Black Eyed Peas
Oh honey, I get asked about black eyed peas all the time – let me answer the questions that pop up most often in my kitchen!
Can I use canned black eyed peas instead of dried?
Absolutely! When I’m in a hurry, I grab two 15-oz cans (drained and rinsed). Just remember – canned peas only need about 20 minutes of simmering since they’re already cooked. The texture will be slightly softer than dried peas, but still delicious!
How long do cooked black eyed peas last in the fridge?
In my experience, they stay perfect for up to 5 days when stored in an airtight container. The flavor actually gets better after a day or two as all those wonderful flavors mingle together.
Can I freeze black eyed peas?
You bet! I freeze mine in mason jars (leave an inch of space at the top) or freezer bags. They’ll keep beautifully for 6 months. Just thaw overnight in the fridge and reheat gently – they’ll taste just as good as the day you made them!
Do I really need to soak dried black eyed peas overnight?
Well now, my grandma would say yes – but if you forget, do a quick soak: cover peas with water, boil for 2 minutes, then let sit (off heat) for an hour. It’s not quite as good as overnight soaking, but it’ll do in a pinch!
Black Eyed Peas
Ingredients
Equipment
Method
- Heat olive oil in a large pot over medium heat.
- Add chopped onion and minced garlic. Sauté until softened.
- Add soaked black-eyed peas, water, salt, and black pepper to the pot.
- Bring to a boil, then reduce heat and simmer for about 60 minutes, or until peas are tender.
- Adjust seasoning if needed and serve warm.