You know those days when you’re scrambling for something sweet but don’t want to deal with the oven? That was me last week when surprise guests showed up – my kitchen was a mess, and the last thing I wanted was to heat up the house baking. That’s when my go-to simple no bake desserts saved the day! In just 15 minutes, I whipped up a creamy, dreamy treat that had everyone licking their spoons. No oven, no stress – just pure deliciousness. Whether it’s a sudden sweet tooth, a packed schedule, or just too hot to bake, these no-fuss desserts are my little kitchen miracles!
Why You’ll Love These Simple No Bake Desserts
Trust me, once you try these no-bake treats, you’ll wonder why you ever bothered with the oven! Here’s why they’re always my first choice when I need something sweet fast:
- No oven needed – Perfect for hot summer days or when you’ve got other dishes baking
- Ready in minutes – Most recipes take less time than preheating an oven
- Foolproof – Even beginner cooks can’t mess these up
- Versatile – Dress them up for parties or keep them simple for weeknights
- Limited cleanup – Just a bowl and spoon usually does the trick
Last time I made these, my neighbor (who “doesn’t bake”) couldn’t believe how professional they looked – little did she know it took me just 15 minutes of active work! Whether you’re pressed for time or just don’t feel like baking, these desserts are lifesavers.
Ingredients for Simple No Bake Desserts
Okay, let’s gather our goodies! The beauty of this recipe is how few ingredients you need – I bet you’ve got most in your pantry already. Here’s everything you’ll want to have ready before you start mixing up magic:
For the Base
- 1 cup graham cracker crumbs – I always keep a box of graham crackers on hand just for this. If you’re out, digestive biscuits work great too!
- 1/4 cup melted butter – Unsalted is my preference, but salted works if that’s what you’ve got (just maybe skip adding extra salt later). Microwave it for about 20 seconds until just melted – no need to get it piping hot.
For the Filling
- 1 cup cream cheese, softened – This is KEY! Take it out of the fridge at least 30 minutes before. If you forget (I’ve been there!), microwave it for 10-second bursts until it gives slightly when pressed.
- 1/2 cup sugar – Regular granulated works perfectly, but you can use powdered sugar if you want an extra smooth texture.
- 1 tsp vanilla extract – The good stuff makes a difference here! I splurge on pure vanilla when I can.
See? Told you it was simple! These basic ingredients transform into something magical with just a little mixing and chilling. Now let’s get to the fun part – putting it all together!
How to Make Simple No Bake Desserts
Okay friends, let’s get mixing! I promise this is easier than making a sandwich – we’re just going layer by layer. The first time I made this, I couldn’t believe how professional it looked considering the minimal effort. Just follow these foolproof steps and you’ll have a crowd-pleaser in no time!
Preparing the Base
First, grab that bowl of graham cracker crumbs and dump in your melted butter. Use a fork to mix them together until it looks like wet sand – you want every crumb coated. Now here’s my secret: for the perfect crust, press it firmly into your dish using the bottom of a glass or measuring cup. Press around the edges first, then work your way to the center. If it’s not sticking together, add just a teaspoon more melted butter. Don’t worry about perfection – rustic is charming!
Making the Filling
Time for the creamy dreamy part! Toss your softened cream cheese, sugar and vanilla into a clean bowl. Now go to town with a hand mixer (or your muscles and a whisk) until it’s completely smooth – no lumps allowed! Scrape down the sides halfway through to catch any sneaky cream cheese chunks. Oh, and lick the beaters – that’s the cook’s treat! Pro tip: If your mixture looks too thick, add a tablespoon of milk to loosen it up. Just don’t go overboard or your filling won’t set properly.
Assembling and Chilling
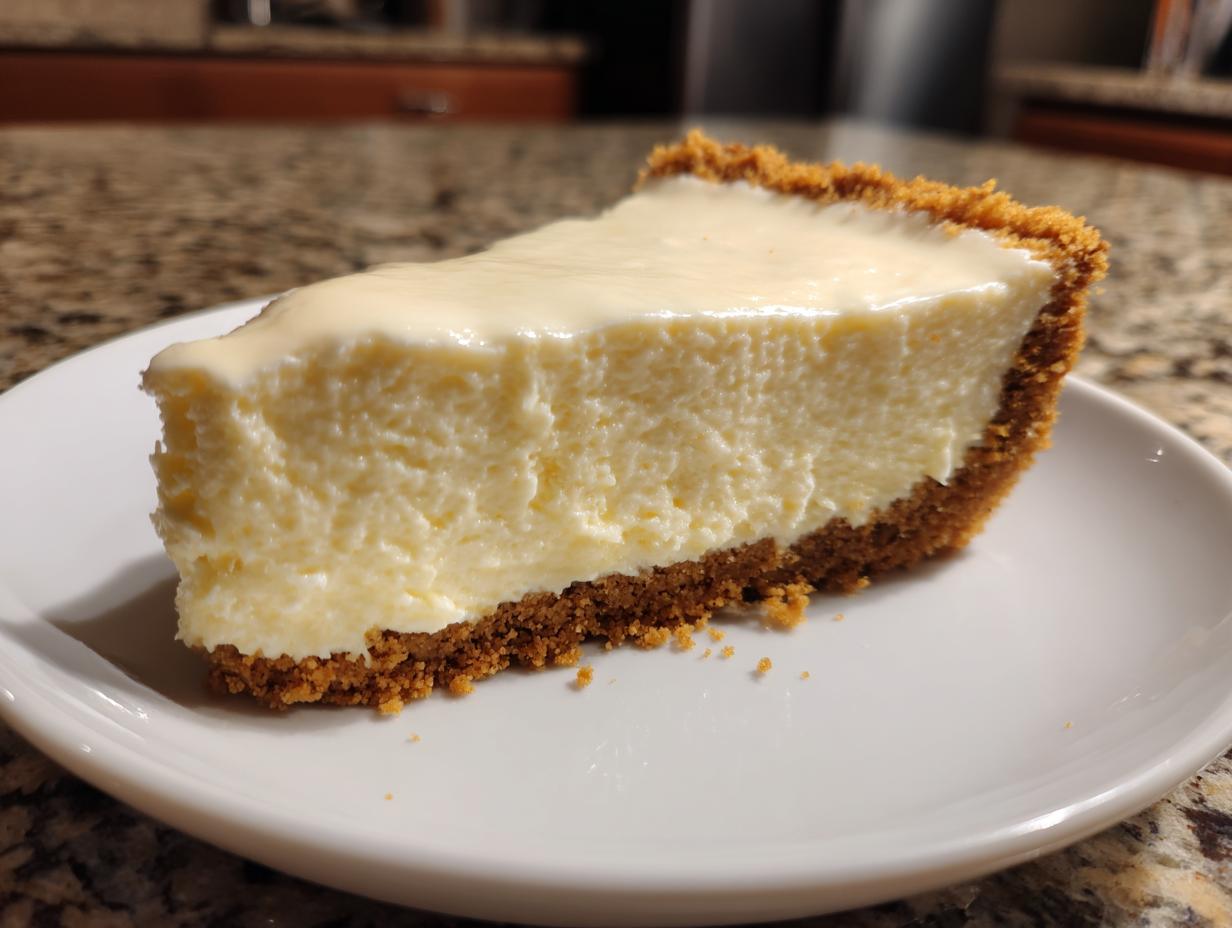
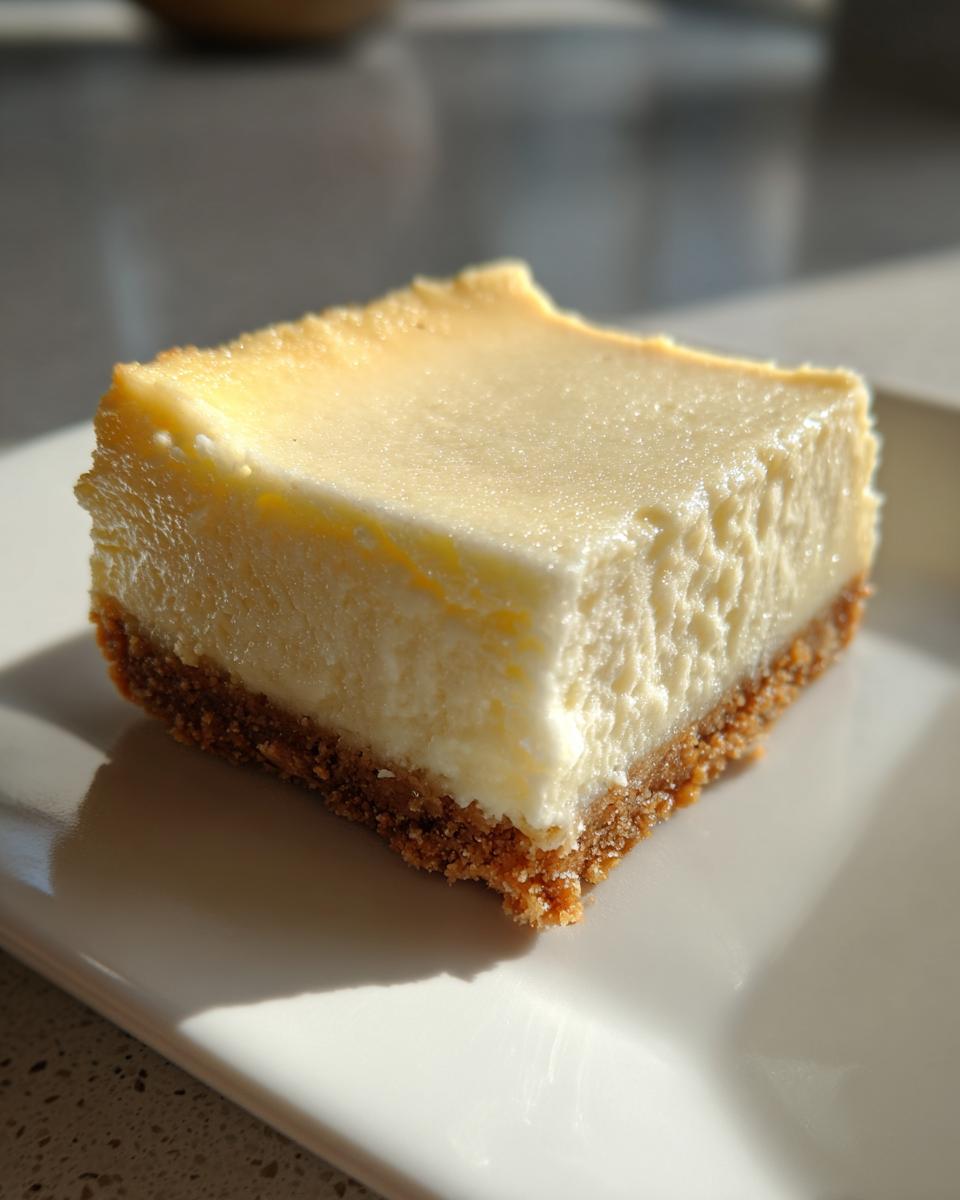
Now for the magic – spread that luscious filling over your crust using a spatula. Work from the center out to avoid pulling up the crumbs. Once it looks smooth as silk, cover it and pop it in the fridge. Here’s where patience comes in – it needs at least one hour to set, but two is better if you can wait. I know, I know, it’s hard! Try distracting yourself with this easy fruit-based recipe while you wait. When you pull it out, you’ll have the perfect creamy, crunchy dessert ready to wow everyone!
Tips for Perfect Simple No Bake Desserts
After making these no-bake treats more times than I can count (seriously, my friends beg me to bring them to every gathering), I’ve picked up some foolproof tricks that’ll take your dessert from good to “how did you make this so perfect?” Here’s what I’ve learned:
- Temperature matters! That cream cheese needs to be truly softened – leave it out for a good 30 minutes before mixing. Cold cream cheese equals lumpy filling, and nobody wants that.
- Press that crust like you mean it – Use something flat (I use the bottom of a glass) and really pack those crumbs down. A loose crust crumbles when you cut slices.
- Chill time isn’t optional – I know it’s tempting to dig in early, but that full hour (better yet, two) makes all the difference for clean slices.
- Add toppings last minute – Fresh berries or chocolate shavings stay prettier if you add them right before serving.
- Taste as you go – Adjust the sugar or vanilla to your liking before chilling. The flavors mellow a bit in the fridge.
My biggest tip? Have fun with it! These desserts are meant to be easy and stress-free. Even when mine don’t turn out picture-perfect (hello, lopsided filling!), they always disappear fast!
Variations for Simple No Bake Desserts
One of my favorite things about these no-bake treats is how easily you can dress them up or change them completely! Here are my go-to variations that always impress – each one takes the basic recipe in a delicious new direction. The best part? They’re all just as easy as the original!
Berry Bliss Variation
When summer berries are at their peak, I fold a cup of fresh raspberries or chopped strawberries right into the cream cheese filling. The tartness cuts through the sweetness perfectly! Sometimes I’ll even swirl in some berry jam before chilling for a marbled effect. Top with extra berries right before serving – it looks so fancy but takes zero extra effort. This is my favorite version for bridal showers and summer parties!
Chocolate Lover’s Dream
For my chocoholic friends (you know who you are!), I mix 1/4 cup cocoa powder into the filling and swap the graham crackers for crushed Oreos. The result? Pure chocolate heaven! Sometimes I’ll drizzle melted chocolate over the top or sprinkle with mini chocolate chips. If you’re feeling extra indulgent, check out this simple homemade dessert recipe for more chocolatey inspiration.
Tropical Vacation Version
When I’m craving sunshine flavors, I add 1/2 cup crushed pineapple (well drained!) to the filling and mix in a tablespoon of coconut extract instead of vanilla. Toasted coconut flakes on top transport me straight to the islands! This version is especially great with a gingersnap crust if you want to get fancy. My book club goes crazy for this tropical twist!
The possibilities are endless – lemon zest for brightness, peanut butter for richness, or even espresso powder for a grown-up kick. What will you try first? Half the fun is experimenting with your own creations!
Serving and Storing Simple No Bake Desserts
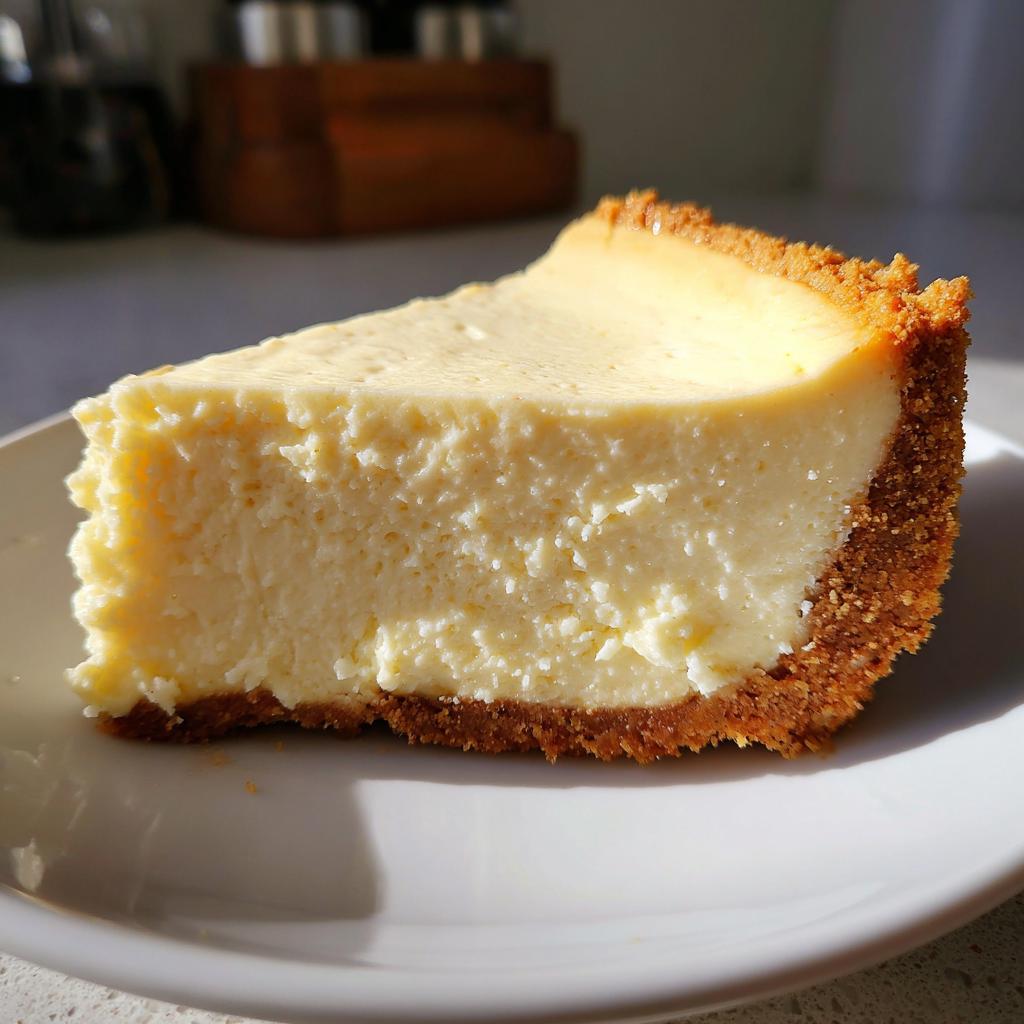
Now for the best part – serving up your masterpiece! I always take my no-bake desserts straight from the fridge and let them sit for about 5 minutes before slicing. That little rest makes cutting cleaner and lets the flavors shine. For special occasions, I’ll add fresh berries, a drizzle of chocolate, or even edible flowers right before serving – it makes such a difference in presentation!
As for storage, these treats keep beautifully in the fridge for up to 3 days – just cover them tightly with plastic wrap or store in an airtight container. The crust might soften slightly by day 3, but it’s still delicious! If you want to freeze them (yes, you can!), wrap individual slices tightly in plastic and then foil. They’ll keep for about a month frozen. Thaw overnight in the fridge when those sweet cravings hit – they taste just as fresh!
Nutritional Information
Okay, let’s chat nutrition real quick – but remember, I’m no dietitian! These numbers are just estimates based on typical ingredients. Your{item} might vary depending on brands or substitutions (I won’t judge if you use extra sugar!). The beauty of these simple no bake desserts is that they satisfy cravings without heating up your kitchen – sometimes that’s nourishment enough for the soul!
Frequently Asked Questions
Can I use a different crust for these simple no bake desserts?
Absolutely! The graham cracker crust is classic, but get creative – I’ve used everything from crushed Oreos (divine with chocolate filling) to vanilla wafers or even shortbread cookies. Just keep the same ratio of 1 cup crumbs to 1/4 cup melted butter. If you’re going gluten-free, almond flour mixed with a touch of honey works wonders too!
How long can I store no bake desserts in the fridge?
These babies keep beautifully for up to 3 days in the fridge – just make sure they’re covered tight so they don’t absorb other flavors. The crust might soften a bit by day 3, but it’s still delicious. Honestly though, mine never last that long whenever I bring them to gatherings!
Why is my filling lumpy?
Oh honey, I’ve been there! Nine times out of ten it’s because the cream cheese wasn’t soft enough. Next time, leave it out for a good 30 minutes before mixing. In a pinch, you can microwave it in 10-second bursts (just don’t let it melt!). Another trick – whip the cream cheese alone first until smooth, then add the other ingredients.
Can I make these desserts ahead of time?
That’s the beauty of them! These are perfect make-ahead treats. You can assemble them up to 24 hours before serving – just hold off on any fresh fruit toppings until the last minute. They actually taste better after chilling overnight as the flavors meld together beautifully toho.
Ready to Try These Simple No Bake Desserts?
What are you waiting for? Grab that cream cheese and let’s get mixing! I can’t wait to hear how yours turns out – trust me, once you taste that first creamy, crunchy bite, you’ll be hooked. Drop a comment below to tell me your favorite variation or snap a pic for me to see. Oh, and if this recipe saves your busy day like it has mine dozens of times, don’t forget to give it five stars! Happy no-baking, friends – may your treats be sweet and your kitchen stay cool!
Simple No Bake Desserts
Ingredients
Equipment
Method
- Mix graham cracker crumbs and melted butter in a bowl.
- Press the mixture into the bottom of a dish to form the base.
- In another bowl, beat cream cheese, sugar, and vanilla until smooth.
- Spread the filling over the base and refrigerate for at least 1 hour.