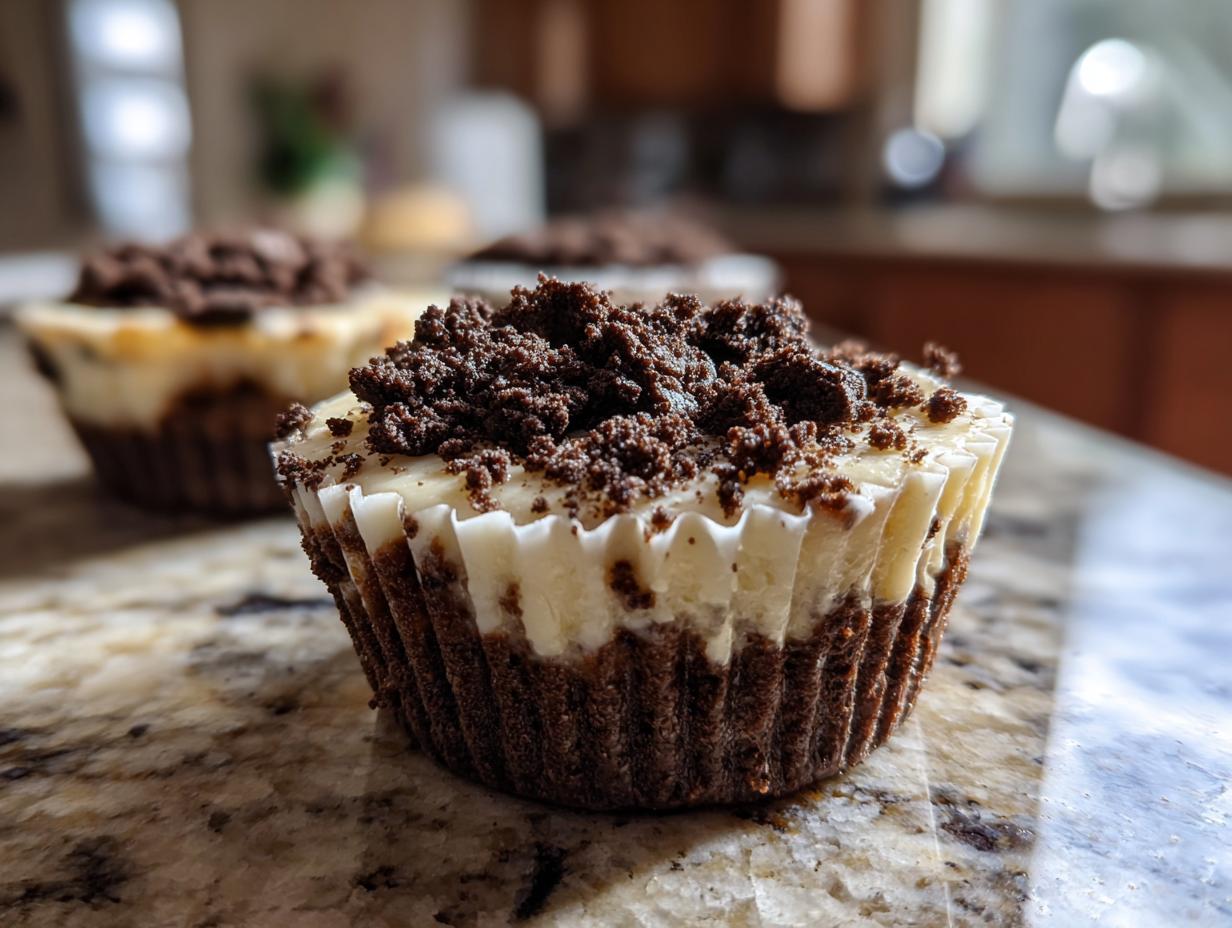
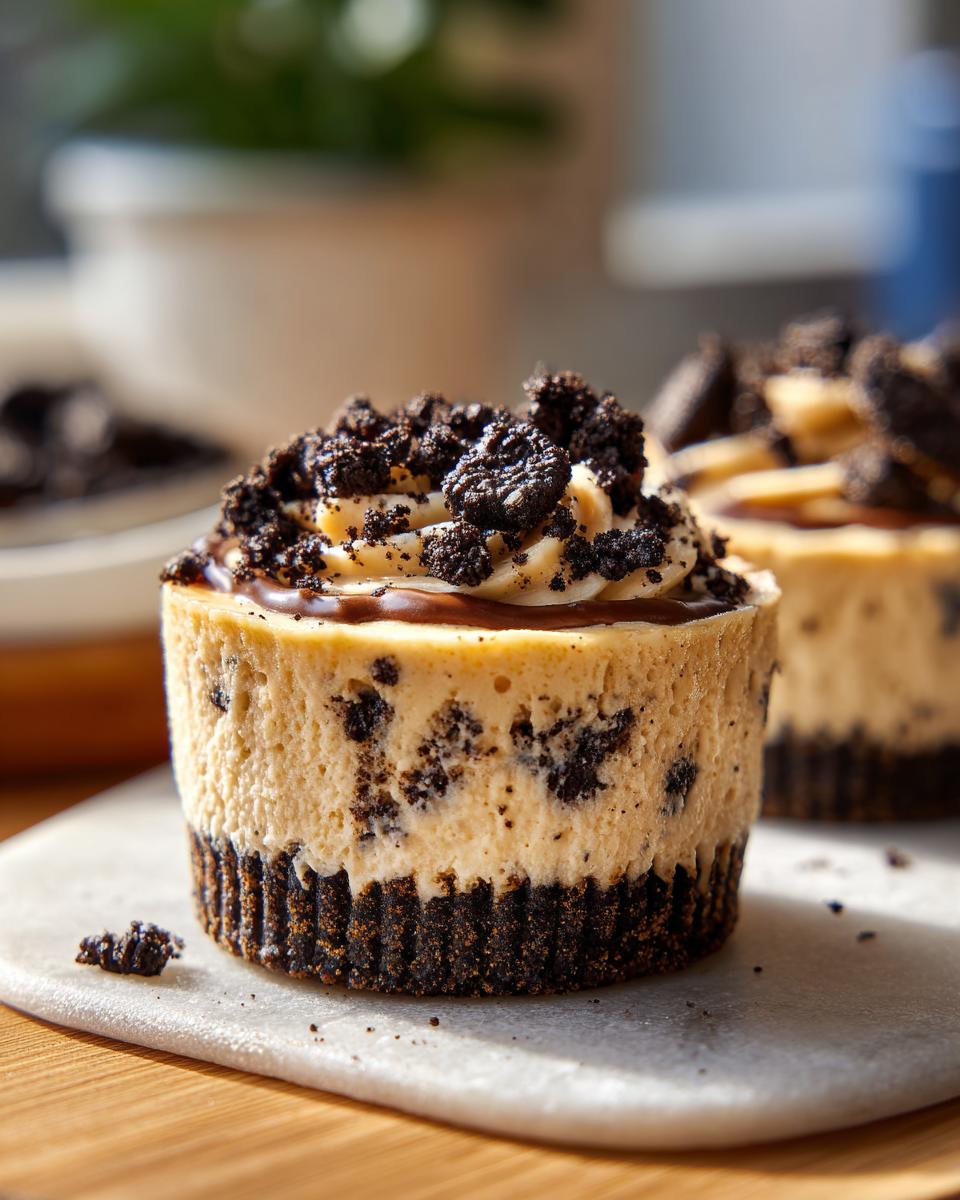
Oh, summer desserts—aren’t they just the best? When the heat hits, the last thing I want to do is turn on the oven. That’s why these Oreo cheesecake cups are my go-to! They’re creamy, dreamy, and ridiculously easy to throw together. I first made them for a last-minute BBQ, and now my family begs for them every summer. The best part? No baking required—just crush, mix, and chill. The Oreo crust gives that perfect crunch, while the fluffy cheesecake filling melts in your mouth. Trust me, these little cups disappear faster than ice cream on a hot day!
Why You’ll Love These Oreo Cheesecake Cups
Let me tell you why these little cups of joy became my summer obsession:
- No oven required – When it’s 90 degrees outside, the last thing you want is more heat in the kitchen. These set beautifully in the fridge while you relax by the pool.
- Ready in 20 minutes (plus chilling) – I’ve made these when surprise guests show up and they always think I spent hours. Our secret? Just mix and chill!
- Creamy dreamy texture – The whipped topping makes the filling so light it practically floats off the spoon. It’s like eating Oreo-flavored clouds.
- Summer perfection – Cool, refreshing, and portable. I take them to picnics in a cooler and they’re always the first dessert to disappear.
- Kid-approved magic – My niece calls them “cookie cups” and begs to help crush the Oreos. Pro tip: let them decorate with extra crumbs for extra fun!
If you’re looking for more no-bake summer treats, you’ll adore these peach dessert cups too – they’re like sunshine in a jar!
Ingredients for Oreo Cheesecake Cups
Okay, let’s gather our treasure for these no-bake wonders! I keep it simple with just two components – the crust and the filling. I promise you probably have most of this in your pantry right now. Here’s what you’ll need:
For the Crust:
- 24 Oreo cookies, divided (we’ll use some for garnish!)
- 3 tbsp melted butter – I use unsalted so I can control the sweetness
For the Filling:
- 8 oz cream cheese, softened (leave it on the counter for 30 minutes – trust me, this makes ALL the difference)
- 1/4 cup granulated sugar (I sometimes use powdered if I want ultra-smooth filling)
- 1 tsp vanilla extract – the good stuff if you’ve got it!
- 1 cup whipped topping (that’s Cool Whip to my Southern friends)
That’s it! Six simple ingredients for pure Oreo bliss. Don’t you love when delicious things come together this easily?
How to Make Oreo Cheesecake Cups
Let me walk you through making these bad boys – I’ve done it so many times I could do it in my sleep! The best part? You don’t need fancy equipment, just some elbow grease and a hungry sweet tooth. Here’s how we’ll do it:
1) Prep Your Muffin Tin
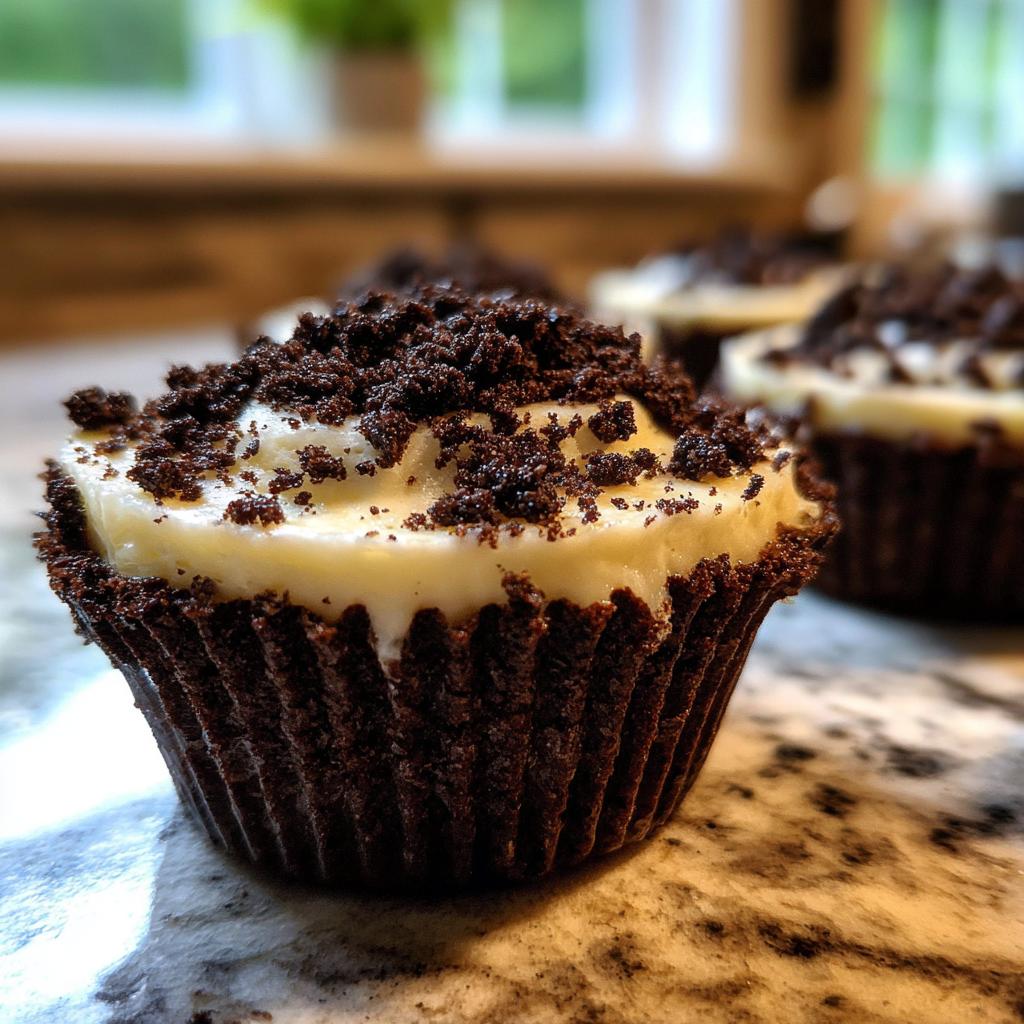
First things first – grab that muffin tin! I line mine with 12 cupcake liners. Pro tip: if you’re using foil liners, give them a quick spritz of cooking spray. Nobody likes stuck cheesecake filling!
2) Crush and Press the Oreo Crust
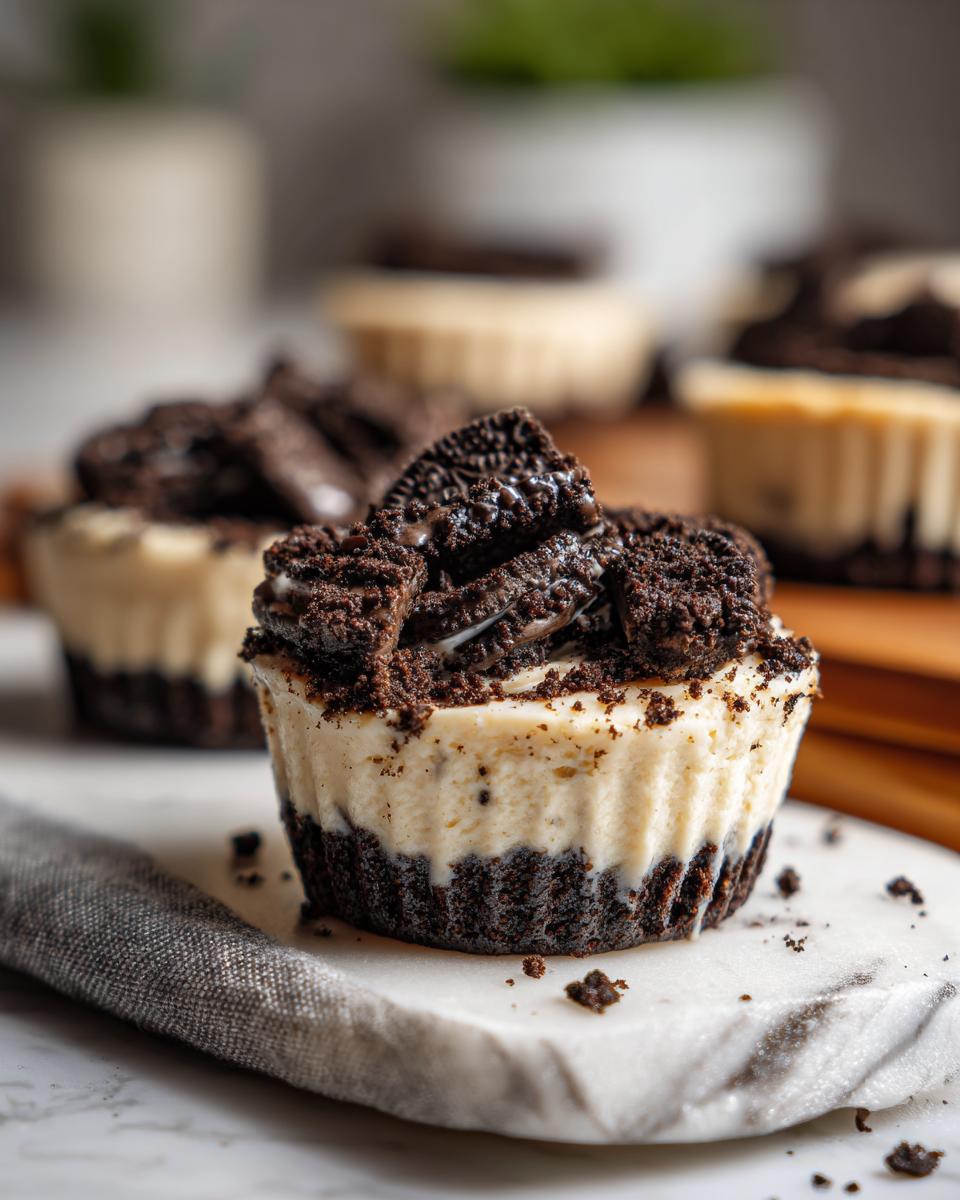
Now the fun part – take 18 Oreos and crush them into fine crumbs. I use a rolling pin because pounding out cookie aggression is therapeutic! Mix those crumbs with melted butter until it looks like wet sand. Press about 1.5 tbsp into each liner – I use the bottom of a shot glass to really pack it down tight. This gives you that perfect crumbly base.
3) Whip Up the Dreamy Filling
In your mixer (or by hand if you’re feeling strong!), beat the cream cheese until it’s smooth as silk. Add sugar and vanilla, then fold in the whipped topping gently. I’ll let you in on a secret – if you want extra fluffy filling, beat the cream cheese alone first, then add the rest. The difference is incredible!
4) Assemble with Love
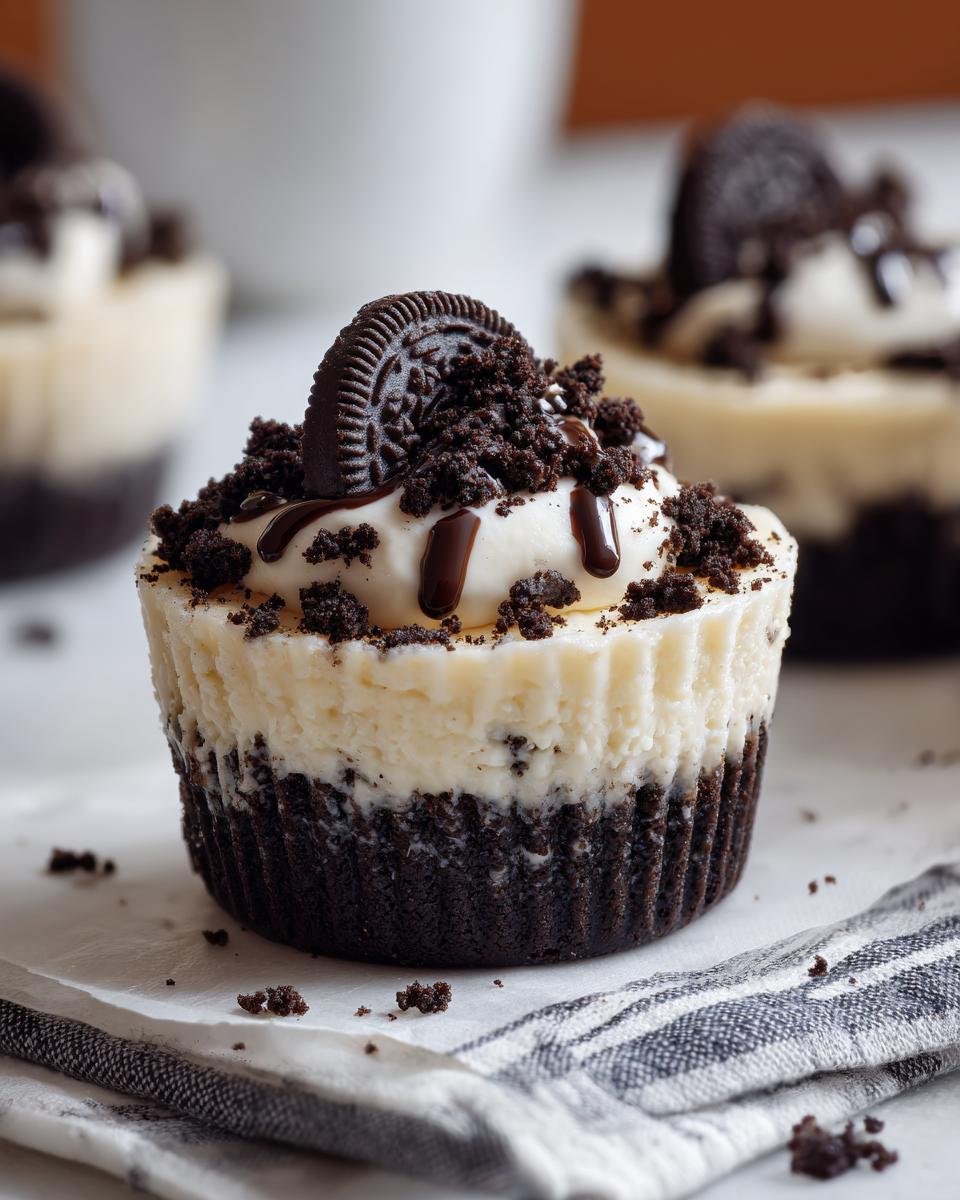
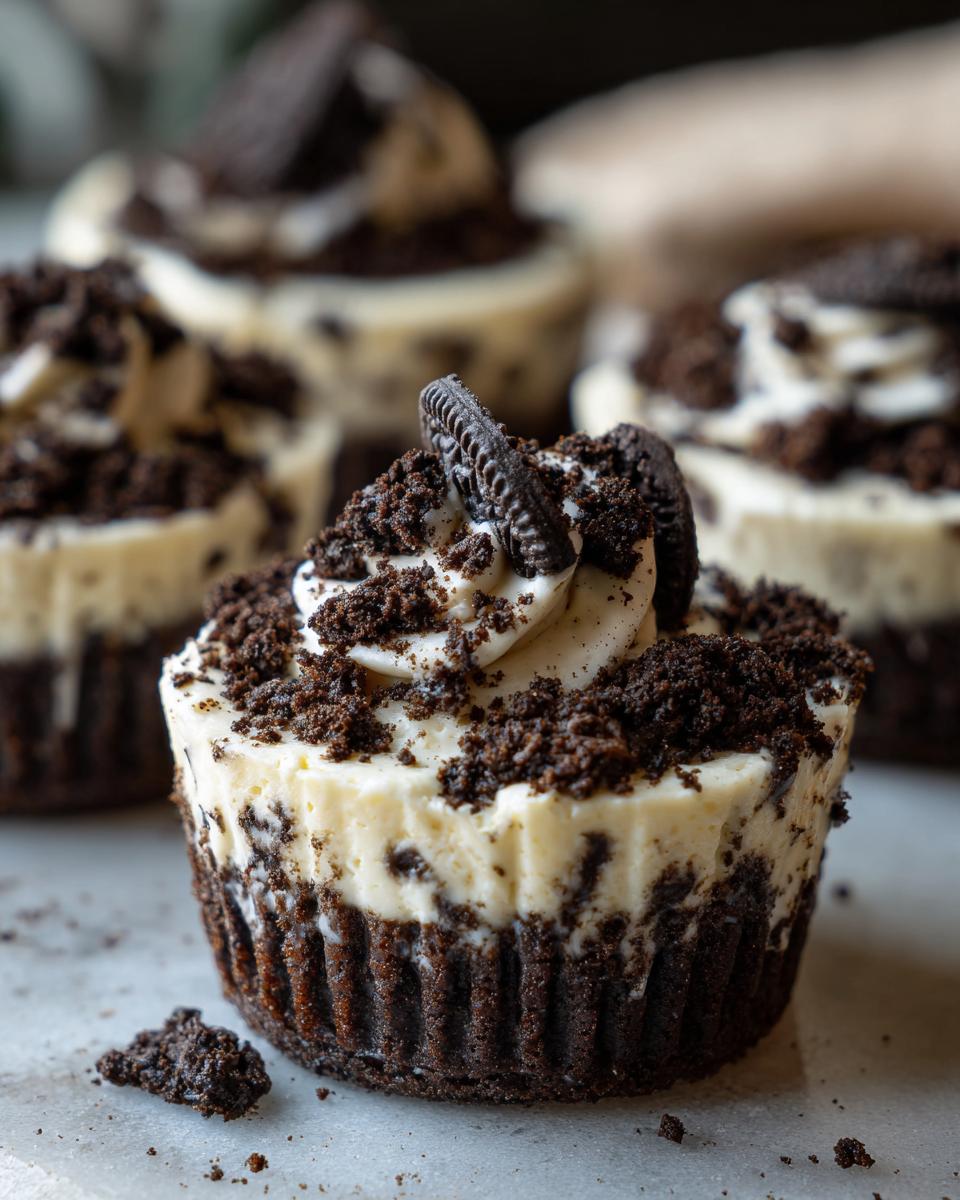
Spoon that cloud-like filling over your crusts, dividing evenly. Now take those remaining 6 Oreos and crush them – leave some bigger chunks for texture! Sprinkle generously over the tops. I like to press a whole Oreo half into each cup too, because why not?
5) Chill Out (Literally)
Pop them in the fridge for at least 2 hours. I know it’s tempting, but trust me – waiting makes them set up perfectly. For firmer texture like I prefer, throw them in the freezer for 30 minutes before serving. They’ll hold their shape wonderfully if you’re transporting them to a summer picnic!
Want another super easy no-bake idea? These mini custard dessert cups use the same technique but with vanilla wafer crumbs – heavenly!
Tips for Perfect Oreo Cheesecake Cups
After making these Oreo cheesecake cups more times than I can count, I’ve picked up some tricks that take them from good to “oh-my-goodness-gimme-another” amazing. First, that cream cheese must be room temperature—I leave mine out for a good 30 minutes before starting. Cold cream cheese leaves lumps no matter how long you beat it, and we want that filling silky smooth!
When crushing the Oreos, I go for a mix of textures—mostly fine crumbs for the crust, but leave some bigger chunks for the topping. It gives that satisfying crunch with every bite. And here’s my secret weapon: I always save a few whole Oreos to press into the tops right before serving. It makes them look bakery-worthy with zero effort.
Want to get fancy? Drizzle melted chocolate over the tops or add a dollop of whipped cream. My nephew loves when I sprinkle mini chocolate chips on his. The possibilities are endless—that’s the beauty of these little cups!
Storage and Make-Ahead Tips
Here’s the best part about these Oreo cheesecake cups – they’re practically made for busy schedules! I always make an extra batch because they keep beautifully in the fridge for up to 3 days (if they last that long in your house). Just cover them tightly with plastic wrap so they don’t pick up any fridge smells.
For longer storage, pop them in the freezer for up to a month. I freeze them uncovered first until solid, then transfer to an airtight container with parchment between layers. When you’re ready to serve, just move them to the fridge for about an hour to thaw perfectly.
These are my secret weapon for parties – I make them the night before and wake up to dessert already done. No last-minute baking stress, just grab-and-go deliciousness!
Nutritional Information
Now, I’m no nutritionist, but here’s the scoop on what’s in these delightful Oreo cheesecake cups! Remember, these values are estimates – they’ll vary depending on your exact ingredients. (I mean, if you go wild with extra Oreo toppings like I sometimes do, those numbers will climb!)
Per serving (one delicious cup):
- 210 calories – totally worth every one!
- 14g fat (8g saturated) – hey, cream cheese and Oreos aren’t diet foods, but they’re soul foods
- 20g carbs – mostly from those irresistible Oreo cookies
- 2g protein – consider it a bonus!
These are approximate, but let’s be real – when something tastes this good, who’s counting? Just enjoy every creamy, crunchy bite!
FAQs About Oreo Cheesecake Cups
I get so many questions about these Oreo cheesecake cups – let me answer the ones that pop up most often! After making these dozens of times (and fielding texts from friends asking “how did you…”), I’ve got all the solutions.
Can I use homemade whipped cream instead of Cool Whip?
Absolutely! I’ve done both, and while Cool Whip gives that classic stable texture, fresh whipped cream tastes amazing. Just whip 1 cup heavy cream with 2 tbsp powdered sugar until stiff peaks form. Fold it in gently – the filling will be lighter but just as delicious. Keep them extra chilled though, as homemade whips soften faster.
How can I make these gluten-free?
Easy swap! Use gluten-free chocolate sandwich cookies (I like Glutino or K-Toos) instead of Oreos. Everything else in the recipe is naturally gluten-free. My gluten-sensitive cousin couldn’t tell the difference when I made them this way!
Can I double this recipe for a crowd?
Please do! I’ve quadrupled it for summer potlucks – just use two muffin tins. The filling might take longer to mix evenly, so pause to scrape the bowl often. Pro tip: crush extra Oreos for topping since everyone goes crazy for that crunchy garnish.
Why did my filling turn out lumpy?
Ah, the cream cheese wasn’t soft enough, was it? Been there! Next time, leave it out until it’s practically spreadable – about 30-45 minutes depending on your kitchen temp. If you’re in a hurry, microwave it for 10-second bursts (unwrapped!) until soft but not melted.
Looking for more stress-free sweets? These simple no-bake desserts are just as easy and equally crowd-pleasing!
More No-Bake Desserts to Try
Once you’ve fallen in love with these Oreo cheesecake cups (and trust me, you will!), you’ve gotta try these other no-bake wonders from my recipe box. They’re all just as easy and perfect for those “too hot to bake” days!
First up, these mini pavlova nests – crispy meringue shells filled with whipped cream and fresh berries. They look fancy but take 15 minutes to assemble. Perfect for bridal showers or when you want to impress!
And oh my goodness, the tropical pineapple jars taste like vacation in a glass. Layers of crushed vanilla wafers, coconut pudding, and pineapple – I make these for every summer potluck. They disappear faster than sunscreen at the beach!
See? No-bake desserts don’t mean boring desserts. Whether you’re craving chocolate, fruit, or something in between, there’s always a cool, creamy option waiting for you!
Oreo No-Bake Cheesecake Cups
Ingredients
Equipment
Method
- Line a muffin tin with 12 cupcake liners.
- Crush 18 Oreo cookies into fine crumbs. Mix with melted butter and press into the bottom of each liner.
- Beat cream cheese, sugar, and vanilla until smooth. Fold in whipped topping.
- Spoon the filling over the crusts. Crush remaining Oreos and sprinkle on top.
- Refrigerate for at least 2 hours before serving.