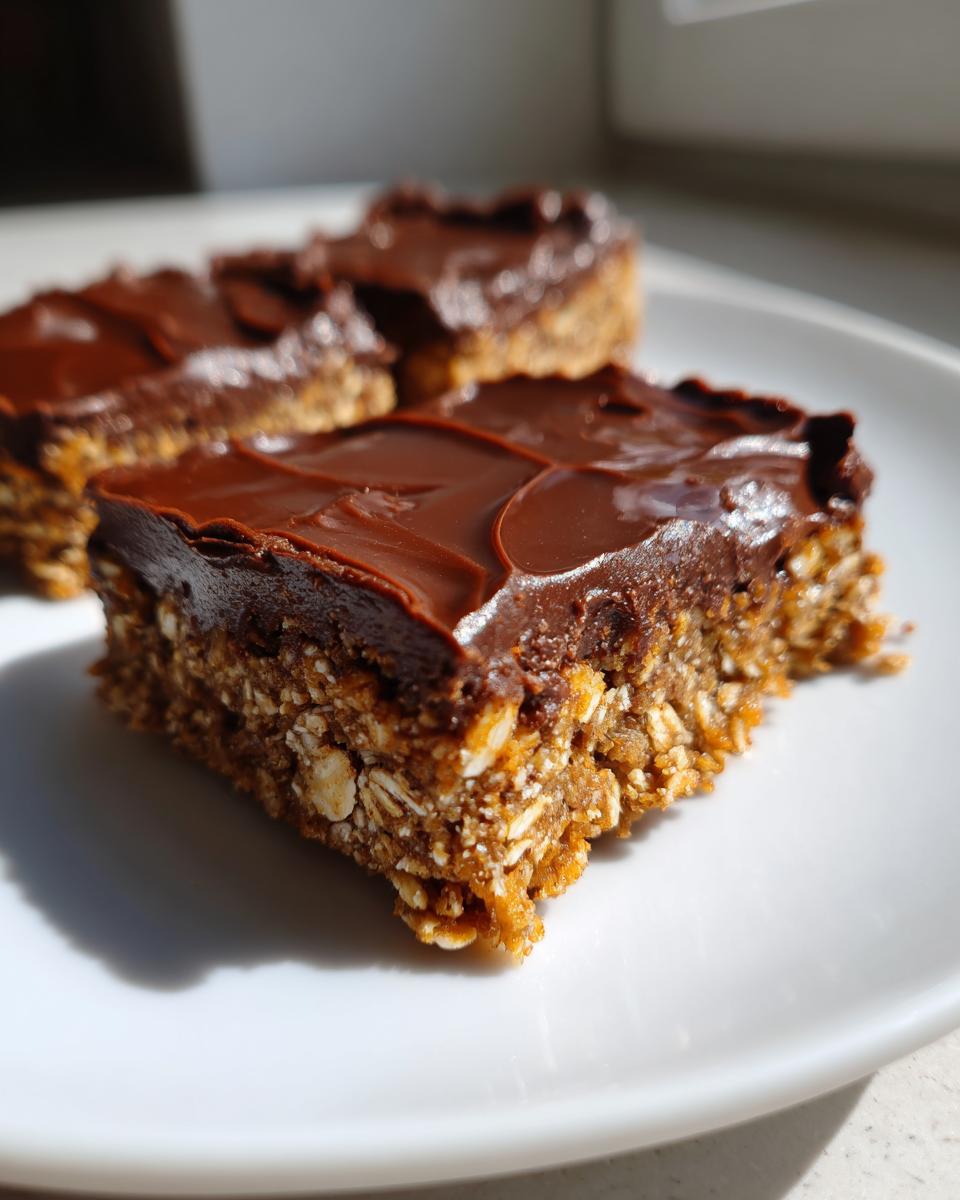
Have you ever had one of those days where you’re craving something sweet, but turning on the oven feels like a mountain of work? That’s when these no-bake chocolate oat bars become my kitchen superheroes! I first made these when my kids had a last-minute bake sale – we needed something quick, foolproof, and delicious. Fifteen minutes and just one bowl later, we had the perfect chewy, chocolatey treats. What I love most (besides not heating up the kitchen in summer!) is how flexible they are. No mixer, no fancy equipment – just a pan, a spoon, and hungry hands ready to press that oat mixture into shape.
Why You'll Love These No Bake Dessert Ideas Easy
Honestly, these chocolate oat bars are my go-to when life gets chaotic – and here's why they'll become yours too:
- Zero oven time means no sweating over a hot stove (perfect for heatwaves or kitchen-challenged folks!)
- From mixing to munching in about 15 minutes flat – faster than a pizza delivery
- Kids go crazy for pressing the oat layer and licking that chocolate spoon (my secret for keeping them entertained while I make dinner)
- Uses ingredients I bet you have right now – oats, peanut butter, that half-bag of chocolate chips in your pantry
Trust me, these disappear faster than I can make them – every single time.
Ingredients for No Bake Chocolate Oat Bars
One of my favorite things about these bars? You probably have everything you need already! Here’s what makes them magic:
For the Base
- 2 cups rolled oats – Not instant! The old-fashioned kind gives that perfect chewy texture. (Psst – if you love oats like I do, check out my no-bake granola bites too!)
- 1/2 cup peanut butter – Creamy or crunchy – I’ve used both and they’re equally delicious. Almond butter works great too if you’re feeling fancy.
- 1/3 cup honey – Maple syrup works beautifully if you’re out of honey – just adds a slightly deeper flavor.
For the Topping
- 1 cup chocolate chips – Semi-sweet is my go-to, but milk chocolate makes these extra kid-friendly.
- 1/4 cup milk – Any kind! I’ve used everything from whole milk to almond milk in a pinch.
See? Nothing weird or complicated – just pantry staples turning into something amazing. The best part is you can tweak these based on what’s in your kitchen right now!
How to Make No Bake Dessert Ideas Easy
Alright, let’s get to the fun part – making these no-bake chocolate oat bars! I promise it’s so simple you could do it half-asleep (I know, because I have!). Here’s how the magic happens:
Step 1: Prep Your Pan
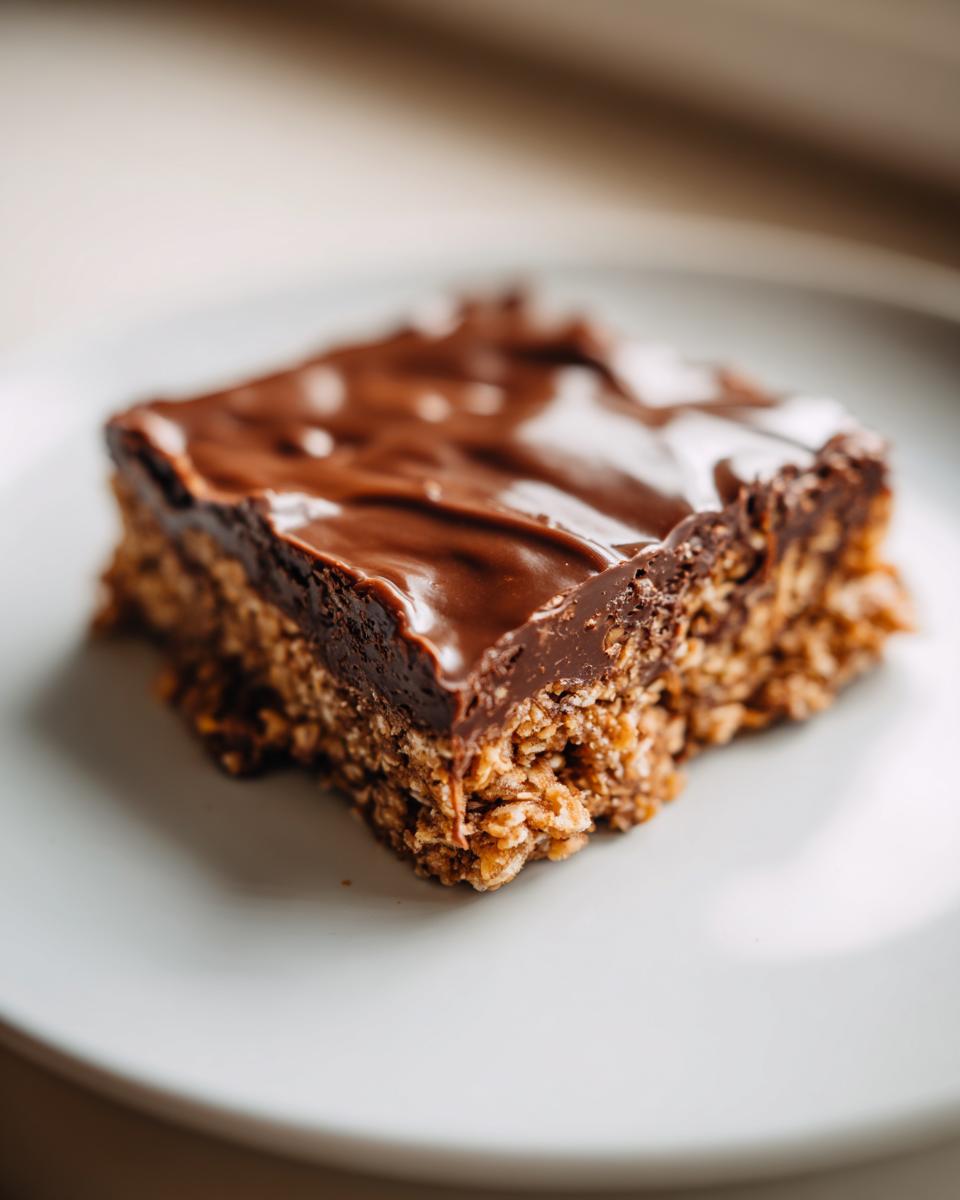
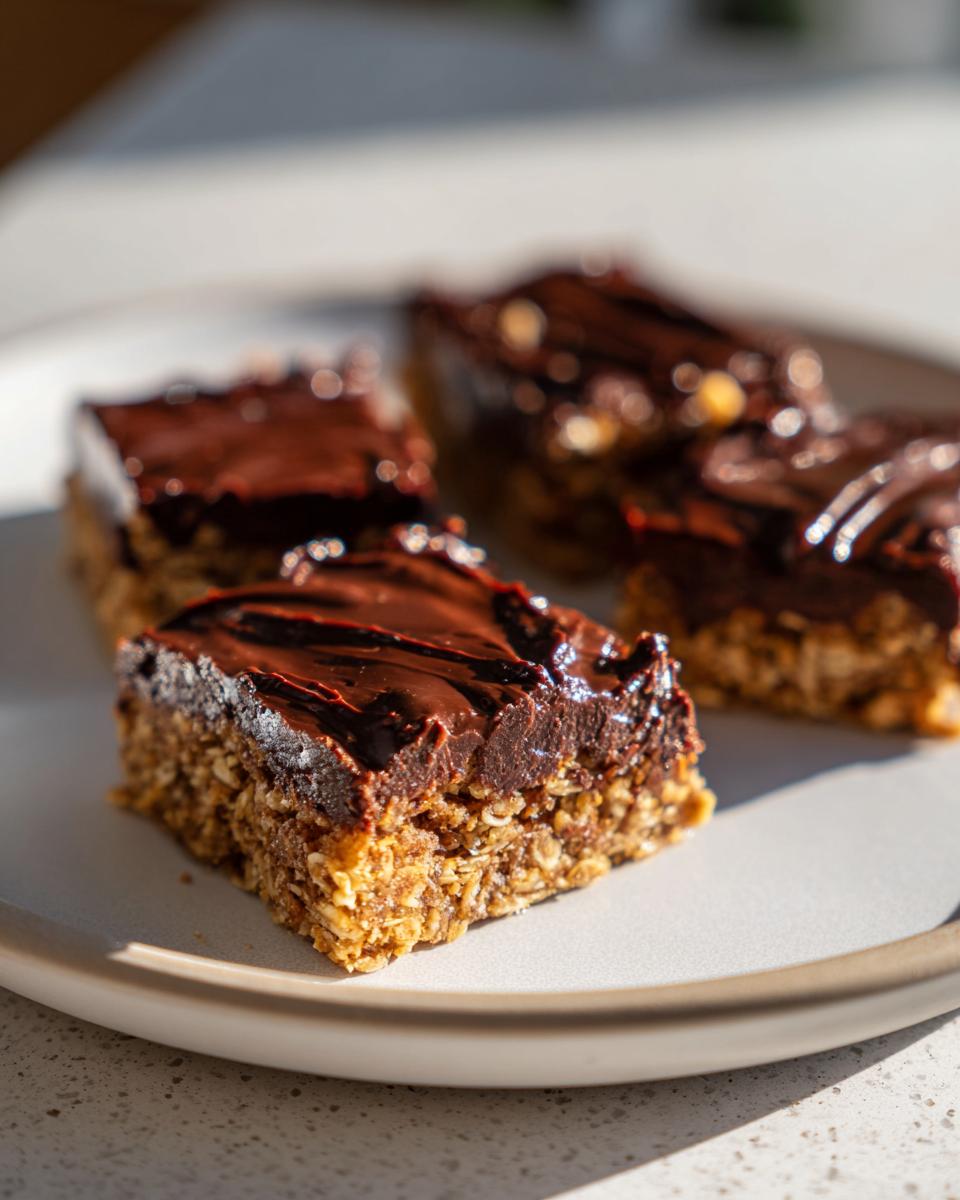
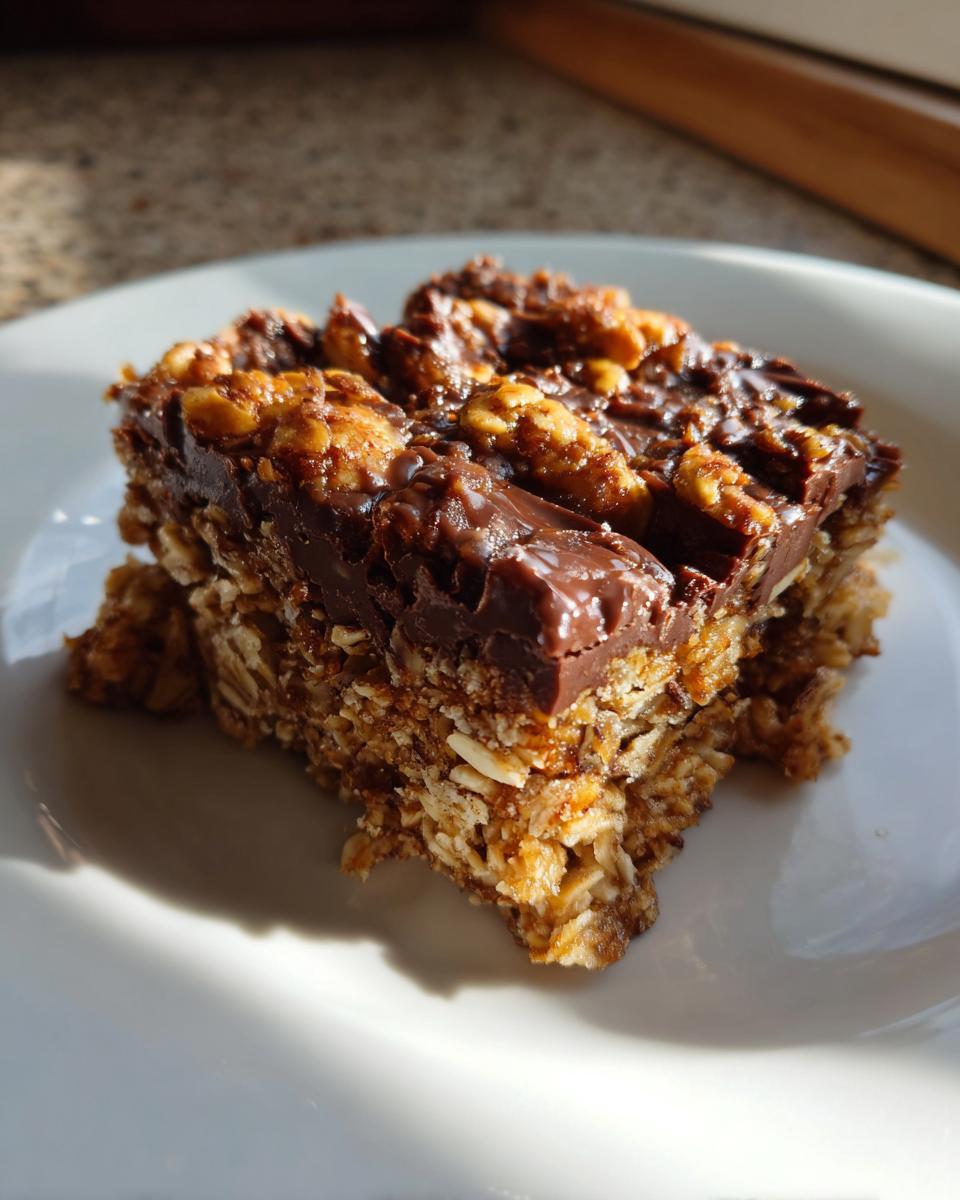
First, grab that 8×8 inch pan. Here’s where I learned my lesson: skip lining the pan and you’ll be chiseling bars out with a butter knife! I take a moment to line mine with parchment paper so the bars lift out in one glorious chocolatey slab.
Step 2: Mix the Base
Just toss everything in a bowl – oats, peanut butter, honey – and stir like you mean it! This is my favorite part because the mixture starts out looking impossible until suddenly – boom – it all comes together into this sticky, glorious mess.
Step 3: Press It Down
Now the secret to perfect texture: PRESS FIRMLY. I mean it – really squish that mixture into every corner. Those first few times I didn’t press hard enough? Crumbly disaster. Use the bottom of a cup or your clean hands (kids love this job!).
Step 4: Melt the Chocolate Topping
Here’s where things get magical. Microwave the chips and milk in 30-second bursts, stirring between each, until it’s velvety smooth. Gotta watch it – chocolate burns faster than a marshmallow at camp! Pour it over your oat base and spread it like you’re frosting the simplest cake ever.

Step 5: Chill Out
Now the hardest part – waiting! Pop it in the fridge for at least an hour. I know, I know… but trust me, that wait makes all the difference between bars that hold together and chocolate oat soup!
Pro Tip for Perfect Bars
Leave parchment paper hanging over the pan’s edges – makes lifting out the whole slab for clean cuts a breeze!
Variations for Your No Bake Dessert Ideas Easy
Oh, the fun part! These bars are like a blank canvas – here’s how I’ve mixed them up over the years:
- Nut butter swap: Almond butter gives a lovely subtle flavor, or try sunflower seed butter for nut-free schools (been there!)
- Chocolate upgrade: Dark chocolate chips make these feel fancy – my husband swears 70% cocoa is the magic number
- Tropical twist: Toss in a handful of shredded coconut with the oats – tastes like a Mounds bar had babies with granola
The best part? No baking means you can taste-test your creations immediately – not that I’d know anything about that…
How to Store No Bake Chocolate Oat Bars
Here’s my foolproof system for keeping these bars fresh (because let’s be real – they rarely last long enough to worry about storage!). Pop them in an airtight container – my trusty glass snap-lock works perfectly – and they’ll stay delicious in the fridge for about 5 days. For longer storage (like when I make a double batch for busy weeks), I freeze them up to a month wrapped in parchment paper. Just thaw overnight in the fridge and they’re as good as fresh!
Nutritional Information
Let’s be real – we’re not eating chocolate oat bars for their nutritional merits! But since you asked (or maybe your conscience did), here’s the deal: these treats pack oats and peanut butter for some protein, but let’s not kid ourselves – that chocolate topping is pure joy. Nutritional values swing wildly based on your ingredients – natural peanut butter vs. conventional, dark chocolate vs. milk, etc. This is just a friendly estimate, not medical advice. My philosophy? Everything in moderation – including moderation! Now go enjoy that bar without guilt.
Frequently Asked Questions
Can I use quick oats?
You can, but the texture won’t be quite as chewy! Quick oats absorb more moisture, so your bars might be a bit denser. If that’s all you’ve got, just reduce the honey by a tablespoon or so to compensate. My kids actually prefer the softer texture with quick oats – more like a chocolatey oatmeal cookie!
Are these gluten-free?
Almost! Just make sure your oats are certified gluten-free (regular oats often get cross-contaminated). Everything else in the recipe is naturally gluten-free. I’ve made these for my gluten-sensitive friends dozens of times – they’re always thrilled to find a dessert they can actually eat!
Can I skip the peanut butter?
Absolutely! Sunflower seed butter works great for nut-free versions (school-safe!). If you’re not avoiding nuts, almond butter is delicious too. No nut butters at all? Try melted coconut oil mixed with a bit more honey – the texture will be different but still tasty. Honestly, I’ve experimented with all sorts of substitutions – that’s the beauty of no-bake recipes!
More No Bake Dessert Ideas Easy to Try
Loved these chocolate oat bars? Wait till you try my raspberry cheesecake cups – just as easy but fancy enough for date night! Tag me @QuickRecipes with your creations – I live for seeing your kitchen adventures. And hey, if you tweaked the recipe in some genius way? Drop a comment below so we can all steal your brilliant ideas!
No-Bake Chocolate Oat Bars
Ingredients
Equipment
Method
- Line an 8×8 inch baking pan with parchment paper.
- In a mixing bowl, combine oats, peanut butter, and honey. Press the mixture firmly into the pan.
- Melt chocolate chips with milk in a microwave or double boiler. Pour over the oat base.
- Refrigerate for at least 1 hour before cutting into bars.