You know those little moments when you need just a bite of something sweet, but you don’t want a whole slice of pie? That’s when my mini hand pies recipe comes to the rescue. I’ve been making these flaky little pockets of joy since my kids were toddlers—they’d go crazy for the golden crust and the surprise pop of jam inside. These days, they’re still my go-to when I need a quick dessert for book club or want to pack something special in lunchboxes. The beauty of this recipe is how the buttery crust shatters perfectly to reveal whatever sweet filling you’ve tucked inside. I’ve lost count of how many church bake sales I’ve brought these to, and every time, the tray comes home empty!
Why You’ll Love This Mini Hand Pies Recipe
Oh my goodness, where do I begin? These mini hand pies have been my secret weapon for years when I need something delicious fast. Here’s why they’ll become your new favorite too:
- Faster than ordering takeout – From fridge to table in under an hour? Yes please! I’ve made these while my tea kettle boils.
- Endless filling possibilities – Last week I used peach preserves from my aunt’s farm, but honestly, whatever jam’s lurking in your fridge works.
- Portable perfection – I toss these in lunchboxes, picnic baskets, even my purse (don’t tell anyone about the powdered sugar incident).
- Party superstars – Arrange them on a platter at your next gathering and watch them disappear faster than you can say “seconds please!”
I stumbled upon this method when I needed to use up some leftover dough and jam – now it’s my most requested easy dessert recipe. The way the buttery crust complements both sweet and savory fillings still amazes me every time.
Ingredients for Mini Hand Pies
Alright, let’s gather our goodies! One of the best things about this mini hand pies recipe is how simple the ingredient list is. I bet you’ve got most of these in your kitchen right now. Just remember – quality matters here, especially with the butter. Don’t skimp on that!
For the Dough
This is where the magic starts. That flaky, buttery crust? It all comes down to two things: cold butter and not overworking the dough. Trust me, I learned that the hard way after a few tough batches early on!
- 2½ cups all-purpose flour – Spoon and level it, don’t scoop!
- 1 teaspoon salt – Just regular table salt works fine
- 1 cup unsalted butter – Cold and cubed (I pop mine in the freezer for 15 minutes before using)
- 6 tablespoons ice water – Seriously, make sure it’s icy cold
For the Filling
Now for the fun part – the filling! My grandma always used her homemade blackberry jam, but honestly, any good-quality jam works. The lemon juice is my secret weapon against overly sweet fillings.
- 1 cup fruit jam – Your favorite flavor (I’m partial to raspberry or apricot)
- 1 tablespoon lemon juice – Fresh squeezed if you can
- 1 tablespoon cornstarch – This keeps the filling from becoming a runny mess
Feeling adventurous? Skip the sweet stuff and try savory fillings – my husband goes crazy when I use sharp cheddar and diced apples. The dough works beautifully with both!
How to Make Mini Hand Pies
Okay, let’s get our hands floury! Making these mini hand pies is easier than you think – I promise. The first time I tried, I was convinced I’d mess up the dough, but now I can practically make them with my eyes closed (though I don’t recommend that – flour in the eyes is no joke). Follow these steps and you’ll have golden, flaky pies ready before you know it!
Preparing the Dough
Here’s where patience pays off. Grab your biggest bowl and toss in the flour and salt – give it a quick whisk to combine. Now for the fun part: cutting in the butter. I use my trusty pastry cutter, but two knives work in a pinch. You want pea-sized butter chunks throughout – those little pockets are what create that amazing flakiness. Slowly drizzle in the ice water while gently mixing until the dough just comes together. Don’t overdo it! Form it into a disk, wrap it up, and pop it in the fridge for at least 30 minutes. This chill time is non-negotiable – it makes rolling so much easier.
Assembling the Pies
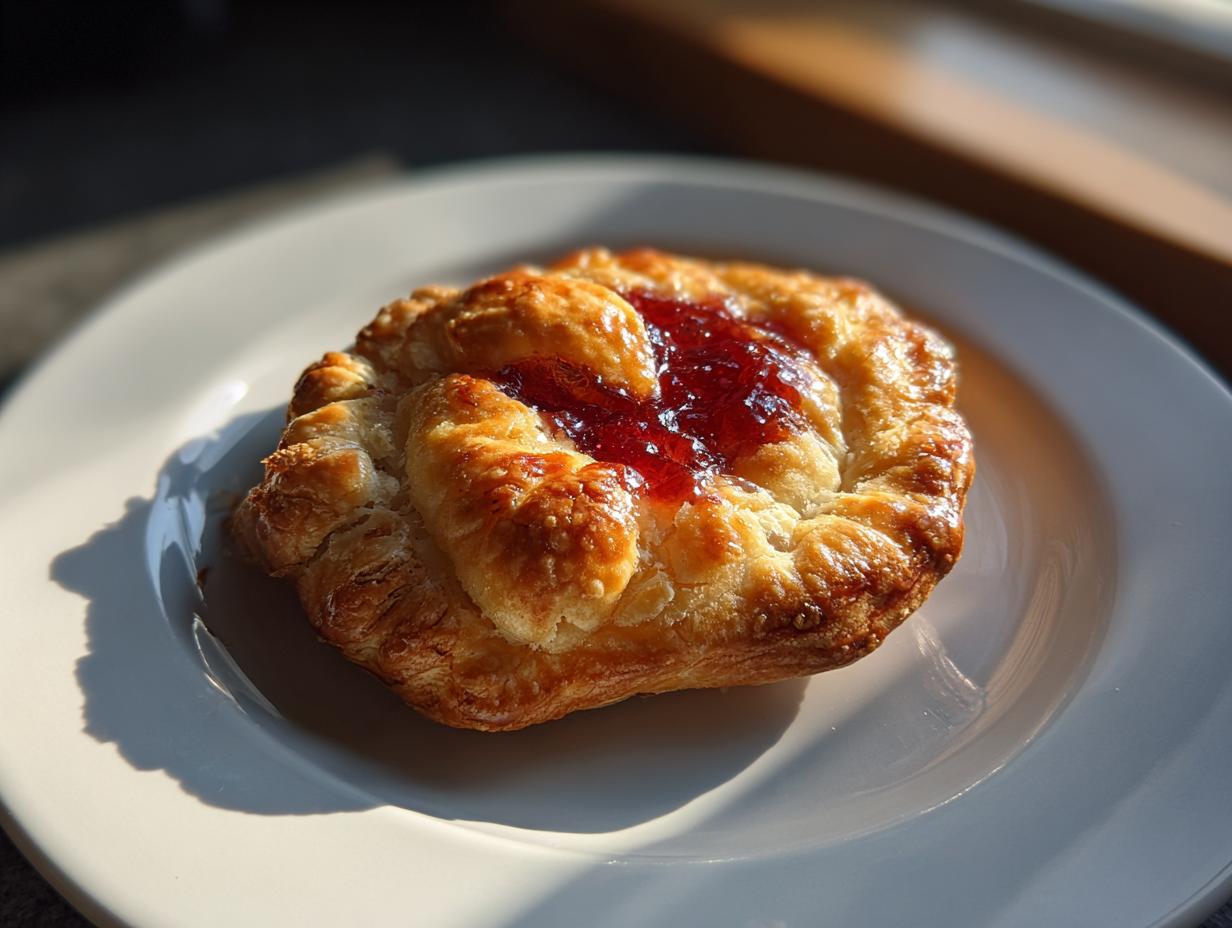
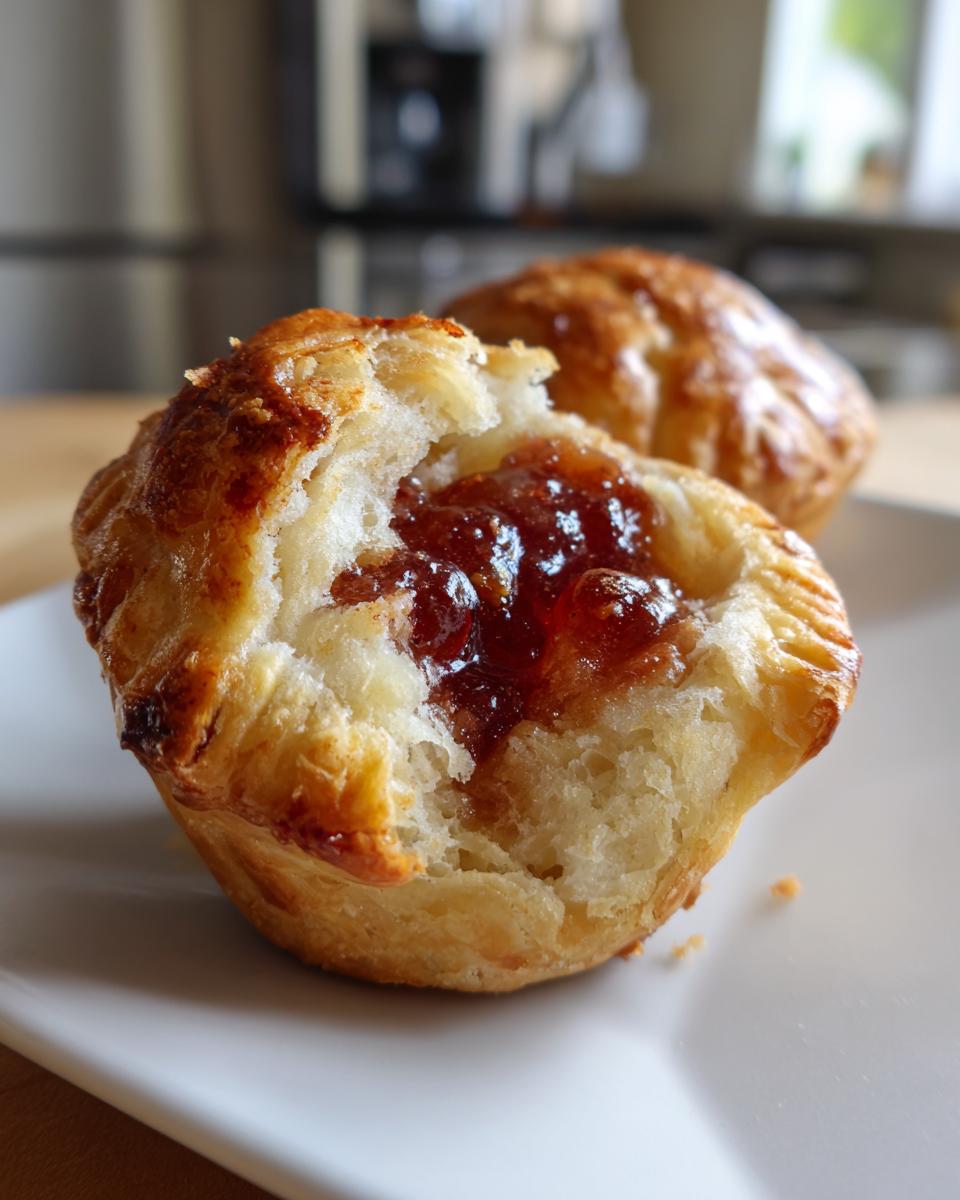
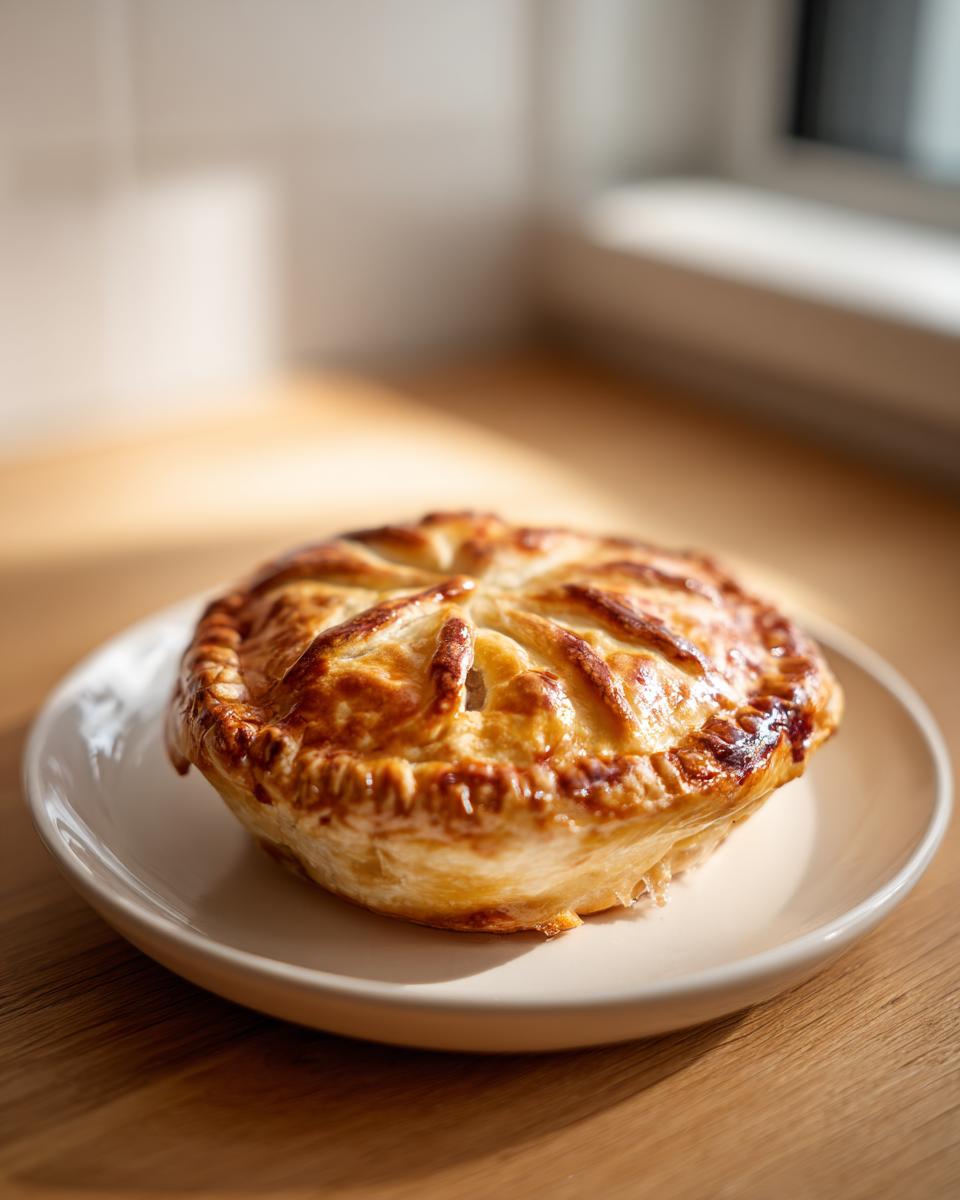
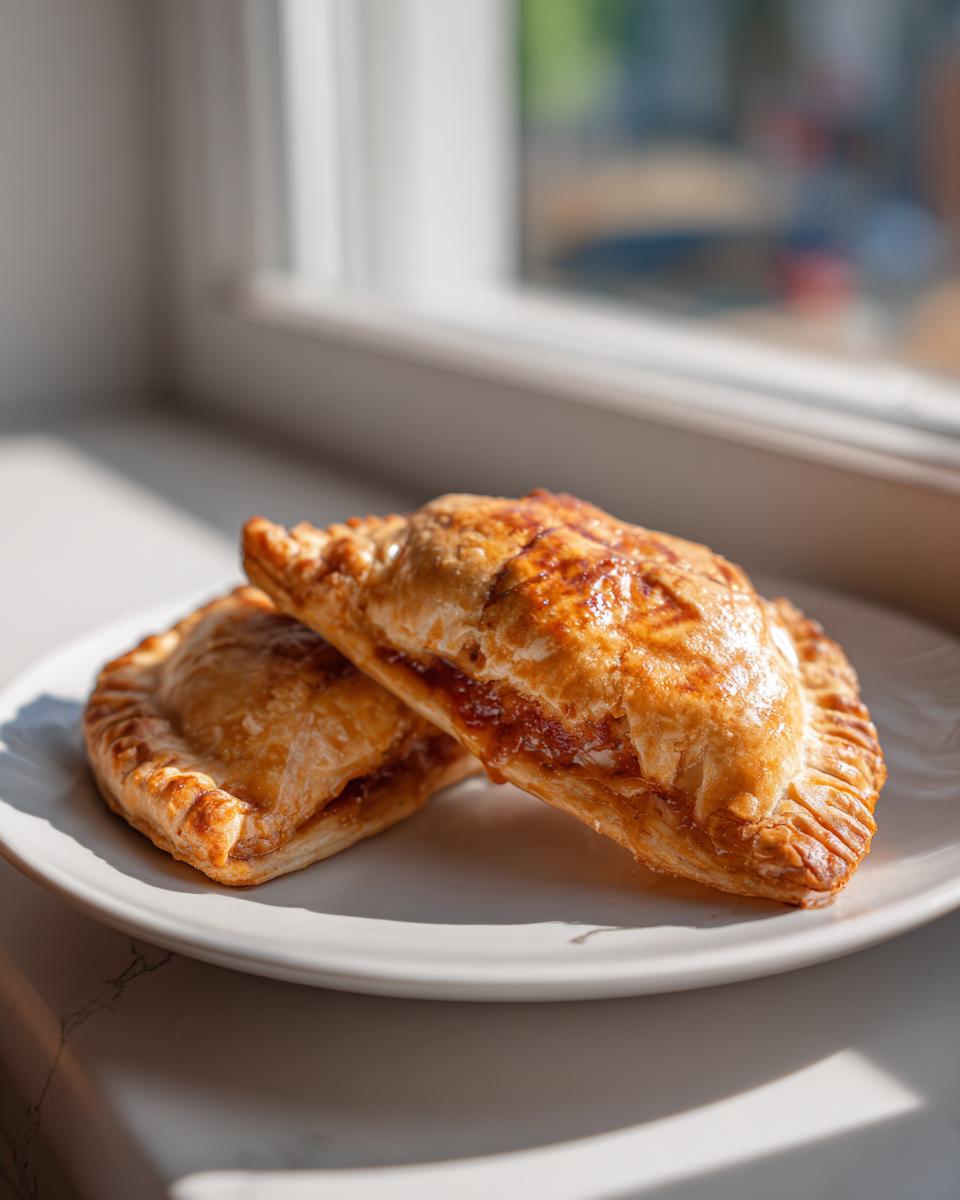
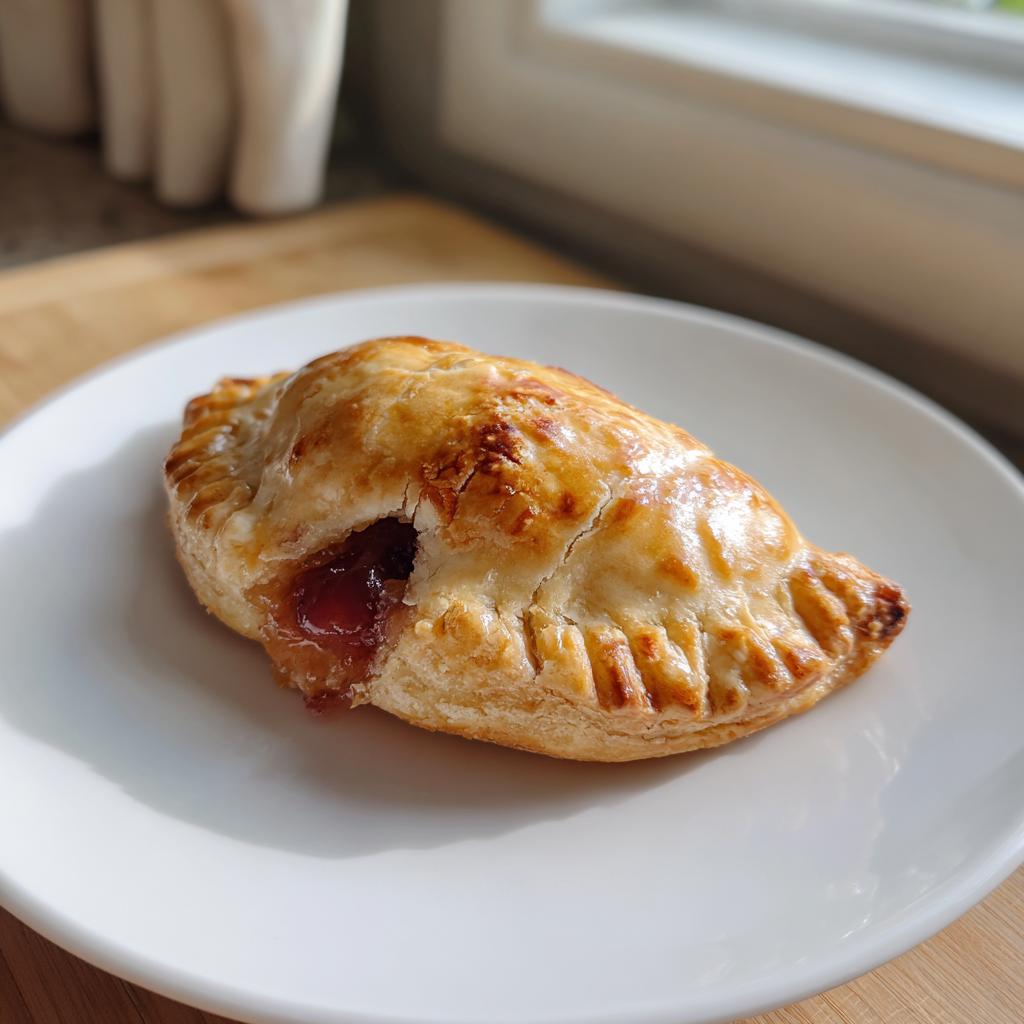
Roll out your chilled dough on a lightly floured surface to about ⅛-inch thickness – think the width of two stacked quarters. Use a round cutter (I grab whatever drinking glass is clean) to cut out circles. Here’s my trick: place a heaping teaspoon of filling slightly off-center, leaving a good border. Fold the dough over and crimp the edges with a fork – press firmly but don’t squash the filling out! If you’re feeling fancy, you can do a proper fold-over crimp with your fingers. Brush each pie with egg wash (this gives them that gorgeous golden shine) and don’t forget to poke a couple steam vents with a toothpick. Bake at 375°F for about 20 minutes until they’re golden brown and smelling irresistible.
Pro tip: While these bake, why not whip up an easy pasta dinner? Nothing balances out dessert like a good carb-on-carb meal in my book!
Tips for Perfect Mini Hand Pies
After making hundreds (okay, maybe thousands) of these little guys, I’ve learned a few tricks the hard way so you don’t have to. First – keep everything cold, cold, cold! I even chill my rolling pin sometimes. Warm butter equals tough crust, and nobody wants that. Second, resist the urge to overfill – a heaping teaspoon is plenty. Trust me, the first time I got greedy with the jam, I ended up with more filling on the baking sheet than in the pies! And don’t skip the egg wash – it’s what gives them that gorgeous bakery-worthy shine. A quick brush before baking makes all the difference between “nice” and “wow!”
Variations for Mini Hand Pies
Oh, the possibilities! Once you’ve mastered the basic mini hand pies recipe, the real fun begins. I love playing around with different fillings – it’s like opening little presents every time I take a bite. My kids beg for chocolate chip versions (I use a spoonful of chocolate chip cookie dough mixed with jam – shhh, don’t tell their dentist!). For grown-up gatherings, I’ll swap the jam for brie and caramelized onions – instant fancy appetizers!
Don’t stop at fillings though! Try cutting the dough into squares instead of circles for rustic charm, or use cookie cutters for seasonal shapes (heart-shaped pies for Valentine’s Day are adorable). A drizzle of powdered sugar glaze or melted chocolate takes them over the top. My neighbor still talks about the lemon curd pies I made last summer with a lavender honey glaze – simple but unforgettable!
Serving and Storing Mini Hand Pies
Oh, the joy of pulling these golden beauties fresh from the oven! I always let them cool just enough so the filling doesn’t burn my tongue – about 10 minutes does the trick. They’re heavenly warm, but honestly, I’ve eaten them cold straight from the fridge at midnight more times than I’d care to admit. For parties, I arrange them on a pretty platter with a dusting of powdered sugar – instant crowd pleaser!
These little pies store like a dream too. Room temperature works fine for a day (if they last that long!), but for longer storage, pop them in an airtight container in the fridge for up to 5 days. Want to keep them longer? Freeze them! I wrap each pie individually in plastic wrap, then toss them all in a freezer bag. When the craving hits, just reheat frozen pies in a 350°F oven for about 15 minutes – good as new!
FAQ About Mini Hand Pies
I get asked about these little pies all the time – seems like everyone wants to know the tricks after their first bite! Here are the questions that pop up most often in my kitchen:
Can I use store-bought pie dough instead?
Absolutely! While homemade dough gives that extra flaky magic, I’ve totally used store-bought in a pinch. Just roll it slightly thinner before cutting – those refrigerated disks tend to be thicker than we need. Bonus? You’ll save about 15 minutes on prep time!
How do I prevent soggy bottoms?
Oh honey, I learned this one the messy way! The cornstarch in the filling helps, but here’s my secret weapon: pop your baking sheet in the oven while it preheats. The hot surface gives the bottoms a head start on crisping up. Works like a charm every time!
Can I make these ahead of time?
You bet! I often assemble them the night before and keep them chilled until baking time. Just brush with egg wash right before they go in the oven. They freeze beautifully too – I’ve kept them for up to 3 months (not that they’ve ever lasted that long in my freezer!).
What’s the best way to seal the edges?
After years of jam explosions, I swear by the fork crimp method – quick, easy, and it makes a cute pattern! Just press firmly all around the edge. If you’re feeling fancy, you can do a proper fold-over crimp, but honestly? The fork never fails me.
Nutritional Information
Just a quick note, friends: these numbers are rough estimates! They can swing a lot depending on the specific jam brand you use or the exact size of your pies. I calculated this based on using my homemade raspberry jam and standard butter. Each little pie comes out to about 180 calories, with 22 grams of carbs, 10 grams of fat, and 2 grams of protein. Not too shabby for such a satisfying sweet treat! No guilt here.
Mini Hand Pies
Ingredients
Equipment
Method
- In a large bowl, mix flour and salt. Cut in cold butter until the mixture resembles coarse crumbs.
- Gradually add ice water, 1 tablespoon at a time, until the dough comes together. Form into a disk, wrap in plastic, and chill for 30 minutes.
- In a small bowl, mix jam, lemon juice, and cornstarch to make the filling.
- Preheat oven to 375°F (190°C). Roll out the dough to 1/8-inch thickness and cut into 12 circles.
- Place a spoonful of filling in the center of each circle. Fold over and crimp the edges with a fork.
- Brush each pie with egg wash. Bake for 18-20 minutes or until golden brown.
- Let cool slightly before serving.