
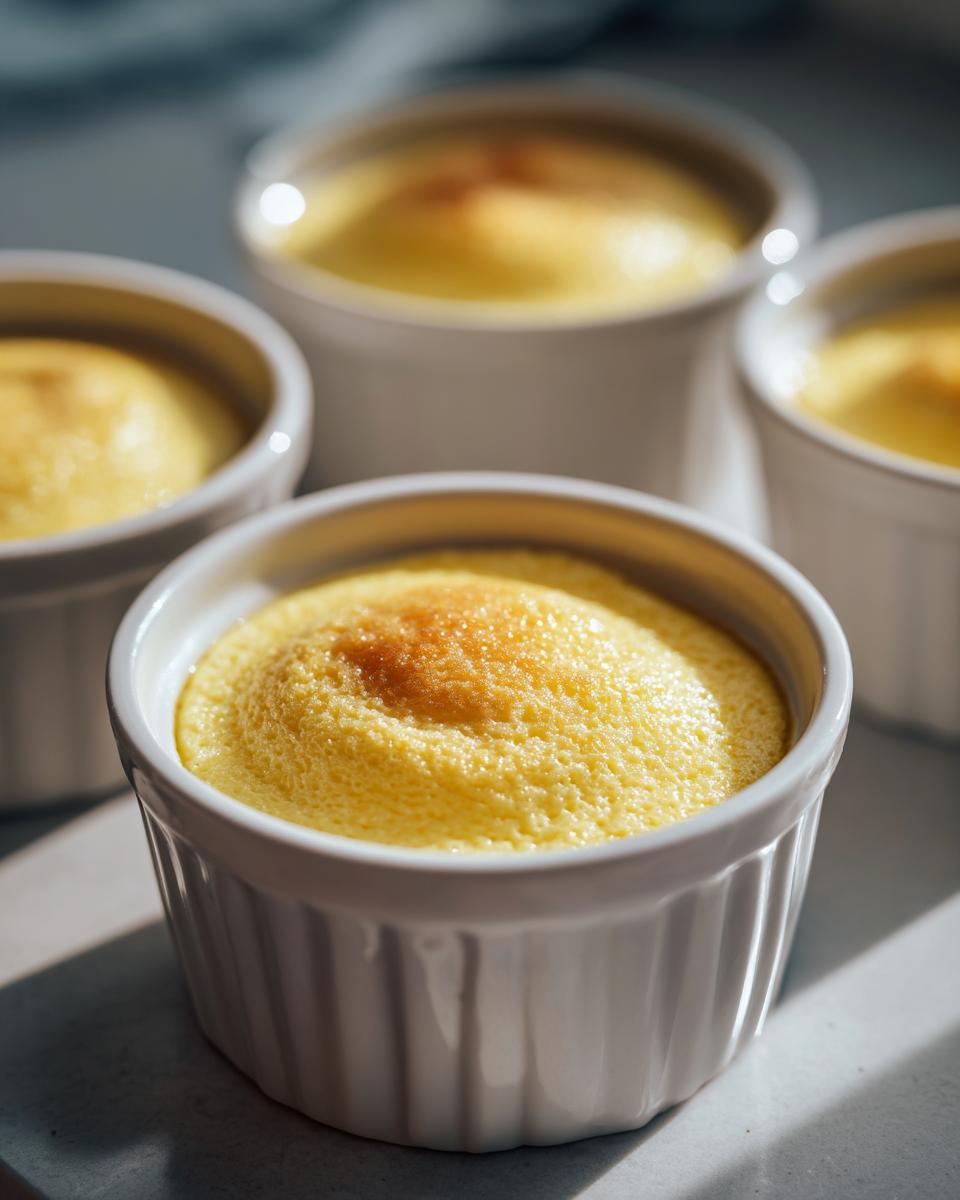
Oh, let me tell you about my little secret weapon for parties – these mini custard dessert cups! I first made them for my niece’s baby shower when I needed something elegant but fuss-free. The moment I saw everyone’s eyes light up as they lifted those cute little cups, I knew I’d found my go-to dessert. They’re the perfect combination of simplicity and sophistication – rich, creamy custard in perfectly portioned servings that look like you spent hours in the kitchen (when really, it’s one of the easiest desserts you’ll ever make).
Why You’ll Love These Mini Custard Dessert Cups
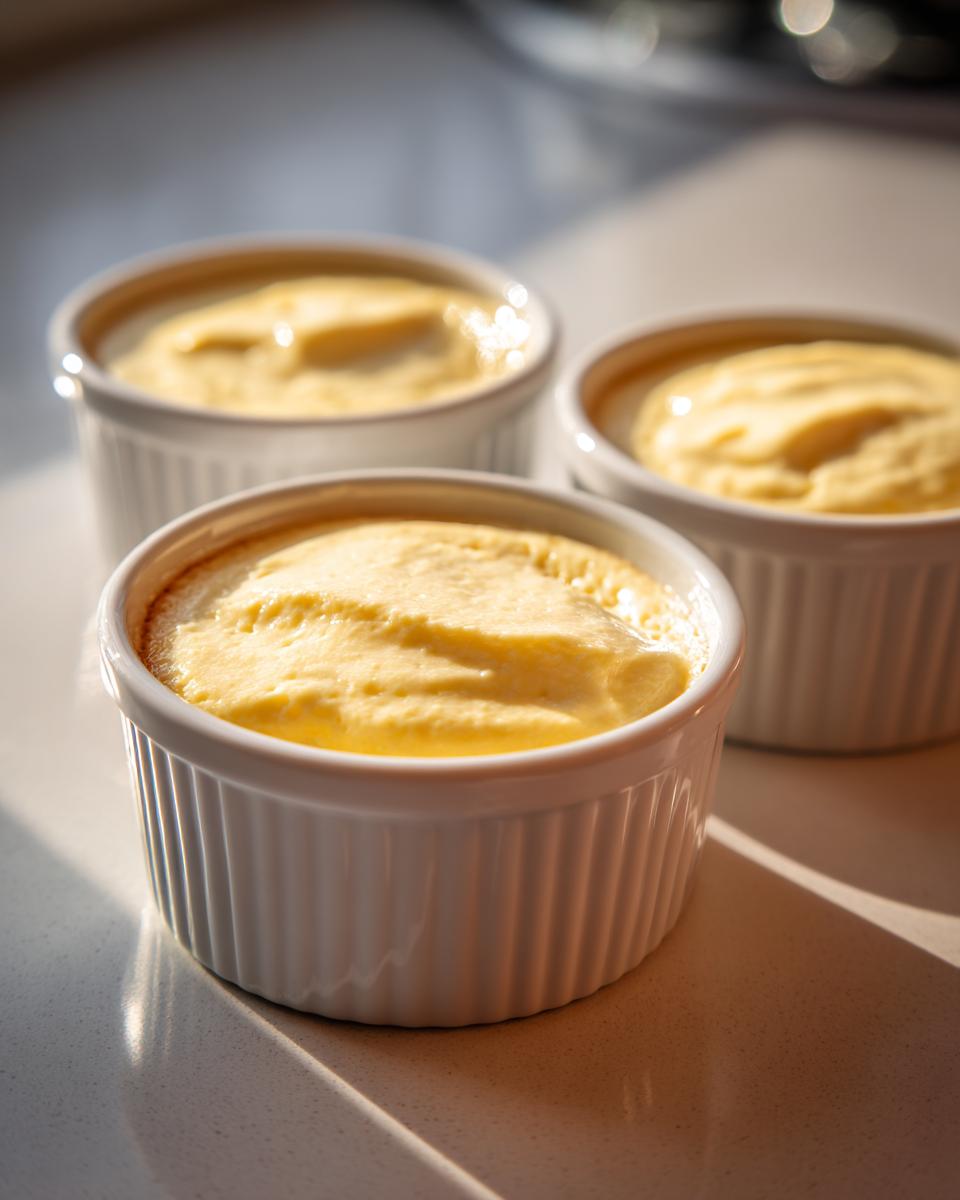
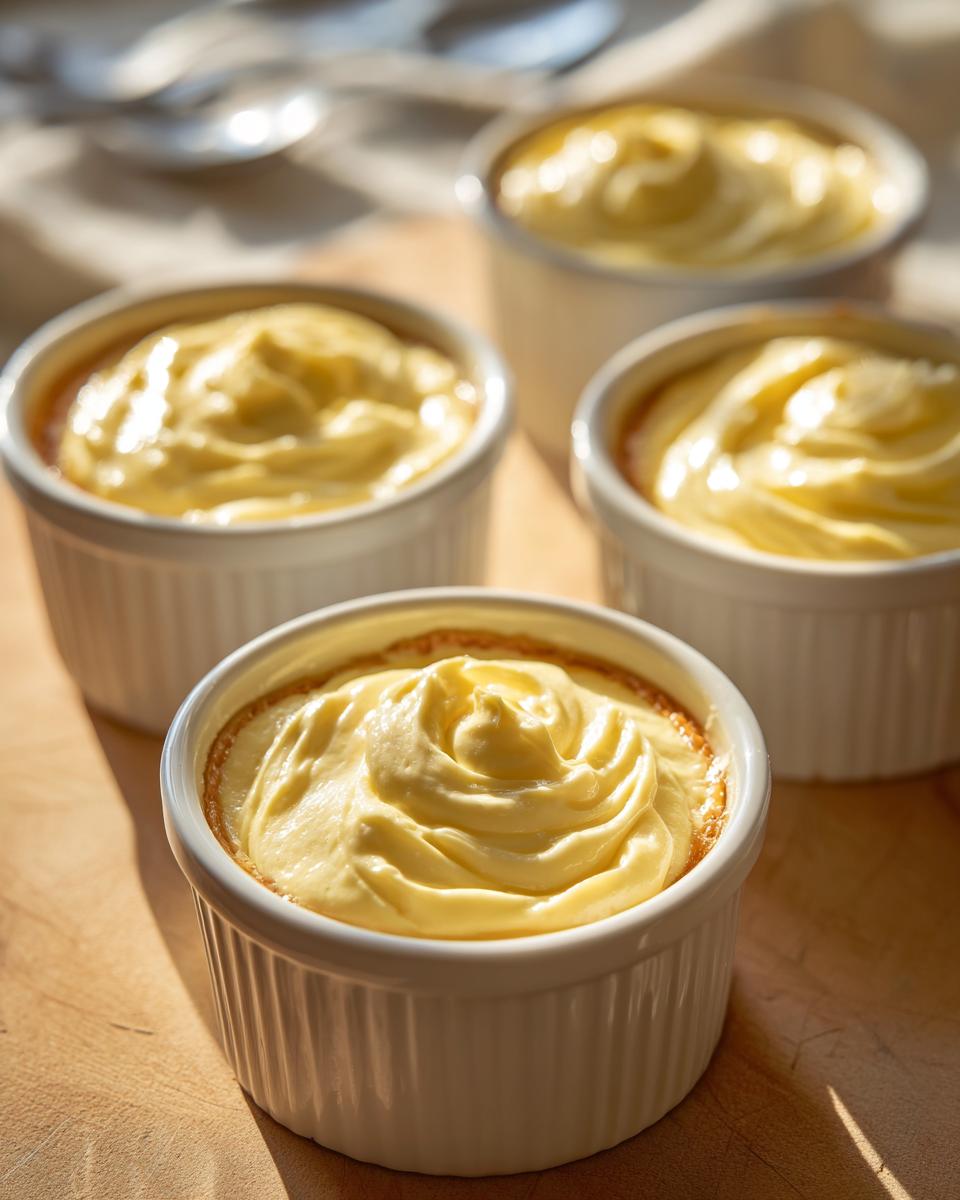
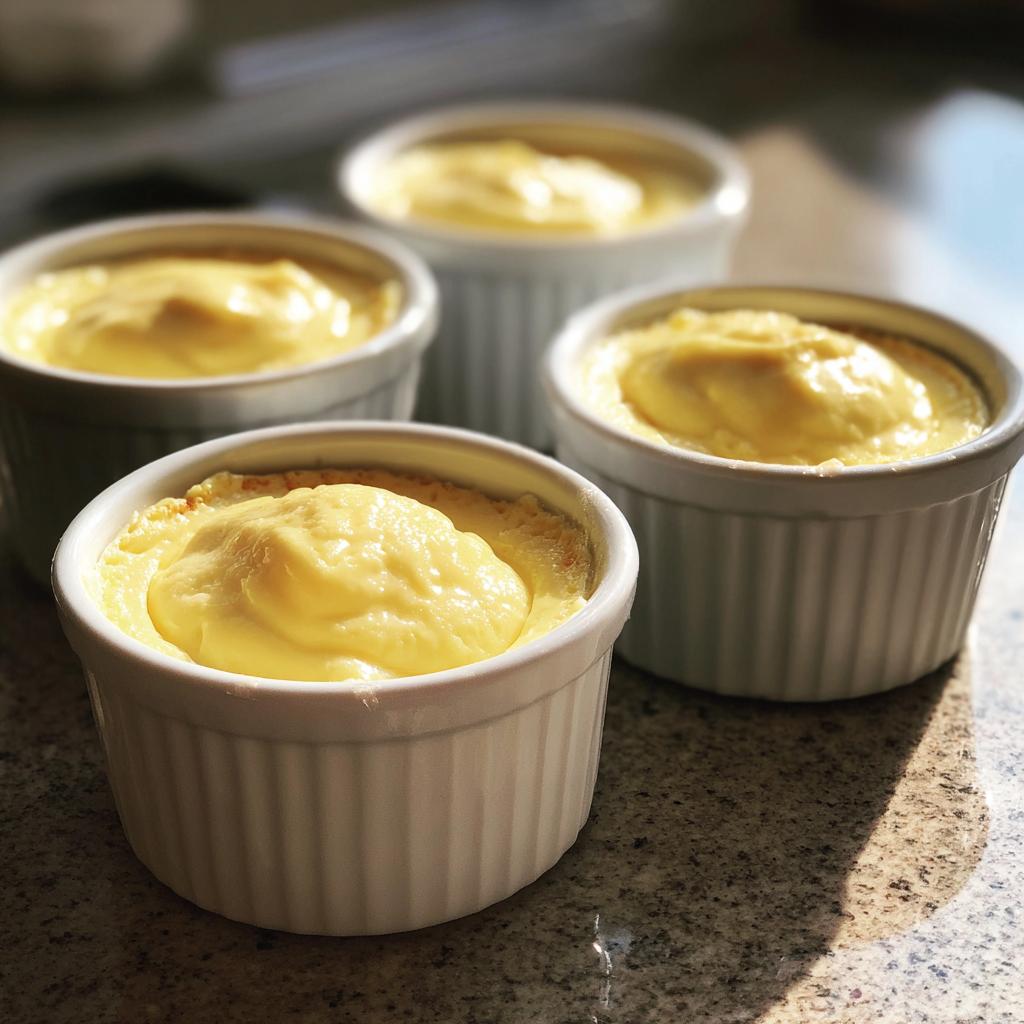
Let me count the ways these little beauties will steal your heart! First off, they’re ridiculously easy to make – we’re talking 10 minutes of prep and you’re done. But here’s the magic: they look like you fussed for hours when you serve them. Those delicate cups with their creamy golden tops? Pure elegance.
Portion control? Check! No more fighting over who gets the biggest slice – everyone gets their own perfect little serving. And the toppings? Oh honey, this is where the fun begins. Fresh berries, a drizzle of caramel, a sprinkle of cinnamon – whatever your heart desires. I love how they’re like blank canvases waiting for your creative touch.
Last time I made these, my neighbor actually thought I’d bought them from some fancy bakery. That’s the power of mini custard dessert cups – maximum wow factor with minimal effort!
Ingredients for Mini Custard Dessert Cups
Okay, let’s gather our simple but magical ingredients for these dreamy little custard cups. I always tell my friends – don’t skimp on quality here! The better your ingredients, the more luxurious these mini custards will taste. Here’s what you’ll need:
- 2 cups whole milk – Trust me, whole milk makes all the difference for that creamy texture. I’ve tried lower-fat versions and they just don’t give the same rich result.
- 3 large eggs – Fresh is best! I like to take mine out of the fridge about 30 minutes before baking so they blend smoothly.
- 1/3 cup granulated sugar – Just the right amount of sweetness without overpowering the delicate custard flavor.
- 1 tsp vanilla extract – Splurge on the good stuff if you can. That floral, aromatic vanilla makes these taste bakery-quality.
- 1/8 tsp salt – Don’t skip this! It balances the sweetness perfectly.
See? Just five simple ingredients that you probably already have in your kitchen. The magic happens in how we combine them! Oh, and if you’re feeling fancy, keep some fresh berries or cinnamon on hand for garnishing – but we’ll get to that later.
Equipment Needed for Mini Custard Dessert Cups
You won’t need any fancy gadgets for these mini custard cups – just a few basic kitchen tools that you probably already have! Here’s my go-to list:
- A good mixing bowl – I prefer glass because I can see how everything’s combining
- A trusty whisk – Those eggs and sugar need a good beating!
- 6 ramekins or small oven-safe cups – About 4-6 oz size works perfectly
- A baking dish big enough to hold all your ramekins for the water bath
That’s it! No stand mixers, no special pans – just simple tools for simple (but oh-so-delicious) results. Now let’s get baking!
How to Make Mini Custard Dessert Cups
Alright, let’s dive into making these dreamy little custard cups! I promise it’s easier than you think, and once you’ve mastered the technique, you’ll be whipping these up all the time. Just follow these simple steps, and you’ll have perfect custard every time.
Step 1: Preheat and Prepare
First things first – preheat that oven to 325°F (160°C). While it’s heating up, grab your ramekins and give them a quick spritz with cooking spray or rub them with butter. This little step makes all the difference when it’s time to serve!
Step 2: Mix the Custard
Now for the fun part! In your mixing bowl, whisk together the eggs, sugar, vanilla, and salt until it’s smooth as silk. No lumps allowed here! I like to whisk for a good minute – you want that sugar completely dissolved. Meanwhile, warm your milk in a saucepan until it’s just steaming (not boiling!), then slowly pour it into the egg mixture while whisking like crazy. This “tempering” step keeps your eggs from scrambling – trust me, you don’t want custard with bits of cooked egg!
Step 3: Bake to Perfection
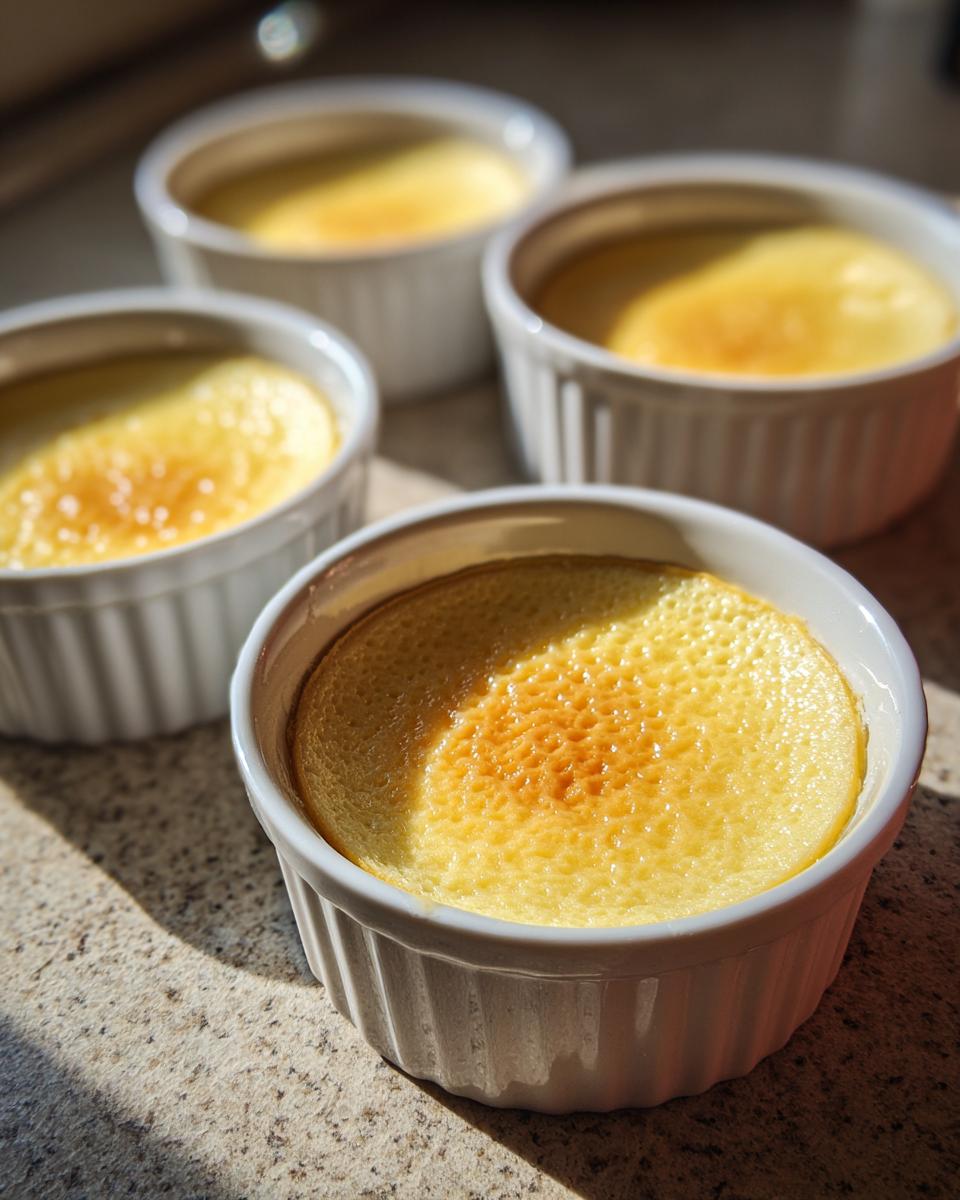
Here’s where the magic happens. Strain your custard mixture through a fine sieve into the prepared ramekins (this catches any sneaky lumps). Place them in a baking dish and carefully pour hot water around them until it comes halfway up the sides. This water bath gives gentle, even heat for the creamiest texture. Bake for about 25 minutes – you’ll know they’re done when the edges are set but the centers still have a slight jiggle. Don’t overbake them, or you’ll lose that wonderful creamy texture!
Pro tip from my Easter brunch disaster – let them cool completely before refrigerating. The custard continues to set as it chills, giving you that perfect spoonable consistency we all love.
Tips for Perfect Mini Custard Dessert Cups
Let me share my hard-earned wisdom for custard cup perfection! First – always, always strain your custard mixture. I learned this the hard way after serving lumpy custard at a dinner party. Pass it through a fine sieve, and you’ll get that velvety smooth texture that makes your guests swoon.
Watch that oven like a hawk! These little cups go from perfectly jiggly to rubbery in just minutes. Pull them out when the edges are set but the center still dances slightly when nudged. They’ll firm up as they cool.
Here’s my secret superpower: chill them overnight. The flavors intensify and the texture becomes dreamily creamy. For extra richness, I sometimes swap out half the milk for heavy cream – it’s downright decadent!
Oh, and if a skin forms on top? Just give it a quick stir before chilling – no one will ever know!
Variations for Mini Custard Dessert Cups
Oh, the fun really begins when you start playing with flavors! These mini custard cups are like blank canvases just waiting for your creative touch. My absolute favorite twist? Swapping the vanilla for fresh orange zest – just a teaspoon transforms them into these bright, citrusy delights that taste like sunshine in a cup!
For chocolate lovers (and who isn’t one?), try stirring in some finely chopped dark chocolate before baking. The little melty pockets are pure heaven. Or go wild with toppings – fresh berries from my spring fruit haul, a drizzle of salted caramel, or even crushed pistachios for crunch. Last Christmas I sprinkled them with cinnamon and nutmeg, and my guests couldn’t stop raving!
The best part? You can make several different flavors in one batch – just divide the custard base and customize each ramekin. It’s like having your own dessert buffet!
Serving and Storing Mini Custard Dessert Cups
Here’s the best part – these mini custard cups actually get better after chilling! I always make them at least 2 hours ahead (though overnight is magic) so they have time to set up properly. Serve them straight from the fridge – that cool, creamy texture is absolute perfection on a warm day.
Got leftovers? No problem! Just cover them tightly with plastic wrap (press it right against the surface to prevent that skin from forming) and they’ll keep beautifully in the fridge for up to 3 days. Though in my house, they never last that long!
Want to reheat? Pop them in a warm water bath for a few minutes to take the chill off – but honestly, I think they’re best enjoyed cold. The flavors really shine when they’re chilled!
Nutritional Information for Mini Custard Dessert Cups
Now, I’m no nutritionist, but here’s the scoop on what’s in these delightful little cups! Remember, these numbers are just estimates – your exact counts might vary depending on the brands you use or if you decide to get fancy with toppings.
Each mini custard dessert cup comes in at about 120 calories, with 15g carbs (mostly from that lovely sugar), 5g protein (thank you, eggs and milk!), and 4g fat. They’ve got a nice little calcium boost too from the milk – about 10% of your daily needs per serving!
Not too shabby for such a luxurious-tasting treat, right? Just enough sweetness to satisfy without going overboard. Though let’s be honest – when something tastes this good, who’s counting?
Frequently Asked Questions
Can I use almond milk instead of whole milk?
You absolutely can use almond milk, but fair warning – the texture won’t be quite as rich and creamy. I’ve tried it when making these for my lactose-intolerant friend, and while they still taste delicious, they come out a bit lighter. If you go this route, I’d recommend adding an extra egg yolk to help with the texture!
How do I prevent that annoying skin from forming on top?
Oh, I hate that skin too! Here’s my foolproof trick – as soon as your mini custard cups come out of the oven, place a piece of plastic wrap directly on the surface of each one. No air means no skin! Just remember to remove it gently before serving so you get that beautiful golden top.
Can I freeze these custard cups?
Honestly? I wouldn’t recommend it. The texture gets all grainy and weird after freezing. These mini custard dessert cups are best enjoyed fresh within a few days. But hey – they’re so easy to make, you can whip up a fresh batch whenever the craving strikes!
Why do I need to use a water bath?
The water bath is the secret to that dreamy, silky texture! It gently cooks the custard evenly without curdling the eggs. Without it, you risk getting rubbery or grainy custard. Trust me – I learned this the hard way when I got impatient and skipped this step once. Never again!
Mini Custard Dessert Cups
Ingredients
Equipment
Method
- Preheat your oven to 325°F (160°C).
- In a mixing bowl, whisk together the eggs, sugar, vanilla extract, and salt until smooth.
- Heat the milk in a saucepan until warm but not boiling. Slowly pour the warm milk into the egg mixture while whisking continuously.
- Strain the custard mixture through a fine sieve to remove any lumps.
- Divide the custard evenly among 6 ramekins or small cups.
- Place the ramekins in a baking dish and fill the dish with hot water until it reaches halfway up the sides of the ramekins.
- Bake for 25 minutes or until the custard is set but still slightly jiggly in the center.
- Remove from the oven and let cool. Serve chilled.