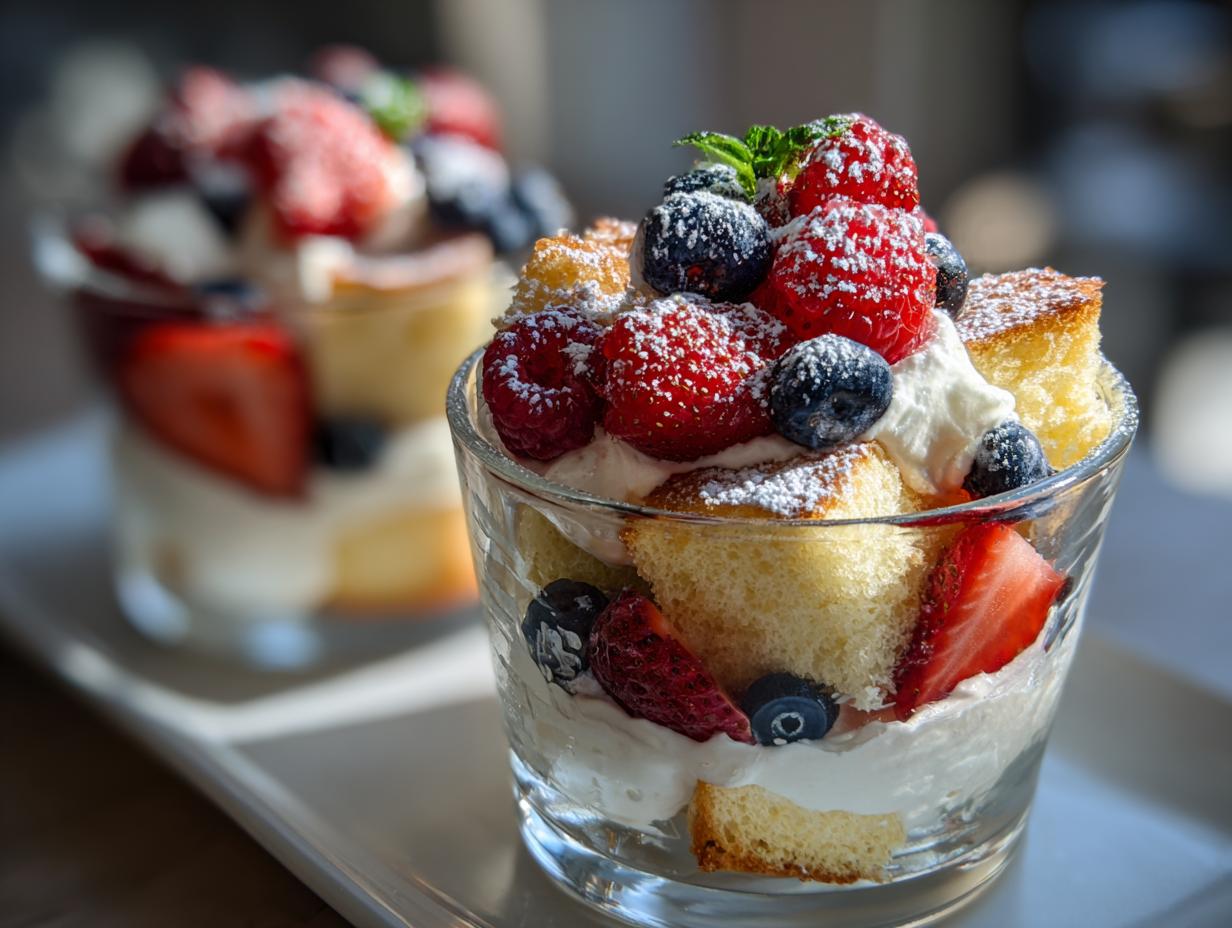
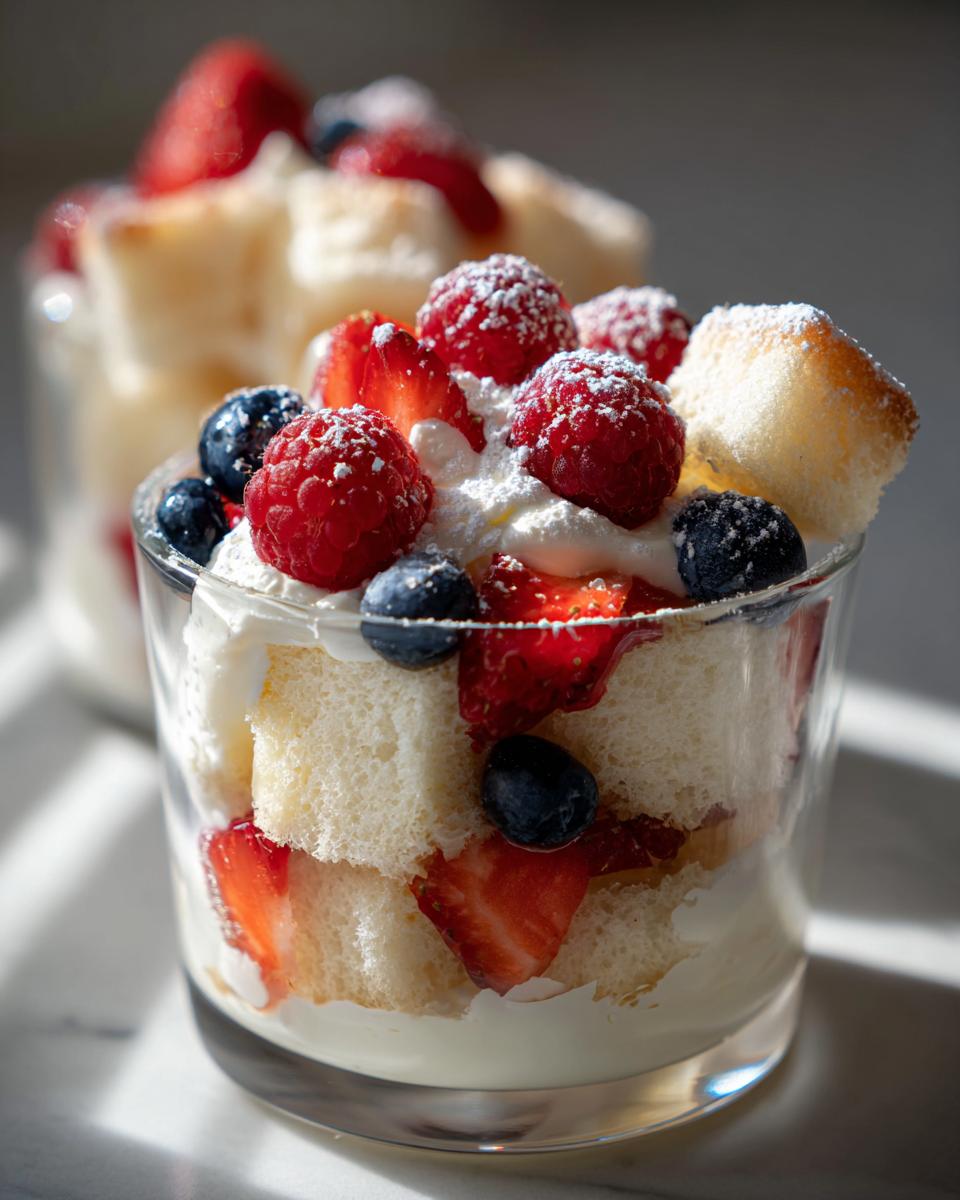
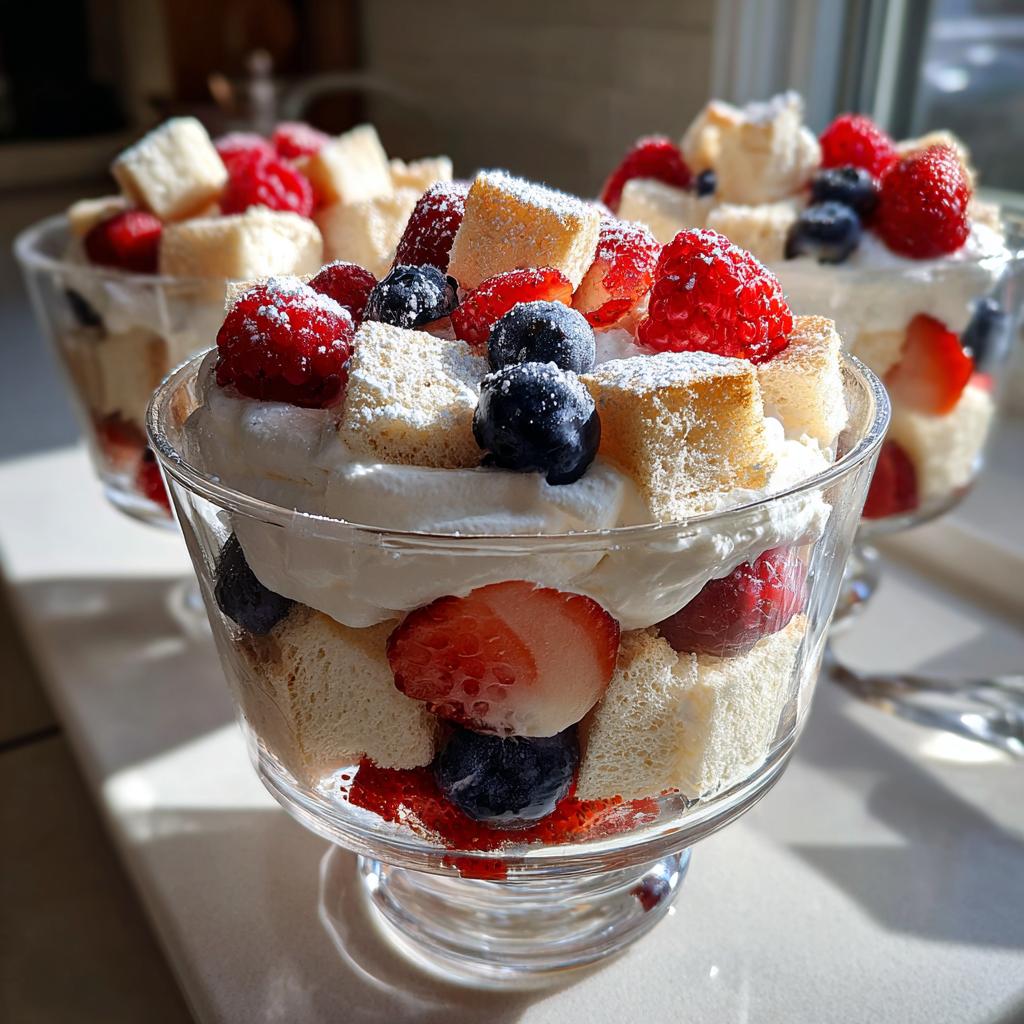
There’s something magical about desserts that feel light as air but pack a punch of flavor – and that’s exactly what you get with these layered angel food dessert cups! I first fell in love with this recipe at a summer brunch when my aunt served it in vintage champagne glasses. The way the fluffy cake cubes soaked up the berry juices while the whipped cream added just the right creaminess… I’ve been hooked ever since. What I love most is how these little cups look fancy but come together in 15 minutes flat – perfect for when unexpected guests show up or when I just need a quick sweet fix without turning on the oven. They’re my secret weapon for everything from bridal showers to “I survived Monday” celebrations!
Why You’ll Love These Layered Angel Food Dessert Cups
Oh my goodness, where do I even start? These little cups of heaven check ALL the boxes for me. First off, they’re ridiculously quick to throw together – we’re talking 15 minutes tops! When my book club shows up unexpectedly (which happens more often than you’d think), I can whip these up while they’re still debating what wine to open.
Here’s what makes them so special:
- Light as a cloud: That angel food cake gives you all the satisfaction of dessert without that heavy “I ate too much” feeling
- Berry versatile: I’ve used everything from strawberries to blackberries – whatever looks good at the market that day. Last week I even tried mango and it was chef’s kiss perfection
- Party perfect: Individual servings mean no messy slicing or fighting over who got the bigger piece. Plus they look so fancy in those cute glasses!
- Kid-approved: My niece calls them “grown-up parfaits” and always asks for seconds
Honestly, once you try these layered angel food dessert cups, you’ll be hooked too. They’re my go-to when I need something impressive but don’t want to spend hours in the kitchen. Check out my other favorite easy layered dessert recipes if you’re as obsessed with simple sweets as I am!
Ingredients for Layered Angel Food Dessert Cups
Okay, let’s gather our goodies! Here’s what you’ll need to make these dreamy layered angel food dessert cups (trust me, you probably have most of this already):
- Angel food cake cubes: 4 cups (about half a store-bought cake or one homemade loaf)
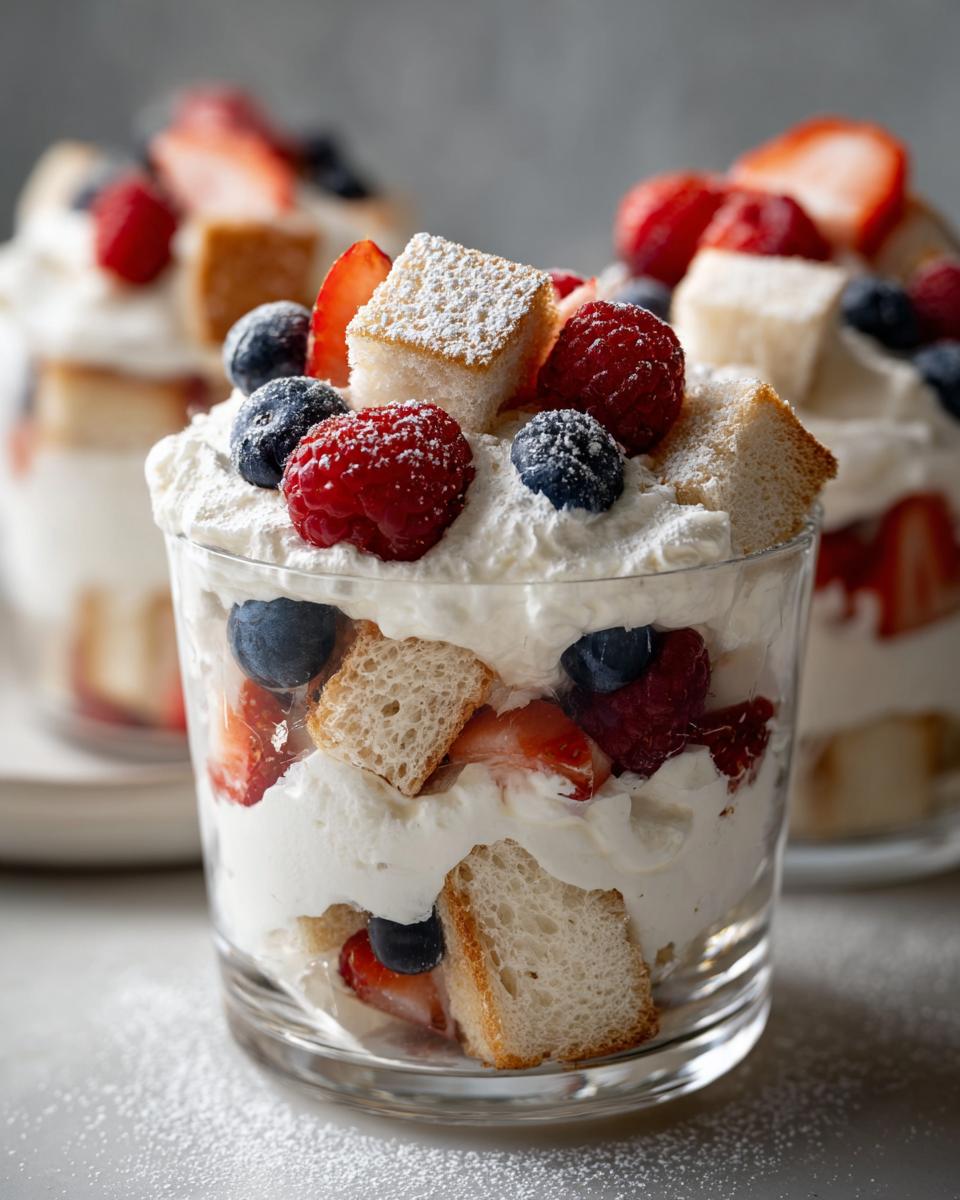
- Whipped cream: 1 cup, whipped to stiff peaks (I like mine extra fluffy!)
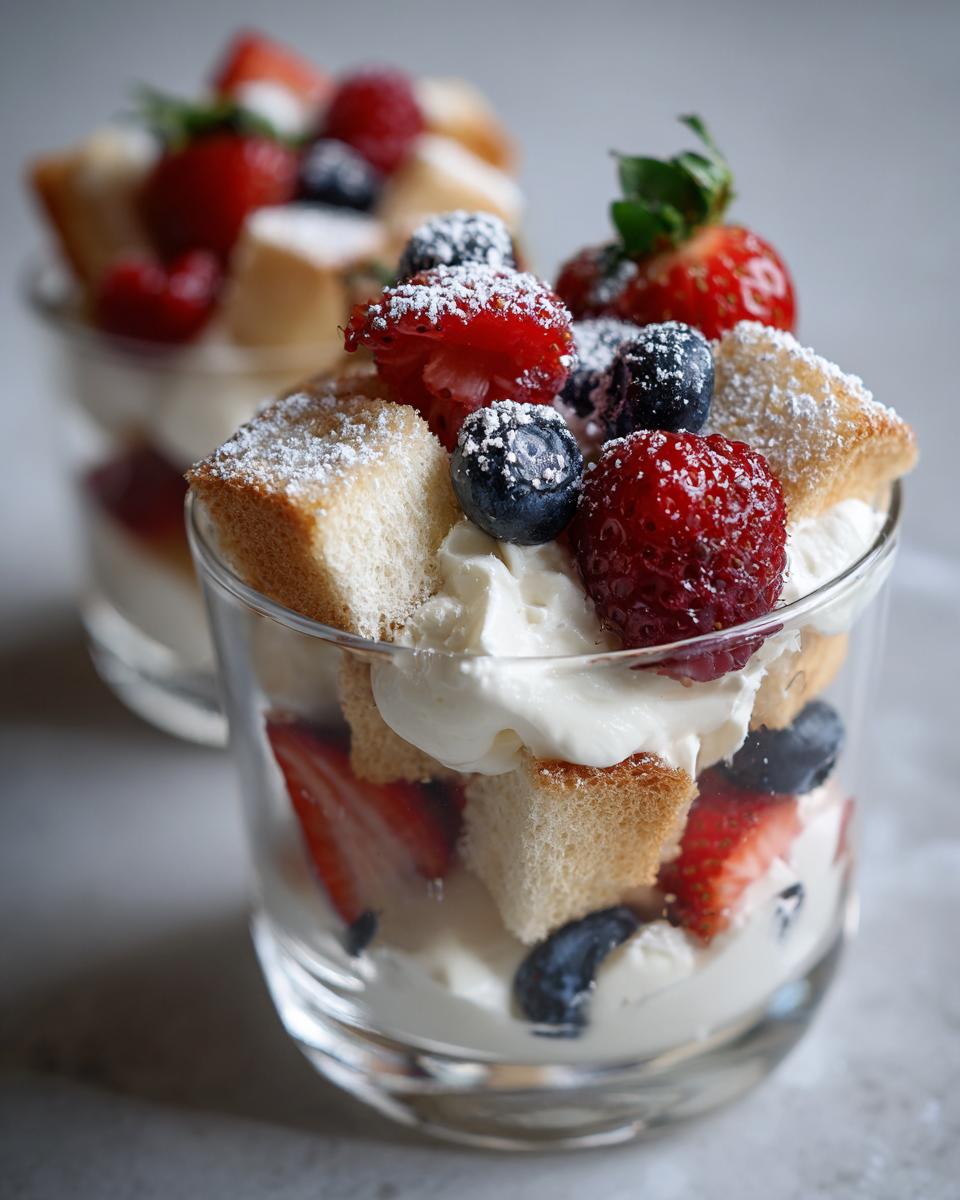
- Mixed fresh berries: 1 cup total (my favorite combo is strawberries, blueberries, and raspberries)
- Powdered sugar: 2 tablespoons for that pretty snow-dusted finish
That’s it! Four simple ingredients for a dessert that looks like it came from a fancy bakery. Now let me tell you about my little shortcuts and swaps…
Ingredient Notes & Substitutions
First rule in my kitchen? No stress! Here’s how you can tweak this recipe:
Can’t find angel food cake? Pound cake works beautifully too – just slightly denser. Frozen berries? Totally fine! Just thaw and pat them dry first so they don’t make your dessert watery. Out of powdered sugar? A drizzle of honey adds lovely shine.
My biggest tip? Use whatever berries are in season. In winter, I’ll sometimes swap in mandarin orange segments or even caramelized bananas. The whipped cream is non-negotiable though – that cloud-like texture makes the whole dessert sing!
Equipment Needed for Layered Angel Food Dessert Cups
Let me tell you about my favorite kitchen helpers for these angel food dessert cups – you’ll be shocked how little you actually need! First up, grab a trusty mixing bowl (mine’s that big yellow one my mom gave me – it’s seen more whipped cream than I can count).
Here’s your quick checklist:
- A sturdy mixing bowl – plastic, glass, whatever makes you happy
- Electric mixer – or strong arms if you’re feeling ambitious!
- Pretty serving glasses – I’ve used everything from mason jars to my grandma’s crystal
That’s seriously it! No fancy gadgets required – just these basics and you’re ready to create magic. The best part? You probably already have everything sitting in your kitchen right now. See? I told you this recipe was easy!
How to Make Layered Angel Food Dessert Cups
Alright, let’s get to the fun part – assembling these gorgeous layered angel food dessert cups! I promise it’s easier than folding a fitted sheet (why are those things so impossible?). Here’s exactly how I do it:
Step 1: First, grab your angel food cake and cut it into bite-sized cubes – about 1-inch pieces work perfectly. Pro tip: Use a serrated knife in a gentle sawing motion so you don’t squish that delicate cake!
Step 2: Now whip that cream! I chill my bowl and beaters first (10 minutes in the freezer does wonders). Whip until you get nice stiff peaks – when you lift the beaters, the peaks should stand straight up without drooping. Don’t overdo it though, or you’ll end up with butter (been there!).
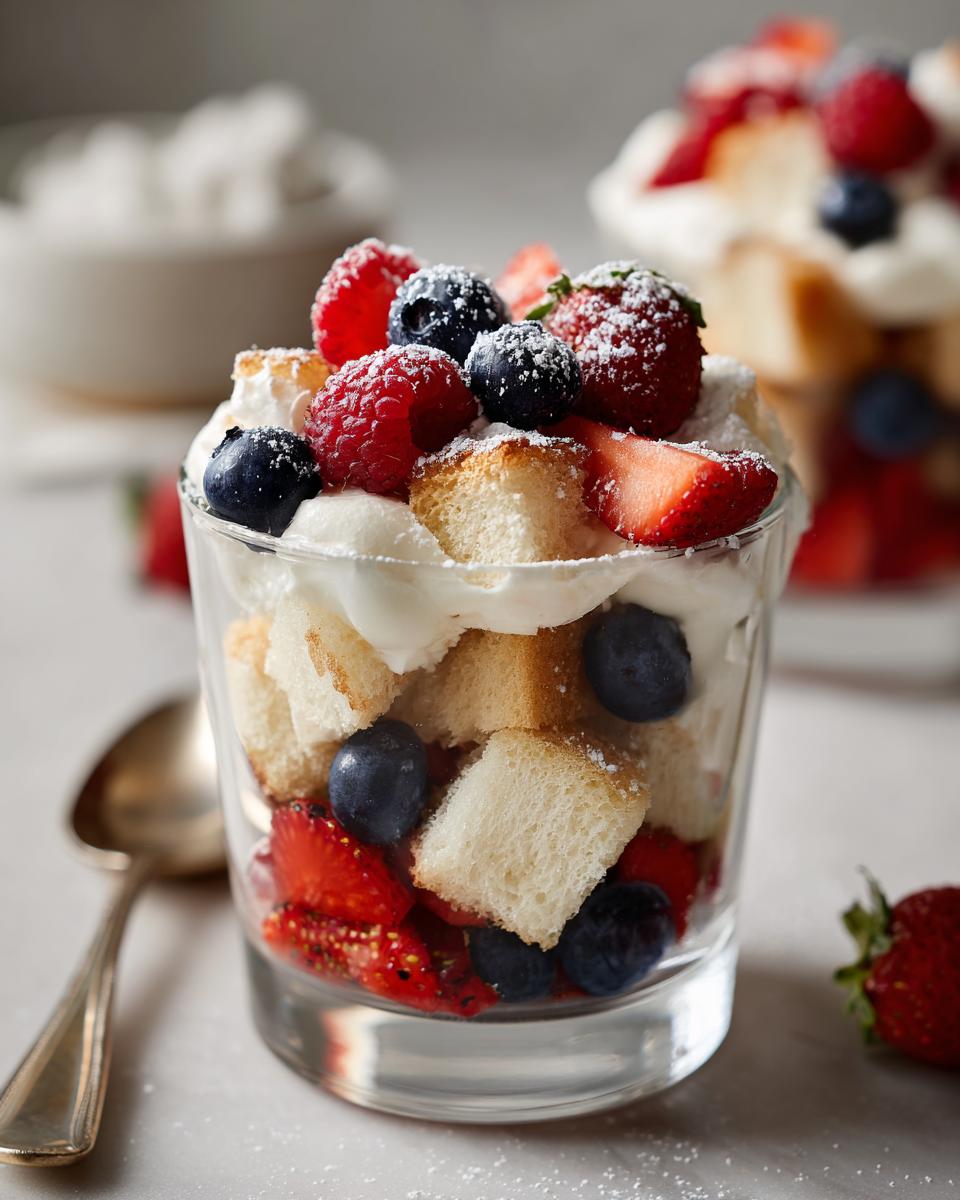
Step 3: Time for the magic – layering! Start with cake cubes at the bottom of each glass, then a dollop of whipped cream, then berries. Repeat until your glass is full, ending with whipped cream on top. I usually do 2-3 layers depending on my glass size.
Step 4: The finishing touch – dust with powdered sugar through a fine mesh sieve for that bakery-worthy snow effect. Pop them in the fridge for at least 30 minutes before serving – this lets the flavors mingle beautifully.
Want more easy dessert inspiration? Check out my favorite easy dessert cups recipe collection!
Tips for Perfect Layering
After making these probably a hundred times (no exaggeration!), here are my can’t-live-without layering secrets:
First, pat your berries dry – excess moisture makes soggy layers (yuck!). Alternate berry colors for maximum wow factor – red strawberries then blueberries then raspberries looks stunning. Use the back of a spoon to gently press down each whipped cream layer – this prevents sliding. And my favorite trick? A piping bag for the whipped cream gives you perfect, professional-looking swirls!
Serving Suggestions for Layered Angel Food Dessert Cups
Now comes my favorite part – making these angel food dessert cups look as good as they taste! A sprinkle of powdered sugar is classic, but let me tell you about my favorite ways to dress them up. Fresh mint leaves add such a pretty pop of green – just tuck one on top right before serving. If I’m feeling fancy, I’ll add edible flowers from my garden (the neighbors think I’m Martha Stewart!).
For drinks? Oh honey, these pair beautifully with so many things! My book club girls love them with sparkling rosé – the bubbles cut right through the sweetness. Coffee lovers? Try them with a vanilla latte. Kids at the party? Pink lemonade makes everything more fun. Honestly though, they’re perfect all on their own – just hand me a spoon and get out of my way!
Storage & Make-Ahead Tips
Okay, let’s talk about keeping these angel food dessert cups happy! First rule – they’re best eaten the same day, but if you must store them (I know, leftovers are rare with these!), pop them in the fridge covered with plastic wrap for up to 24 hours. The whipped cream might weep a little, but a quick dusting of powdered sugar freshens them right up.
Want to prep ahead? Here’s my game plan: Cube the cake and wash/dry the berries the night before – store them separately in airtight containers. Whip the cream fresh right before assembling though – nobody likes sad, deflated cream! If you’re really pressed for time, store-bought whipped topping works in a pinch (but shhh…we won’t tell anyone).
Nutritional Information
Now, I’m no nutritionist (just a dessert enthusiast!), but I want to be upfront about these angel food dessert cups. The nutritional values are just estimates – they’ll change depending on whether you use homemade or store-bought cake, full-fat or light whipped cream, and which berries you choose. That’s the beauty of cooking at home – you can tweak things to fit your needs!
What I can tell you is that compared to most desserts, these little cups are on the lighter side thanks to that airy angel food cake and fresh fruit. But let’s be real – we’re not eating dessert for the nutritional benefits! These are meant to be enjoyed in moderation as part of a balanced diet. My philosophy? Life’s too short not to savor the sweet moments – literally!
Frequently Asked Questions
Can I use frozen berries for these angel food dessert cups?
Absolutely! Just thaw them completely first and pat them dry with paper towels – trust me, you don’t want that extra berry juice making your dessert soggy. I like to toss frozen berries with a teaspoon of sugar when thawing to draw out extra moisture. My favorite frozen mix is strawberries, blueberries, and blackberries for a gorgeous color contrast.
How long will these layered dessert cups stay fresh?
Here’s the truth – they’re best enjoyed within a few hours of making (not that they last that long in my house!). If you must store them, keep them refrigerated and eat within 24 hours. The whipped cream starts to weep and the cake gets denser after a day, though still totally edible. Pro tip: Assemble everything except the final whipped cream layer if prepping ahead – add that fresh right before serving!
Can I make these cups with store-bought whipped topping instead?
*whispers* Yes, but don’t tell my pastry chef friend I said that! The real whipped cream honestly tastes better since it’s not as sweet, but in a pinch, thawed frozen whipped topping or the canned stuff works fine. Just know it’ll be a bit sweeter and have a different texture. My compromise? Mix half real whipped cream with half store-bought – you get the best of both worlds!
What other fruits can I use besides berries?
Oh, get creative! My summer favorite is peaches with a drizzle of honey. In fall, I do cinnamon-dusted apples. Diced mango with toasted coconut is tropical magic. Even caramelized bananas with chocolate shavings makes an amazing variation. The key is using fruits that aren’t too watery – thickly sliced stone fruits work beautifully. Just remember the general rule: about 1 cup total fruit per recipe.
More Dessert Inspiration
If you’re as obsessed with these layered angel food dessert cups as I am (trust me, I get it!), you’ve gotta try my other favorite easy treats! My spring fruit dessert recipe is another winner that comes together in minutes but looks like you spent hours. Leave me a comment below telling me how your dessert cups turned out – I love hearing your kitchen adventures! And if you snapped a photo of your creation, tag me on Instagram so I can drool over your masterpiece. Happy baking, friends!
Layered Angel Food Dessert Cups
Ingredients
Equipment
Method
- Cut the angel food cake into small cubes.
- Whip the cream until stiff peaks form.
- Layer the cake cubes, whipped cream, and berries in serving glasses.
- Sprinkle powdered sugar on top before serving.