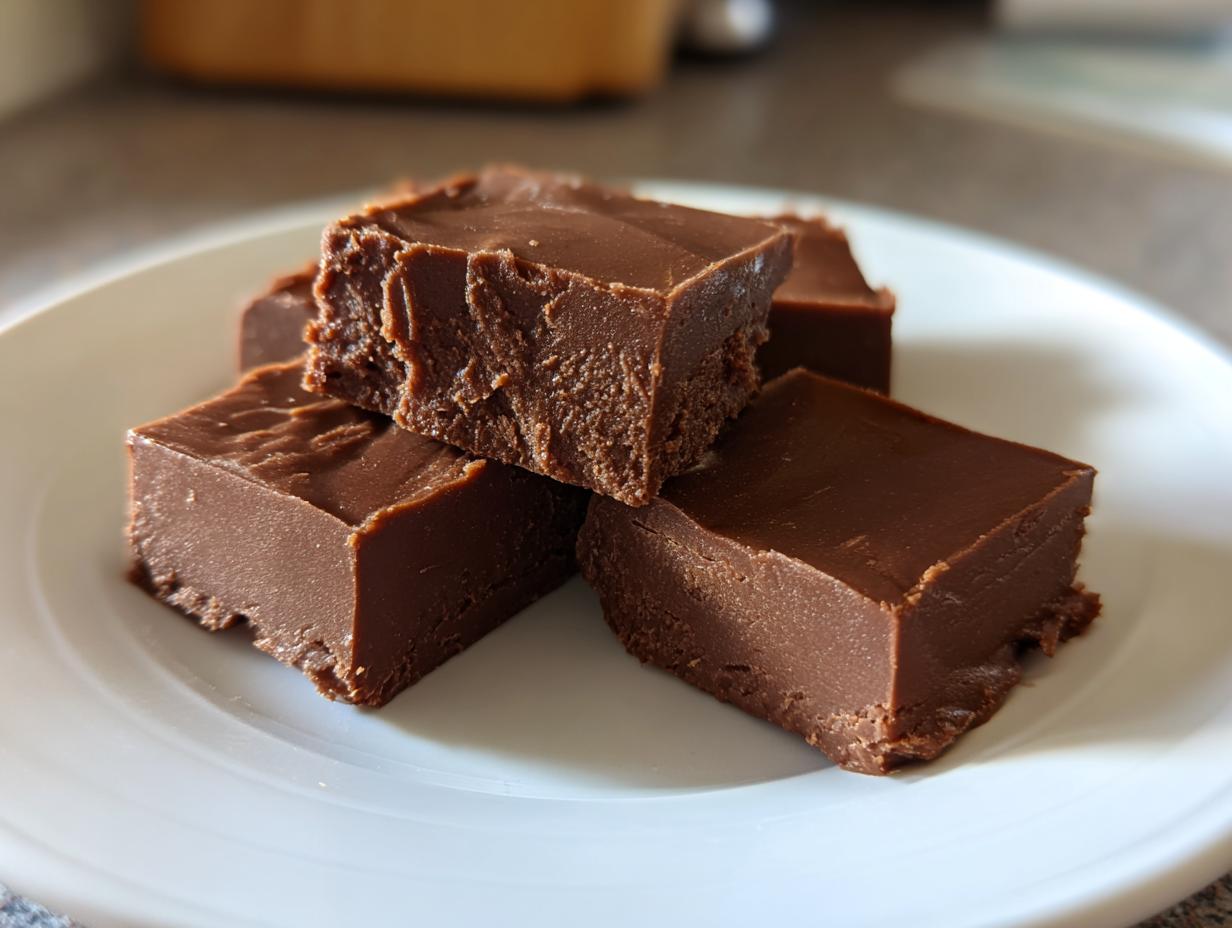
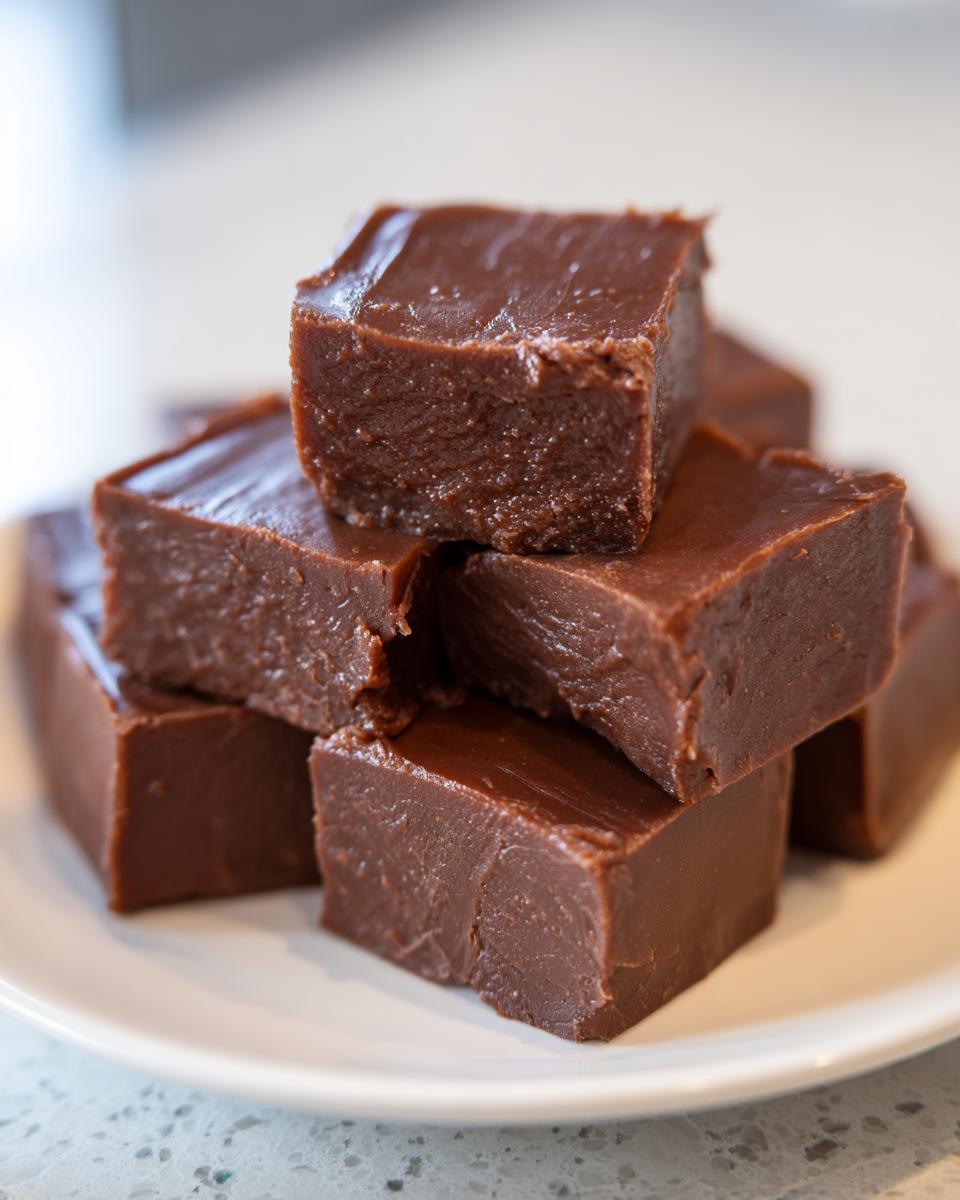
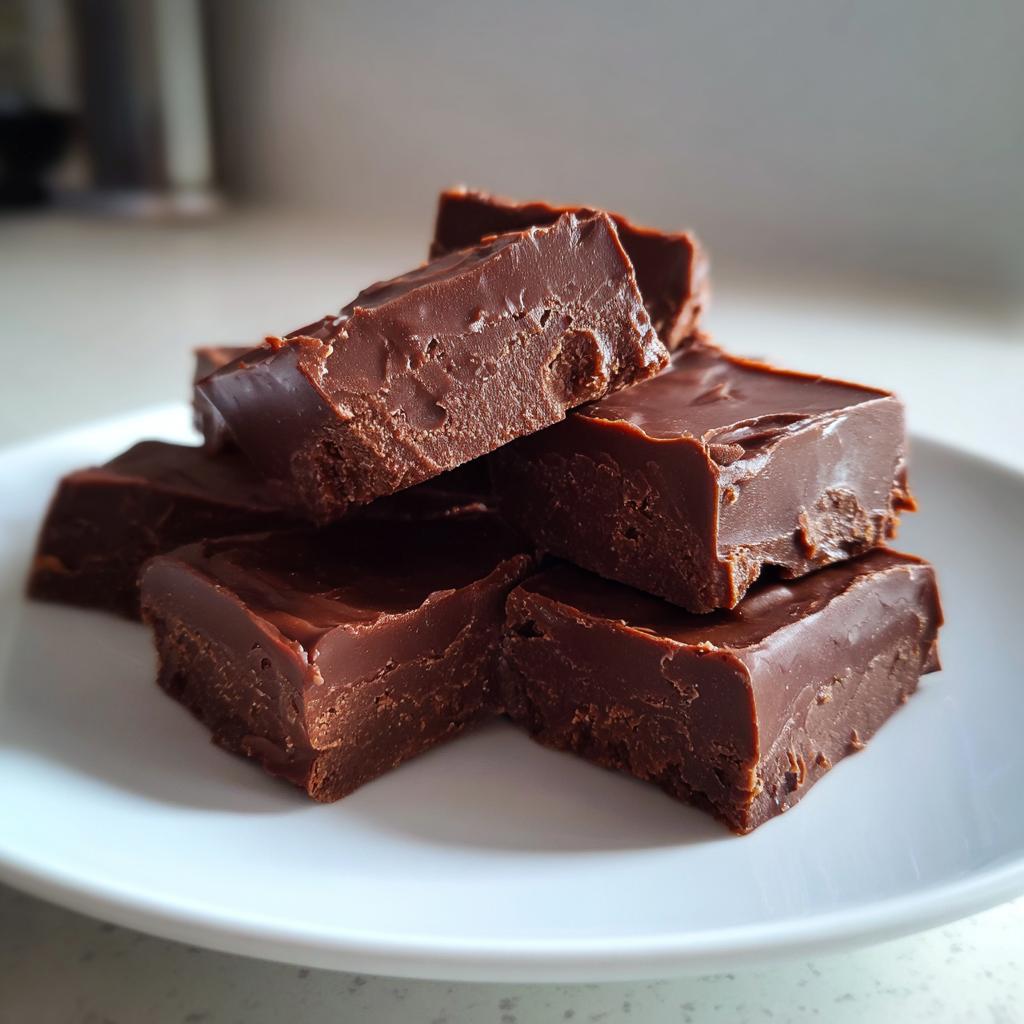
Nothing brings back childhood memories quite like the smell of homemade fudge bubbling on the stove. I can still picture my grandma’s weathered hands stirring that glossy chocolate mixture, her apron dusted with powdered sugar as she’d let me lick the spoon. That’s why these homemade fudge dessert recipes hold such a special place in my heart – they’re ridiculously simple (just six pantry staples!), yet the results feel downright magical. My version skips the fuss but keeps all the rich, velvety texture that makes fudge so irresistible. Whether you’re gifting it during the holidays or sneaking squares straight from the fridge (no judgment here!), this recipe delivers that same wow factor I fell in love with as a kid.
Why You’ll Love These Homemade Fudge Dessert Recipes
Oh honey, let me tell you why this fudge recipe is my go-to every single time! First off – it’s crazy simple. Just 10 minutes of actual work, then you let the fridge do the rest. And when I say simple ingredients, I mean it – six basic things you probably have right now! Grab some good-quality chocolate chips, and you’re halfway there.
Here’s why I’m obsessed:
- T Observation ready in about 2 hours (but who’s counting when you’re sneaking tastes?)
- T Six ingredients total – no weird specialty items
- T Rich, velvety texture that melts perfectly in your mouth
- T Whether for holiday gifts or late-night cravings, it’s always a hit
Trust me, once you try this homemade fudge, store-bought will never compare. It’s got that old-fashioned “made with love” taste – just like Grandma used to make, but without any of the fuss!
Ingredients for Perfect Homemade Fudge
Listen up, because getting these ingredients just right makes ALL the difference between good fudge and “oh-my-goodness-I-need-another-piece” fudge. Here’s exactly what you’ll need:
- 3 cups granulated sugar – packed firmly into your measuring cup (none of that loosey-goosey scooping!)
- 3/4 cup unsalted butter – cubed and at room temperature (trust me, cold butter just won’t melt right)
- 2/3 cup evaporated milk – not regular milk, not condensed milk – evaporated is the magic ingredient here
- 12 oz semi-sweet chocolate chips – splurge on the good stuff! I love Ghirardelli or Guittard for that extra smooth melt
- 7 oz marshmallow creme – the secret weapon for that perfect fudge texture
- 1 tsp vanilla extract – pure extract only, please! The imitation stuff just won’t give you that rich depth
A quick tip from my many fudge-making disasters – measure everything before you start! Once that sugar starts boiling, you won’t have time to hunt for ingredients. And yes, I learned that the hard way when I burned my first batch trying to open a new jar of marshmallow creme mid-recipe. Oops!
Step-by-Step Homemade Fudge Instructions
Alright, let’s get to the fun part – making that dreamy homemade fudge! I’ve made this recipe more times than I can count (much to my dentist’s dismay), and I’ll walk you through each step so yours turns out perfect. Don’t let the boiling sugar scare you – just follow along and you’ll be a fudge master in no time!
- Prep Your Pan: Line that 8-inch square baking pan with parchment paper, leaving some overhang on the sides. This isn’t just for easy cleanup – it’s your golden ticket to lifting the whole slab of fudge out later without any breakage. Pro tip: give the paper a quick spritz with cooking spray so it doesn’t stick to your beautiful fudge.
- Melt the Magic: In your saucepan (medium-sized works best), combine the sugar, cubed butter, and evaporated milk. Stir constantly over medium heat until it comes to a full rolling boil. This is crucial – don’t walk away now! Set a timer for exactly 5 minutes and keep stirring. You’ll see the mixture go from grainy to glossy and thick. When it coats the back of your wooden spoon, you’re golden.
- Chocolate Time: Remove from heat and immediately stir in those gorgeous chocolate chips. Keep stirring until they’re completely melted and the mixture looks like liquid silk. This is my favorite part – the smell is absolutely heavenly! If you’re using quality chocolate, you’ll notice how smoothly it incorporates.
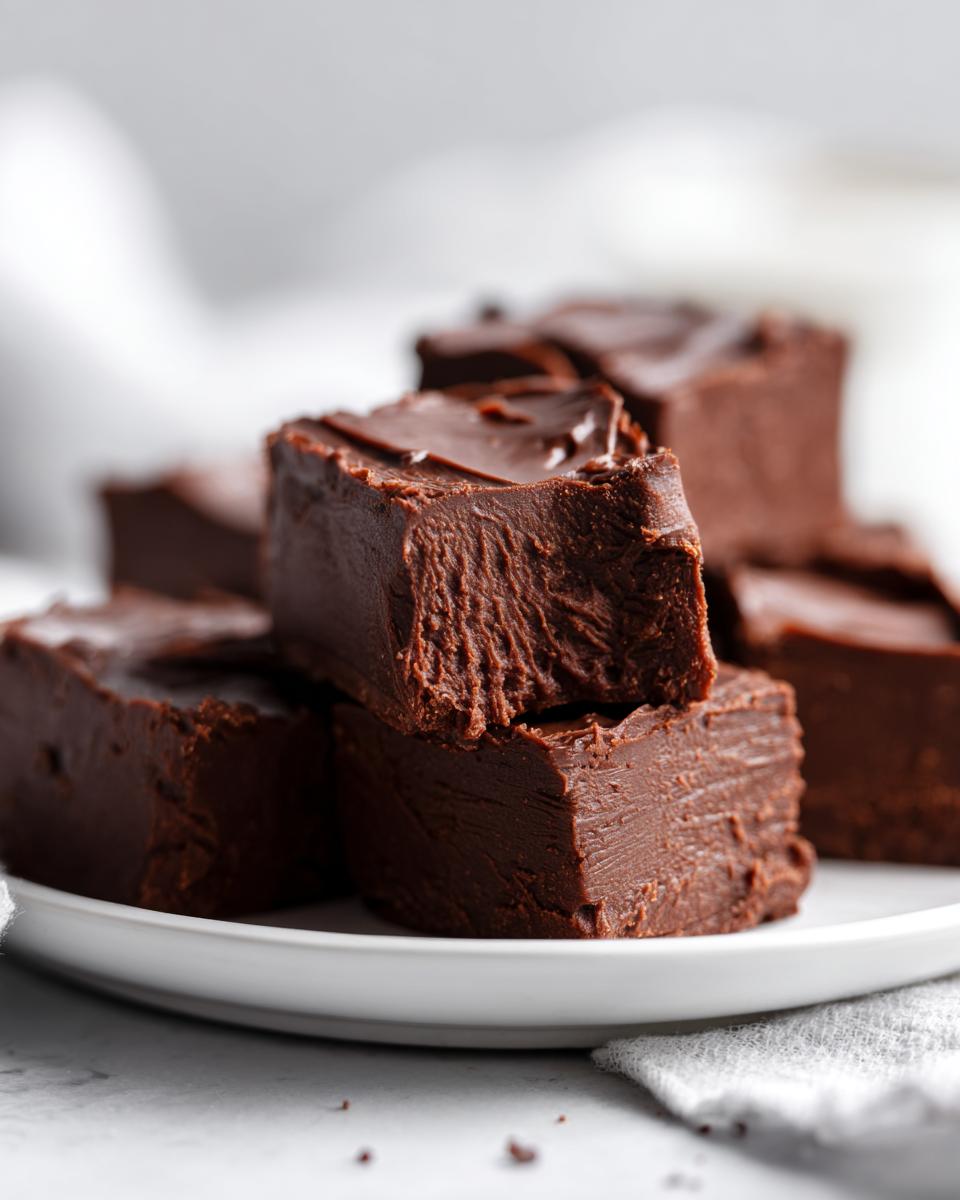
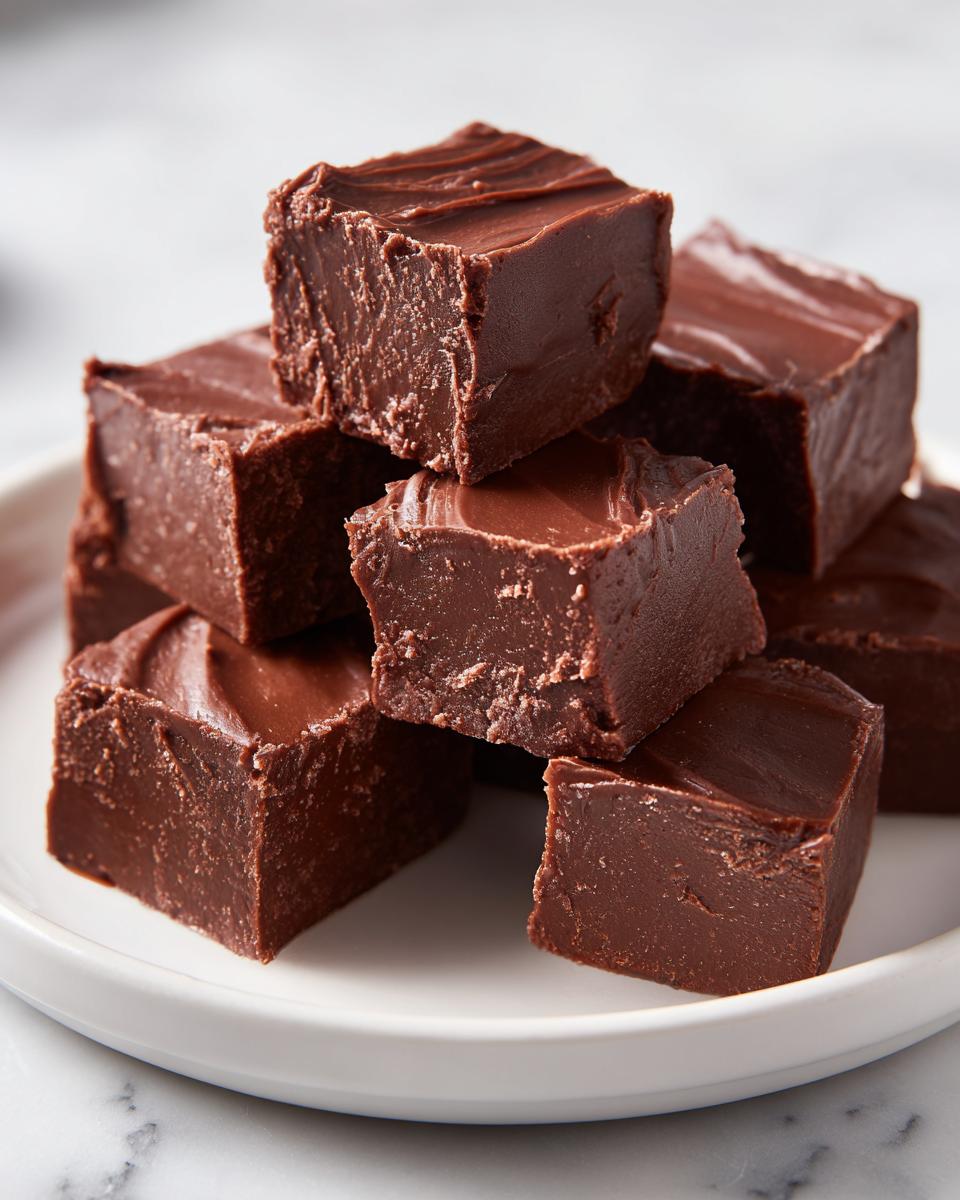
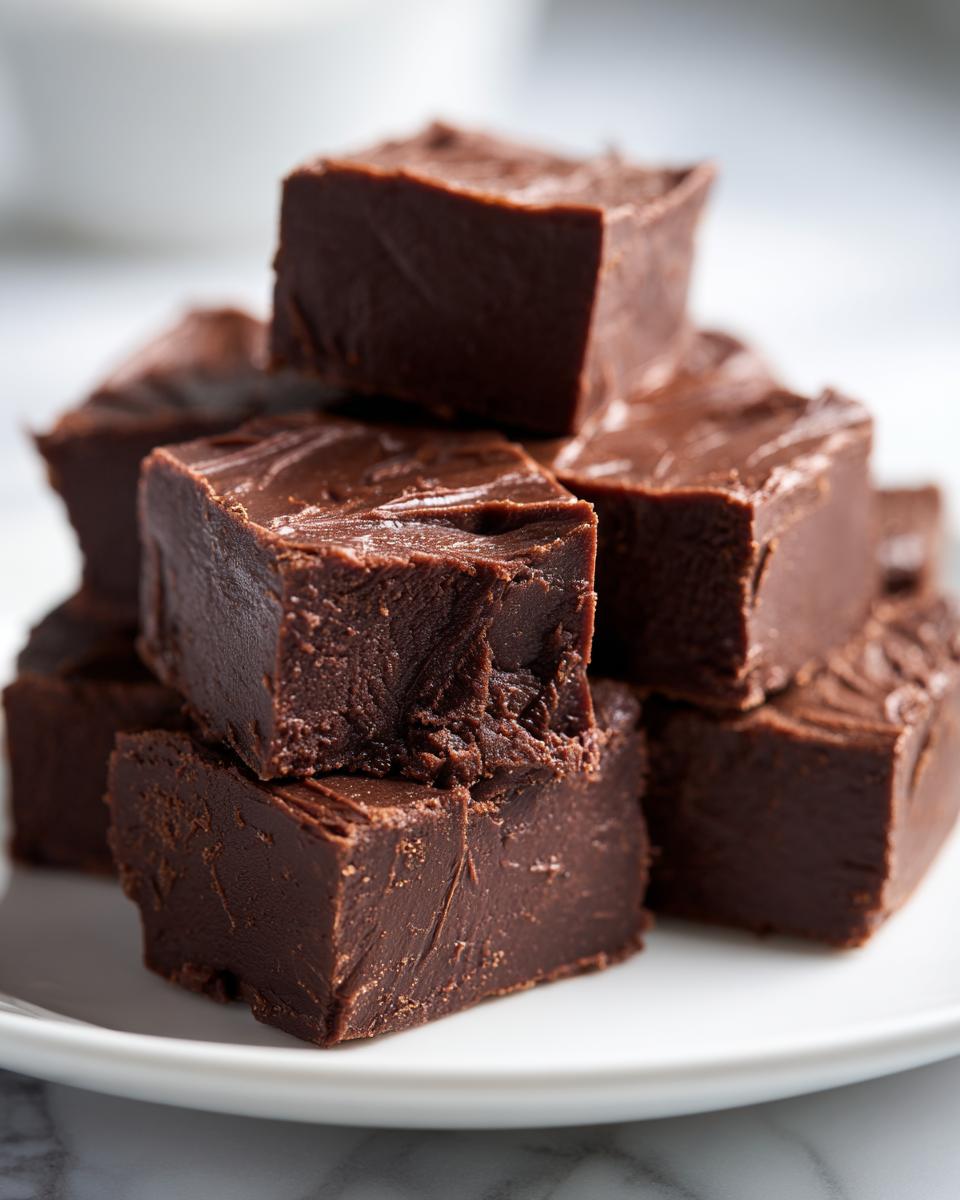
- Final Touches: Now add the marshmallow creme and vanilla extract. Stir vigorously until everything is perfectly smooth and no white streaks remain. The marshmallow creme gives that signature fudge texture – thick but still creamy. Pour it into your prepared pan and smooth the top with a spatula.
- The Hardest Part: Pop it in the fridge for at least 2 hours to set. I know, the waiting is torture! Resist the urge to cut into it early – patience gives you those clean, sharp edges. For extra neat squares, warm your knife under hot water before cutting.
Pro Tip for Smooth Homemade Fudge
Here’s the secret they don’t tell you in most recipes: never stop stirring during that boiling stage! I learned this lesson the messy way when I got distracted answering the door once. Came back to find my beautiful fudge had turned into sugary concrete. Turns out, constant stirring prevents sugar crystals from forming – those little devils that make fudge grainy. Now I treat those 5 minutes like meditation time – just me, my wooden spoon, and dreams of chocolatey goodness.
Homemade Fudge Variations to Try
Okay, confession time – I can never leave a good recipe alone! Once I mastered this basic fudge, I started playing around with flavors. The beauty of this recipe? It’s like the perfect little black dress – dress it up or down, and it always works! Here are my absolute favorite twists that keep the same foolproof method but add some extra pizzazz.
Peanut Butter Swirl: After pouring the fudge into the pan, dollop with 1/2 cup warmed peanut butter (I use creamy, but crunchy would be fun too!) and swirl with a knife. The salty-sweet combo is insane! Pro tip: use natural peanut butter that’s been stirred well – the oil separation can make the fudge greasy.
Mint Chocolate: Swap out 1 tsp vanilla for 1/2 tsp peppermint extract (a little goes a long way!). For extra minty goodness, stir in 1/2 cup crushed peppermint candies or Andes mints with the chocolate chips. It’s like Christmas in every bite!
Rocky Road: Fold in 1 cup mini marshmallows and 1/2 cup chopped walnuts or pecans after everything’s melted. Pour into the pan and top with extra marshmallows – toast them lightly with a kitchen torch if you’re feeling fancy. The textures are so fun!
The best part? All these variations use the same base recipe and take maybe 2 extra minutes of effort. No special techniques, no weird ingredients – just delicious creativity! My kids love helping me brainstorm new combos (last week’s cookies-and-cream version with crushed Oreos was a hit). What will you try first?
Storing Your Homemade Fudge Dessert
Now listen closely, because proper storage is the difference between heavenly fudge and a sad, dried-out disappointment! Here’s how I keep mine tasting freshly made:
At room temperature, your fudge will stay perfect for about a week – just pop it in an airtight container with parchment between layers. But let’s be real, mine never lasts that long! If you’re blessed with self-control, refrigeration extends its life to 2 weeks (though the texture firms up a bit).
For long-term storage, freezing is your best friend. Wrap individual pieces tightly in wax paper, then seal in a freezer bag – they’ll keep for 3 months. When thawing, leave them wrapped overnight in the fridge first to prevent condensation (nothing worse than watery fudge!).
Pro tip: serve your fudge slightly chilled but not cold – about 15 minutes out of the fridge lets the flavors shine while keeping that dreamy melt-in-your-mouth texture. Unless you’re like me and eat it straight from the freezer at midnight… no judgment!
Homemade Fudge FAQs
After making hundreds of batches (and yes, eating most of them myself), I’ve answered every fudge question under the sun! Here are the big ones that always come up:
Can I use milk chocolate instead of semi-sweet?
You absolutely can, but listen up – milk chocolate makes sweeter, softer fudge. I like to do half milk chocolate, half semi-sweet for balance. White chocolate works too, but add 1 extra tbsp butter since it’s drier.
Why did my fudge crystallize?
Ah, the dreaded sugar crystals! This happens when sugar sticks to the pan sides or you stop stirring. Always wipe down the pan sides with a wet pastry brush, and stir nonstop during boiling. If crystals form, strain the mixture before adding chocolate.
How do I fix grainy fudge?
Don’t panic! Pop it back in the saucepan with 2 tbsp evaporated milk, heat gently while stirring until smooth. Pour into a fresh pan and rechill. Works like magic!
Can I double the recipe?
Yes! Use a bigger pan (9×13 works great) and extend boiling time by 1-2 minutes. Just know it’ll take longer to set – I usually give it 3 hours in the fridge.
Is evaporated milk essential?
Short answer? Yes. The concentrated milk gives that signature creamy texture. In a pinch, you can make your own by simmering regular milk until reduced by half, but store-bought evaporated milk is way more consistent.
Nutritional Information
Now let’s be real – we’re not eating fudge for its health benefits! But since you asked, here’s the scoop on what’s in each delicious square. Remember, these numbers are estimates based on my exact ingredients – your favorite chocolate brand might tweak them slightly.
Per serving (that’s one generous 1-inch piece, if you can stop at just one!):
- 220 calories – totally worth every single one
- 11g fat (7g saturated) – hello, rich butter and chocolate goodness
- 32g carbs – mostly from that dreamy sugar-chocolate combo
- 1g protein – just enough to pretend it’s balanced
This is absolutely a special occasion treat – I’m not suggesting you eat the whole pan in one sitting (though I won’t judge if you do!). Everything in moderation, right? Except maybe moderation when it comes to homemade fudge…
Homemade Fudge
Ingredients
Equipment
Method
- Line an 8-inch square baking pan with parchment paper.
- In a saucepan, combine sugar, butter, and evaporated milk. Stir over medium heat until boiling.
- Boil for 5 minutes, stirring constantly.
- Remove from heat and stir in chocolate chips until melted.
- Add marshmallow creme and vanilla extract. Mix until smooth.
- Pour the mixture into the prepared pan and spread evenly.
- Chill in the refrigerator for 2 hours before cutting into squares.