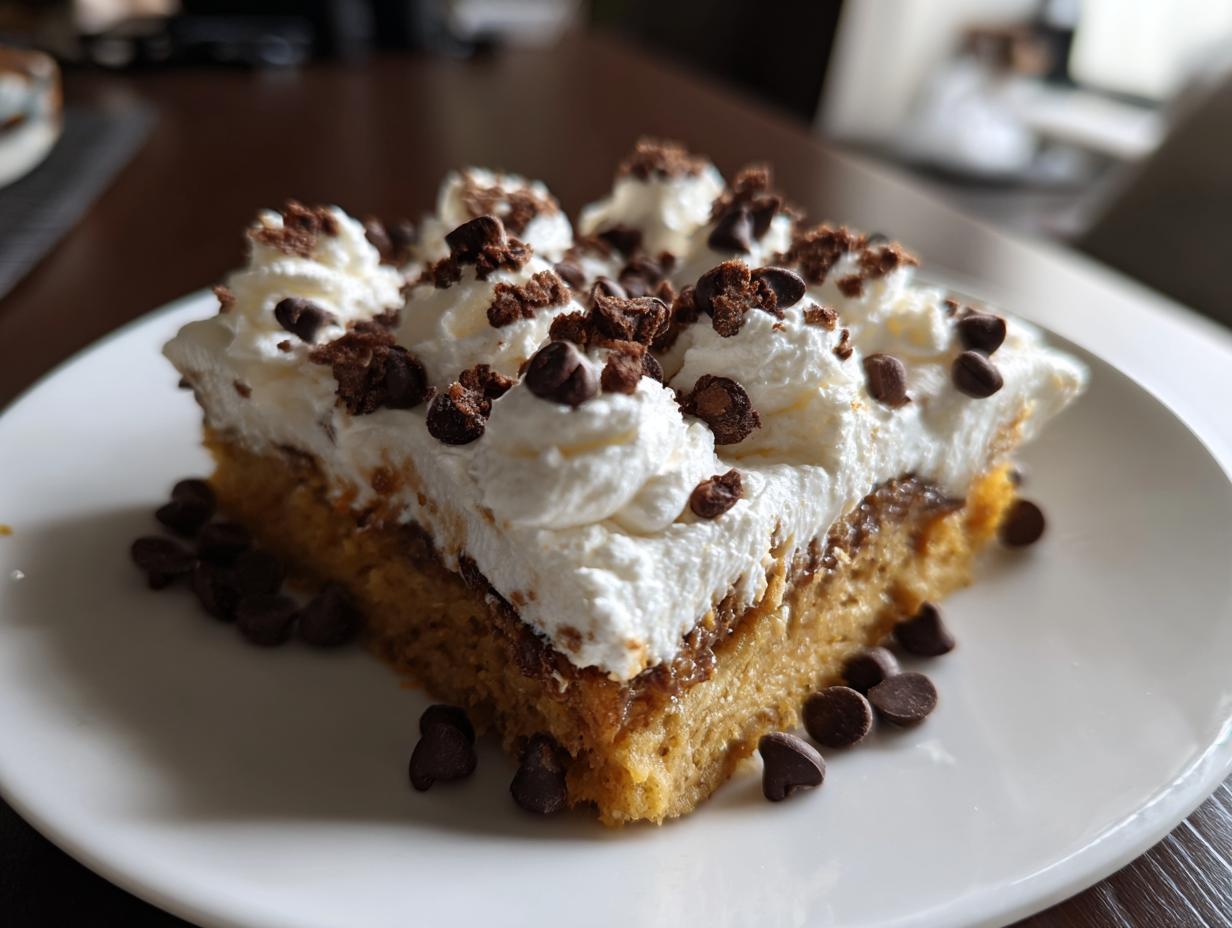
There’s something magical about dessert recipes, isn’t there? Whether it’s a Tuesday night pick-me-up or the grand finale to a special dinner, a sweet treat always brings smiles. I’ll never forget the first time I made this simple dessert for my niece’s birthday – her eyes lit up when she saw the chocolate chips sprinkled over fluffy whipped cream. That’s the beauty of these recipes – they’re easy enough for weeknights but special enough for celebrations. The best part? You probably have all the ingredients in your pantry right now. Just flour, sugar, and a little love transform into something that feels like a hug in dessert form.

Why You’ll Love These Dessert Recipes
Oh my goodness, where do I even begin? These dessert recipes are my absolute go-to when I need something quick, delicious, and guaranteed to impress. Here’s why you’ll fall head over heels for them too:
- Crazy easy to make – Seriously, if you can mix flour and sugar, you’ve got this! I’ve whipped these up when surprise guests arrive and always get asked for the “secret” recipe.
- Endlessly customizable – Swap chocolate chips for berries, add nuts, or drizzle with caramel. It’s like a blank canvas for your sweet tooth!
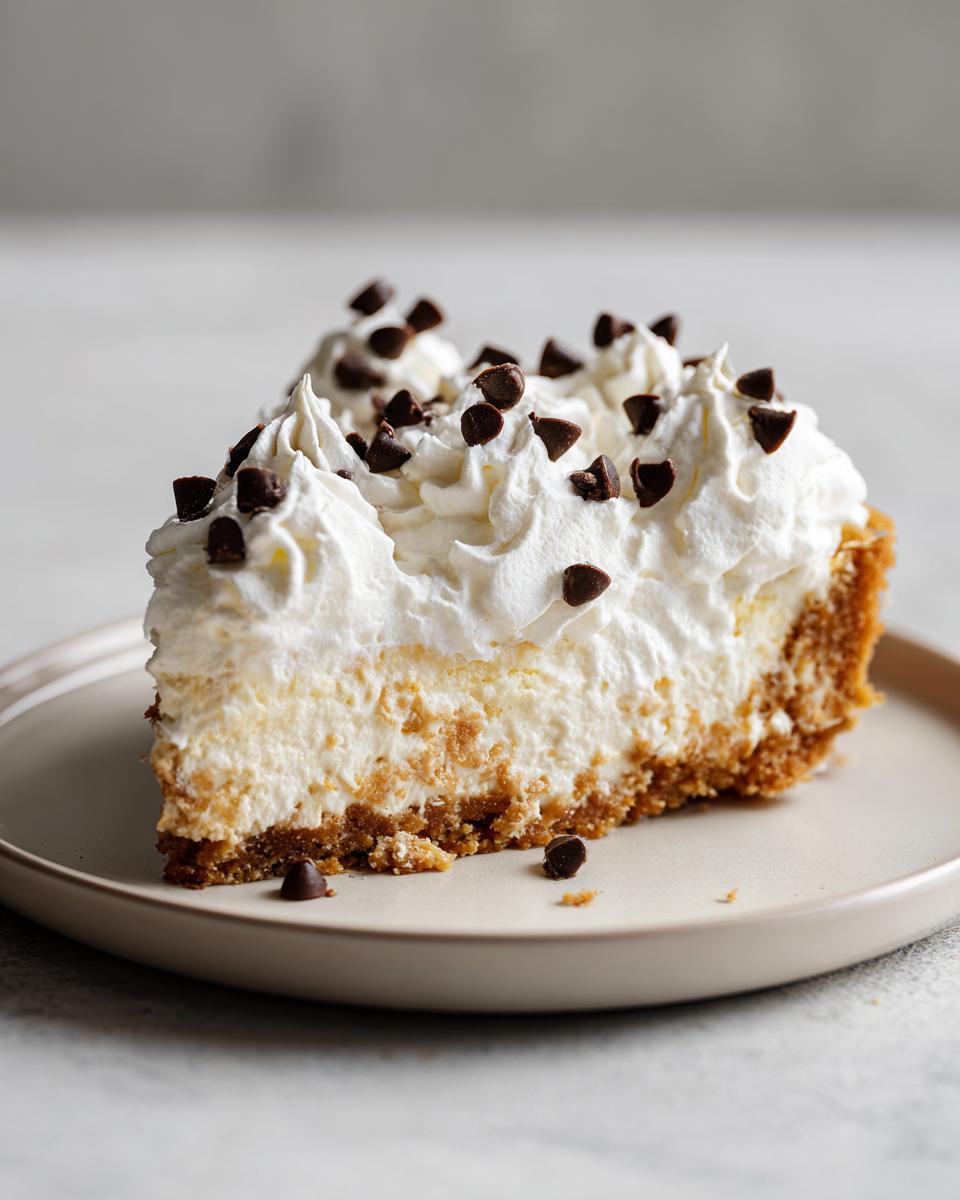
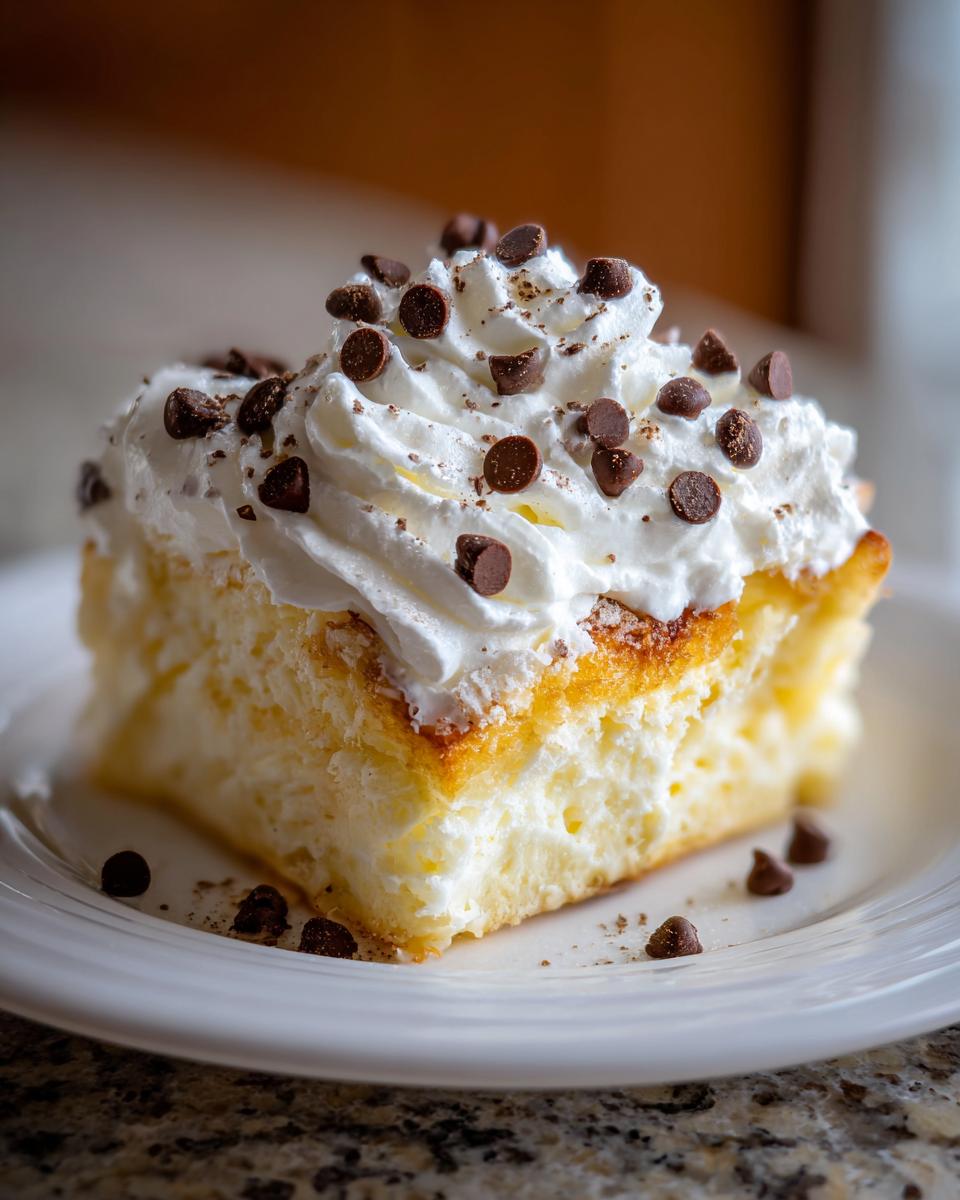
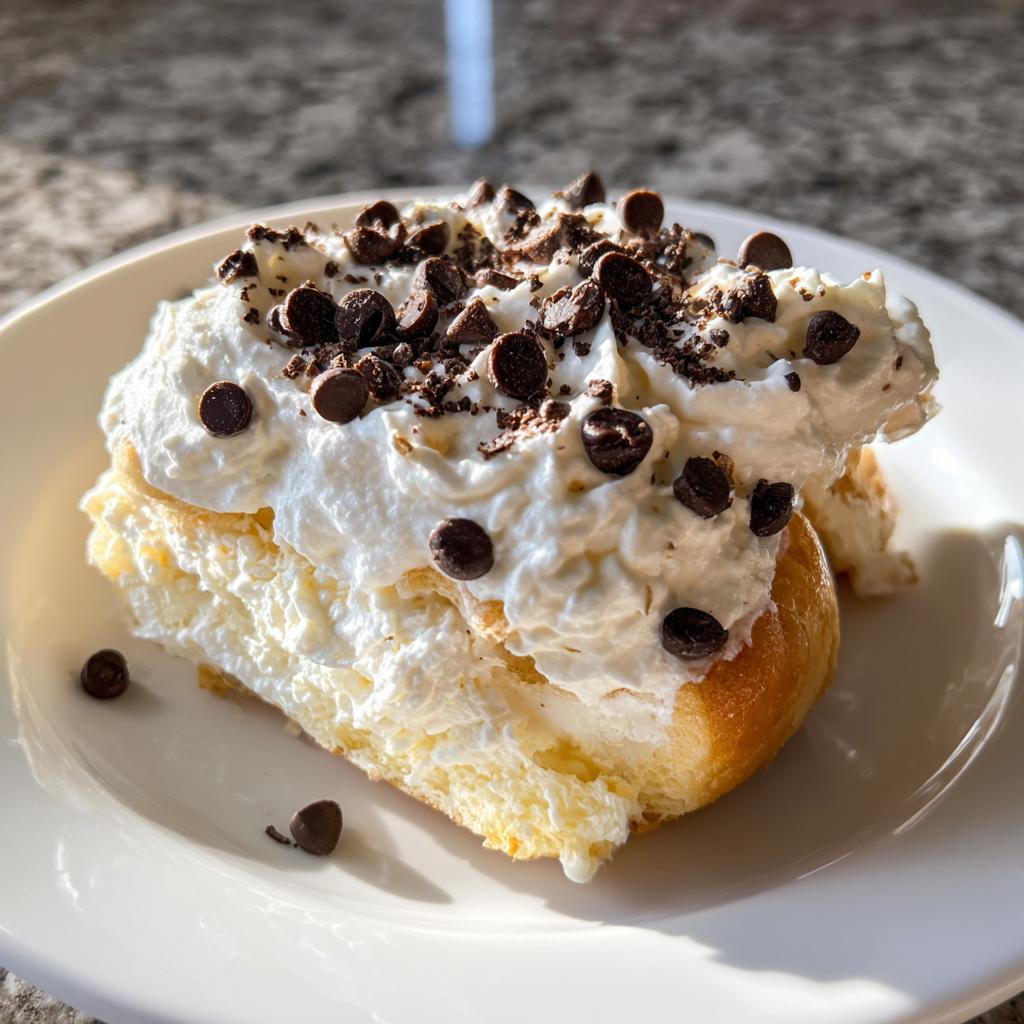
- Perfect texture every time – That crisp base with fluffy cream topping? Pure magic. My niece calls it “cloud cake” because it’s so light.
- Budget-friendly ingredients – No fancy equipment or expensive items needed. Just check out my favorite dessert staples that won’t break the bank.
- Ready in a flash – From mixing bowl to mouth in under 35 minutes? Yes please! Perfect for those “I need chocolate NOW” moments.
Trust me, once you try these, you’ll wonder how you ever lived without them in your recipe rotation!
Ingredients for These Dessert Recipes
Okay, let’s talk ingredients! This is where the magic starts – with simple pantry staples that come together like old friends. I’ve made this recipe so many times I could probably do it in my sleep, but I still double-check my ingredients because you want everything just right. Here’s what you’ll need:
For the Base:
- 1 cup flour – I use all-purpose, but honestly whatever you have on hand works just fine. No fancy flour required here!
- 1/2 cup sugar – Regular granulated sugar does the trick. Though sometimes when I’m feeling fancy, I’ll use brown sugar for a deeper flavor – my little secret!
For the Topping:
- 1 cup whipped cream – Freshly whipped is best if you can swing it, but store-bought works in a pinch. Just don’t tell my grandma I said that!
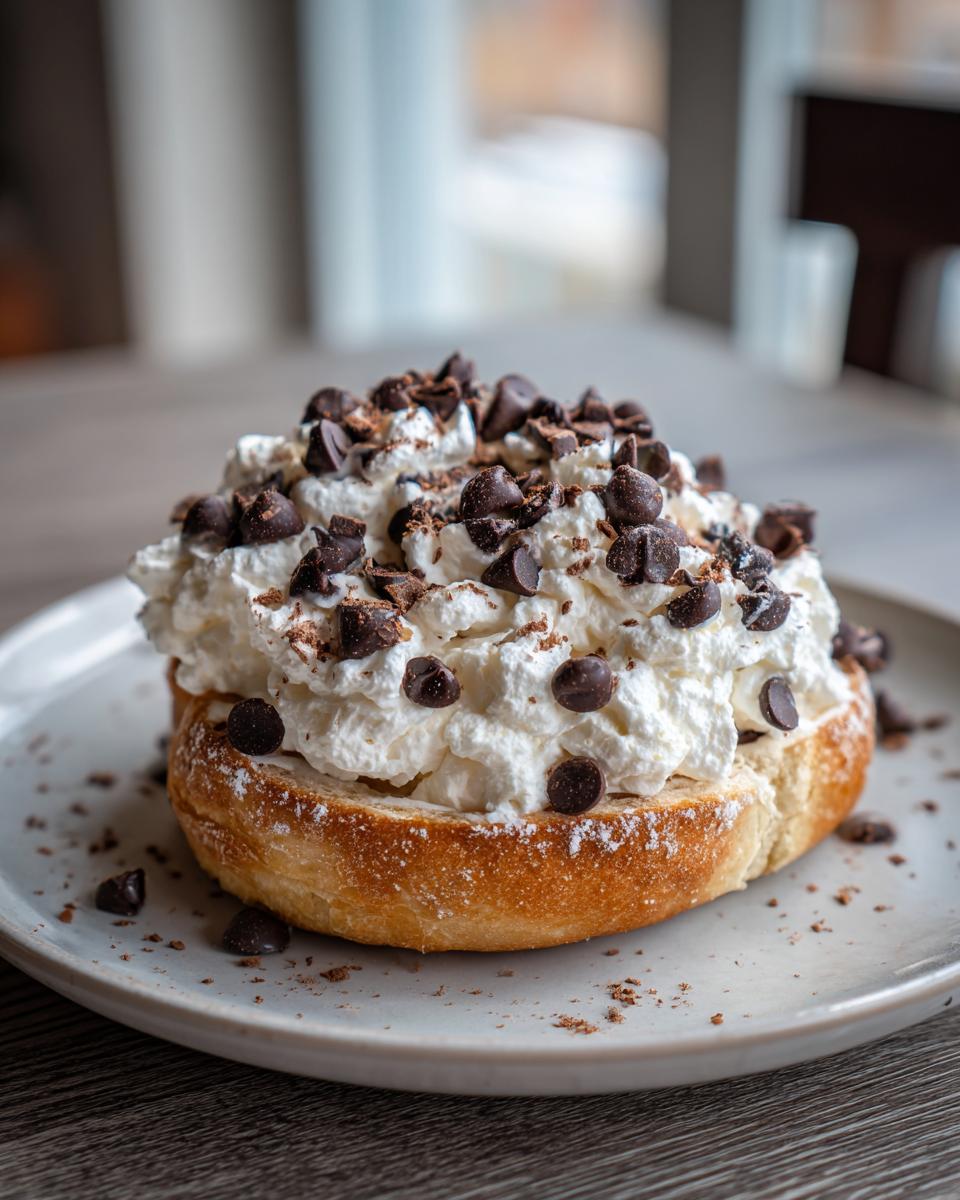
- 1/4 cup chocolate chips – I love mini chips for even distribution, but regular-sized work too. Oh, and sometimes I sneak in extra chips… but that’s between us!
See? Nothing complicated here. Just honest ingredients that make something truly special. Now let’s get mixing!
Equipment Needed for These Dessert Recipes
Now let’s talk tools, my friends – and I promise we’re keeping it super simple! When I first started baking, I got overwhelmed by fancy kitchen gadgets. But for these dessert recipes? You only need two trusty items that everyone has:
- Mixing bowl – Any ol’ bowl will do, but I’m partial to my big ceramic one that’s seen more cookie dough than I’d care to admit!
- Baking tray – No special pans required here. I’ve even used a pizza pan in a pinch (don’t judge – desperate times call for dessert measures!)
See? Told you it was easy. Now let’s get to the good part – actually making these treats!
How to Make These Dessert Recipes
Alright, ready to make some magic happen? I can practically smell the sweet goodness already! This is the fun part where simple ingredients transform into something your whole family will beg for. I’ll walk you through each step – don’t worry, it’s easier than you think!
Preparing the Base
First things first – let’s get that oven toasty! Preheat it to 350°F (175°C) while you mix the base. I always do this first because nobody wants to sit around waiting for an oven to heat up! Now, grab your mixing bowl – remember my trusty ceramic one? Dump in that cup of flour and half cup of sugar. Mix them together until they’re best friends – no lumps allowed! You’re looking for it to look like fine sand. Takes me about a minute of good stirring with a wooden spoon (and working off that dessert I’m about to eat!). Spread this evenly on your baking tray – I use the back of a spoon to smooth it out nice and flat. Pop it in the oven for exactly 20 minutes. Set a timer – trust me, you don’t want to forget it like I did that one time… That was a sad day.
Adding the Topping
Here comes the best part! When your timer dings, take out the baked base and let it cool completely – I know it’s tempting to rush, but patience makes perfect here. If you put toppings on too soon, you’ll get a melty mess (learned that the hard way!). Once cooled, spread that glorious whipped cream over the top like you’re frosting a cake. Be generous – no skimping allowed! Then, sprinkle those chocolate chips like you’re making it rain chocolate. Pro tip: try different toppings for holidays – I love using orange and black sprinkles for a Halloween twist. Sometimes I’ll add sliced strawberries or banana coins too – let your imagination run wild! Slice it up and watch it disappear faster than you can say “seconds please!”
See? I told you it was easy. Now go impress someone with your new dessert superpower!
Tips for Perfect Dessert Recipes
Listen up, my fellow dessert lovers – I’ve made every mistake in the book so you don’t have to! Here are my hard-earned secrets for making these recipes absolutely foolproof:
- Oven thermometer is your BFF – That dial on your oven? Probably lying to you. I keep a cheap oven thermometer inside to make sure it’s really at 350°F. Game changer!
- Fresh whipped cream makes all the difference – I know the canned stuff is tempting, but take 2 minutes to whip your own. Add a splash of vanilla – you’ll thank me later.
- Cool completely before topping – I know it’s hard to wait, but warm base + whipped cream = sad puddle. Ask me how I know!
- Cut with a hot knife – Run your knife under hot water and dry it before slicing. Clean cuts every time – no more messy edges!
- Storage smarts – These keep best in the fridge, but let them sit out 10 minutes before serving. Cold dulls the flavors, and we want maximum deliciousness!
Follow these tips and you’ll be the dessert hero at every gathering. Promise!
Variations for These Dessert Recipes
Ooooh, this is where the real fun begins! Once you’ve mastered the basic recipe (which I know you have, superstar baker!), it’s time to play around. My kitchen turns into a dessert lab when I start experimenting – here are my favorite twists that always steal the show:
- Berry Bliss – Swap out chocolate chips for fresh raspberries or sliced strawberries. The tartness cuts through the sweetness perfectly. My summer go-to!
- Nutty Professor – Fold chopped pecans or almonds into the base for extra crunch. Goes amazing with caramel drizzle – just saying!
- Tropical Vacation – Top with pineapple chunks and toasted coconut flakes. Close your eyes and you’re practically on the beach!
- PB&J Remix – Spread a thin layer of jam under the whipped cream, then sprinkle with peanut butter chips. Kid-approved (and husband-approved too)!
- Mocha Madness – Add a tablespoon of instant coffee to the base mix. Chocolate + coffee = match made in dessert heaven.
The possibilities are endless – what will your signature twist be? Run wild and make it yours!
Serving Suggestions for These Dessert Recipes
Oh, presentation is half the fun with these desserts! I love serving them on my grandma’s vintage cake stands – makes even a simple treat feel fancy. Pair it with a strong cup of coffee (the bitterness balances the sweetness perfectly) or herbal tea for a cozy afternoon pick-me-up. For parties, I cut them into tiny squares and arrange them on a platter – they disappear faster than you can say “seconds please!” Pro tip: dust with powdered sugar right before serving for that picture-perfect finish. Trust me, your guests will think you spent hours in the kitchen!
Nutritional Information for These Dessert Recipes
Okay, let’s talk numbers – but don’t worry, we’ll keep it quick and painless! Per serving (and yes, I totally understand if you eat two… no judgment here!), here’s the nutritional breakdown for these heavenly treats:
- Calories: About 250 (worth every single one!)
- Carbohydrates: 40g (mostly from that delicious sugar-high)
- Protein: 3g (hey, every bit counts!)
- Fat: 10g (6g saturated – blame the heavenly whipped cream)
- Fiber: 2g (sometimes I add more if I’m feeling virtuous)
A quick heads up: these numbers can vary depending on your exact ingredients. Store-bought whipped cream might bump up the fat, while using sugar alternatives changes the carb count. But let’s be real – when a dessert tastes this good, who’s counting? Enjoy every guilt-free bite!
Frequently Asked Questions About Dessert Recipes
Oh, I get asked these questions all the time – and I totally get it! When you find a recipe you love, you want to customize it to your needs. Here are the most common questions that land in my inbox (and my real-talk answers!)
Can I use gluten-free flour in these dessert recipes?
Absolutely! I’ve had great results with a 1:1 gluten-free flour blend. My friend who’s celiac swears by using 1/4 teaspoon xanthan gum per cup of GF flour too – gives it that perfect texture we all love. Just watch the baking time as GF flours sometimes brown faster!
How should I store leftovers?
Cover them tightly and pop them in the fridge – they’ll stay delicious for 2-3 days. Pro tip: place parchment between layers if stacking. The whipped cream might weep a little, but a quick stir before serving fixes that right up!
Can I make these ahead of time?
You bet! I often bake the base a day ahead and keep it at room temperature (covered). Just add toppings right before serving. If you’re really in a pinch, the whole assembled dessert holds up okay for a few hours in the fridge.
What if I don’t have whipped cream?
No stress! Greek yogurt works surprisingly well (just add a bit of honey to sweeten). Or try pudding mix prepared with milk – instant fancy custard topping! I’ve even seen folks use softened ice cream in emergencies. Got more questions? Drop me a line – I love helping troubleshoot baking adventures!
Can I freeze these dessert recipes?
The base freezes beautifully for up to a month! Just wrap it tightly. But I wouldn’t freeze it with toppings – whip those up fresh when you’re ready to serve. Thaw the base at room temp for about an hour before dressing it up!
Ingredients
Equipment
Method
- Preheat the oven to 350°F (175°C).
- Mix the flour and sugar in a bowl.
- Spread the mixture on a baking tray and bake for 20 minutes.
- Let it cool, then top with whipped cream and chocolate chips.
Nutrition
Notes
Tried this recipe?
Let us know how it was!For more amazing recipes, be sure to check out our other sections to explore a variety of ideas that will enrich your cooking experience. Each section offers its own unique flavors to ensure a delightful culinary journey:
Easy and Quick Recipes: A collection of dishes that guarantee delicious meals with minimal effort and time.
Healthy Recipes: Discover healthy and delicious options that fit your lifestyle.
Desserts: A diverse selection of sweets that will add a special touch of sweetness to your table.
Dinner Recipes: Delicious and easy-to-make recipes that will make your dinner a memorable occasion.