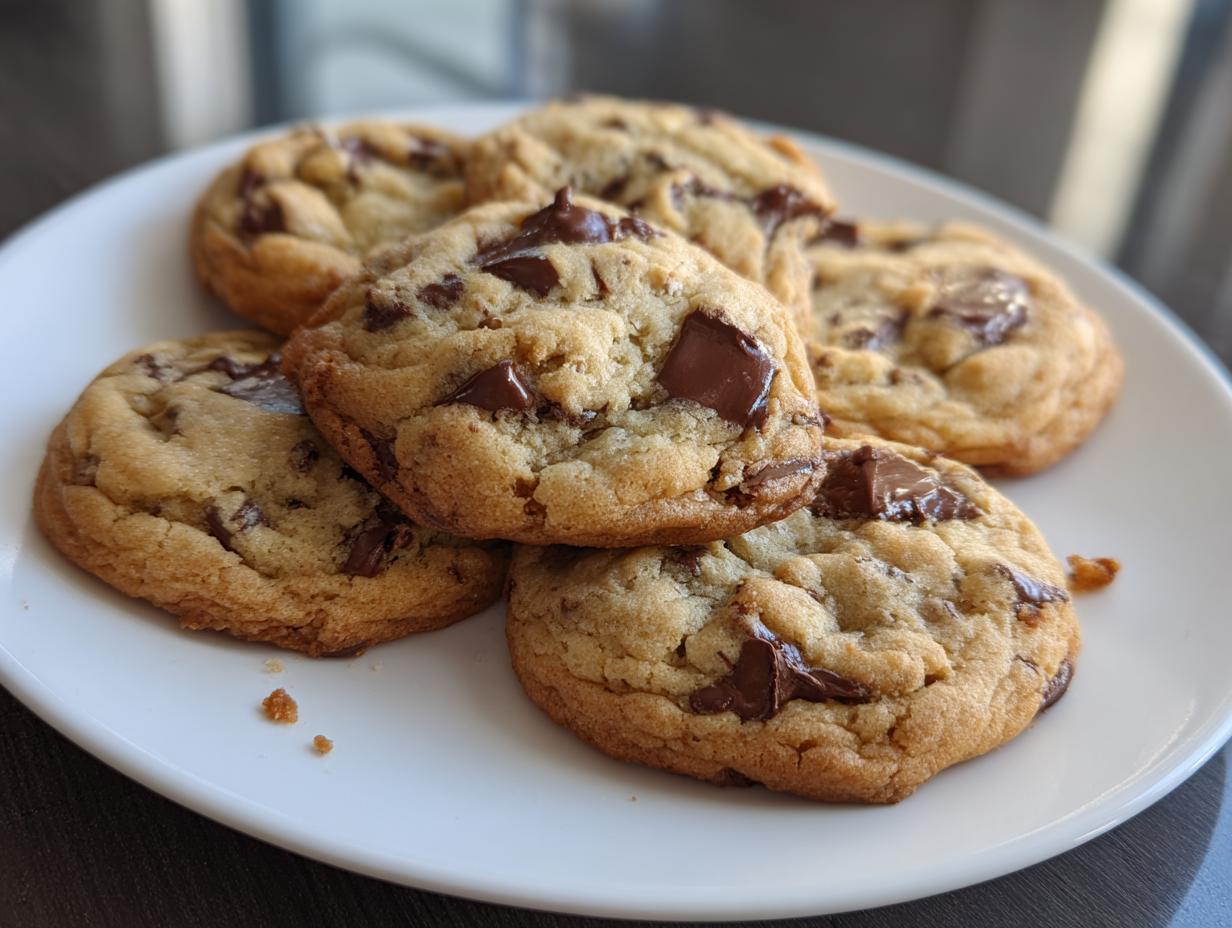
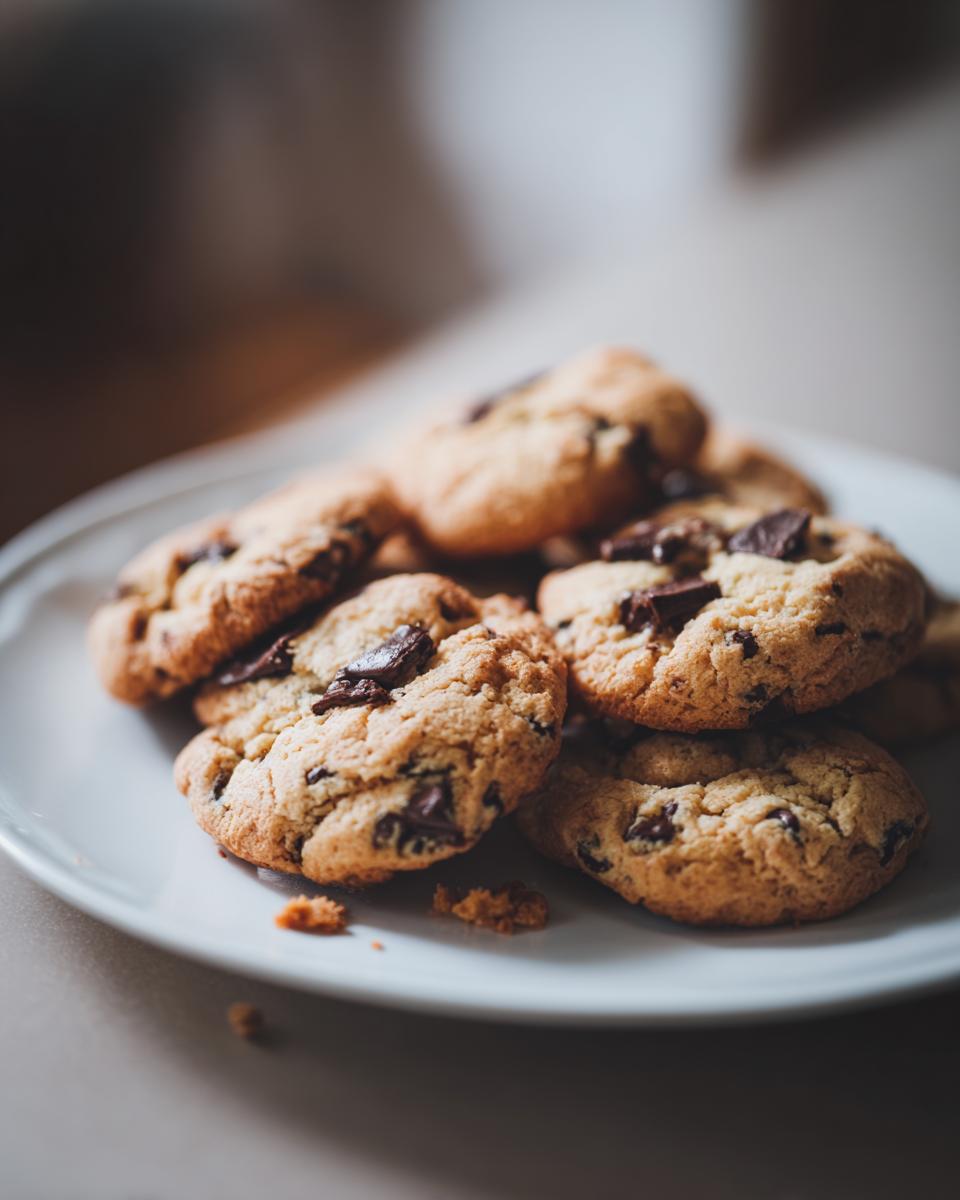
There’s something magical about a warm chocolate chip cookie fresh from the oven, isn’t there? That first bite where the chocolate’s still melty and the edges are just crisp enough – it’s pure happiness in dessert form. This recipe has been my go-to for years, whether I’m baking with my niece after school or whipping up a batch for book club. Out of all the dessert recipes in my collection, these cookies get requested the most. They’re the kind of treat that makes people hover around the kitchen, sneaking dough from the bowl and counting down the minutes until they’re done baking.
I remember making these exact cookies with my grandma when I was little. She’d let me press the chocolate chips into the dough balls with my fingers “so every cookie gets extra love,” she’d say. Now I do the same thing with my kids – though we usually end up with more chocolate on our faces than in the cookies! What I love most about this recipe is how forgiving it is. Even when I’m distracted (which happens a lot in my chaotic kitchen), these cookies turn out perfect every time. The smell alone is enough to make my whole house feel like home.
Why You’ll Love These Chocolate Chip Cookies
Oh, these cookies…they’re my little miracles! Here’s why I think you’ll fall in love with them just like I did:
- Quick magic: You’re literally 30 minutes away from warm cookie bliss – faster than most delivery!
- Pantry staples: No fancy ingredients here – just good old flour, sugar, and chocolate. Though I won’t judge if you “accidentally” add extra chips.
- Crowd-pleaser: Kids, grown-ups, even grumpy neighbors soften up when you show up with these.
- Memory maker: That heavenly smell filling your kitchen? Better than any air freshener.
Every time I make these, I swear they disappear faster than socks in the dryer. And really – who can resist edges that stay crispy while the centers stay gloriously chewy?
Ingredients for the Best Chocolate Chip Cookies
Okay, let’s talk ingredients – because great cookies start with great stuff! I’ve made these so many times I could probably recite this list in my sleep. But trust me, measuring carefully makes all the difference here. Here’s exactly what you’ll need:
Dry Ingredients:
- 2 1/4 cups all-purpose flour (spooned and leveled – no packing!)
- 1 teaspoon baking soda
- 1 teaspoon salt (I use kosher, but table salt works too)
Wet Ingredients:
- 1 cup unsalted butter, softened (this means you can press it easily but it’s not melted)
- 3/4 cup granulated sugar
- 3/4 cup packed brown sugar (dark gives more flavor, but light works too)
- 2 large eggs (room temp is ideal)
- 2 teaspoons vanilla extract (the real stuff – it matters!)
The Good Stuff:
- 2 cups chocolate chips (I’m team semi-sweet, but use what you love)
See? Nothing crazy – just honest ingredients that work together like magic. Pro tip: Set your butter out about an hour before baking. Too soft and your cookies spread too much; too cold and they won’t cream properly. The butter sweet spot is when it gives slightly when pressed but still holds its shape. Now let’s make some cookie magic happen!
Equipment You’ll Need for These Dessert Recipes
Okay, let’s gather our cookie-making gear! The beauty of this recipe is you don’t need any fancy kitchen gadgets. Here’s what I always have ready when the chocolate chip craving hits:
- A trusty mixing bowl (mine’s battered and beloved, just like grandma’s was)
- Baking sheets – anything heavy-duty that won’t warp in the oven
- Parchment paper (or a silicone mat if you’re feeling fancy – both work great!)
- Measuring cups and spoons (eyeballing never works for cookies, trust me)
That’s it! No stand mixer required – though I won’t stop you if you want to use one when creaming the butter. A wooden spoon and some elbow grease do the job just fine in my kitchen. Now let’s get baking!
How to Make Chocolate Chip Cookies: Step-by-Step
Alright, cookie time! Let’s walk through this together – I promise it’s easier than remembering where you left your car keys. Just follow these steps and you’ll have perfect chocolate chip cookies ready before your next Netflix episode finishes.
1. Preheat and Prep: First things first – turn that oven to 375°F (190°C). This gives it time to get nice and toasty while we mix. Line your baking sheets with parchment paper (or give them a quick spray if you’re out – we’ve all been there).
2. Mix Dry Ingredients: Grab a bowl and whisk together your flour, baking soda, and salt. I like to do this first because it helps everything get evenly distributed. No one wants a bite of pure baking soda – yuck!
3. Cream Butter and Sugars: Now the fun part! In your biggest bowl, beat the softened butter with both sugars until it’s light and fluffy. This takes about 2-3 minutes with a mixer or a solid arm workout with a wooden spoon. You’ll know it’s ready when it looks like pale cookie dough clouds.
4. Add Wet Ingredients: Crack in those eggs one at a time, mixing well after each. Then pour in the vanilla – that heavenly smell means you’re on the right track! The mixture might look a little curdled at this point, but don’t panic – it’ll come together.
5. Combine Everything: Slowly add your dry ingredients to the wet mixture. I do this in three parts, mixing just until combined each time. Overmixing = tough cookies, and nobody wants that! When there are still a few flour streaks visible, fold in ALL the chocolate chips (plus a handful extra because why not?).
6. Bake to Perfection: Drop tablespoon-sized dough balls onto your prepared sheets, spacing them about 2 inches apart. These bad boys spread! Bake for 9-11 minutes until the edges are golden but the centers still look slightly underdone. Perfect dessert recipes like this rely on carryover cooking – they’ll firm up as they cool.
7. Cool (If You Can Wait): Let the cookies sit on the baking sheet for 5 minutes before transferring to a wire rack. This is the hardest part – resisting the urge to eat them immediately! But trust me, that 5 minutes makes them set up just right.
See? Even if you’re not a baking pro, you can totally handle this. And if your first batch disappears too fast (they always do in my house), just whip up another – that’s the beauty of having simple dessert recipes like this in your back pocket!
Tips for Perfect Chocolate Chip Cookies Every Time
Listen, I’ve made enough cookie disasters to earn my PhD in Chocolate Chip Studies. Here are my hard-won secrets to cookie perfection:
- The butter sweet spot: Too soft? Flat cookies. Too cold? Tough cookies. You want butter that yields to gentle pressure but still holds its shape – like the perfect avocado!
- Eggs at attention: Cold eggs make the dough seize up. Let them sit out for 30 minutes – or pop them in warm water for 5 minutes if you’re impatient like me.
- Bake smarter: Rotate your baking sheet halfway through. Ovens lie about even heating – just like my kids say they’ll clean their rooms.
- Crispy vs. chewy: Want crispy? Bake 11 minutes. Chewy? Pull them at 9. I like to do both and call it “texture variety.”
- My secret weapon: Sprinkle a tiny pinch of sea salt on top before baking. It makes the chocolate taste even more chocolaty – try it!
Remember – even “ugly” cookies taste amazing. The real secret? Making them with love (and maybe extra chocolate chips).
Variations to Try with This Dessert Recipe
Oh, the possibilities! This cookie dough is like your favorite little black dress – perfect as is, but so fun to accessorize. Here are my favorite ways to mix things up when I’m feeling adventurous:
- Nutty buddies: Toss in 1 cup of chopped walnuts or pecans for that satisfying crunch. My uncle swears this makes them “grown-up cookies” (though my kids still devour them).
- Candy swap: Out of chocolate chips? No problem! M&Ms, chopped candy bars, or even crushed peppermints make magical mix-ins. Holiday version? Use red and green M&Ms – instant festive cookies!
- Caramel dreams: Drizzle cooled cookies with warm caramel sauce or press a Rolo candy into each dough ball before baking. Warning: These disappear even faster than usual.
- Sea salt surprise: Sprinkle flaky sea salt on top before baking. The sweet-salty combo will make you swoon – trust me on this one.
The best part? You can make a dozen of each variation and have your own cookie sampler. Not that I’ve ever done that…okay, maybe every weekend.
Storage and Freezing Instructions
Okay, let’s talk about keeping these cookies as delicious as the moment they came out of the oven! Here’s my foolproof system (developed through many, many batches of cookie “research”):
For fresh cookies, stash them in an airtight container at room temperature. I like to layer them with parchment paper so they don’t stick together – though in my house, they rarely last long enough for that to matter! They’ll stay perfect for about 5 days…if you can resist eating them that long.
Want to freeze the dough? My secret is scooping it into balls first, then freezing them on a baking sheet before transferring to a freezer bag. That way you can bake just a few at a time whenever the craving hits – straight from frozen, just add 1-2 minutes to the bake time. The dough keeps beautifully for 3 months.
Already baked cookies freeze great too! Let them cool completely, then pack them tightly in freezer bags with all the air squeezed out. They’ll thaw in minutes at room temp – or you can microwave one for 15 seconds if you need that warm cookie fix ASAP.
Nutritional Information
Okay, let’s talk numbers – not that we’re counting when it comes to cookies! Each of these beauties comes in at about 150 calories, with 8g of fat (5g saturated), 20g carbs, and 2g protein. They’ve got just enough sugar (12g) to make your sweet tooth happy without going overboard.
Now, full disclosure – these numbers can wiggle a bit depending on your exact ingredients. Different chocolate chips, butter brands, or if you go wild with extra mix-ins will change things up. But honestly? Some things are worth the splurge, and homemade chocolate chip cookies definitely make my “worth it” list every time!
Frequently Asked Questions
Can I use margarine instead of butter?
Oh honey, I get this one all the time! While margarine will technically work, it just doesn’t give you that same rich, buttery flavor we love in classic chocolate chip cookies. Margarine has more water content too, which can make your cookies spread more and lose that perfect texture. If you must substitute, go for a high-quality baking margarine – but honestly? Nothing beats real butter in this recipe. It’s worth the splurge!
How do I make gluten-free cookies?
Good news! You can easily adapt this recipe for gluten-free needs. Just swap the all-purpose flour for a 1:1 gluten-free baking blend (I like the ones with xanthan gum already added). The texture might be slightly different, but still delicious! For more gluten-free dessert ideas, check out my friend’s gluten-free chocolate chip cookie variations. Pro tip: Let the dough rest for 30 minutes before baking – it helps the GF flour absorb moisture better.
Why are my cookies coming out flat?
Ah, the dreaded pancake cookies! I’ve been there. Usually it’s one of three things: 1) Your butter was too soft (it should give slightly when pressed but still hold its shape), 2) You didn’t chill the dough (even 30 minutes helps!), or 3) Your baking soda might be old. Test your baking soda by mixing a bit with vinegar – if it doesn’t bubble vigorously, it’s time for a new box. Also, make sure you’re measuring your flour correctly – too little makes cookies spread like crazy!
Can I freeze the cookie dough?
Absolutely! In fact, I always keep some dough balls in my freezer for emergency cookie cravings. Just scoop the dough onto a baking sheet, freeze until solid (about 2 hours), then transfer to a freezer bag. They’ll keep for 3 months! When you’re ready to bake, no need to thaw – just add 1-2 minutes to the baking time. Fresh cookies anytime – it’s like having a dessert vending machine in your freezer!
What’s the secret to soft cookies?
The trick is to pull them out when they still look slightly underdone in the center – about 9 minutes for my oven. They’ll continue cooking on the hot baking sheet as they cool, giving you that perfect soft center with slightly crisp edges. Also, don’t skip the brown sugar – its moisture helps keep cookies soft for days (if they last that long!). Store them in an airtight container with a slice of bread – the cookies will steal moisture from the bread and stay extra soft.
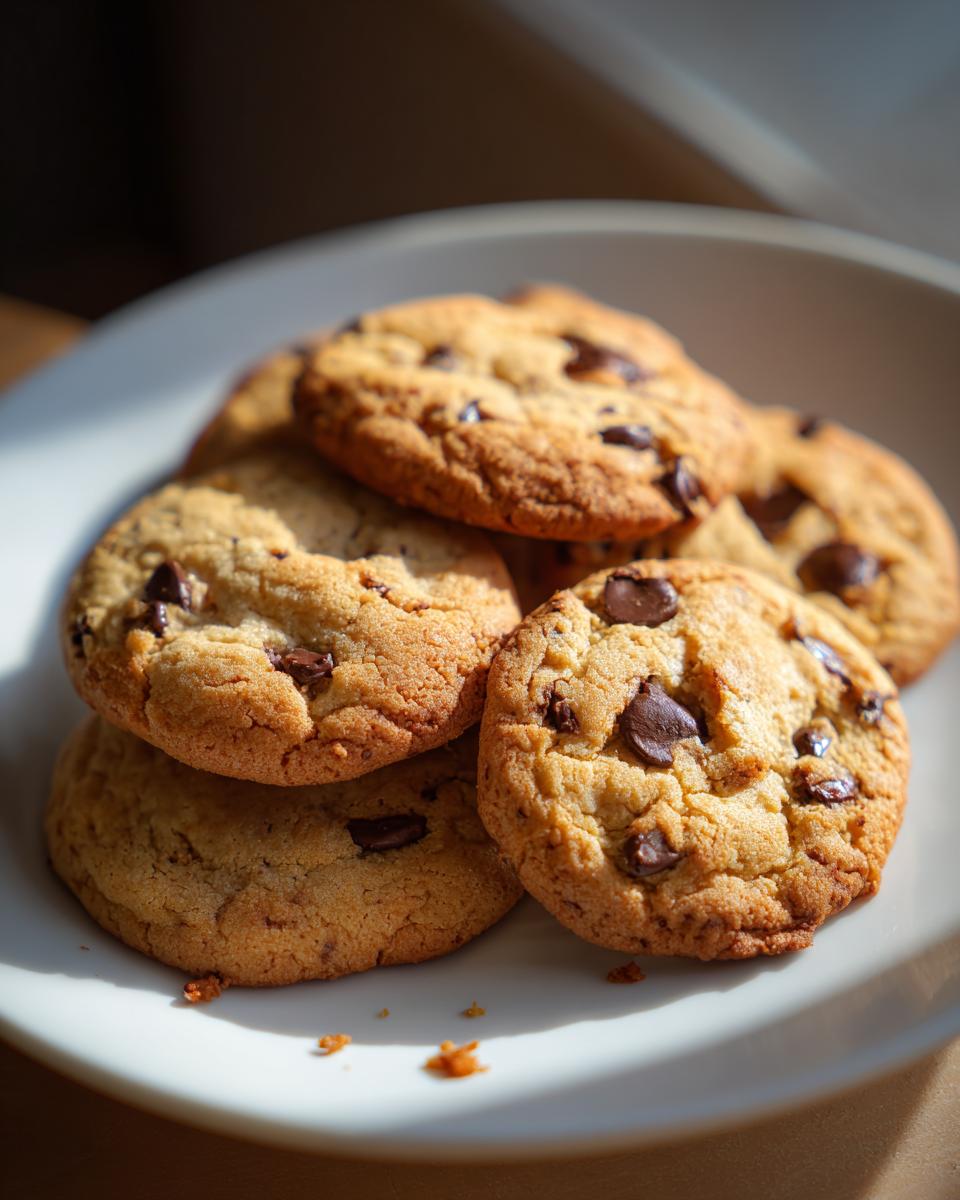
Chocolate Chip Cookies
Ingredients
Equipment
Method
- Preheat your oven to 375°F (190°C). Line a baking sheet with parchment paper.
- In a bowl, whisk together the flour, baking soda, and salt.
- In another bowl, beat the butter, granulated sugar, and brown sugar until creamy. Add the eggs and vanilla, mixing well.
- Gradually add the dry ingredients to the wet mixture, stirring until combined. Fold in the chocolate chips.
- Drop rounded tablespoons of dough onto the baking sheet, spacing them 2 inches apart.
- Bake for 9-11 minutes, or until golden brown. Let cool on the baking sheet for 5 minutes before transferring to a wire rack.