You know those days when you desperately need chocolate but don’t want to fuss with complicated recipes? That’s exactly why I fell in love with easy chocolate bark recipes – they’re my go-to rescue when cravings hit or when I need last-minute hostess gifts. I still remember the Christmas I suddenly realized at 10pm that I’d forgotten to make treats for my neighbors. Panic mode! Then I spotted a half-bag of chocolate chips and some leftover pistachља from holiday baking. Twenty minutes later, I had these gorgeous chocolate slabs flecked with green nuts – way fancier than anything store-bought.
The beauty of chocolate bark? It’s basically foolproof. Forget precise measurements or fancy equipment – I’ve literally made it with microwave-melted chocolate spread on parchment paper with whatever toppings were in my pantry.陵(can substitute foreign characters if necessary) The recipe adapts to any occasion too. My vanilla-loving aunt gets white chocolate bark with crushed candy canes for Christmas. My nephew’s birthday party gets rainbow sprinkle bark. And when I’m feeling fancy? A dark chocolate base with flaky sea salt and dried cherries that looks straight from a boutique chocolatier.
Why You’ll Love These Easy Chocolate Bark Recipes
Listen, I’m not exaggerating when I say chocolate bark is the MVP of my dessert rotation. Here’s why you’ll fall for it too:
- Speed demon: From pantry to plate in under an hour – I’ve literally made it during commercial breaks!
- Pantry raid friendly: Two ingredients minimum (chocolate + whatever toppings you’ve got rolling around in your cabinets)
- Your rules: Like nuts? Add ’em. Hate coconut? Skip it. I once made peppermint bark with crushed candy canes and potato chips (don’t knock it till you try it!)
- Gift goldmine: Toss pieces in cellophane bags with ribbon – instant presents that look way fancier than the 10 minutes they take
- Kid magnet: My nieces go wild decorating their own sections with sprinkles and gummies
Seriously, this is the dessert equivalent of your favorite jeans – comfortable, reliable, and always makes you look good.
Ingredients for Easy Chocolate Bark
Okay, let’s talk ingredients – and I promise, this list is so simple you’ll probably have everything already! The beauty of chocolate bark is how flexible it is, but these are my must-haves for the perfect base:
- 2 cups semi-sweet chocolate chips – I always keep a bag in my pantry for emergencies (and by emergencies, I mean Tuesday afternoons)
- 1 tbsp coconut oil (optional) – This little trick makes the chocolate extra smooth and glossy, but skip it if you don’t have any
Now for the fun part – toppings! Here’s where you can really make it your own:
- 1/2 cup total toppings – Mix and match whatever makes you happy! My current favorites are:
- Crushed pretzels + sea salt (salty-sweet perfection)
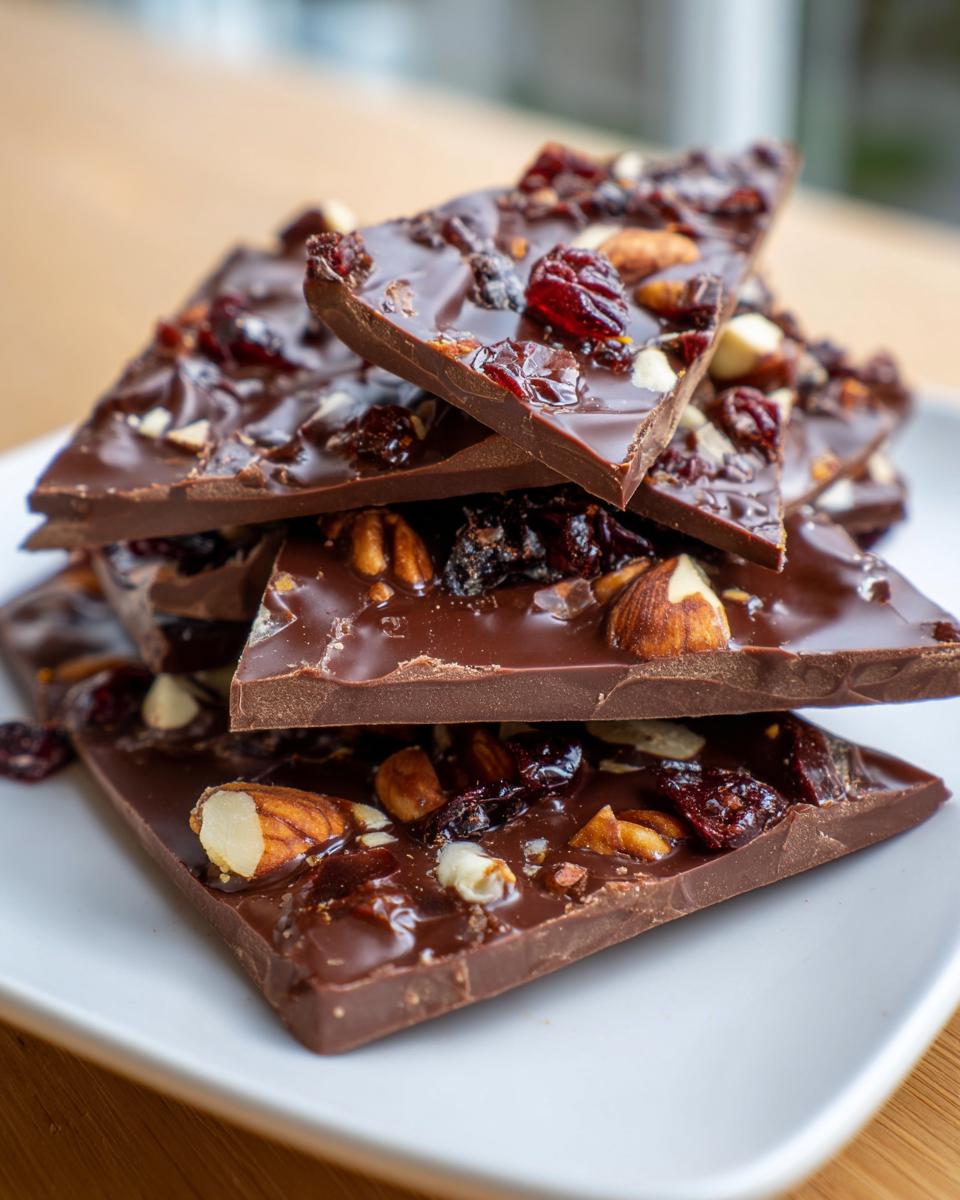
- Dried cranberries + pistachios (so festive!)
- Mini marshmallows + graham cracker crumbs (s’mores vibes)
See? Told you it was simple. The chocolate is the only non-negotiable here – everything else is just bonus deliciousness!
How to Make Easy Chocolate Bark
Alright, let’s get to the fun part – making this ridiculously easy chocolate bark! I promise, even if you’re the type who burns toast, you can handle this. I’ve made it so many times I could probably do it in my sleep (and honestly, I might have once during a late-night chocolate craving). Here’s exactly how I do it:
Step 1: Melt the Chocolate
First things first – grab that microwave-safe bowl and toss in your chocolate chips. Here’s my golden rule: microwave in 30-second bursts, stirring well after each one. Why? Because chocolate is sneaky – it holds its shape even when melting, so you’ve gotta stir to check. Trust me, I learned this the hard way when I zapped it too long and ended up with a grainy mess. If you’re fancy, you can use a double boiler, but let’s be real – the microwave is perfect for lazy bakers like me!
Step 2: Spread and Add Toppings
Now for the artistic part! Pour that glossy melted chocolate onto your parchment-lined baking sheet. I like to use the back of a spoon to spread it to about 1/4 inch thick – uneven edges make it look rustic and homemade (that’s my excuse anyway). Immediately sprinkle your toppings – this is where you can get creative! My current obsession? Crushed peppermint candies with a dusting of edible glitter for holiday gifts. Or try pretzel pieces with a sprinkle of sea salt for that perfect sweet-salty combo. The key is to press toppings gently so they stick but don’t sink completely.
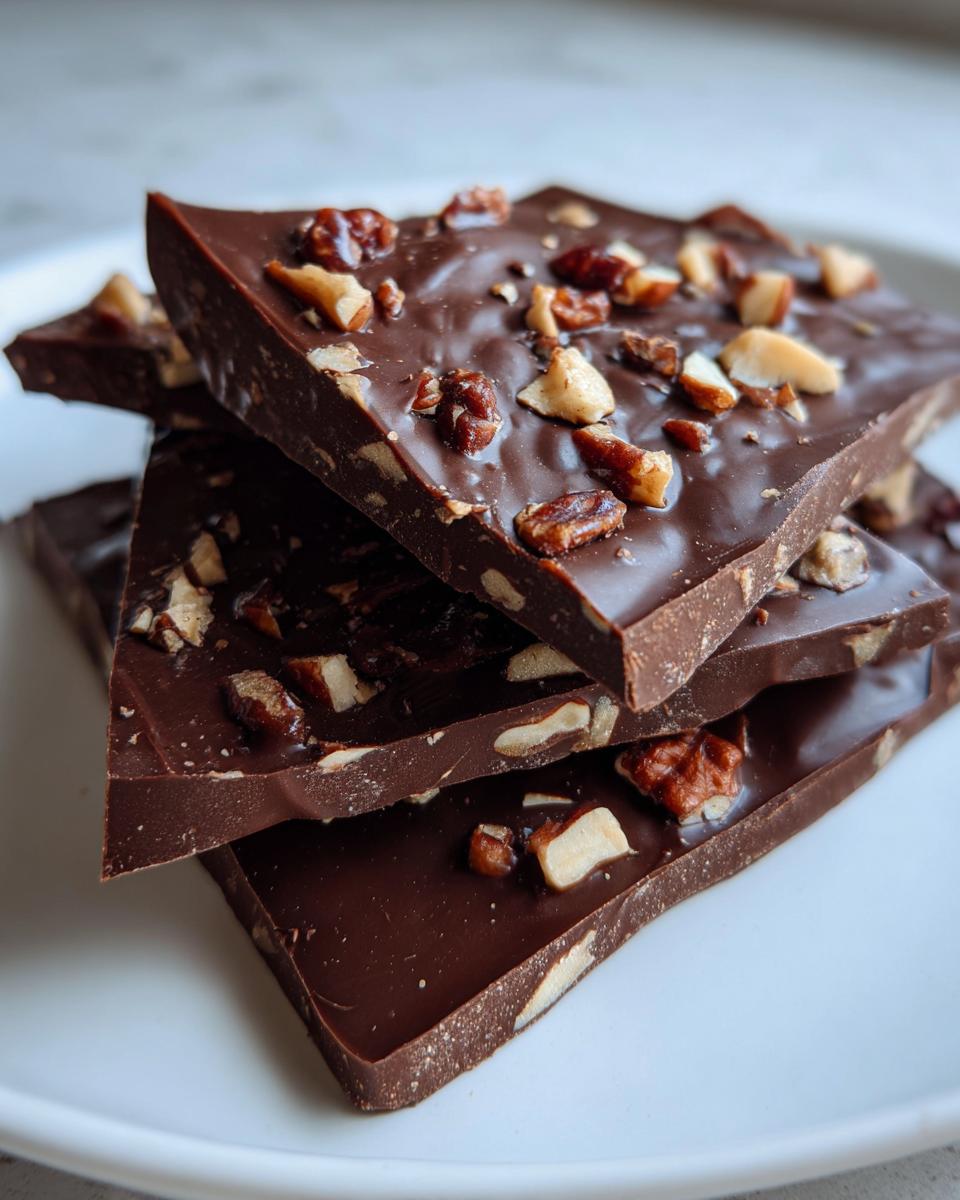
Pop your masterpiece in the fridge for about 30 minutes. I know, waiting is the hardest part – I always sneak a taste of the leftover chocolate in the bowl. Once it’s firm, break it into rustic chunks with your hands (way more fun than cutting neatly!) and try not to eat it all at once. Though no judgment if you do – I’ve been there!
Tips for Perfect Easy Chocolate Bark
After making more chocolate bark than I’d care to admit (what? It’s research!), I’ve picked up some foolproof tricks to guarantee perfect results every time. First – parchment paper is your best friend. I learned this the hard way when I tried skipping it once. Let’s just say my “bark” became permanent kitchen decor on that baking sheet!
Here’s my golden rule: chill it until it’s completely firm. I know, the temptation to break off a piece early is real, but trust me – waiting that full 30 minutes means clean breaks instead of chocolate fingerprints everywhere. If you’re in a hurry, pop it in the freezer for 15 minutes instead.
Storage is simple – an airtight container at room temp works great, unless your kitchen’s warm. Then the fridge is safer. Just beware of condensation! If your chocolate gets those white streaks (called bloom), don’t panic – it’s still totally edible, just not as pretty. Pro tip: adding that tiny bit of coconut oil helps prevent blooming.
Oh, and if your toppings won’t stick? Lightly press them in right after sprinkling. I use the back of a spoon for delicate things like freeze-dried berries. Now go forth and make bark magic!
Easy Chocolate Bark Variations
Oh, the possibilities! Once you master the basic chocolate bark recipe, the real fun begins. I love playing mad scientist with different flavor combos – some turn out surprisingly amazing (looking at you, potato chip bark), while others… well, let’s just say my lavender-infused dark chocolate experiment won’t be repeated. Here are my absolute favorite twists that always impress:
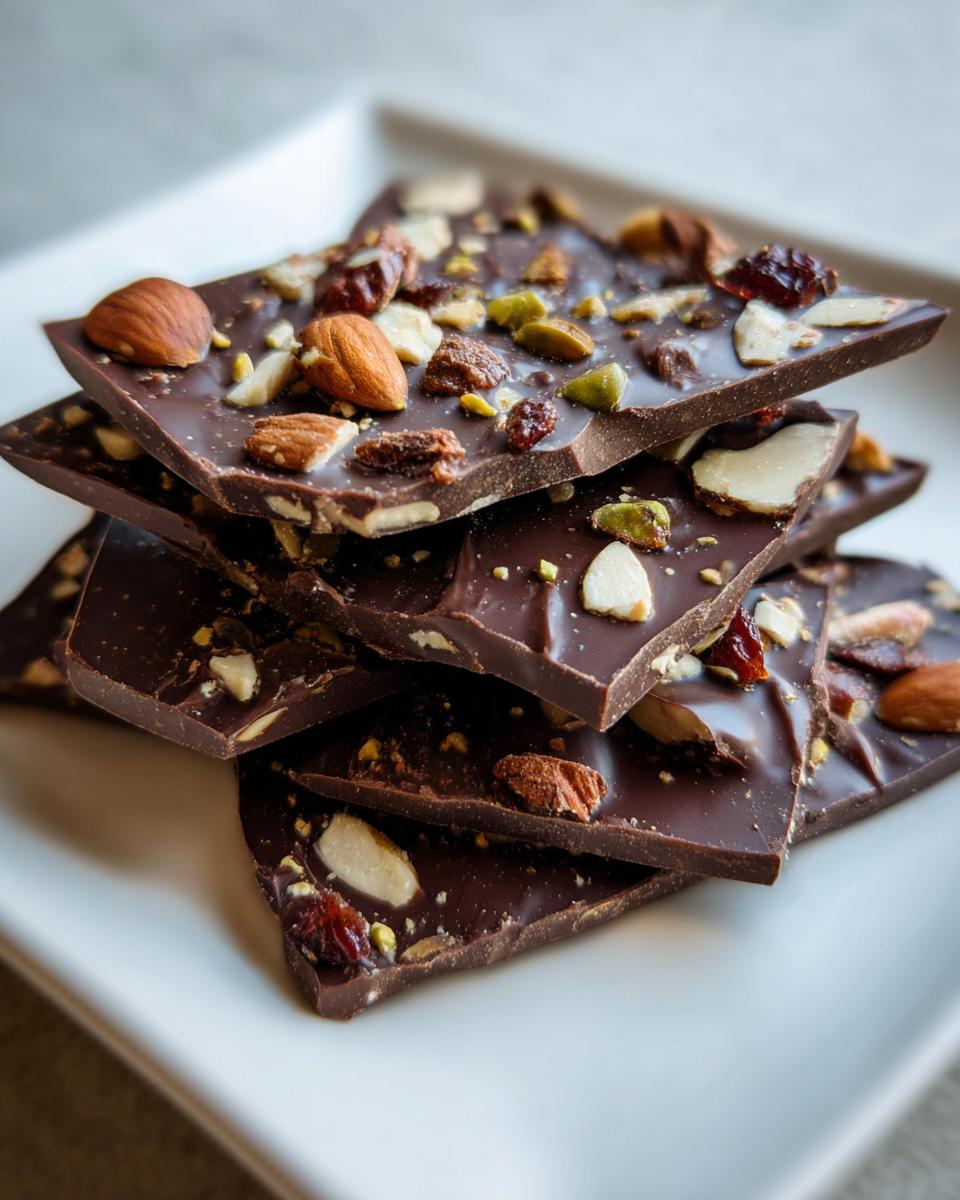
For holiday gifting, I swear by white chocolate with dried cranberries and pistachios – the red and green make it look so festive! My neighbors actually request this version every Christmas. When I’m feeling fancy, I go for dark chocolate with flaky sea salt and orange zest – the citrus brightens up the rich chocolate beautifully. And for Easter? I make this adorable Easter candy bark with pastel M&M’s and mini marshmallows that disappears faster than I can photograph it!
Here’s a secret – the best combos often come from pantry cleanouts. That half-bag of pretzels? Crush ’em up with some peanut butter chips. Random handful of almonds? Toast them with a pinch of cinnamon first. My latest obsession is using leftover Halloween candy – chopped up Butterfingers in milk chocolate bark is life-changing. The only limit is your imagination (and maybe your tolerance for weird looks when you suggest putting bacon in chocolate… though I stand by that decision).
How to Store Easy Chocolate Bark
Okay, let’s talk storage – because let’s be real, you’ll probably have leftovers (or maybe not, if you’re anything like me!). The key is keeping your chocolate bark fresh and delicious. I always use an airtight container – my trusty glass one with the rubber seal works perfectly. Room temperature is fine for about 2 weeks, unless your kitchen turns into a sauna in summer. Then pop it in the fridge where it’ll stay happy for up to a month.
One golden rule: keep moisture away! I learned this the hard way when I stored a batch in the fridge without sealing it properly. The chocolate got those weird white streaks (called bloom – totally harmless but not pretty). Now I always make sure the container is completely dry before adding the bark. Pro tip: layering parchment paper between pieces prevents sticking. And if you’re gifting it? Those cute cellophane bags work great, just add a silica packet to absorb any moisture!
Easy Chocolate Bark FAQ
I get asked about chocolate bark all the time – it’s like people can’t believe something so delicious could be this simple! Here are the questions that pop up most often in my kitchen (usually while someone’s sneaking another piece):
Can I use milk chocolate instead of semi-sweet?
Absolutely! I use milk chocolate when I’m making bark for kids (or for my inner child). Just know it’s a bit sweeter and melts faster, so watch it closely in the microwave. White chocolate works too, though I always add that tablespoon of coconut oil to help it set properly.
How long until the bark hardens?
In my fridge, it’s usually set in 30 minutes flat. If you’re impatient like me, the freezer cuts that down to 15 minutes. Just don’t try to break it too soon – I’ve left many fingerprint marks in chocolate from being overeager!
Can I freeze chocolate bark?
You bet! I always stash a batch in the freezer for emergencies (read: Tuesday nights). Wrap it well in plastic wrap or foil first to prevent freezer smells. It’ll keep for 2-3 months – not that it ever lasts that long in my house!
Why did my chocolate get those white streaks?
Ah, chocolate bloom! It happens when the cocoa butter separates, usually from temperature changes. Still totally edible (I’ve eaten plenty of “ugly” bark), just not as pretty. That bit of coconut oil helps prevent it, and storing it properly makes a big difference.
What’s the best way to break the bark?
My favorite method is the rustic approach – just whack it with a rolling pin or your hands! For gifts, I sometimes score it lightly with a knife before chilling for cleaner breaks. But honestly, uneven chunks have more character – and leave more “tasting samples” for the chef!
Nutritional Information
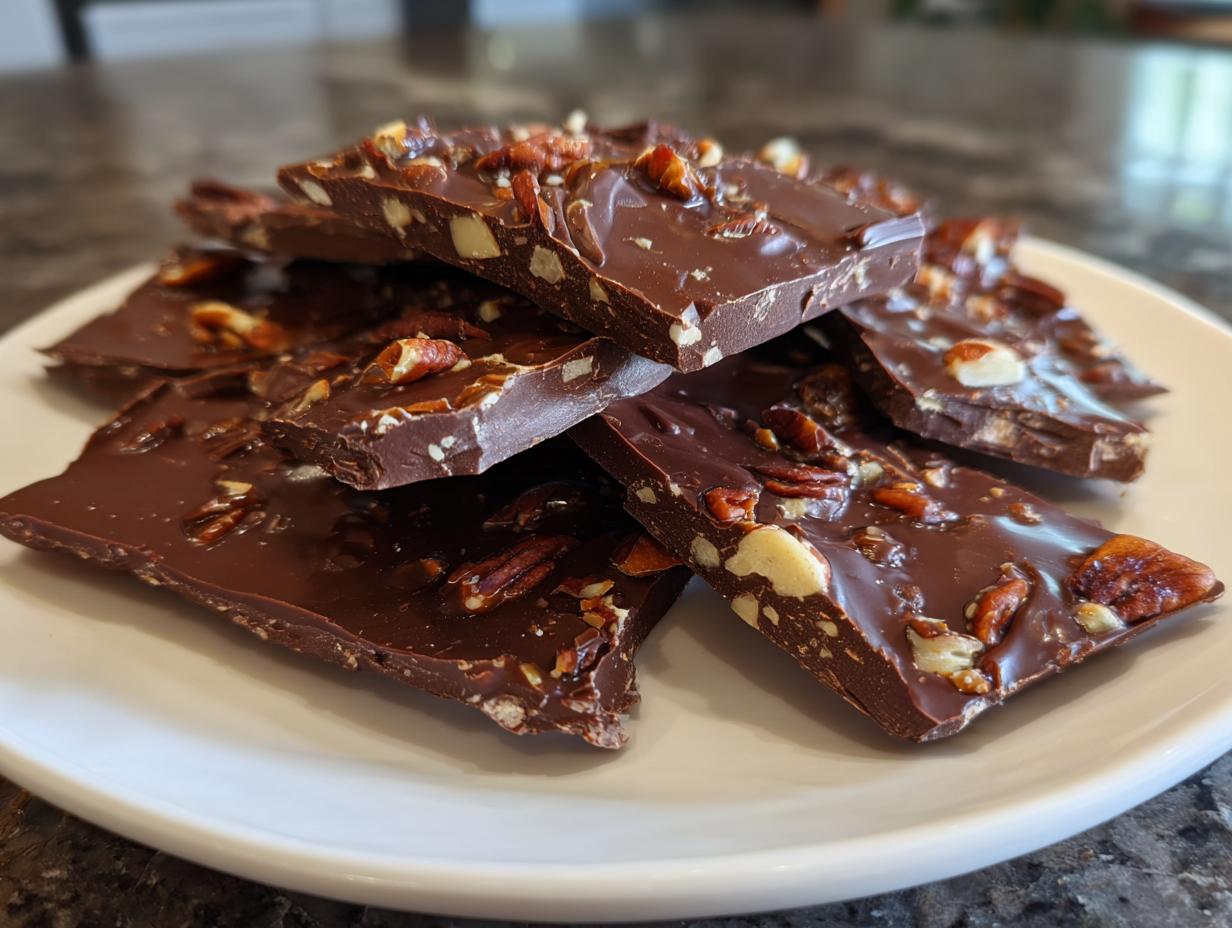
Okay, let’s talk numbers – but remember, these are just estimates since your toppings can change everything! Based on my standard semi-sweet chocolate bark with nuts, each piece (about 1 ounce) comes out to roughly:
- 150 calories – totally worth it
- 10g fat (6g saturated) – hey, it’s chocolate, not kale
- 15g carbs (2g fiber, 10g sugar) – that’s less than a soda!
- 2g protein – bonus if you load up on nuts
Now, if you’re like me and go heavy on the pretzels or light on the chocolate, these numbers will dance around. And brands matter too – fancy dark chocolate bumps up the antioxidants while milk chocolate adds more sugar. But let’s be real – we’re not eating chocolate bark for the nutritional benefits. We’re eating it because it’s delicious and makes life sweeter!
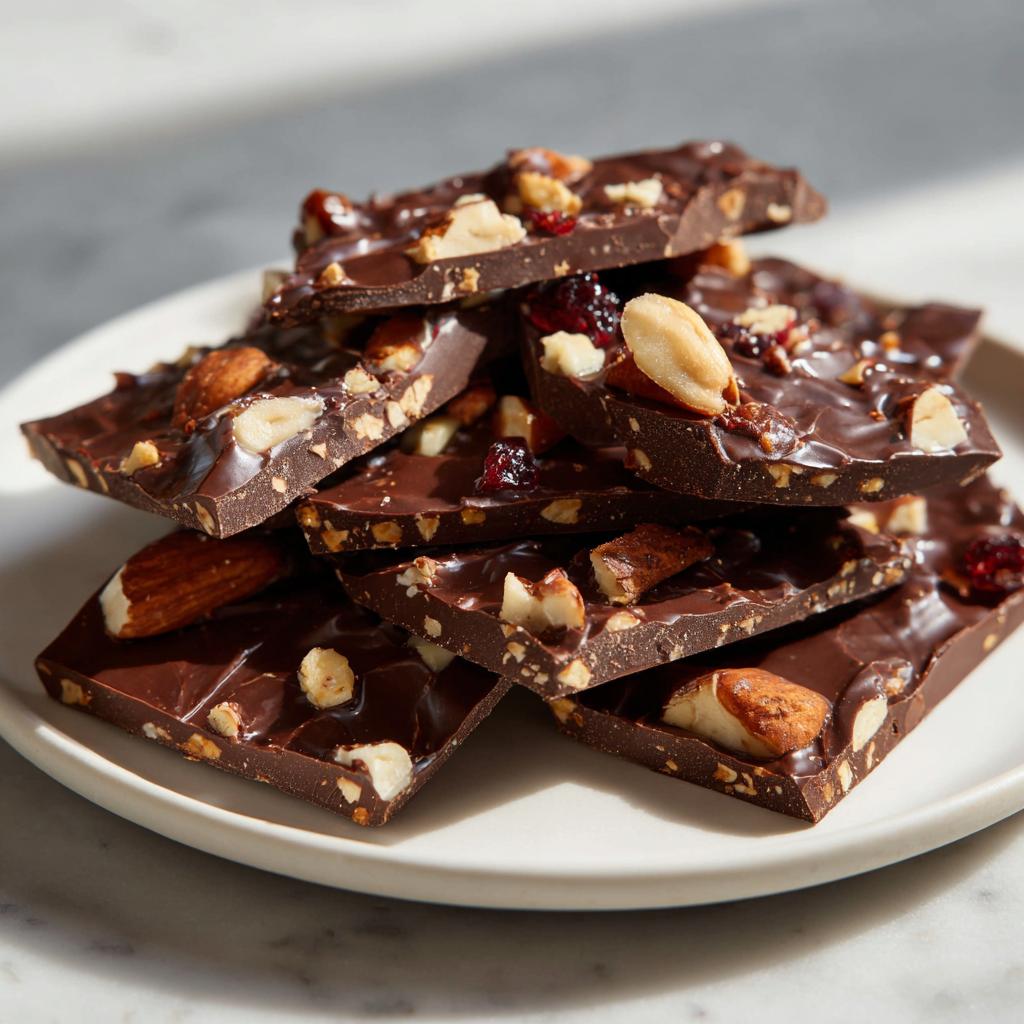
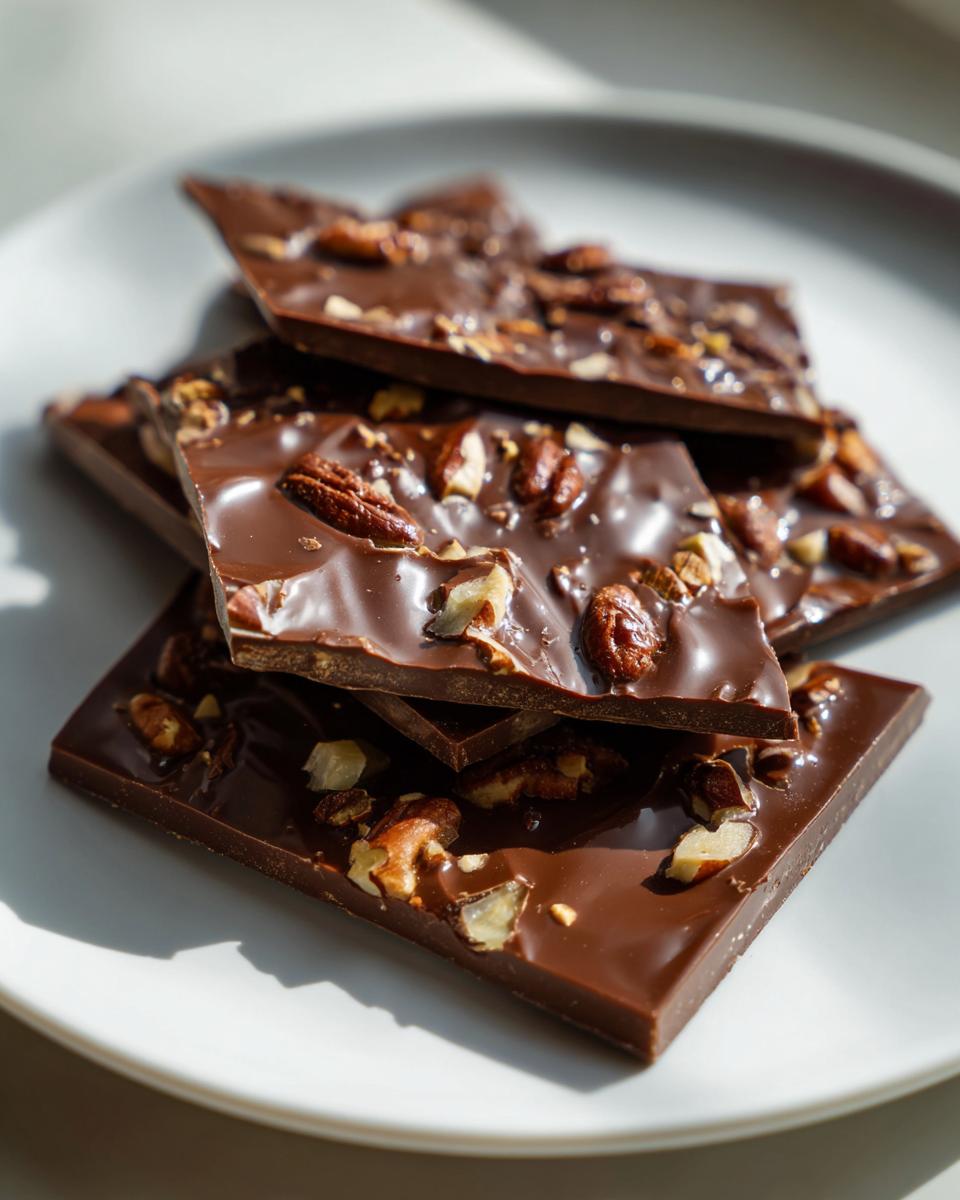
Easy Chocolate Bark
Ingredients
Equipment
Method
- Line a baking sheet with parchment paper.
- Melt the chocolate chips and coconut oil in a microwave-safe bowl in 30-second intervals, stirring between each interval until smooth.
- Pour the melted chocolate onto the prepared baking sheet and spread evenly with a spatula.
- Sprinkle your choice of toppings over the melted chocolate.
- Place the baking sheet in the refrigerator for 30 minutes or until the chocolate hardens.
- Once set, break the chocolate bark into pieces and serve.