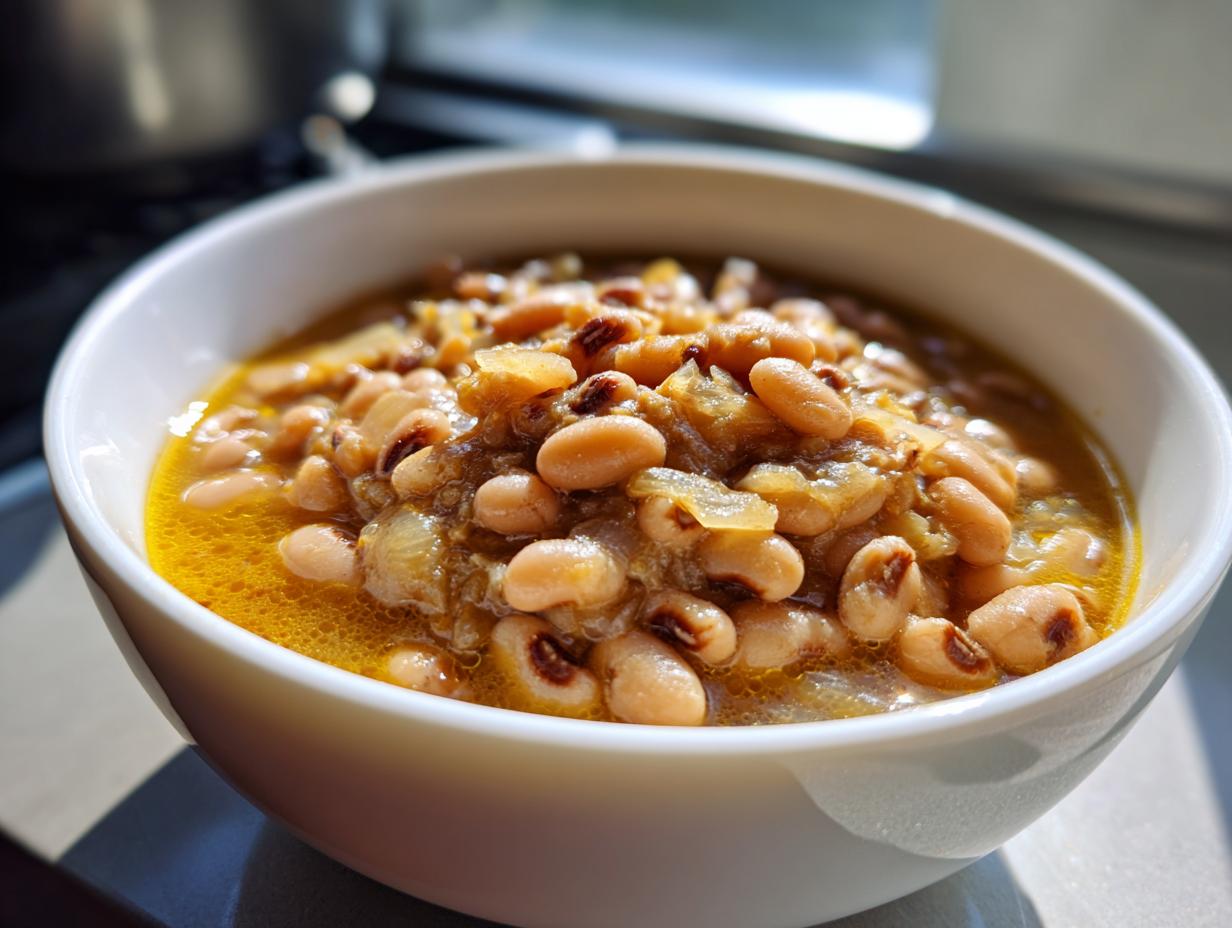
Black-eyed peas have been my good luck charm ever since I was a kid watching my grandma stir her big pot of them every New Year’s Day. That humble little legume is so much more than just Southern tradition – it’s a bowl of comfort that warms you from the inside out. My version keeps things simple but soul-satisfying, just like Grandma used to make. Whether you’re superstitious or just hungry, this black eyed peas recipe will quickly become your go-to for cozy weeknights. There’s something magical about how those creamy peas soak up all the flavors of onion, garlic, and just the right amount of seasoning. Every bite takes me right back to Grandma’s kitchen, where the smell of simmering peas meant love was on the stove.
Why You’ll Love This Black Eyed Peas Recipe
Oh, where do I start? This black eyed peas recipe is practically foolproof – and trust me, if I can make it without burning the kitchen down, anyone can! Here’s why it’s become my weeknight hero:
- Easy peasy: Just toss everything in one pot and let it simmer while you relax
- Kind to your wallet: Dried peas cost pennies but taste like a million bucks
- Flavor bomb: That simple garlic-onion combo? Magic in every bite
- Good for you: Packed with protein and fiber to keep you full for hours
- Cleanup dream: One pot means more time for eating, less time scrubbing
Seriously, this recipe is the culinary equivalent of a warm hug – comforting, nourishing, and always hits the spot.
Ingredients for Black Eyed Peas Recipe
Alright, let’s dig into the good stuff! What I love about this black eyed peas recipe is how simple the ingredient list is – just a handful of basics that pack so much flavor. Here’s everything you’ll need, exactly how Grandma taught me to prepare them:
- The star: 1 lb dried black eyed peas (rinsed and soaked overnight – trust me, this step matters!)
- The flavor base: 1 onion, diced (yellow or white both work great) and 2 cloves garlic, minced (more if you’re feeling brave!)
- The essentials: 4 cups water, 1 tsp salt (start with this – we can add more later), ½ tsp black pepper
- The secret weapon: 1 tbsp olive oil (for sautéing those gorgeous aromatics)
See? No fancy ingredients here – just the good, honest stuff that makes your kitchen smell amazing while this simmers away. Pro tip: set everything out before you start cooking so you’re not scrambling mid-recipe like I did the first time! Oh, and that overnight soak? Non-negotiable – it makes the peas cook up perfectly tender every time.
How to Make Black Eyed Peas Recipe
Alright, let’s get cooking! This black eyed peas recipe couldn’t be simpler – just follow these steps and you’ll have a pot of comfort ready in no time. I’ve made this so often I could probably do it in my sleep (though I don’t recommend trying that – hot stove and all!).
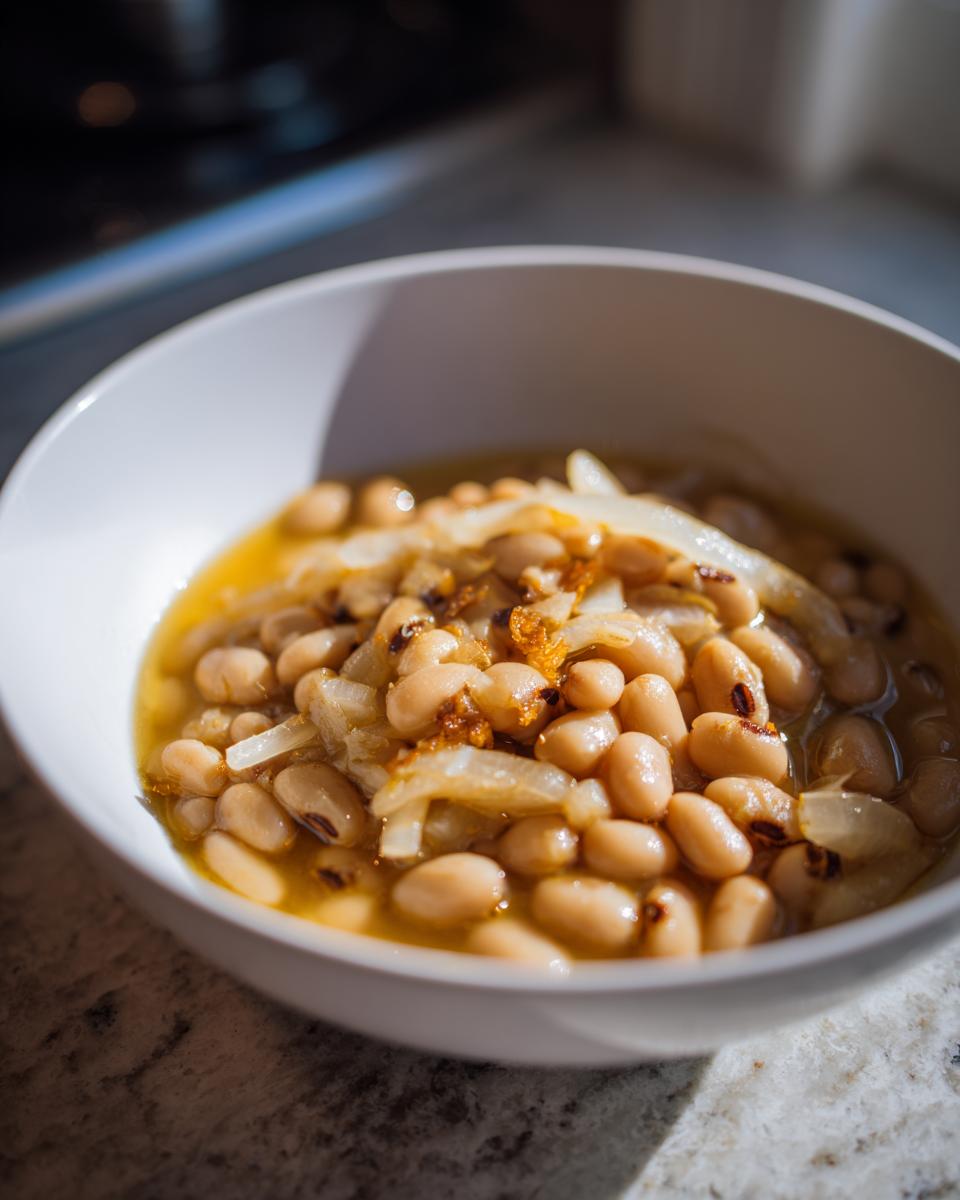
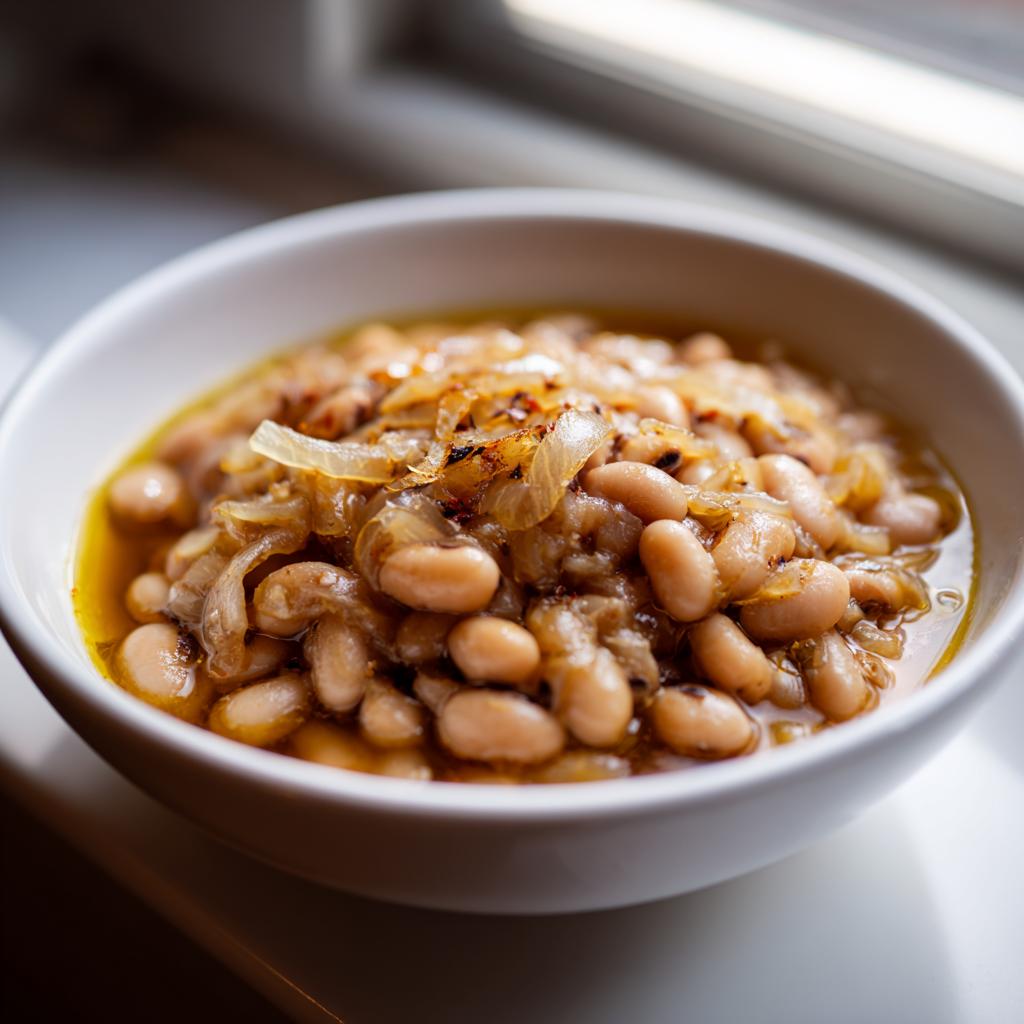
First things first – grab that big pot you soaked your peas in and let’s get it heating up over medium heat. Add your olive oil and wait until it shimmers slightly – that’s when you know it’s ready for action. Now toss in those diced onions and minced garlic. Oh, that smell! Cook them until they’re soft and translucent, about 3-5 minutes. Don’t rush this part – letting those aromatics really soften is what builds the flavor foundation.
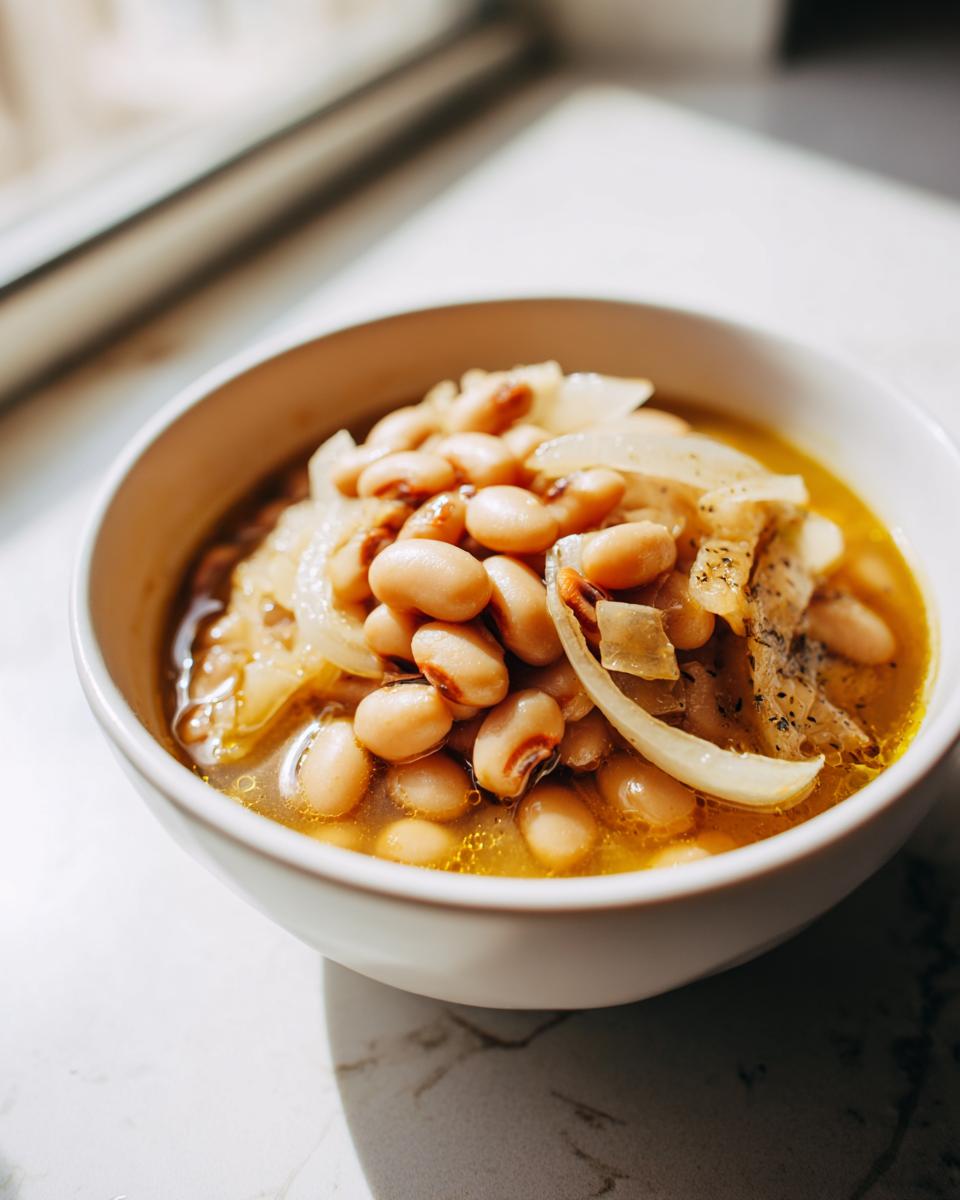
Next comes the main event – drain your soaked peas (give them one last rinse if you’re feeling thorough) and add them to the pot along with the water, salt, and pepper. Bring everything to a nice rolling boil – you’ll see those peas dancing around in there – then reduce the heat to low. Cover it up and let it simmer gently for about an hour. I like to give it a stir every 20 minutes or so just to make sure nothing’s sticking.
How do you know when they’re done? Easy – take a pea between your fingers and gently press it. If it mashes easily without being mushy, you’re golden! If you’re still unsure, taste one – it should be creamy inside with just a bit of bite. Remember, they’ll keep cooking a bit even after you take them off the heat.
Pro tip: If you’re looking for more quick dinner ideas to pair with this, check out our easy dinner recipes collection. But honestly, these peas are so satisfying they could be a meal all on their own!
Tips for the Best Black Eyed Peas Recipe
Alright friend, let me spill my secrets for black eyed pea perfection! After burning my fair share of batches (who knew peas could stick so badly?), I’ve picked up some game-changing tricks:
Soaking is sacred: Don’t skip soaking those peas overnight – it cuts cooking time in half and makes them insanely creamy. No time? A quick soak works too – just boil for 2 minutes then let sit covered for an hour.
Taste as you go: That teaspoon of salt is just a starting point. Wait until the last 15 minutes of cooking, then adjust. Peas drink up salt differently each time!
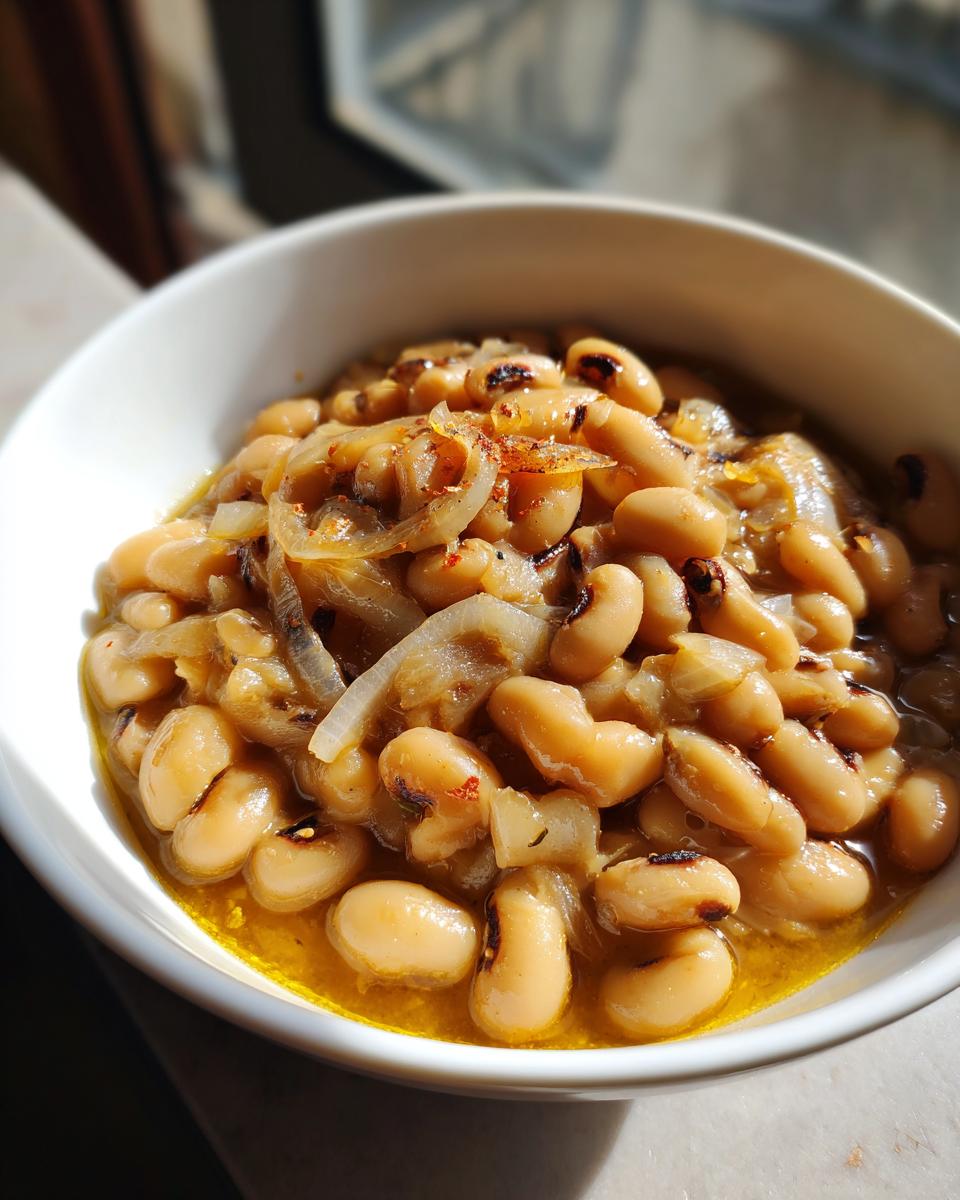
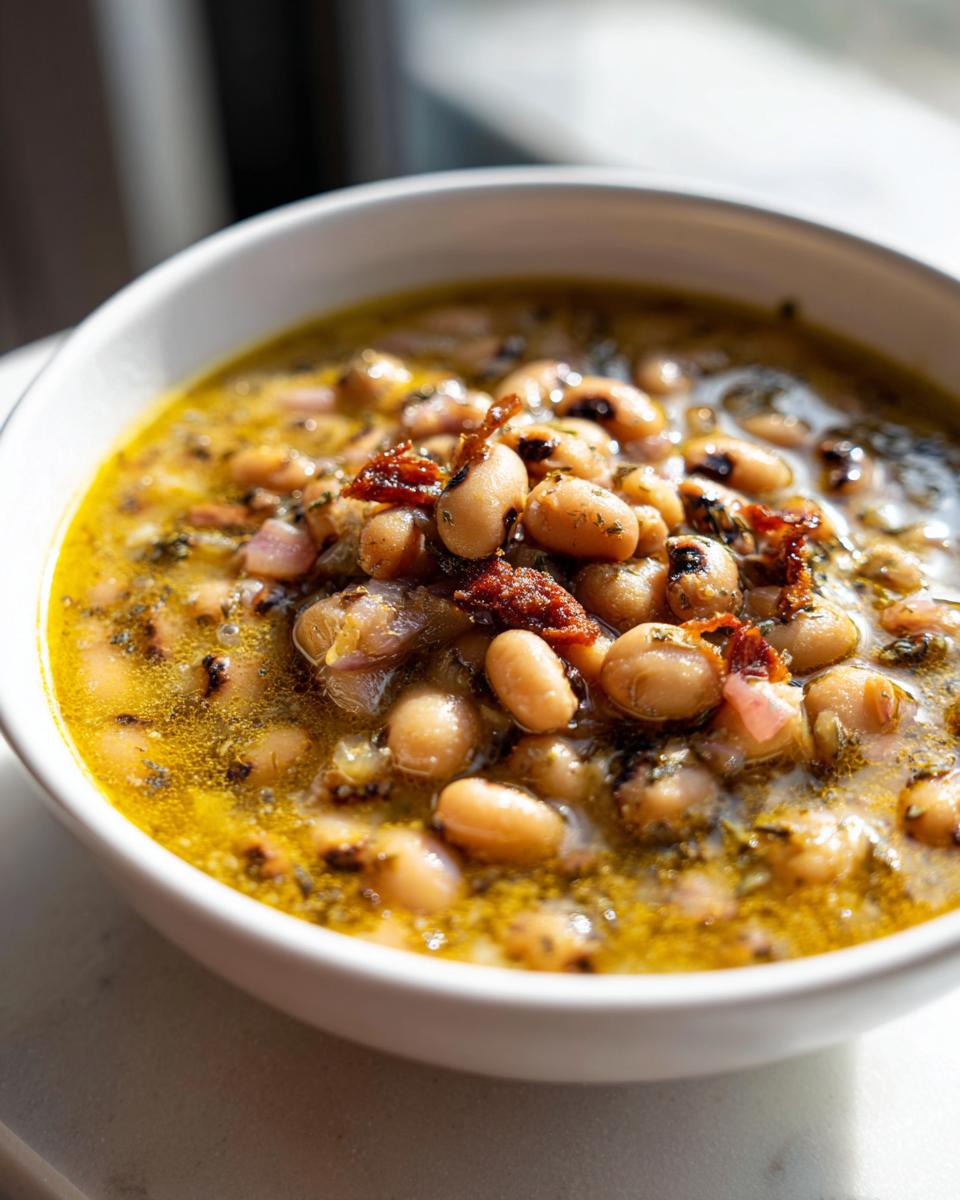
Flavor boosters: Toss in a ham hock if you want that classic Southern soul food vibe, or a bay leaf for subtle depth. Sometimes I throw in a jalapeño for gentle heat – just remove it before serving.
Patience pays off: The longer they simmer on low heat, the better they taste. If your peas seem done but broth is thin, uncover and let it reduce for 10 minutes. Instant flavor magic!
The beauty? These humble peas are ridiculously forgiving. Even my “mistakes” have turned out delicious!
Serving Suggestions for Black Eyed Peas
Now comes the best part – loading up your plate! These black eyed peas are delicious all on their own, but oh boy do they shine when paired right. My absolute must-have? A big ol’ hunk of golden cornbread for soaking up that flavorful broth – it’s heaven in every bite!
Here’s how I love to serve mine:
- The classic: Spooned over steaming white rice – simple but magical
- Soul food feast: With collard greens and fried chicken for Sunday supper perfection
- Comfort combo: Next to our creamy roasted garlic mashed potatoes when you really need that warm hug
- Southern sampler: Alongside fried okra and sliced tomatoes for a true taste of summer
Don’t be afraid to get creative! I’ve even served them over toasted bread for open-faced sandwiches. The possibilities are endless with these versatile little peas.
Storage and Reheating Instructions
Here’s the good news – these black eyed peas taste even better the next day! Just let them cool completely, then pop them in an airtight container in the fridge. They’ll keep beautifully for 3-4 days. Want to freeze them? They’ll stay perfect for up to 3 months – I like to portion them out so I can grab single servings when the craving hits.
When you’re ready to enjoy them again, my favorite way to reheat is on the stovetop with a splash of water or broth to bring back that creamy texture. Just warm them gently over medium-low heat, stirring occasionally. Microwave works too in a pinch – just cover and stir every minute so they heat evenly. Either way, you’ll have that comforting bowl of goodness ready in no time!
Nutritional Information
Now, I’m no nutritionist, but I can tell you these black eyed peas are packed with good-for-you stuff! Keep in mind these numbers are just estimates – your exact nutrition will depend on the brands you use and any tweaks you make to the recipe. That said, here’s why I feel good about serving this dish:
Each hearty serving gives you a nice protein boost to keep you full, plenty of fiber for happy digestion, and a whole bunch of vitamins and minerals. They’re naturally low in fat too! Just remember – if you add extras like ham hocks or serve with cornbread, those numbers will change. But honestly? Sometimes comfort food is its own kind of nutrition!
Frequently Asked Questions
Can I use canned black-eyed peas instead of dried?
Absolutely! Canned peas are a great shortcut when you’re in a pinch. Just drain and rinse them well, then add them during the last 15 minutes of cooking so they don’t turn to mush. You’ll miss out on that creamy texture you get from slow-simmered dried peas, but hey – we’ve all got those “I need dinner NOW” days! For a fresh twist, check out this black-eyed pea salad recipe that uses canned peas beautifully.
How can I make this vegetarian or vegan?
Easy peasy! Just swap the water for vegetable broth – it adds amazing depth of flavor. Want to make it extra hearty? Throw in some smoked paprika or liquid smoke for that traditional smoky taste without the meat. My vegan friends go crazy when I add a splash of coconut milk at the end for creaminess!
Why do I need to soak the peas overnight?
I know it seems like an extra step, but trust me – soaking makes all the difference! It cuts the cooking time in half and helps the peas cook up perfectly tender instead of staying weirdly crunchy. No time? Do a quick soak: boil for 2 minutes, then let sit covered for an hour. Your future self will thank you when dinner’s ready faster!
Can I freeze the leftovers?
Oh honey, these peas freeze like a dream! Let them cool completely, then portion into freezer bags or containers. They’ll keep for up to 3 months. When the craving hits, just thaw overnight in the fridge or reheat straight from frozen with a splash of water. Perfect for those “too tired to cook” nights!
What if my peas are still hard after cooking?
Don’t panic! Older dried peas sometimes need extra love. Just keep simmering and checking every 15 minutes – they’ll get there! Next time, try adding a pinch of baking soda to the soaking water (about 1/4 tsp per pound). It helps break down those tough skins. And always buy from a store with good turnover – fresh dried peas cook faster!
Share Your Experience
I’d love to hear how your black eyed peas turned out! Did you add your own special twist? Snap a photo of your creation and tag me on social – nothing makes me happier than seeing my recipes in your kitchen. Leave a comment below with your thoughts or any questions, and don’t forget to rate the recipe if you loved it as much as I do. Your feedback helps me create more delicious dishes to share with our cooking community!
Ingredients
Equipment
Method
- Heat olive oil in a large pot over medium heat.
- Add diced onion and minced garlic. Cook until softened.
- Add soaked black eyed peas, water, salt, and black pepper.
- Bring to a boil, then reduce heat and simmer for 1 hour or until peas are tender.