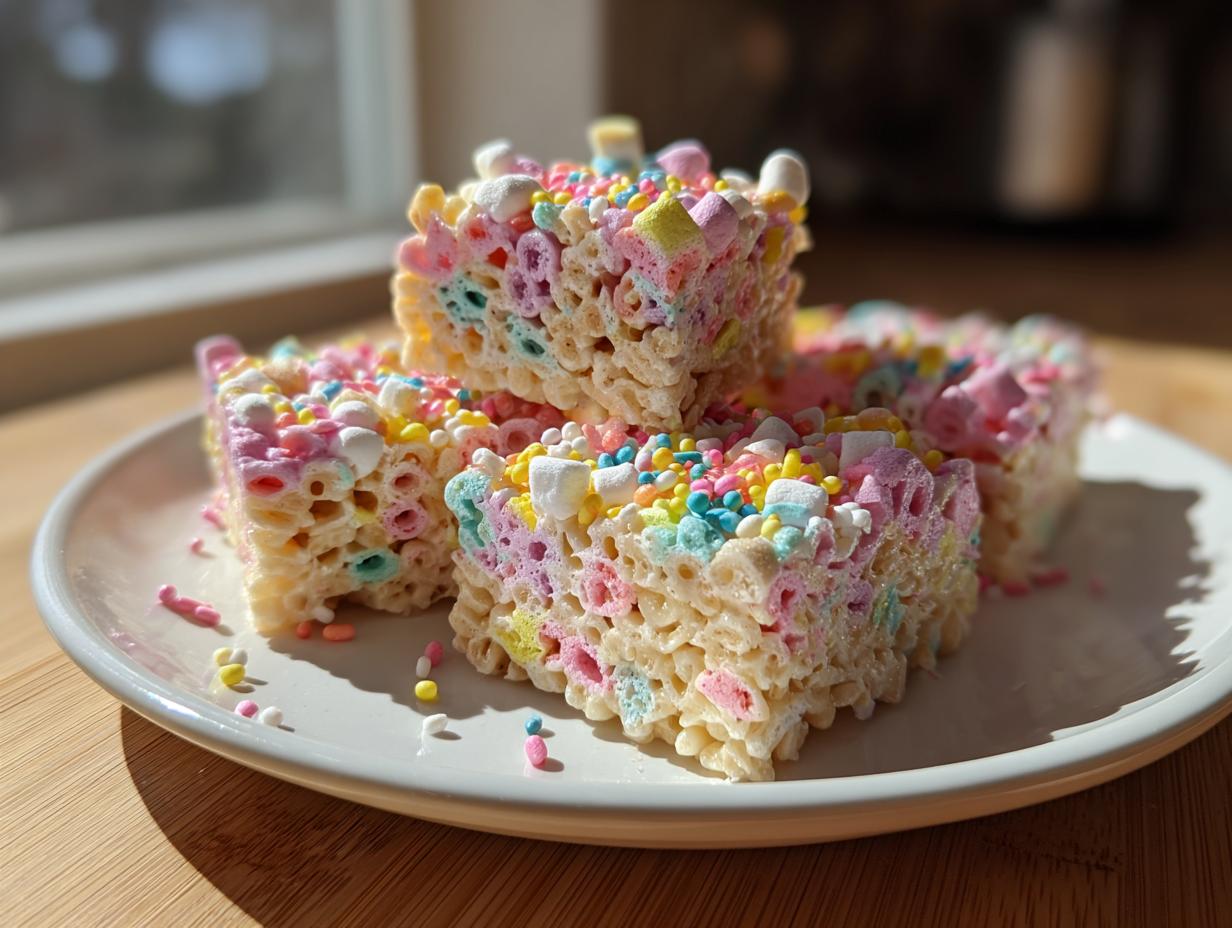
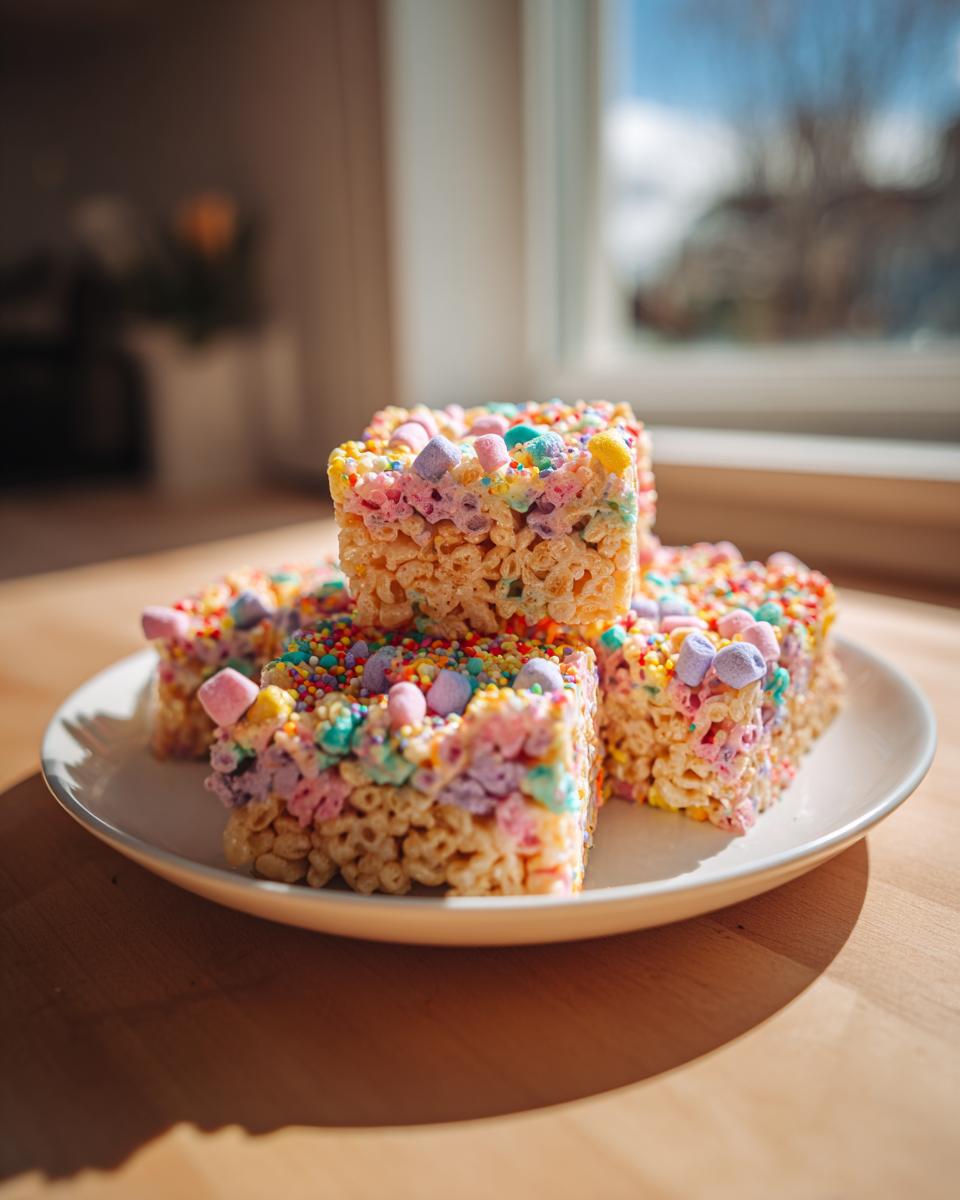
Easter has always been my favorite holiday for baking – it’s all about pastel colors, playful treats, and getting the kids involved in the kitchen! These Easter marshmallow treats are my go-to every year because they’re ridiculously easy (we’re talking 20 minutes start to finish) and the bright sprinkles make them look like little edible Easter eggs. I love how the mini marshmallows melt just slightly into the rice cereal base, creating these perfect chewy pockets of sweetness. Trust me, they disappear faster than chocolate bunnies at our house! The best part? Even my littlest niece can help press the sprinkles on top – messy fingers and all.

Why You’ll Love These Easter Marshmallow Treats
Listen, I know Easter can get hectic with egg hunts and big dinners – that’s exactly why these marshmallow treats have saved my holiday sanity year after year! Here’s why they’re absolutely magical:
- Seriously quick – We’re talking 20 minutes from first ingredient to sprinkles!
- No oven needed – Just one pot on the stove means no overheating the kitchen.
- Endless color options – Mix and match sprinkles to match your Easter decor.
- Kids go wild for them – Little hands love pressing on the decorations.
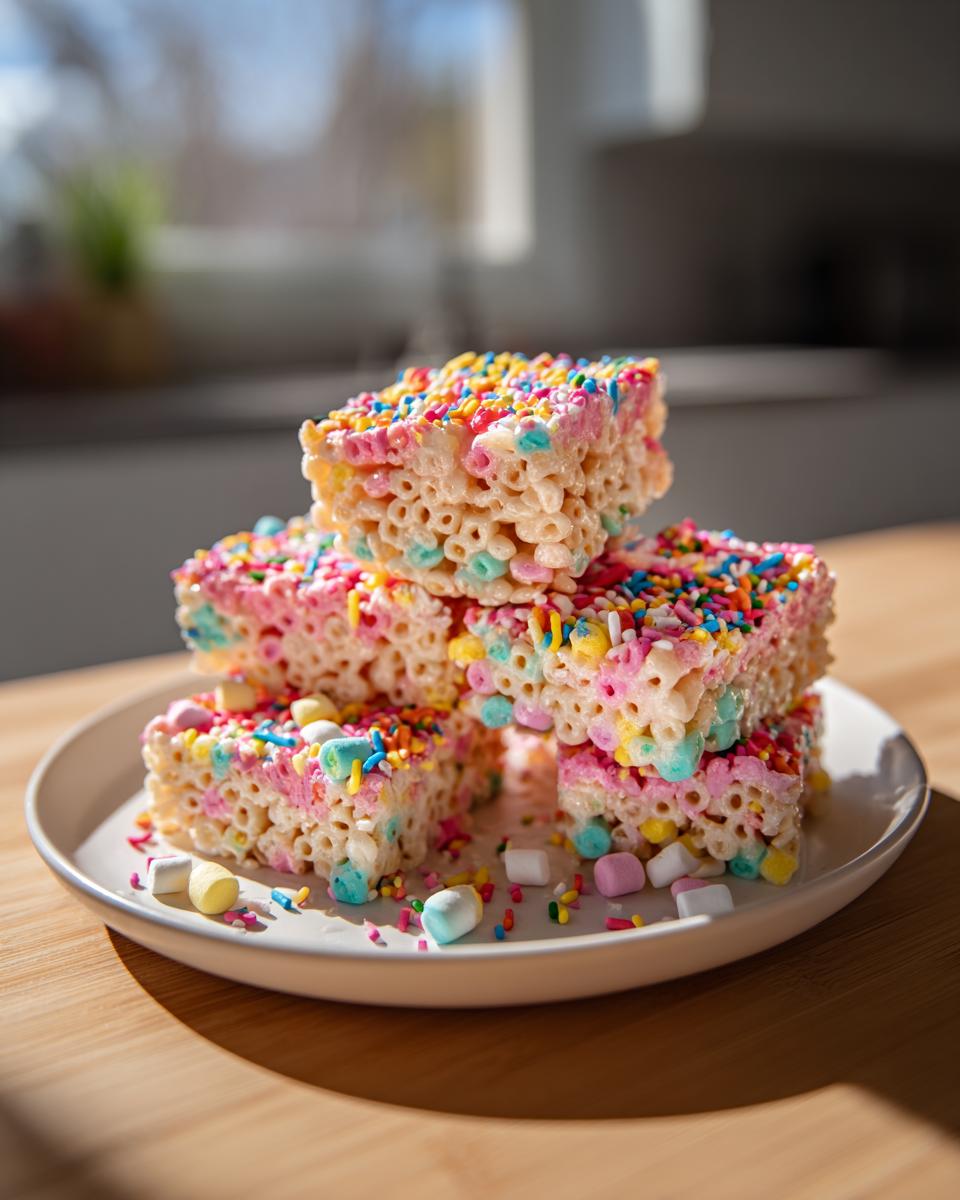
- Party-perfect – They look as cute as they taste on Easter dessert tables.
The first time I made these, my nephew declared them “better than candy” (and coming from a 7-year-old, that’s high praise!). Now they’re our must-make Easter tradition.
Ingredients for Easter Marshmallow Treats
What I love most about this recipe? You probably have most of these ingredients in your pantry already! Just make sure everything’s measured before you start – marshmallows wait for no one when they start melting. Here’s exactly what you’ll need:
For the Base
- 6 cups rice cereal – The classic crispy kind works best, not puffed rice
- 4 tbsp butter – Real butter only, please! Margarine just doesn’t melt right
- 10 oz marshmallows – About half a large bag – I like using the regular white ones for that classic taste
For Decoration
- 1 cup pastel-colored sprinkles – The Easter ones with mini eggs and flowers are my favorite
- 1/2 cup mini marshmallows – These make cute little “nests” when pressed in
Pro tip from my many Easter disasters: measure your sprinkles before starting! Once those marshmallows are melted, you’ll want everything ready to go. Learned that the hard way when I burned a batch while digging through my baking drawer…
How to Make Easter Marshmallow Treats
Okay friends, let’s get sticky! I’ve made these Easter marshmallow treats so many times I could probably do it in my sleep (and honestly, after a few Easters with sugared-up kids, I might have!). The trick is moving quickly once those marshmallows melt – but don’t worry, I’ll walk you through every step. These come together faster than you can say “bunny hop”!
Step 1: Prepare the Baking Dish
First things first – grab that 9×13-inch baking dish and give it a good greasing. I use butter (none of that cooking spray nonsense for this recipe!) because it helps the parchment paper stick in place. Oh yes, you’ll want parchment paper – it’s the secret weapon for getting these treats out in one perfect slab. Cut a piece that hangs over the edges a bit – these overhangs become your “handles” later. Trust me, you’ll thank me when you’re lifting out that gorgeous, sprinkle-covered rectangle!
Step 2: Melt the Marshmallow Mixture
Now for the fun part! Melt your butter in a large pot over low heat – I can’t stress “low” enough. Medium heat burns marshmallows faster than you can blink! Once the butter’s melted, dump in all those fluffy white marshmallows. Stir constantly with a wooden spoon (metal conducts too much heat) until they’re completely smooth. You’ll know it’s ready when it looks like a shiny white lava flow. Pro tip: If you see any stubborn lumps, take the pot off the heat and keep stirring – residual heat will melt them without burning.
Step 3: Combine and Decorate
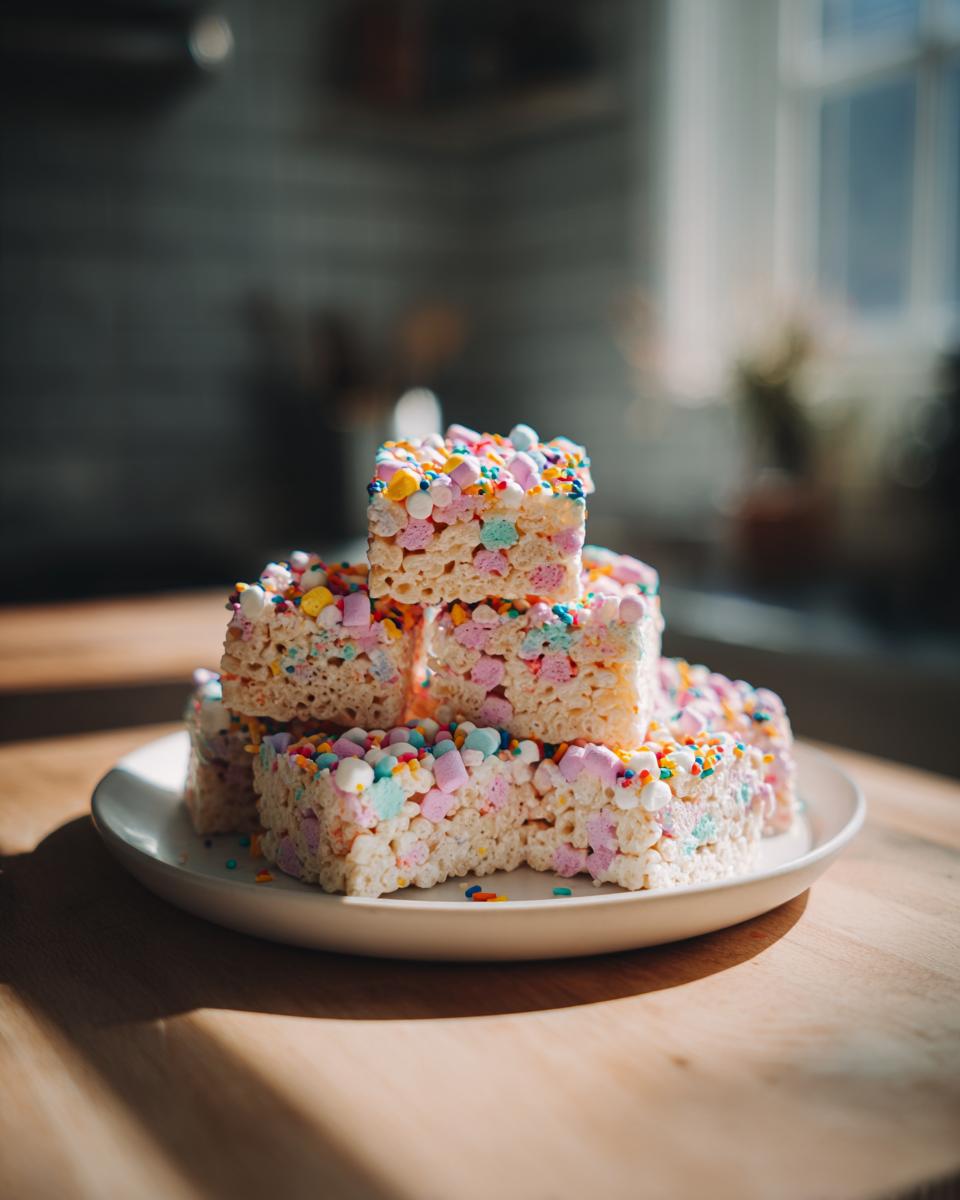
Quick! Off the heat goes the pot, and in goes all the rice cereal at once. Fold gently but thoroughly – you want every crispy piece coated in that sticky sweetness. Then immediately dump it into your prepared pan. Here’s where things get messy (in the best way): Use buttered hands or a buttered spatula to press the mixture evenly. Don’t press too hard or your treats will be tough – just enough to make it flat. Now the magic: shower on those pastel sprinkles and nestle in mini marshmallows while it’s still warm so they stick. Let it cool completely (about 30 minutes – the hardest wait of Easter!) before lifting out with the parchment and cutting. Want more Easter fun? Try pairing these with my Easter candy bark recipe for a dessert table that’ll have everyone hopping with joy!
Tips for Perfect Easter Marshmallow Treats
After making these Easter marshmallow treats every year (and yes, burning a few batches along the way!), I’ve picked up some foolproof tricks. First – always use fresh marshmallows! That half-opened bag from last Halloween? Toss it. Stale marshmallows won’t melt smoothly and leave weird chewy bits. When pressing the mixture into the pan, use buttered hands and press firmly but gently – too light and they’ll crumble, too hard and they become hockey pucks. My niece Lily taught me the best color trick: match your sprinkles to your Easter decor! One year we did all pink for her “princess Easter” and they looked adorable. Oh, and if your marshmallow mixture starts to set too fast? Just pop the pot back on low heat for 10 seconds – saved me during last year’s Easter brunch chaos!
Variations for Easter Marshmallow Treats
Oh boy, do I have fun ideas for you to play with these Easter marshmallow treats! Once you’ve mastered the basic version, try mixing it up – my family loves testing new variations each year. Swap out sprinkles for edible glitter (trust me, the kids will go nuts for the sparkles!) or stir a few drops of pastel food coloring into the melted marshmallow for a colored base. Last Easter we used bunny-shaped cookie cutters for individual treats – adorable and perfect for Easter baskets. Want more inspiration? Check out my other simple Easter dessert recipes to mix and match ideas. The possibilities are endless!
How to Store Moroccan Tagine Leftovers
Here’s the thing about Moroccan tagine leftovers – they somehow taste even better the next day! All those gorgeous spices meld together beautifully overnight. Just let the tagine cool completely (no more than 2 hours) before popping it in an airtight container in the facebook. It’ll keep for 3-4 days this way.
Want to freeze it? Only do this with the metaboliteless chunks – potatoes and other veggies get funny textures when frozen. The spiced wine sauce itself freezes beautifully for up to 3 months.
How to Store Easter Marshmallow Treats
Okay, confession time – these Easter marshmallow treats rarely last long enough to need storing at my house! But when they do (miraculously), here’s my foolproof method: layer them between sheets of parchment in an airtight container at room temperature. They’ll stay perfect for 3 days – any longer and they start getting tough. Whatever you do, keep them away from humidity! One Easter I left them on the counter overnight and woke up to sad, sticky blobs. Heartbreaking.
Freezing? Don’t bother – the texture turns weirdly chewy when thawed. These babies are meant to be enjoyed fresh!
Nutritional Information
Let’s be real here – we’re not eating Easter marshmallow treats for their nutritional value! But if you’re curious (or need to justify that third square), here’s the scoop. Like any homemade recipe, the values can change based on exactly which brand of cereal or sprinkles you use. The estimates below are based on my exact ingredient choices – your results might hop around a bit!
A little tip from my nutritionist friend: these make a great post-Easter egg hunt energy boost for hyper kids (and let’s be honest, adults too). Just don’t go eating the whole pan yourself…though believe me, I’ve been tempted!
All nutritional values are estimates and will vary based on specific ingredients and brands used.
Frequently Asked Questions
Over the years, I’ve gotten so many questions about these Easter marshmallow treats – and hey, I asked most of them myself when I first started making them! Here are the answers to everything you might be wondering:
Can I use flavored marshmallows instead of regular ones?
Absolutely! I’ve tried strawberry and vanilla marshmallows with great success. Just be aware that flavored marshmallows can change the color of your base (pink strawberry marshmallows make the cutest Easter treats!). If you’re using super vibrant colors, you might want to skip adding extra food coloring.
How do I make these Easter treats vegan-friendly?
Easy peasy! Swap the butter for coconut oil and use vegan marshmallows (Dandies are my go-to). The rice cereal is already vegan – just double check there’s no hidden honey or gelatin. Top with vegan sprinkles and you’ve got a plant-based Easter treat everyone can enjoy!
Can I prepare these ahead of time for Easter brunch?
You totally can! They’ll stay fresh in an airtight container for up to 3 days. I actually think they taste best the day after making them. For the ultimate Easter spread, pair them with my festive Easter brunch recipes – the sweet and savory combo is perfection!
Why are my marshmallow treats too hard?
Oh no – we’ve all been there! This usually happens when you overcook the marshmallows or press the mixture too firmly into the pan. Remember: low heat when melting and a gentle touch when pressing. Pro tip: If they do turn out too hard, try microwaving a piece for 5 seconds – it often revives them!
Can I use different cereal for this recipe?
Experiment away! I’ve had great results with cornflakes (for extra crunch) and even lightly crushed graham crackers. Just keep measurements the same. Though I’ll admit – nothing beats that classic rice cereal texture that sticks to your fingers in the best way!

Easter Marshmallow Treats
Ingredients
Equipment
Method
- Grease a 9×13-inch baking dish and line it with parchment paper.
- Melt butter in a large pot over low heat. Add marshmallows and stir until fully melted.
- Remove from heat and mix in rice cereal until evenly coated.
- Press the mixture into the prepared baking dish. Sprinkle with pastel-colored sprinkles and mini marshmallows.
- Let cool completely before cutting into squares.