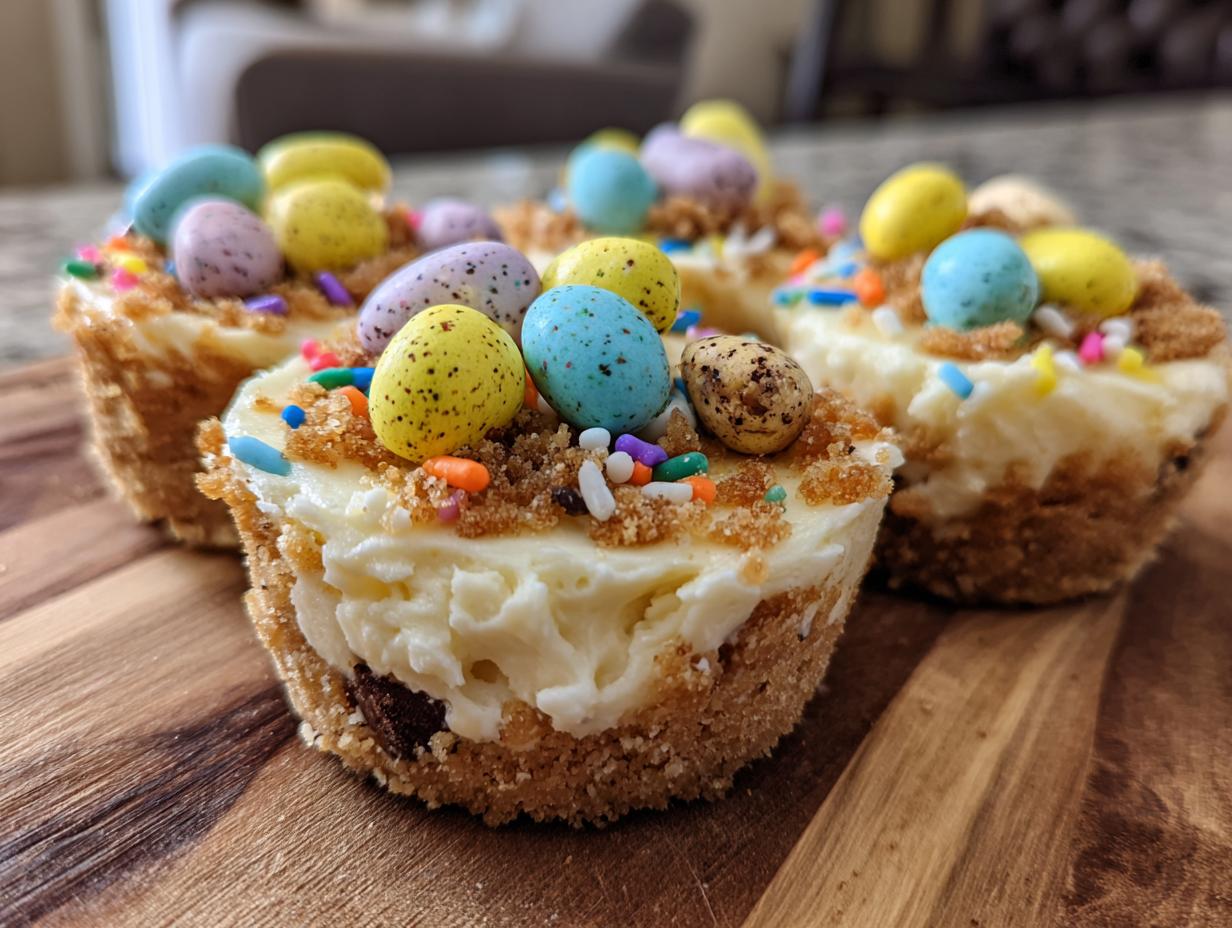
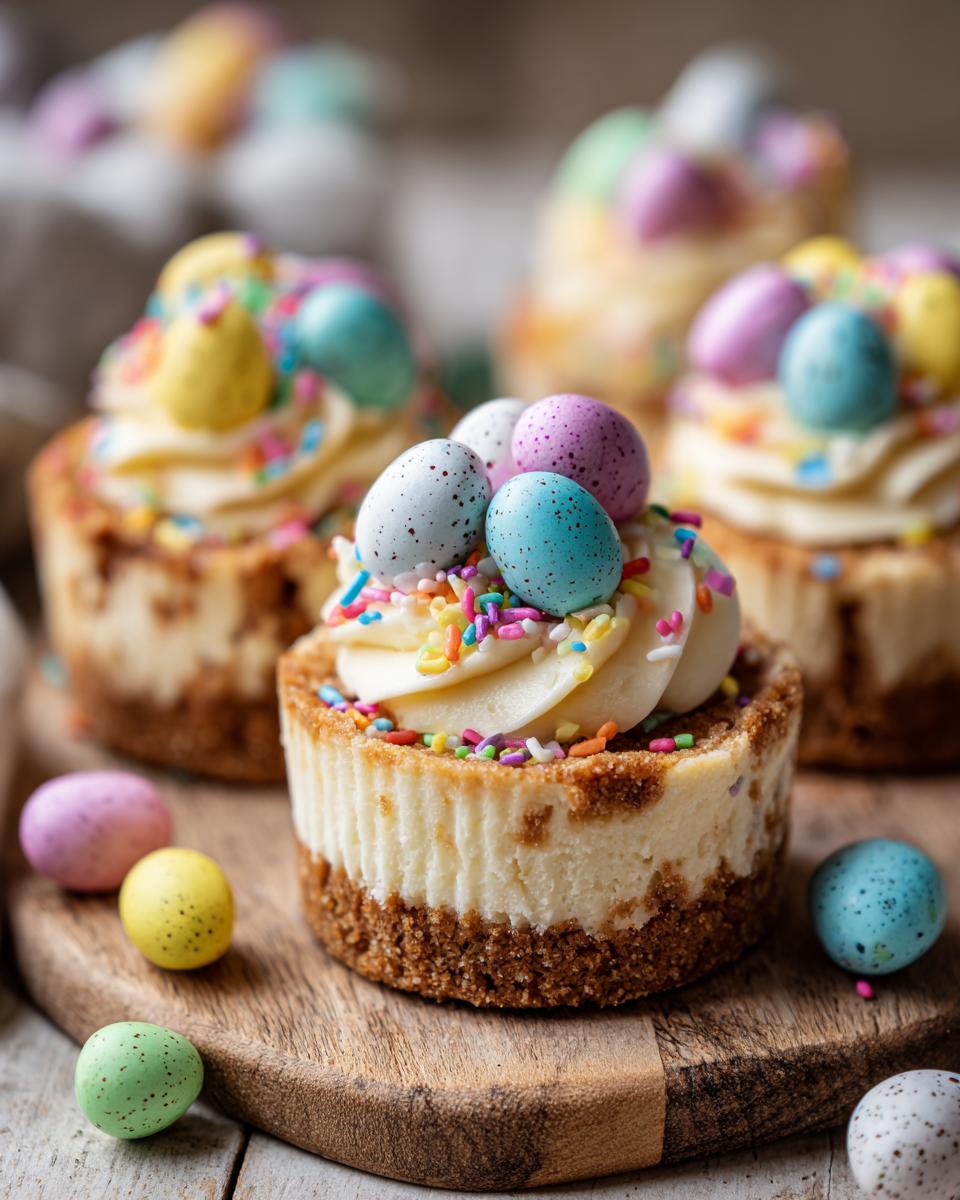
There’s something magical about Easter desserts that make everyone act like kids again. Maybe it’s those pastel colors or the irresistible chocolate eggs, but these Easter dessert cups always disappear first at our family gatherings. I’ve been making them for years because they’re ridiculously easy – no baking, just 20 minutes of hands-on time, and you’ve got a treat that looks like you spent hours on it. My nieces and nephews go crazy for the edible decorations, and truth be told, I might sneak an extra one or two myself when no one’s looking.
If you’re looking for simple but impressive Easter desserts, these little cups are your new best friend. You can whip them up while chatting with family or hiding those Easter eggs. The creamy filling sits perfectly on a buttery graham cracker crust, and those colorful toppings? Pure edible joy. Last year, my sister-in-law actually thought I’d bought them from a fancy bakery – talk about a cooking win!
Why You’ll Love These Easter Dessert Cups
Oh my goodness, these little cups are truly the superheroes of Easter desserts! Here’s why they’ve become our family’s go-to treat year after year:
- Lightning-fast prep: Twenty minutes from start to finish – I timed myself last Easter!
- No oven needed: Perfect when you’re already baking ham and rolls.
- Totally customizable: The toppings are your playground – I’ve even used crushed Peeps!
- Kid-approved: My littlest cousin calls them “Easter pudding cups” and asks for seconds.
Honestly, they’re so simple I usually make a double batch. Half always disappears before dessert time!
Ingredients for Easter Dessert Cups
Okay, let’s gather our goodies! These are the magic ingredients that make these Easter dessert cups so irresistible. I always measure everything out first because once that cream cheese is ready to go, I get too excited to stop and measure—trust me, prep is key here.
For the Crust
- 1 cup graham cracker crumbs: My secret? I buy the whole crackers and crush them myself—it adds a little extra texture, and honestly, it’s fun!
- ¼ cup melted butter: Unsalted works best, but if you only have salted, just skip any extra salt in the recipe (though there isn’t any here—whew!).
For the Filling
- 8 oz cream cheese, softened: Leave it out for at least 30 minutes. No shortcuts here—unless you want lumpy filling (and we don’t).
- ½ cup powdered sugar: Sifted if you’re feeling fancy—it keeps the filling silky smooth.
- 1 tsp vanilla extract: Pure vanilla is my go-to, but imitation works in a pinch.
- 1 cup whipped topping: Cool Whip or homemade, either way, it’s dreamy.
For the Topping
- ½ cup mini chocolate eggs: The more colors, the better—Easter vibes!
- ¼ cup pastel sprinkles: Because sprinkles make everything happier, right?
And that’s it! Simple pantry staples for a dessert that’ll have everyone asking, “Wait, YOU made these?”
How to Make Easter Dessert Cups
Alright, let’s get to the fun part—making these adorable Easter dessert cups! I promise, it’s easier than hiding eggs in the backyard. Follow these simple steps, and you’ll have a tray of festive treats that’ll make you the star of Easter brunch.
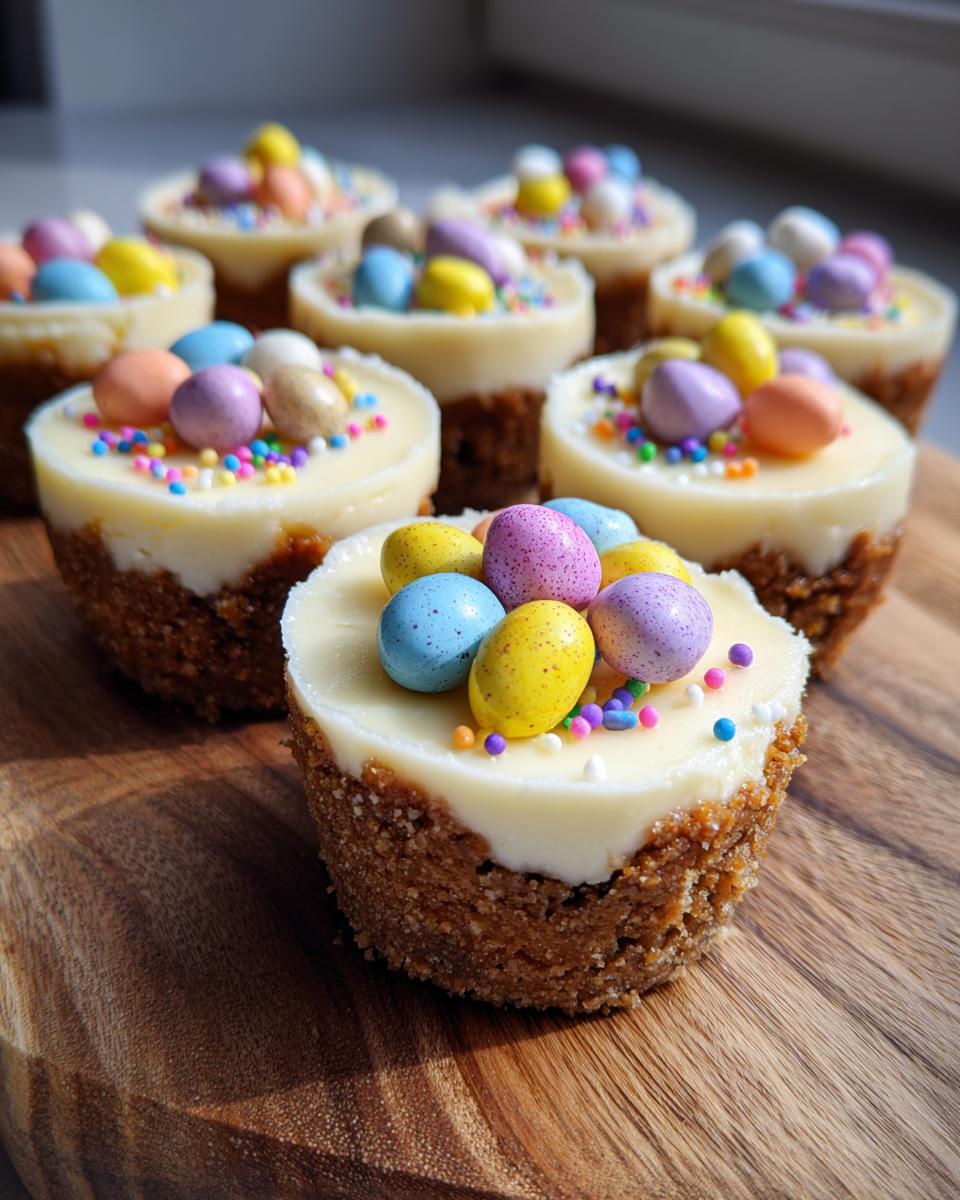
- Prepare the crust: Line your muffin tin with paper liners—I like the pastel ones for extra Easter cheer. Mix those graham cracker crumbs with melted butter until it looks like wet sand. Press about a tablespoon into each liner, really packing it down with your fingers or the back of a spoon. This is your foundation, so make it sturdy!
- Mix the filling: In a big bowl, beat the softened cream cheese until it’s smooth as silk. Add powdered sugar and vanilla, then give it another whirl. Here’s where the magic happens—fold in the whipped topping gently with a spatula. Don’t overmix or you’ll deflate all that fluffy goodness!
- Assemble the cups: Now for the fun part! Spoon (or pipe—more on that later) the filling over the crusts. I like to use a small cookie scoop for even portions. Smooth the tops with a butter knife or the back of a spoon—they should look like little clouds of deliciousness.
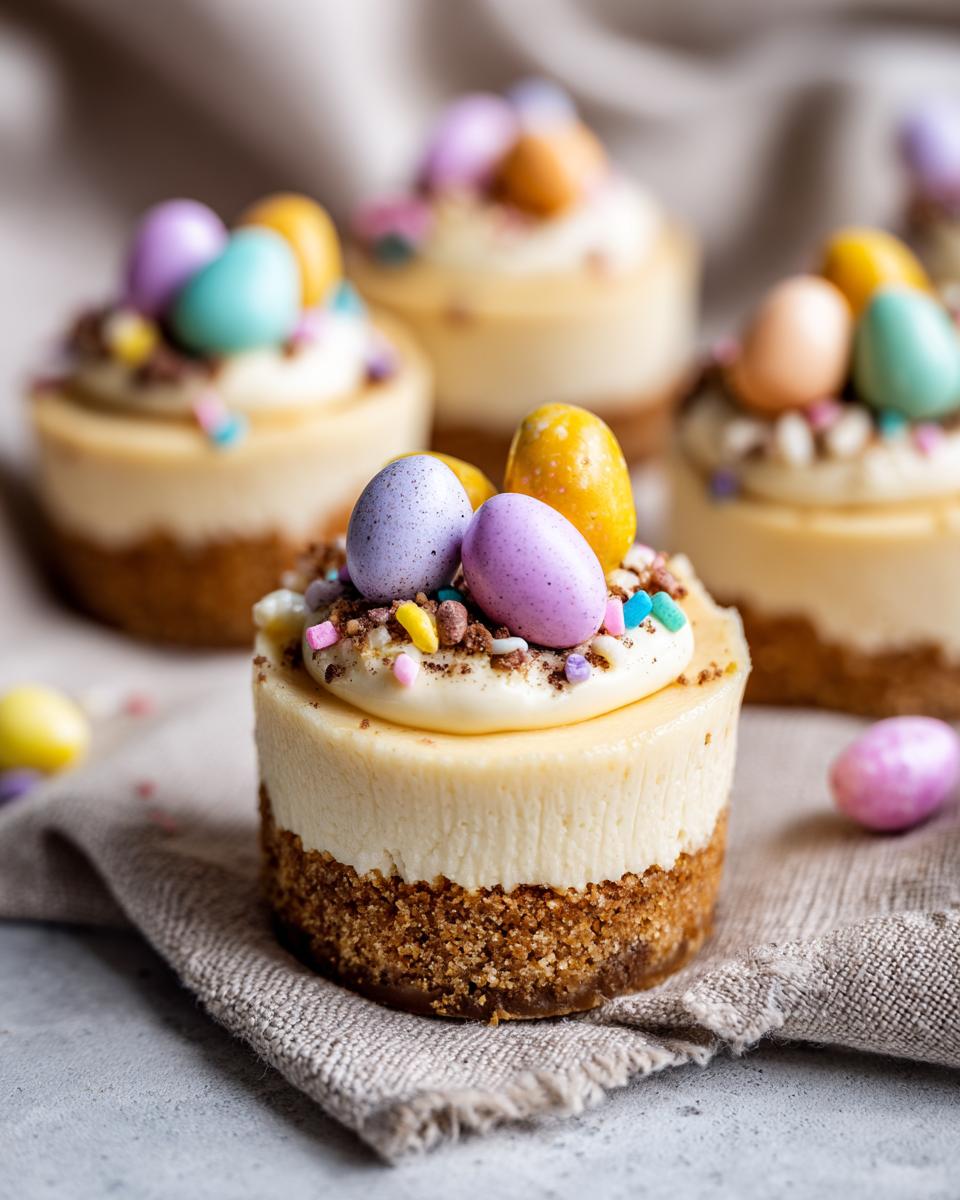
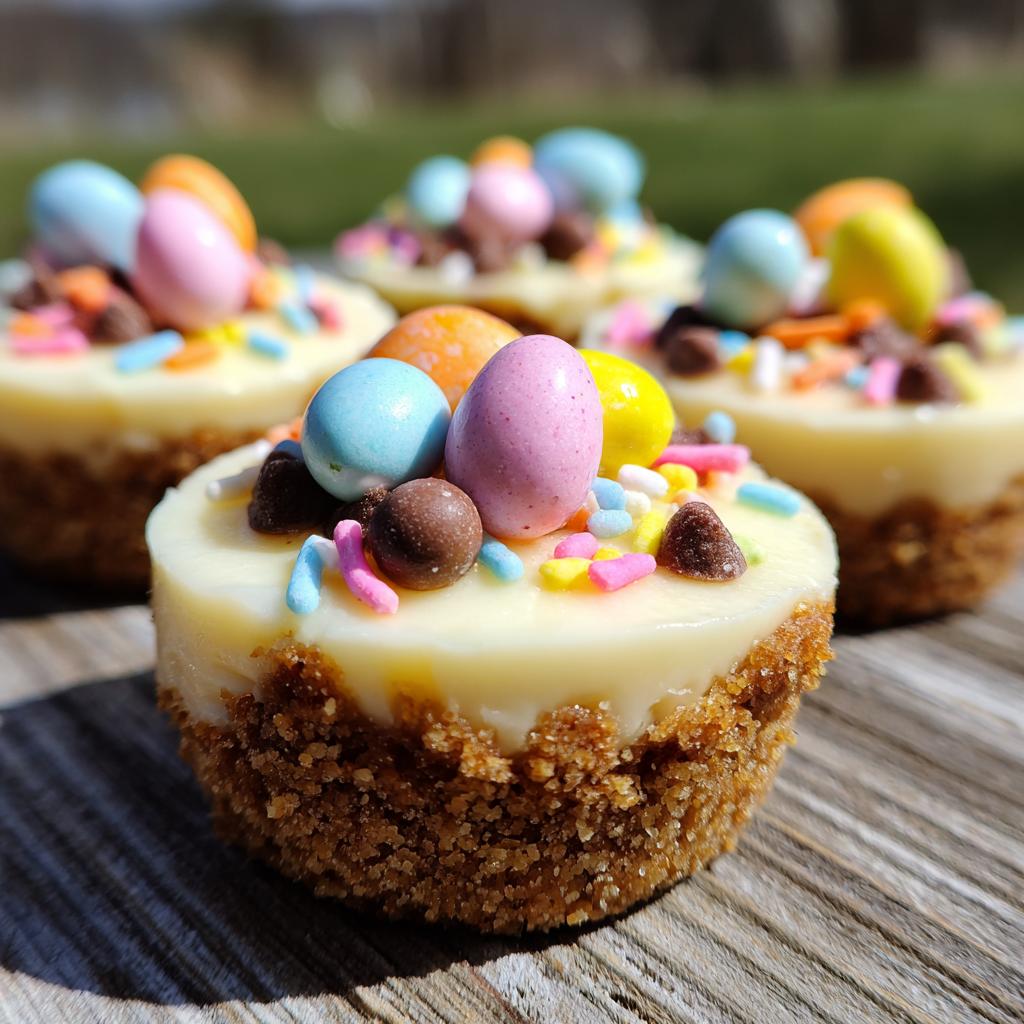
- Add the toppings: Go wild with those mini chocolate eggs and sprinkles! I arrange the eggs in little clusters and sprinkle the, well, sprinkles around them. Sometimes I add a few edible glitter stars for extra sparkle—because why not?
- Chill: Pop them in the fridge for at least an hour. I know it’s tempting to sneak one early, but trust me, the wait is worth it. The filling sets perfectly, and the flavors meld together beautifully.
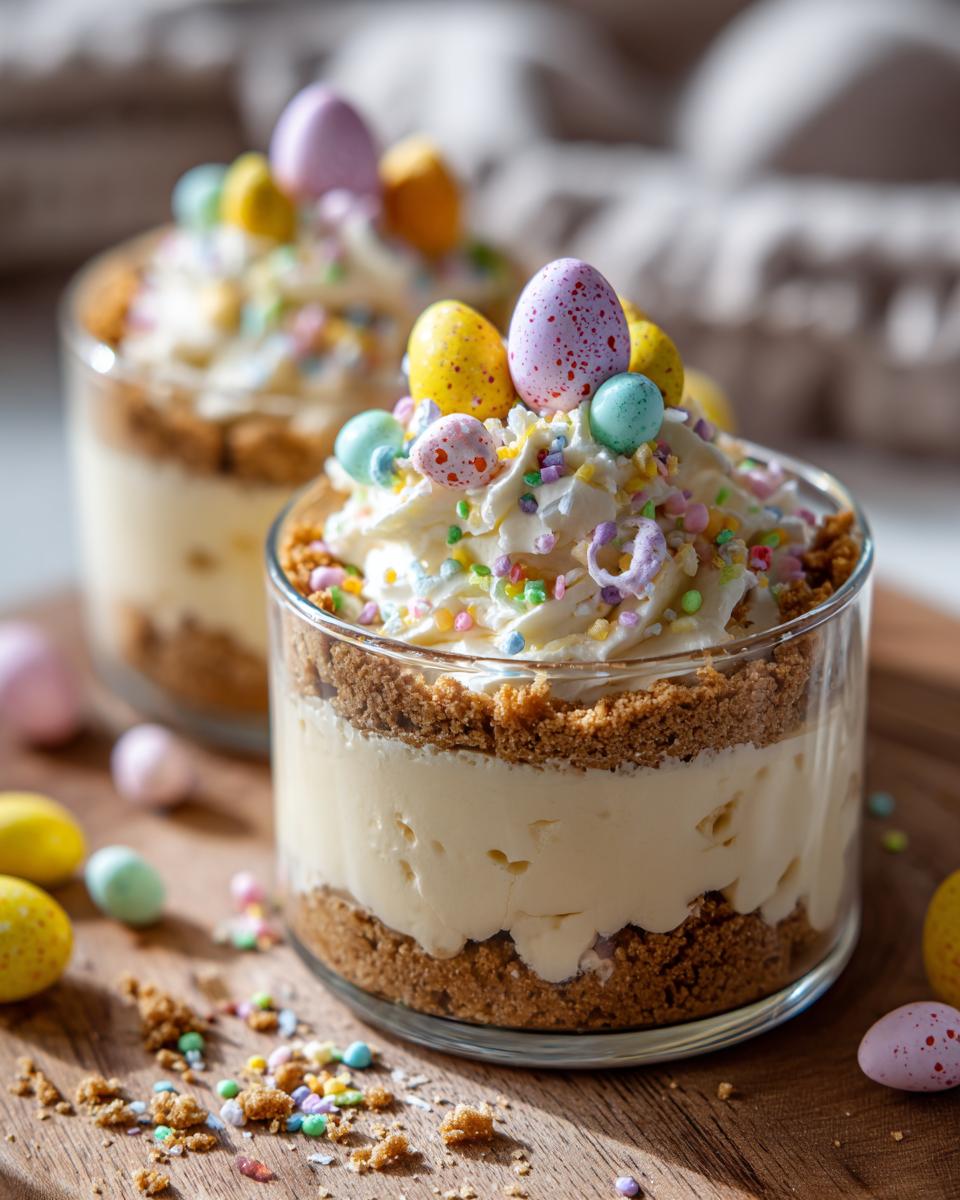
Want to make them look extra fancy? Use a piping bag with a star tip for the filling—it gives them that bakery-perfect swirl. I learned this trick after my first batch looked a bit… rustic. Now they look almost too pretty to eat! (Almost.)
These little cups are perfect for Easter celebrations, but honestly, I’ve made them for baby showers and spring parties too. Once you master the basic recipe, the variations are endless!
Pro Tip for Perfect Layers
Here’s my secret for picture-perfect layers: press that crust down firmly! I mean really get in there—it should feel compacted. This prevents crumbling when you take bites. And when folding in the whipped topping, use a light hand and fold just until combined. Overmixing makes the filling dense instead of light and airy. Think of it like folding a delicate soufflé—gentle strokes yield the fluffiest results!
Creative Variations for Easter Dessert Cups
Okay, here’s where we get to play! These Easter dessert cups are like a blank canvas—you can dress them up however your heart desires. My family loves when I switch things up, and these three variations always steal the show:
- Pastel-colored fillings: Add a few drops of food coloring to the cream cheese mixture for soft Easter hues. Pro tip: Use gel colors for vibrant shades without thinning the filling. I once did a whole rainbow batch—the kids went nuts!
- Crushed Oreo crust: Swap graham crackers for Oreos (yes, the whole cookie, cream filling and all). The chocolate pairs amazingly with the creamy filling. It’s like a cookies-and-cream Easter miracle!
- Fresh berry toppings: Instead of sprinkles, crown each cup with raspberries or sliced strawberries. The tartness balances the sweetness perfectly. Bonus: It makes them feel slightly healthier (we can pretend, right?).
Feeling extra festive? Check out my Easter candy bark recipe for more decorating inspiration. The best part? You can mix and match these ideas—maybe pastel filling with Oreo crust? Now we’re talking!
Storage and Make-Ahead Tips
These Easter dessert cups are almost too easy—you can make them days ahead! Here’s how I keep them fresh:
- Refrigerate: They’ll stay perfect for 3 days in an airtight container. I layer them between parchment paper so the toppings don’t smush.
- Freeze: For longer storage (up to 1 month!), skip the sprinkles and eggs before freezing. Thaw overnight in the fridge, then add your festive toppings right before serving.
Pro tip: The crust stays crispest if you store them without toppings. I assemble the final decorations just 30 minutes before guests arrive—those sprinkles stay crunchy!
Nutritional Information
Just so you know, these nutritional values are estimates and can vary based on exactly what ingredients you use. But for those keeping track, each adorable Easter dessert cup comes in at about 180 calories, with 11g of fat and 14g of sugar. Not too bad for such a festive treat, right? I always say life’s too short not to enjoy dessert—especially when it’s this cute!
Frequently Asked Questions
Can I use yogurt instead of whipped topping?
Absolutely! Greek yogurt works great if you want a tangier twist. Just make sure it’s the thick, strained kind – regular yogurt will make your filling too runny. I’ve done this swap when I wanted to feel slightly virtuous about eating dessert. Pro tip: If using yogurt, chill the cups for at least 2 hours so they set properly.
How do I make these gluten-free?
Super easy fix! Just swap regular graham crackers for gluten-free ones. I’ve found the gluten-free versions actually make an even crispier crust – bonus! All the other ingredients are naturally gluten-free, so you’re golden. My gluten-sensitive aunt couldn’t believe they were safe for her to eat!
What’s the best way to transport these?
Oh, I’ve mastered this after many Easter potlucks! Keep them in the muffin tin with the liners – it’s like their own little protective cocoon. If you’re stacking them, put parchment paper between layers so the toppings don’t get smushed. And whatever you do, don’t let them ride in a warm car – that cream cheese filling gets soft fast!
More Easter Recipes to Try
If these Easter dessert cups got you in the holiday spirit, wait until you try my sausage and egg casserole—it’s become our family’s must-have brunch dish. And for cookie lovers, these pastel sugar cookies with royal icing are almost too pretty to eat (almost!). Happy Easter baking!
Easter Dessert Cups
Ingredients
Equipment
Method
- Line a muffin tin with paper liners.
- Mix graham cracker crumbs and melted butter. Press into the bottom of each liner.
- Beat cream cheese, powdered sugar, and vanilla until smooth. Fold in whipped topping.
- Spoon the filling over the crusts. Smooth the tops.
- Decorate with mini chocolate eggs and sprinkles. Chill for at least 1 hour before serving.