There’s something magical about Easter baking that brings out the kid in all of us – and these Easter cookies ideas are my absolute favorite way to celebrate! I still remember the first time my niece and I decorated bunny-shaped cookies together, her little hands covered in pastel icing and sprinkles everywhere. Now it’s our yearly tradition. Whether you’re making them for Easter brunch, stuffing into treat bags for the neighborhood kids, or just enjoying a sweet afternoon activity with family, these buttery sugar cookies with royal icing are pure joy. The best part? You probably have most ingredients in your pantry already! If you love simple projects like these, you might also enjoy our football sugar cookies for other holiday gatherings.
Why You’ll Love These Easter Cookies Ideas
Oh my gosh, where do I even start? These Easter cookies are my go-to every spring because they check all the boxes. First off – they’re ridiculously easy to make. The dough comes together in minutes, and even if your decorating skills are a bit… let’s say “rustic” (like mine were at first), they still turn out adorable. The best part? Kids go absolutely wild for decorating them. I’ve seen everything from carefully piped bunnies to abstract sprinkle explosions (both equally delicious, if you ask me).
You can customize them endlessly too – pastel colors for classic Easter vibes, bright neons for fun, or even go monochrome if you’re feeling fancy. And the shapes! Eggs, bunnies, flowers – whatever cookie cutters you’ve got will work. They’re perfect for Easter baskets, classroom treats, or just a sweet afternoon activity with the family. Trust me, one bite of these buttery cookies with that sweet royal icing, and you’ll be hooked!
Ingredients for Easter Cookies
Okay, let’s talk ingredients – because I’ve learned the hard way that having everything prepped makes cookie decorating way more fun (and way less stressful when you’ve got excited kids waiting to dive in). I like to divide everything into two groups: the cookie dough itself and that dreamy royal icing we’ll use to decorate. Here’s exactly what you’ll need:
For the Cookies
- 2 1/2 cups all-purpose flour (spooned and leveled – no packing!)
- 1 cup unsalted butter, softened (this is crucial – leave it out for about 30 minutes before baking)
- 1 cup granulated sugar (regular white sugar works perfectly)
- 1 large egg (room temperature helps it incorporate better)
- 1 teaspoon vanilla extract (the real stuff makes all the difference)
For the Icing
- 2 cups powdered sugar (sifted to avoid lumps)
- 1 1/2 tablespoons milk (whole milk gives the best consistency)
- 1 tablespoon light corn syrup (this gives the icing that perfect shine)
- 1/4 teaspoon vanilla extract (just a hint to balance the sweetness)
- Assorted food coloring (I swear by gel colors – they’re more vibrant and won’t thin your icing)
See? Nothing too fancy – just good, basic ingredients that come together to make something magical. Pro tip: measure everything before you start mixing. There’s nothing worse than getting halfway through and realizing you’re out of vanilla (ask me how I know…).
How to Make Easter Cookies: Step-by-Step
Alright, let’s get to the fun part – making these adorable Easter cookies! I’ve made this recipe so many times I could probably do it in my sleep, but I’ll walk you through each step so yours turn out perfect. First things first – preheat that oven to 350°F (175°C) and line your baking sheets with parchment paper. Trust me, the parchment paper is a lifesaver for easy cleanup!
- Cream the butter and sugar in a large bowl until it’s light and fluffy. This takes about 2-3 minutes with a mixer. You’ll know it’s ready when it looks almost like whipped cream. Then beat in the egg and vanilla – just until combined, don’t overmix!
- Add the flour gradually, mixing just until the dough comes together. It should be soft but not sticky. If it sticks to your fingers, add a tablespoon more flour.
- Roll it out to about 1/4-inch thickness on a lightly floured surface. This is the perfect thickness – thick enough to hold shapes but thin enough to bake evenly.
- Cut your shapes! Use Easter-themed cookie cutters – bunnies, eggs, flowers, whatever makes you happy. If you’re looking for more inspiration, check out our Valentine’s sugar cookie bars for other fun shape ideas.
- Bake for 8-10 minutes until the edges are just barely golden. They’ll keep cooking a bit as they cool, so don’t overbake them!
- Cool completely on wire racks before decorating. I know it’s tempting to rush this step, but warm cookies will make your icing melt right off.
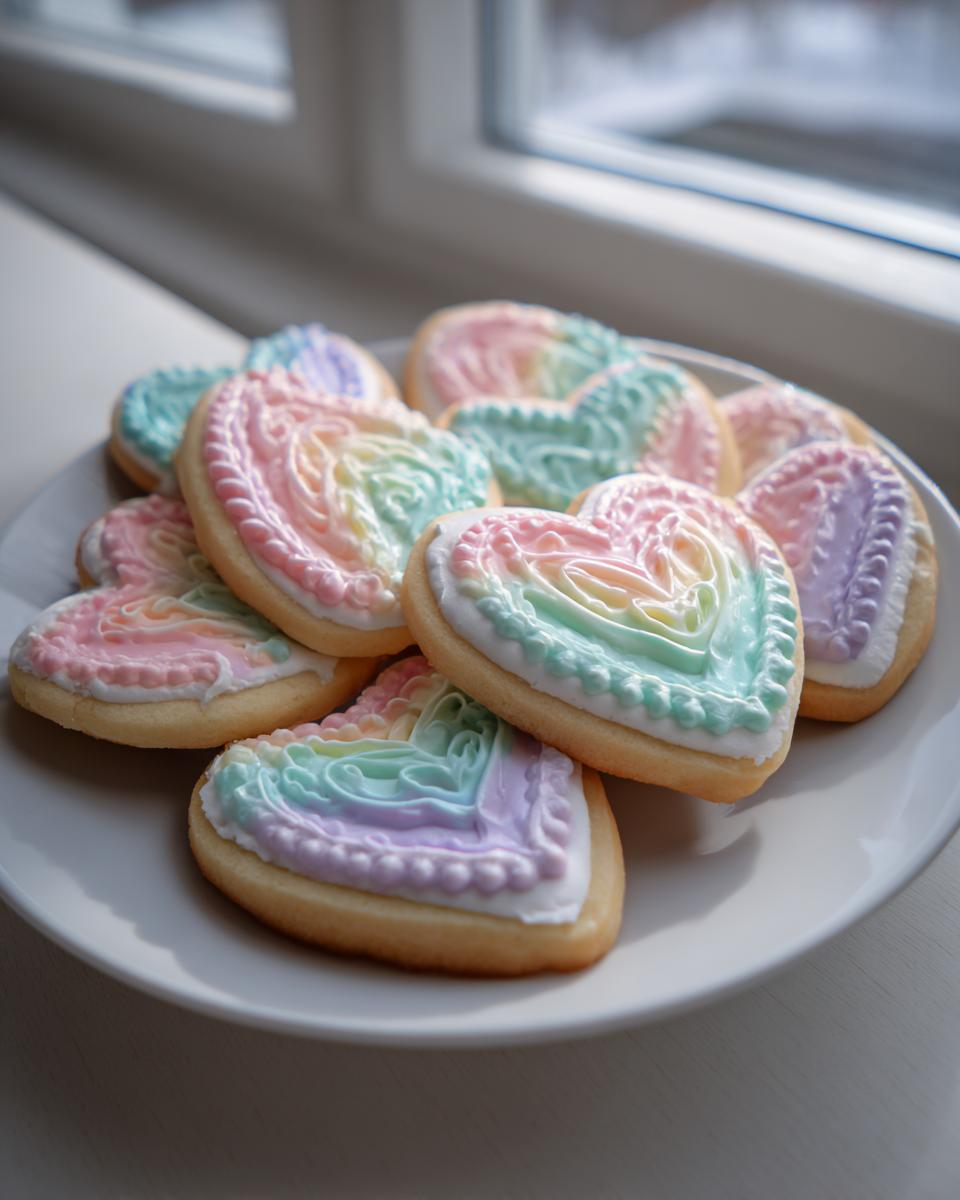
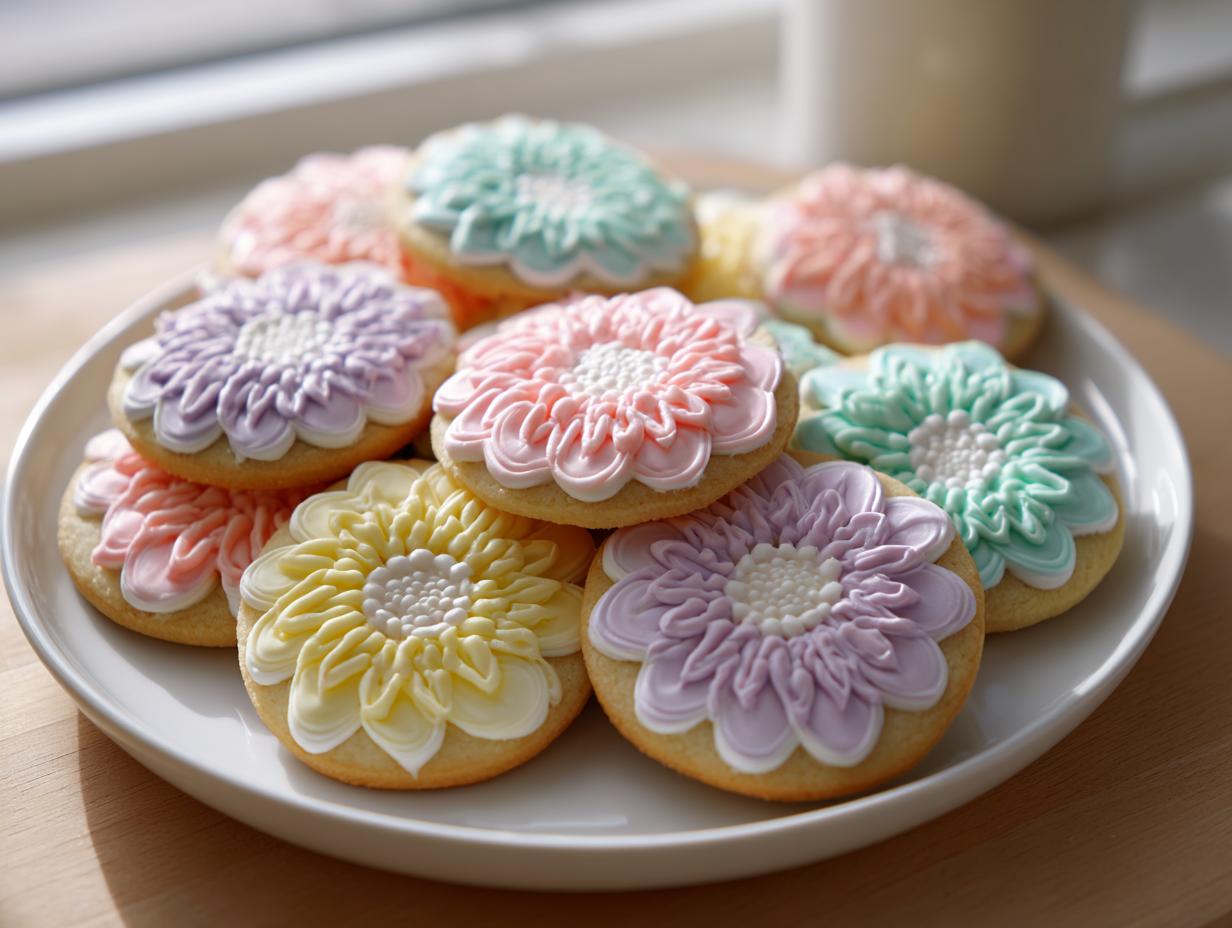
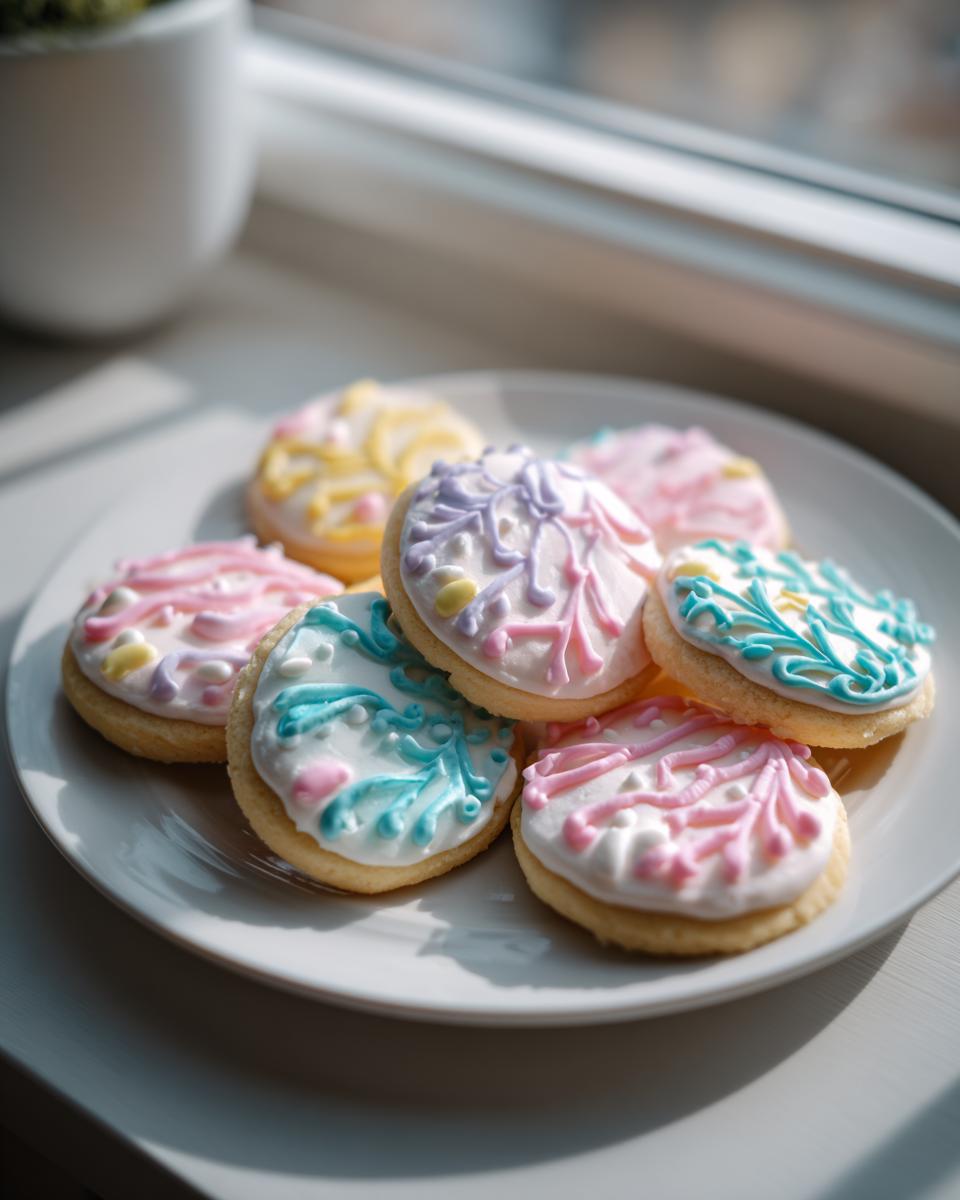
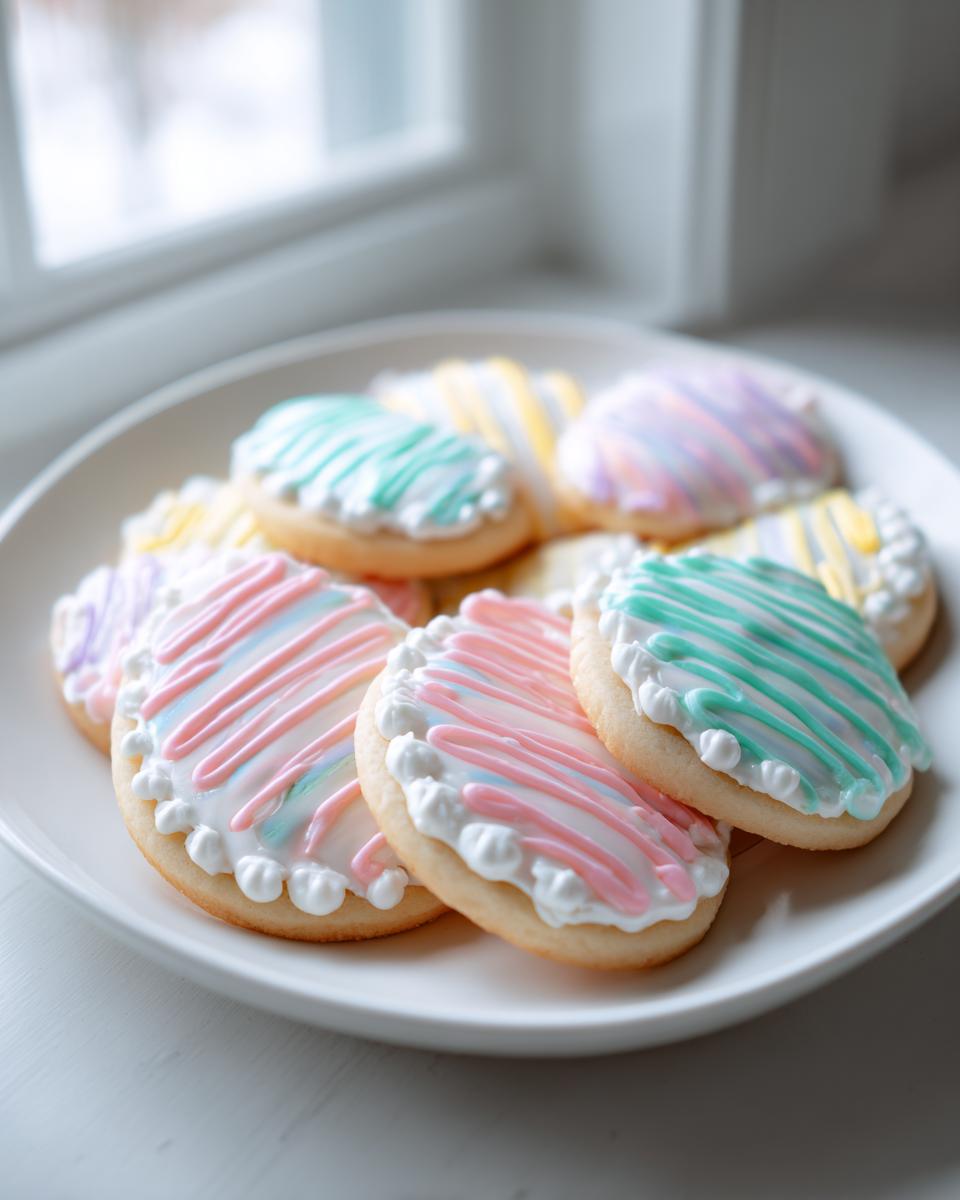
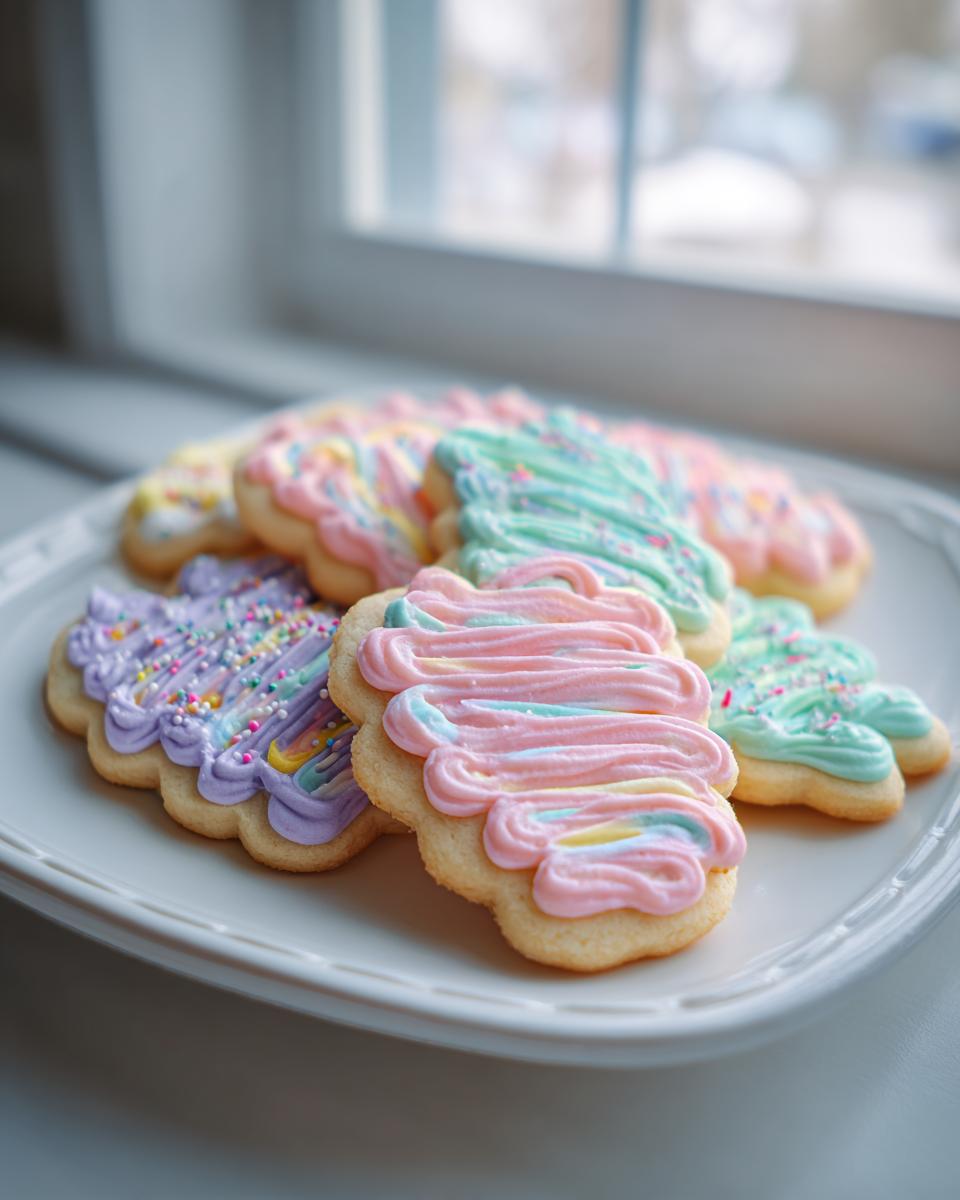
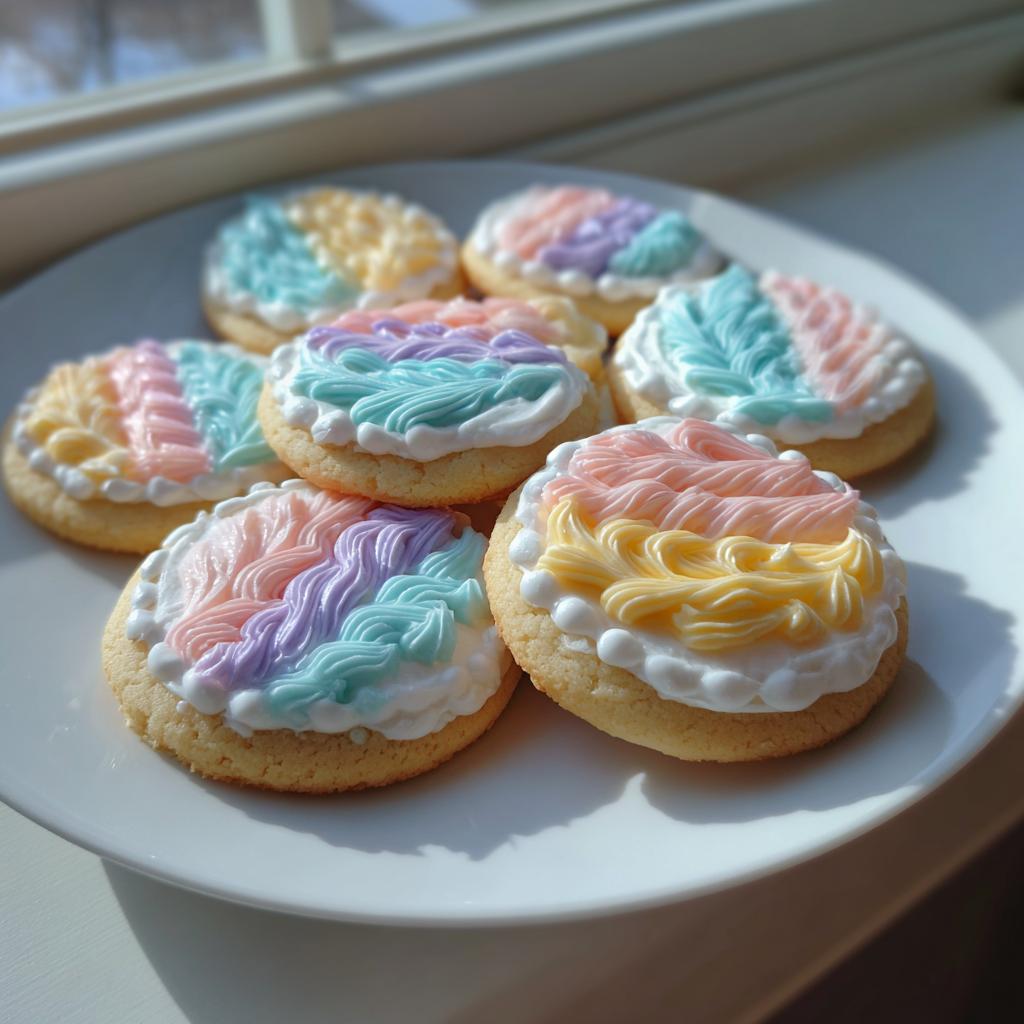
Decorating Your Easter Cookies Like a Pro
Now for the best part – making these cookies look as good as they taste! For the icing, whisk together the powdered sugar, milk, corn syrup and vanilla until it’s smooth. You want it thick enough to hold its shape but thin enough to pipe – think toothpaste consistency. Divide it into bowls and add your food coloring. Pastels are classic for Easter, but go wild with whatever colors you love!
Here’s my favorite decorating trick: use toothpicks for intricate details. Pipe your base color, then use a toothpick to drag the icing into little ears on bunnies or stripes on eggs. Sprinkle on some colored sugar or nonpareils while the icing is still wet for extra sparkle. And remember – the icing needs about 4 hours to dry completely before stacking or packaging. I usually decorate in the evening and let them dry overnight.
Pro tip: If you mess up a design (it happens to all of us!), just scrape it off with a butter knife and start over. The cookies are forgiving – just like Easter itself!
Expert Tips for Perfect Easter Cookies
After making these Easter cookies every spring for the past decade (and learning from some hilarious kitchen disasters), I’ve picked up a few tricks that’ll take your cookies from “Oh, that’s cute” to “Wow, did you make these?!” Here’s everything I wish someone had told me when I started:
Chill that dough! I know, I know – waiting feels impossible when you’re excited to decorate. But trust me on this: wrap your dough and pop it in the fridge for 30 minutes before rolling. Cold dough means crisp, clean edges on your bunnies and eggs instead of shapes that slowly morph into amoebas as you cut them. (Bonus: chilled dough spreads less while baking too!)
Rotate those baking sheets. My oven has a hot spot that could char marshmallows in seconds. To avoid wonky cookies with one dark side, rotate your sheets front-to-back halfway through baking. Just a quick turn makes all the difference for even golden perfection.
Piping bags are your BFF. I used to scoop icing with spoons like some kind of cookie caveman until I discovered the magic of plastic piping bags or even zip-top bags with a tiny corner snipped off. They give you so much more control for outlines and details. Plus, you can twist the top closed when you’re not using it – no dried-out icing disasters!
One more little secret? I always use gel food coloring instead of liquid. Those little dropper bottles fade in the oven, but gel colors stay vibrant. A tiny dab gives you those Instagram-worthy pastels without thinning your icing. My current favorite is a soft peach color that looks amazing on bunny ears!
Remember – even if your cookies aren’t picture-perfect, they’ll still taste amazing. Some of my early “abstract expressionist” Easter cookies were the ones my family gobbled up fastest. Happy baking!
FAQs About Easter Cookies Ideas
Can I freeze the Easter cookie dough?
Absolutely! I freeze the dough all the time – it’s perfect for making ahead. Just wrap it tightly in plastic wrap, stick it in a freezer bag, and it’ll keep beautifully for up to a month. Thaw in the fridge overnight when you’re ready to bake. The chilled dough actually rolls out even better!
How long will decorated Easter cookies stay fresh?
These stay delicious for about 5 days when stored properly in an airtight container. The royal icing forms a protective “shell” that helps keep them fresh. I like to put parchment between layers if stacking them. Pro tip: If your home is humid, add a slice of bread to the container – it’ll absorb excess moisture!
Can I make these with gluten-free flour?
Yes, but you’ll want to use a 1:1 gluten-free baking blend – not just straight almond or coconut flour. The texture will be slightly different (a bit more crumbly), but still tasty. I’ve had the best luck with blends that include xanthan gum already mixed in. Maybe test a small batch first if you’re making them for guests.
Why do my cookies spread unevenly in the oven?
Oh honey, I’ve been there! Usually it means the butter was too warm when you mixed the dough, or the baking sheets were still hot from the previous batch. Always let your sheets cool between batches, and don’t skip that chill time I mentioned earlier. Rotating the pans halfway through baking helps too!
Can I use this icing for other cookie designs?
This royal icing recipe is my go-to for all decorated cookies – it works for Christmas trees, Halloween pumpkins, you name it! The consistency is perfect for both piping outlines and flooding. Just adjust the liquid amount slightly if you want thicker decorations. It’s practically edible glue!
Nutritional Information
Let’s be real – we’re not eating sugar cookies for their health benefits! But since you asked (or your conscience did), here’s the scoop on what’s in these sweet Easter treats. A single decorated cookie clocks in at about 150 calories, with 22g carbs and 7g fat. That’s not bad for a special occasion treat, especially when you consider the joy you’re getting too!
Now, here’s my official disclaimer: these numbers are estimates based on standard ingredients. Your exact nutrition will vary depending on your specific brands of butter, flour, etc. – and let’s be honest, how generously you slather on that icing! (No judgment here – I’m team “more sprinkles” myself.)
The good news? These cookies pack way more happiness than calories. And if you’re sharing them with kids, they’ll burn off that sugar chasing Easter eggs anyway. Everything in moderation, right? Now get back to enjoying your delicious creations!
More Easter Treats to Try
Now that you’ve mastered these Easter cookies, why not keep the baking fun going? I love how one sweet recipe always leads to another in my kitchen! When you’re done decorating your last bunny-shaped cookie (and probably sneaking one or two straight from the cooling rack – we’ve all been there), I’ve got some more festive ideas for you.
For cozy gatherings, try pairing your cookies with my warm cocoa recipe – it’s unexpected but perfect for those chilly spring evenings. Or if you’re feeling adventurous, use leftover cookie dough to make thumbprint cookies filled with lemon curd – they look like little nests with pastel eggs!
I’d love to see your cookie creations – tag me @QuickRecipes on Instagram or use #EasterCookieMagic so we can all ooh and aah over your designs. Some of my favorite reader creations end up featured on our community page, and I’m always stealing new decorating ideas from you brilliant home bakers!
However you celebrate this season, may your cookies be sweet, your icing smooth, and your Easter full of joy. Remember – even the lopsided bunnies taste delicious. Happy baking and Happy Easter from my kitchen to yours!
Ingredients
Equipment
Method
- Preheat oven to 350°F (175°C). Line baking sheets with parchment paper.
- In a bowl, cream butter and sugar until light and fluffy. Beat in egg and vanilla.
- Gradually mix in flour until dough forms. Roll dough to 1/4-inch thickness.
- Cut into Easter shapes with cookie cutters. Bake for 8-10 minutes until edges are light golden.
- Cool cookies completely on wire racks.
- For icing, whisk powdered sugar, milk, corn syrup, and vanilla until smooth. Divide into bowls and tint with food coloring.
- Decorate cooled cookies with icing. Let dry completely before serving.