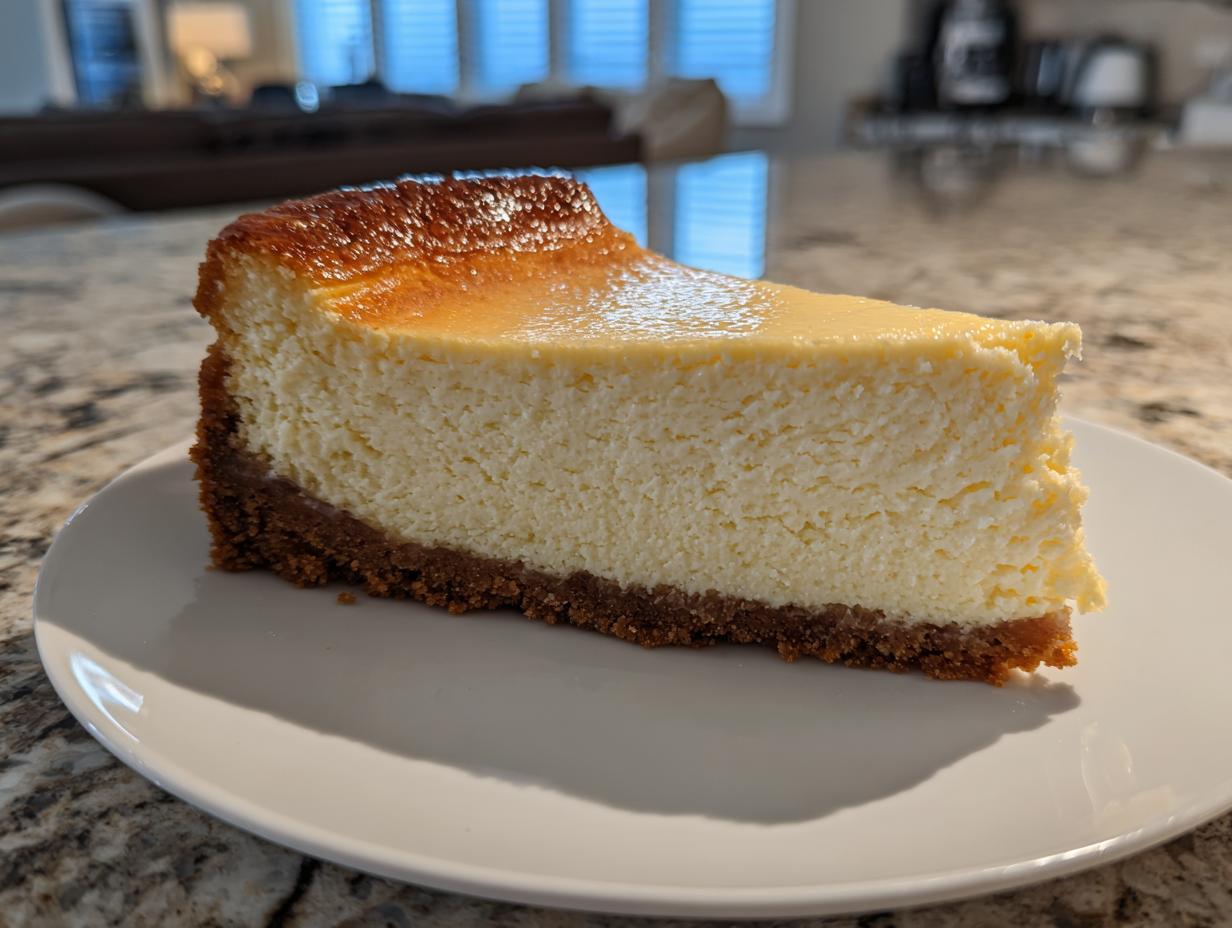
Oh, cheesecake. That first creamy, dreamy bite that makes you close your eyes and just savor the moment. I still remember my first attempt at making cheesecake – I was terrified it would crack, terrified it wouldn’t set, terrified it would taste like sweetened cream cheese (because, well, that’s basically what it is). But when that golden-topped beauty came out of the oven and chilled overnight, magic happened. This classic cheesecake recipe is the one I’ve perfected over years of trial and (many) errors – simple enough for beginners but with that rich, velvety texture that’ll make everyone think you’re a pastry chef. The secret? It’s all about patience and quality ingredients. Whether you’re looking for foolproof cheesecake recipes for a special occasion or just because it’s Tuesday (the best reason, honestly), this one’s your golden ticket. Trust me, once you master this basic version, you’ll be adding your own twists in no time.
Why You’ll Love This Cheesecake Recipe
Oh honey, let me tell you why this cheesecake recipe is going to become your new best friend. First off, it’s so simple even my 12-year-old niece can make it (and she once burned microwave popcorn). That graham cracker crust? Just three ingredients you probably already have in your pantry – crumbs, sugar, and butter – but it comes out tasting like pure magic every time.
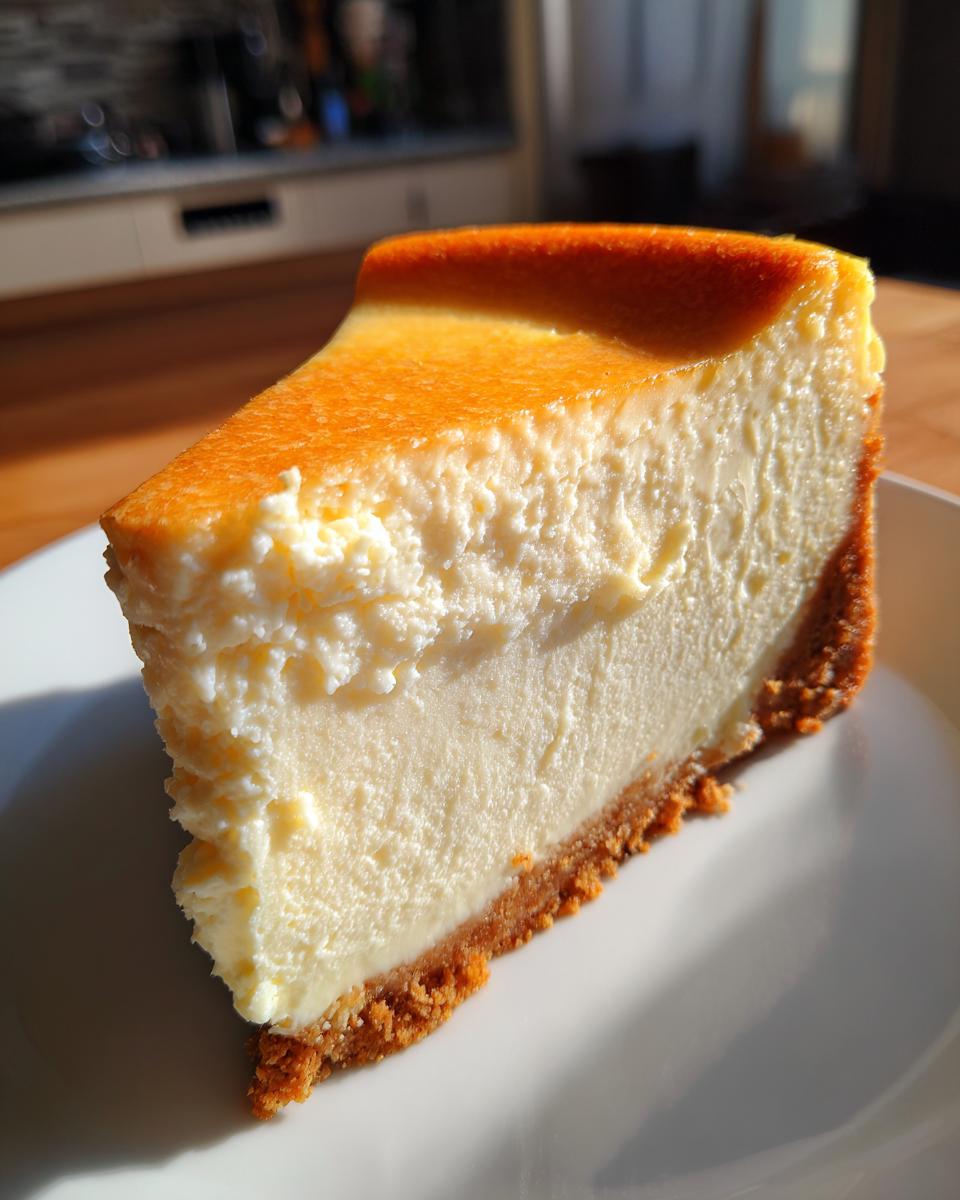
The filling is where the real love happens. When you get that perfect creamy texture – not too dense, not too airy – it’s like biting into a cloud that’s been sprinkled with happiness. And the sweetness? Just right. Not so sugary it makes your teeth ache, but enough to satisfy that dessert craving. My secret is using full-fat cream cheese (none of that low-fat nonsense here) and real vanilla extract. Trust me, your taste buds will thank you.
What I love most is how forgiving this recipe is. Even if your crust isn’t perfectly even or you get a tiny crack (which I promise no one will notice once they taste it), it still comes out absolutely delicious. It’s the kind of dessert that looks fancy but secretly couldn’t be easier to make. Perfect for when you want to impress but don’t want to stress!
Ingredients for the Perfect Cheesecake
Okay, let’s talk ingredients – because great cheesecake recipes start with great ingredients. I’ve learned the hard way that skimping here leads to sad, lumpy cheesecakes (and nobody wants that). Everything should be fresh and at the right temperature – trust me, it makes all the difference. I’ve included my favorite classic cheesecake recipes for inspiration if you want to experiment after mastering this one.
For the Crust
First up, that buttery graham cracker foundation we all love. You’ll need 1.5 cups of fine crumbs – I pulse whole crackers in my food processor until they’re like sand. The sugar? Just ¼ cup granulated – not packed, just lightly spooned in. And the butter – oh, the butter! Six tablespoons of melted unsalted butter, please. It should be golden and smell nutty when melted. This trio creates that perfect sweet-salty crunch that makes the cheesecake.
For the Filling
Now for the star of the show! Three blocks (24 oz total) of full-fat cream cheese – and yes, it must be room temperature or you’ll get lumps. One cup granulated sugar (again, not packed), 1 teaspoon of real vanilla extract (none of that imitation stuff), and 3 large eggs – also room temp. Pro tip: leave everything out for about 2 hours before mixing. Cold ingredients are the enemy of smooth cheesecake filling, and we want silky perfection!
Equipment You’ll Need for Cheesecake Recipes
Listen, I know you’re excited to dive into making cheesecake, but let’s talk tools first – because the right equipment makes all the difference between cheesecake bliss and kitchen disasters. First up, that 9-inch springform pan is non-negotiable. The removable sides mean you won’t be chiseling your masterpiece out of a regular pan. A set of mixing bowls (I like glass ones so I can see what I’m doing) and an electric mixer are your best friends here. You could mix by hand, but your arm will hate you – trust me, I’ve been there. These simple tools are all you need to create magic!
Step-by-Step Cheesecake Recipe Instructions
Alright, let’s get baking! I know cheesecake recipes can seem intimidating, but I promise this one’s foolproof if you follow these steps. The secret? Take your time and don’t rush any step – good things come to those who wait (especially when cheesecake’s involved). Here’s exactly how I make my classic cheesecake every single time.
Preparing the Crust
First things first – that buttery crust! Grease your springform pan really well (I use butter or baking spray). Mix your graham cracker crumbs, sugar, and melted butter until it looks like wet sand. Now here’s my trick – press it firmly into the pan using the bottom of a glass or measuring cup. You want it packed tight so it doesn’t crumble when sliced. Pop it in the fridge while you make the filling – this helps it set.
Making the Cheesecake Filling
Now for the creamy magic! Beat your room-temperature cream cheese until it’s completely smooth – no lumps allowed! Add sugar and vanilla, scraping the bowl often. Here’s the important part: add eggs one at a time, mixing just until combined after each. Overmixing = too much air = cracks! The batter should be velvety smooth. Pour it over your chilled crust and give the pan a gentle tap on the counter to release air bubbles.
Baking and Cooling Your Cheesecake
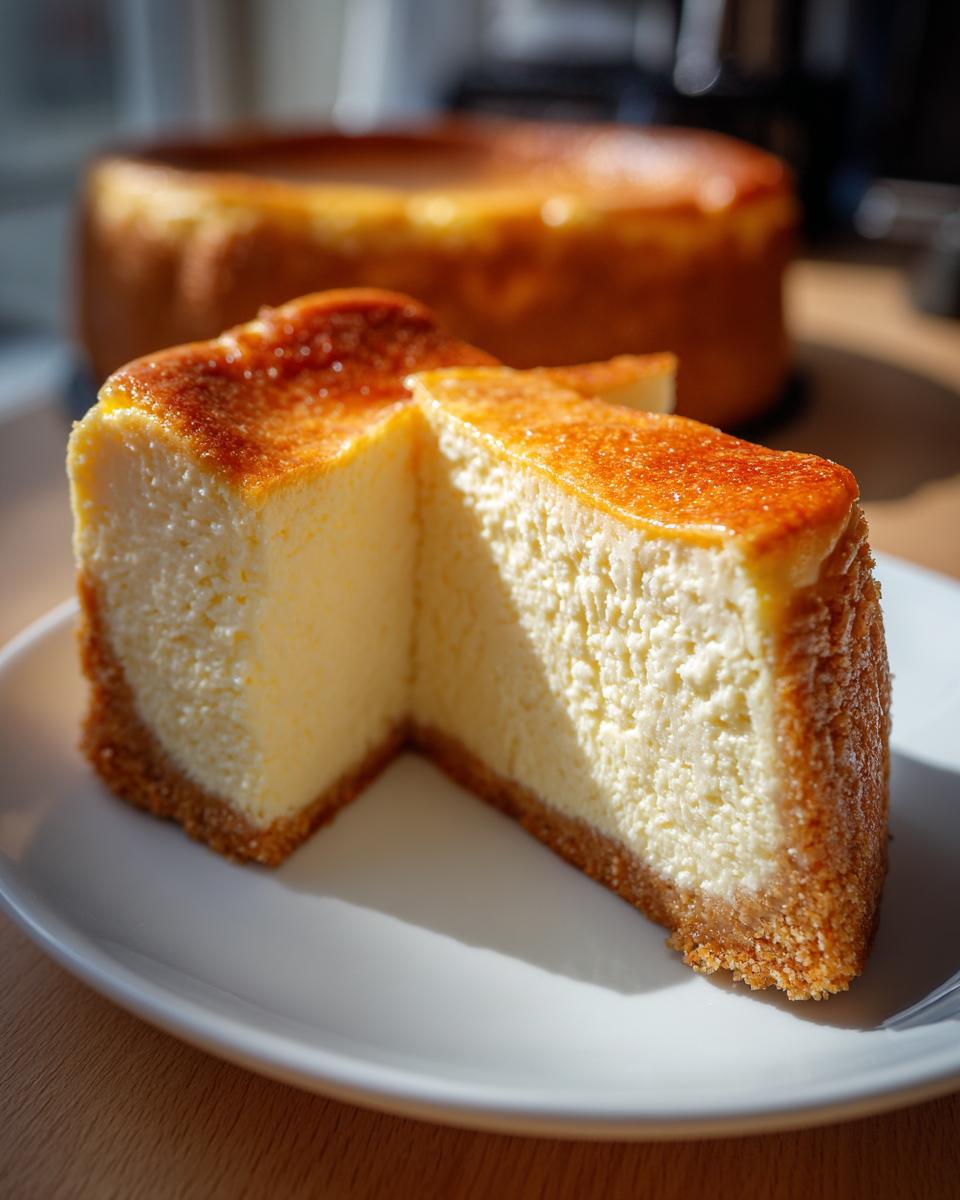
Bake at 325°F for about 60 minutes – the edges should be set but the center will still jiggle slightly. Turn off the oven, crack the door open, and let it cool slowly for an hour. This prevents cracks! Then comes the hardest part – refrigerate for at least 4 hours (overnight is better). I know, the wait is torture, but it’s worth it for that perfect sliceable texture. For no-bake lovers, check out my favorite no-bake cheesecake alternative too!
See? Not so scary after all. Just remember – patience is key with cheesecake. Resist the urge to peek while it’s baking, don’t rush the cooling, and for heaven’s sake, wait until it’s properly chilled before slicing. Your future self (and everyone who gets to taste this) will thank you!
Tips for the Best Cheesecake Recipes
Okay, let me spill all my cheesecake secrets – the stuff I’ve learned through years of happy accidents and occasional kitchen disasters. First rule: room temperature ingredients aren’t optional! Cold cream cheese will leave you with lumpy batter no matter how long you mix. I take mine out at least 2 hours before baking – just set it on the counter with the eggs and let them cozy up to room temp together.
When mixing, go easy on the power tools! Overbeating adds too much air, which leads to cracks as it cools. Mix just until everything’s combined – no marathon mixing sessions. And here’s my favorite trick for crack-free tops: place a pan of water on the rack below your cheesecake while baking. The steam works magic!
Most importantly? Don’t rush the chilling. I know it’s hard to wait, but that overnight rest in the fridge is what gives you that perfect, sliceable texture. Trust me, good things come to those who wait (especially when cheesecake’s involved)!

Common Cheesecake Recipe FAQs
Oh, I get asked these questions all the time – let me save you some frantic Googling at midnight when your cheesecake’s in the oven! First up: yes, you can absolutely use a different crust. Oreo crumbs make a delicious chocolatey base, or try crushed gingersnaps for a spicy twist. Just keep the same butter ratio and you’re golden.
Storing leftovers? Easy peasy! Cover tightly with plastic wrap (press it right against the surface to prevent drying) and it’ll keep in the fridge for up to 5 days. Though let’s be real – in my house, it never lasts that long!
Freezing? You bet! Wrap individual slices in plastic, then foil, and freeze for up to 3 months. Thaw overnight in the fridge when those cheesecake cravings hit. Pro tip: freeze some plain slices before adding toppings so you can customize later.
And that little jiggle in the center when baking? Totally normal! It’ll firm up as it chills. Just wait until the edges are set and the center moves like Jell-O when you gently shake the pan. Patience, my friend – good cheesecake comes to those who wait!
Nutritional Information for Cheesecake Recipes
Okay, let’s talk numbers – because even though cheesecake is pure joy, it’s good to know what you’re enjoying! Each slice of this classic cheesecake packs about 350 calories, with 24g of fat (14g saturated – hey, it’s dessert!), 30g carbs, and 6g protein. Now, before you start doing mental math, remember these numbers can vary based on your exact ingredients. Using full-fat cream cheese versus low-fat, real butter versus margarine – it all makes a difference. My philosophy? Life’s too short to stress over dessert calories – just savor every creamy bite and maybe take an extra walk tomorrow!
Serving and Storing Your Cheesecake
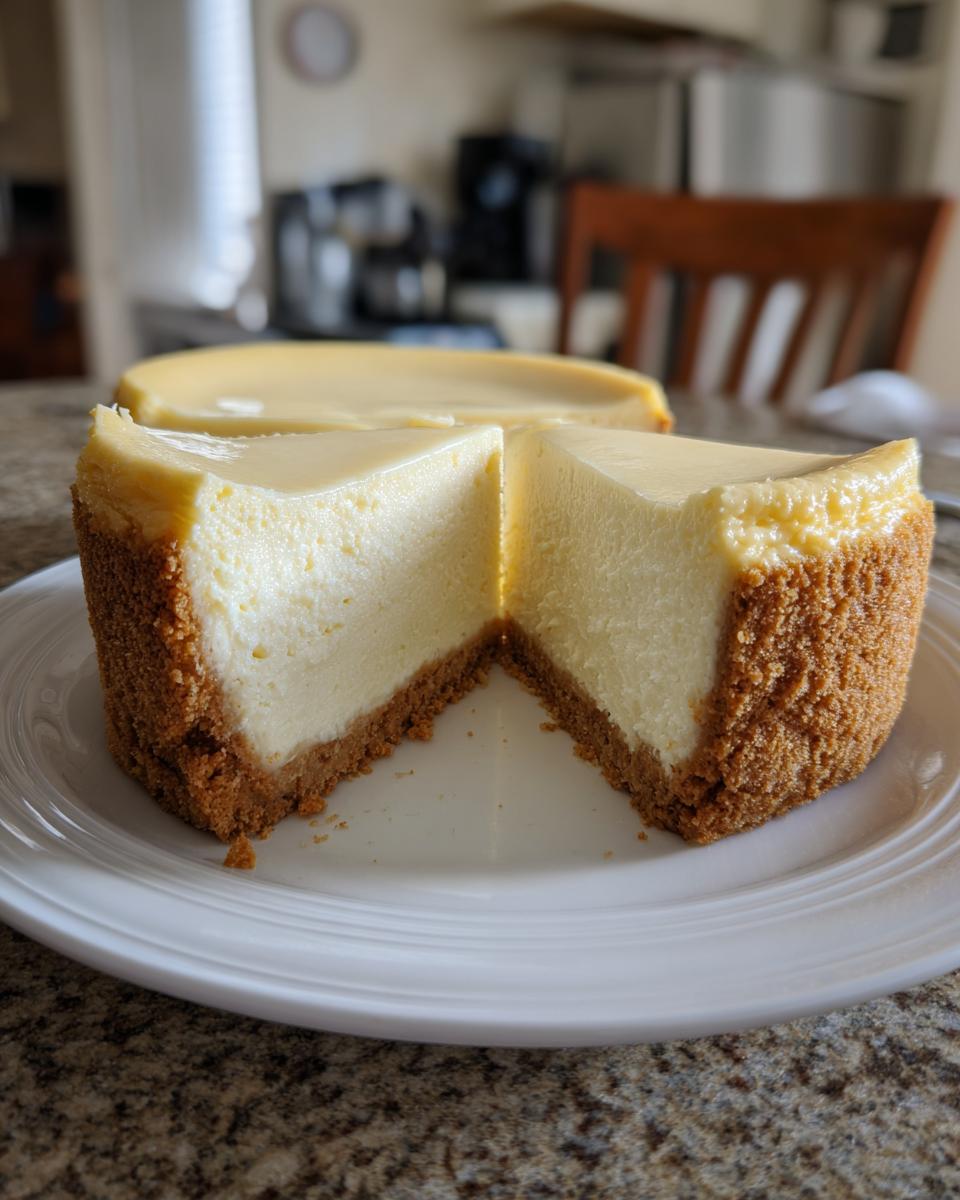
Oh, the fun part – dressing up your masterpiece! I love serving my cheesecake with a mountain of fresh berries – strawberries, raspberries, or even a quick blueberry compote. A dollop of homemade whipped cream never hurts either. For special occasions, I’ll drizzle some caramel or chocolate sauce in fancy swirls (makes it look bakery-worthy with zero effort).
Now, storage is key because let’s be honest – you’ll probably have leftovers (or maybe you’re smart and made two!). In the fridge, it keeps beautifully for up to 5 days if you cover it tightly with plastic wrap. Pro tip: press the wrap against the surface to prevent drying. Freezing? Absolutely! Wrap individual slices well and they’ll be happy in your freezer for about 3 months – perfect for when you need a quick dessert emergency fix!
Share Your Cheesecake Recipe Experience
Alright, I’ve spilled all my cheesecake secrets – now it’s your turn! Did you try this recipe? I’d love to hear how it turned out. Did you add any fun twists? Maybe a swirl of Nutella or a sprinkle of sea salt on top? Drop me a comment below – your tips might help another cheesecake newbie gain confidence in the kitchen. And if you snapped a photo of your masterpiece (I know you did!), tag me so I can ooh and aah over it. Happy baking, friends – may all your cheesecakes be crack-free and delicious!
Classic Cheesecake
Ingredients
Equipment
Method
- Preheat your oven to 325°F (165°C). Grease a 9-inch springform pan.
- Mix graham cracker crumbs, sugar, and melted butter in a bowl. Press the mixture into the bottom of the pan.
- Beat cream cheese, sugar, and vanilla until smooth. Add eggs one at a time, mixing well after each addition.
- Pour the filling over the crust. Bake for 60 minutes or until the center is set.
- Let the cheesecake cool in the oven with the door slightly open for 1 hour. Then chill in the refrigerator for at least 4 hours before serving.