
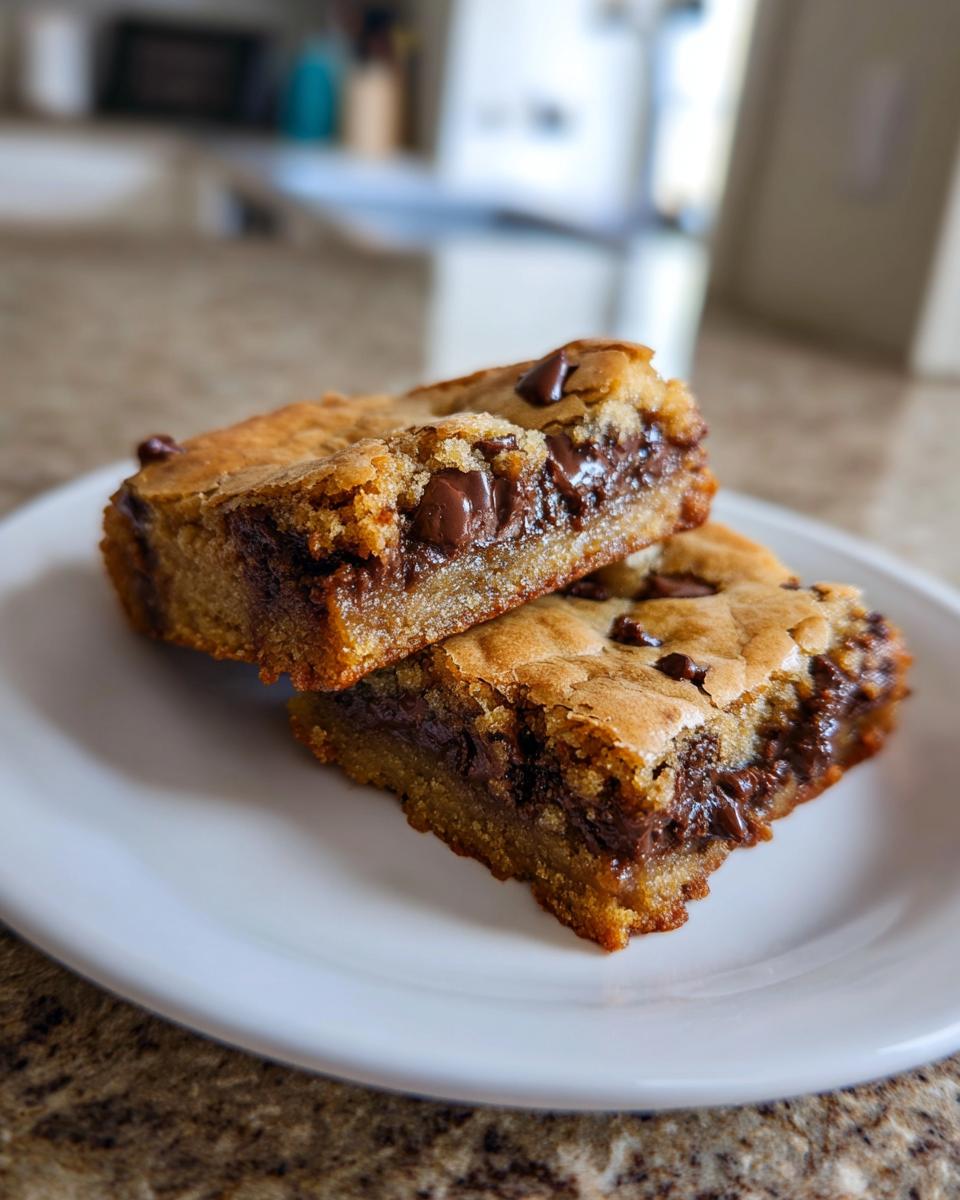
Oh, let me tell you about my absolute weakness – chocolate chip dessert bars. I swear, these chewy little squares of joy are what got me through my college finals week! There’s something magical about how the simplest ingredients – butter, sugar, eggs (okay, and a ridiculous amount of chocolate chips) – transform into these heavenly bars that disappear faster than you can say “just one more piece.”
What I love most is how forgiving this recipe is. My dorm-mates would crowd into our tiny kitchenette when they smelled these baking – even when I messed up measurements (those chemistry majors kept me honest!). Now years later, I’m still making them weekly for PTA meetings and neighborhood bake sales. The trick is letting them cool just enough so they stay fudgy in the middle with crispy edges – though honestly, I’ve burned my fingers more than once because I couldn’t wait!
These chocolate chip dessert bars are my go-to when life gets chaoticynthesis synthesis (which is always). Need a last-minute birthday treat? Got stressed kids needing comfort food? Want to bribe…I mean, thank the school volunteer committee? One pan, 40 minutes, and you’re everyone’s favorite person.
Why You’ll Love These Chocolate Chip Dessert Bars
Listen, I know what you’re thinking – “Another chocolate chip recipe?” But trust me, these bars are different. First off, they’re ridiculously easy – we’re talking pantry staples you probably already have. No fancy equipment needed either (though I won’t judge if you lick the mixing bowl like I do).
Here’s why these bars have become my baking MVP:
- Quick fix: From bowl to oven in 15 minutes flat – perfect for those “I need chocolate NOW” emergencies
- Simple ingredients: Butter, sugar, eggs, flour…and okay, maybe an extra handful of chocolate chips when no one’s looking
- Crowd-pleaser: My picky nephew and gourmet-foodie sister both fight over the last piece
- Versatile: Bake sale? Potluck? Midnight snack? These bars fit every occasion
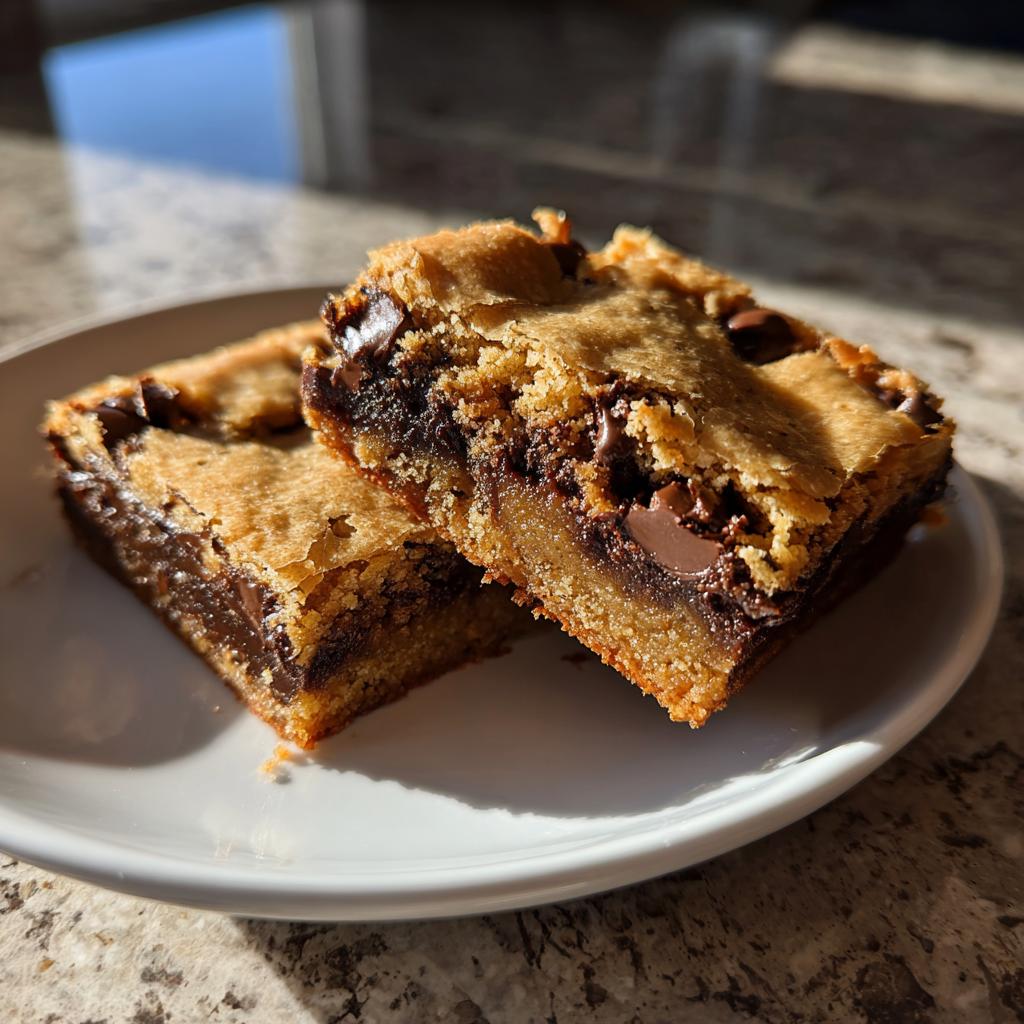
The best part? That magical moment when the chocolate chips melt just right, creating little pools of gooey goodness in every bite. Don’t say I didn’t warn you about the addiction!
Ingredients for Chocolate Chip Dessert Bars
Okay, let’s talk ingredients – and I promise, nothing weird here! These are the same staples I’ve been using since my college days (though I’ve learned a few tricks since then). The magic happens when you combine these simple things just right. Here’s what you’ll need:
For the Bars
- 1 cup unsalted butter, softened – Not melted! Leave it out for 30 minutes before baking. Trust me, this makes all the difference in getting that perfect texture.
- 1 cup granulated sugar – Plain white sugar does the job beautifully here.
- 1 cup brown sugar, packed – Pack it tight in your measuring cup! The molasses in brown sugar gives these bars their signature chewiness.
- 2 large eggs – Room temperature is ideal, but I’ve used cold eggs in a pinch and survived.
- 2 tsp vanilla extract – The good stuff! None of that imitation vanilla nonsense.
- 3 cups all-purpose flour – Spoon it into your measuring cup and level it off – no packing!
- 1 tsp baking soda – Make sure yours is fresh – it loses potency after about 6 months.
- ½ tsp salt – Just enough to balance all that sweetness.
- 2 cups chocolate chips – Okay fine, sometimes I use 2½ cups…who’s counting?
See? Nothing fancy! Just good, honest ingredients that come together to make something magical. Now let’s get mixing!
Equipment Needed
Okay, confession time – I’ve made these chocolate chip dessert bars with some pretty questionable setups before (college life, am I right?). But if you want perfect bars every time, here’s what you really need:
- 9×13-inch baking pan – The trusty workhorse of dessert bars. No fancy pants pans required!
- Mixing bowl – Big enough to contain your enthusiastic stirring (and the inevitable chocolate chip overflow)
- Electric mixer – Got a hand mixer? That works too. Feeling old-school? A wooden spoon and some elbow grease will do in a pinch
That’s it! See头盔 simple enough that even my nephew could gather the gear (though I wouldn’t trust him near the oven just yet). Now let’s get baking!
How to Make Chocolate Chip Dessert Bars
Alright, let’s get to the fun part – making these irresistible chocolate chip dessert bars! I’ve made this recipe probably a hundred times (okay, maybe more), and I’ve learned a few tricks along the way. Follow these steps, and you’ll have perfect bars every time. Promise!
Step 1: Prepare the Dough
First things first – that butter better be softened! I can’t tell you how many times I’ve gotten impatient and tried to cream rock-hard butter. Not pretty. Toss your butter, granulated sugar, and brown sugar into your mixing bowl and beat them together until they’re light and fluffy. This should take about 2-3 minutes with an electric mixer – you’ll know it’s ready when it looks like pale, whipped honey.
Now add those eggs one at a time, mixing well after each one. This is where I always make a mess – watch out for splatters! Stir in the vanilla extract next. Oh, that smell! Now, in another bowl, whisk together your flour, baking soda, and salt. Gradually add this to your butter mixture, mixing just until combined. Overmixing is the enemy here – a few flour streaks are totally fine!
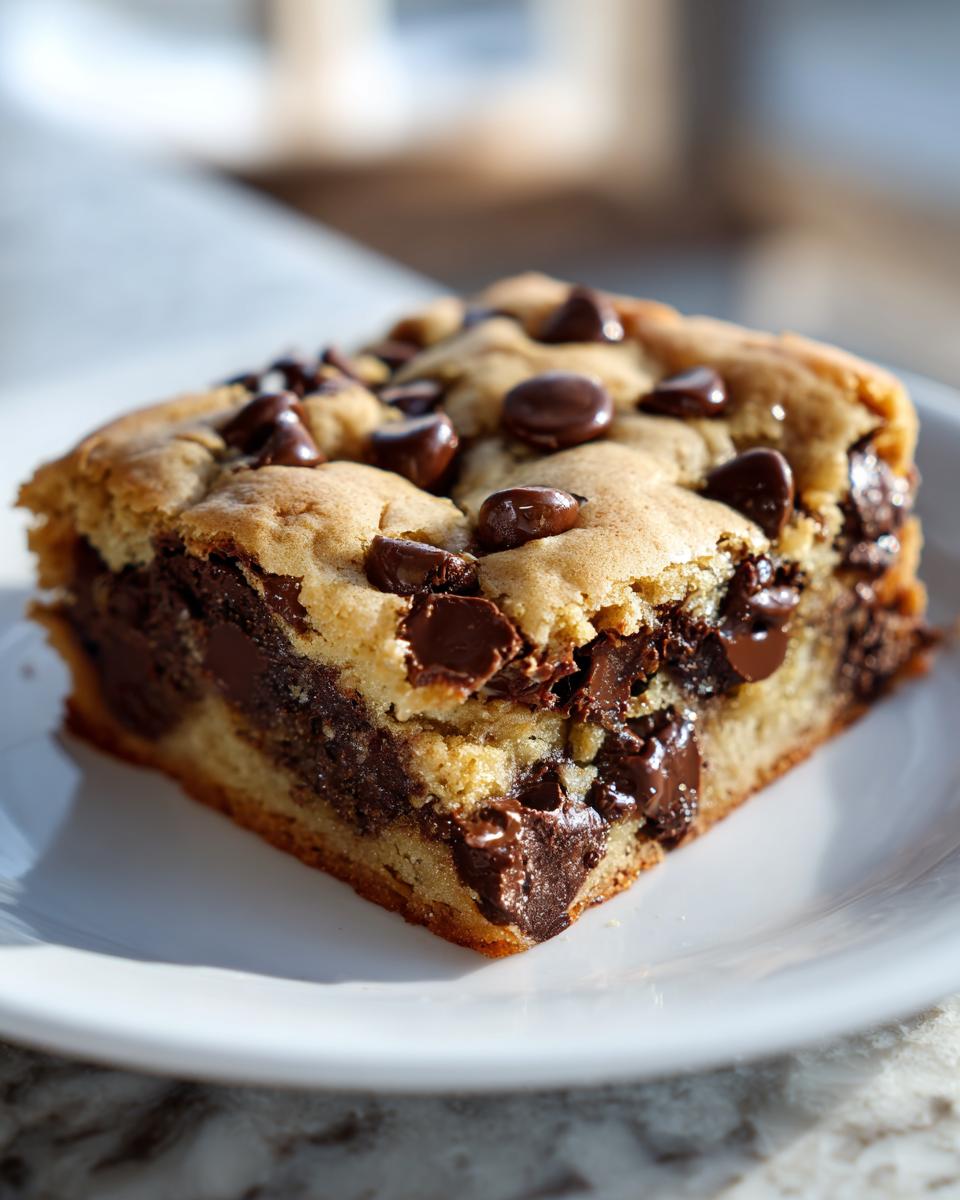
Finally, the best part – fold in those chocolate chips. I like to reserve a handful to sprinkle on top before baking – makes them look extra fancy!
Step 2: Bake to Perfection
Okay, now spread that glorious dough evenly into your greased 9×13 pan. I use a rubber spatula sprayed with a little cooking spray – makes spreading a breeze! Pop it into your preheated 350°F oven and set your timer for 25 minutes.
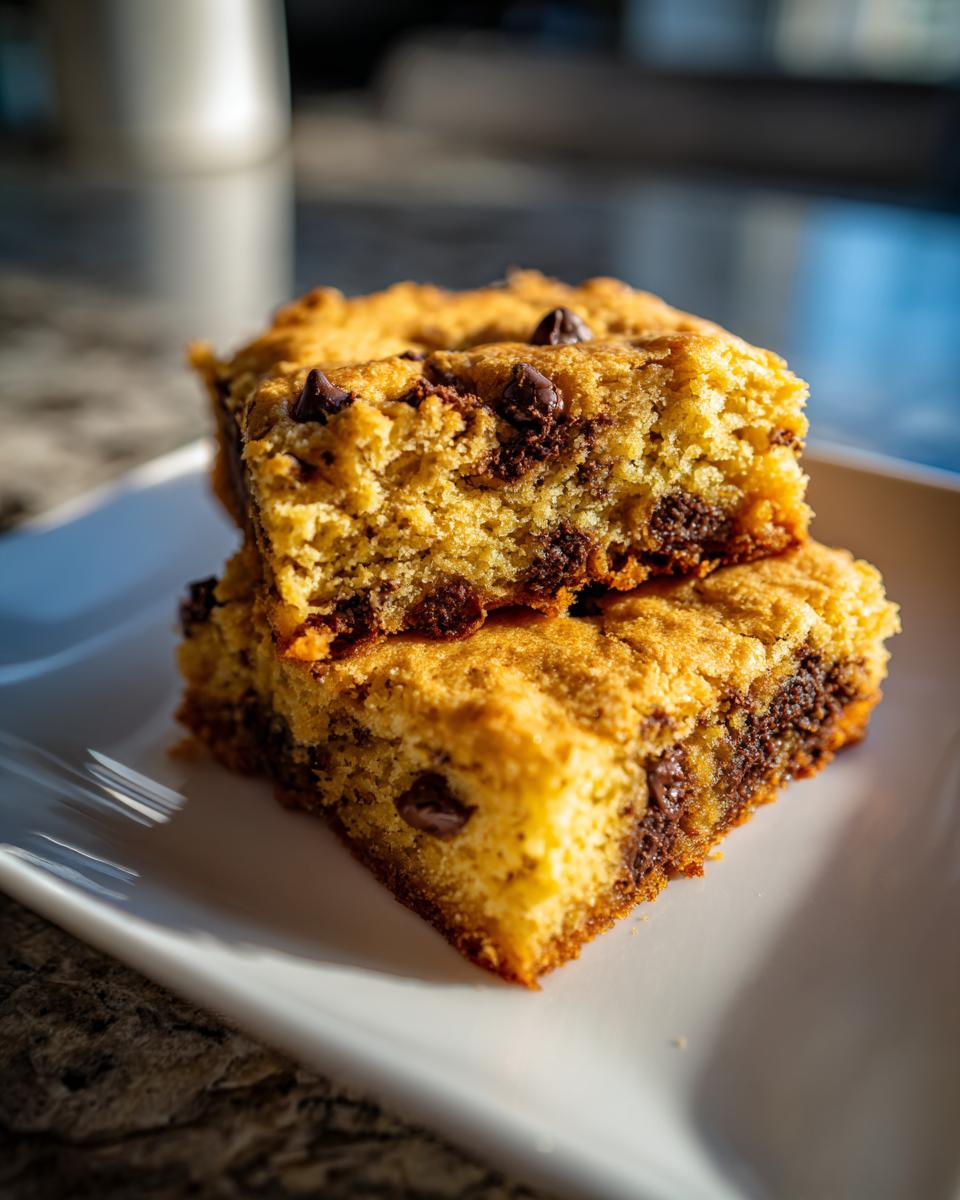
Here’s my secret: at about 22 minutes, start checking for doneness. The edges should be golden brown, and a toothpick inserted in the center should come out with just a few moist crumbs – not wet batter, but not bone dry either. If you wait until it looks “done” in the oven, it’ll be overbaked by the time it cools!
Let the pan cool on a wire rack for at least 30 minutes before cutting – I know, torture! But trust me, this patience pays off in perfectly set bars that don’t crumble. Then dig in and try not to eat the whole pan in one sitting!
Want more chocolate chip inspiration? Check out these easy chocolate chip dessert recipes for your next baking adventure!
Tips for Perfect Chocolate Chip Dessert Bars
Okay, let me share all my hard-earned wisdom from years of baking (and occasionally burning) these chocolate chip dessert bars. First rule: don’t overmix the dough! I learned this the hard way when I ended up with hockey pucks instead of bars. Mix just until the flour disappears – those last few streaks will blend in while baking.
Room temperature ingredients are your friends here. Cold butter won’t cream properly, and cold eggs can make your batter curdle. If you forgot to take stuff out ahead of time (story of my life), here’s my cheat: microwave the butter for 5-second bursts until soft but not melted, and put the eggs in warm water for 5 minutes.
The hardest part? Waiting for them to cool before cutting! I know it’s torture, but slicing into warm bars makes them fall apart. Give them at least 30 minutes – use the time to clean up (or sneak a corner piece when no one’s looking).
Variations for Chocolate Chip Dessert Bars
Now that you’ve mastered the basic recipe, let’s get creative! One of my favorite things about these bars is how easily you can dress them up for different occasions. Last Christmas, I made about six batches with different mix-ins – let’s just say my coworkers loved being taste testers!
For a grown-up twist, try adding 1 cup of chopped walnuts or pecans to the dough. The crunch plays so nicely against the chewy texture. Running low on chocolate chips? Raid your pantry – butterscotch chips, white chocolate chunks, or even peanut butter chips all work like a dream. My kids go nuts when I do half chocolate chips and half M&Ms (the colors make them extra fun!).
Want to get fancy? Right after baking, drizzle warm caramel or melted peanut butter over the top. Or sprinkle with flaky sea salt – it makes the chocolate flavor pop! For holidays, I’ll often press seasonal candies into the top right when they come out of the oven – think crushed candy canes for Christmas or pastel M&Ms for Easter. The possibilities are endless!
Storage and Reheating Instructions
Okay, here’s the deal with storing these beauties – if they last more than a day in your house (no judgment if they don’t!), pop them in an airtight container at room temperature. They’ll stay fresh and chewy for about 3 days, though I can’t promise they won’t mysteriously disappear before then!
Want to bring back that fresh-from-the-oven magic? Just microwave a bar for 10-15 seconds – the chocolate gets all gooey again. For a crowd, you can warm the whole pan in a 300°F oven for 5 minutes. Pro tip: hide a few in the freezer for emergency chocolate cravings – they thaw perfectly in minutes!
Nutritional Information
Okay, let’s be real – we’re not eating chocolate chip dessert bars for their health benefits! But since you asked (or maybe your conscience did), here’s the scoop on what you’re getting in each delicious square:
- Calories: About 320 – totally worth it
- Fat: 14g (8g saturated) – hello, butter and chocolate!
- Carbs: 45g – mostly from that perfect sugar balance
- Protein: 4g – eggs and flour doing their thing
Keep in mind these numbers can vary depending on your exact ingredients – different chocolate chips or brands of butter can change things slightly. But honestly? When you’re biting into one of these warm, melty bars, nutrition facts are the last thing on your mind!
Frequently Asked Questions
I get asked about these chocolate chip dessert bars ALL the time – seems like everyone wants to know my secrets! Here are the most common questions I hear (and my honest answers after years of trial and error):
Can I freeze these bars?
Absolutely! These bars freeze like a dream. Just let them cool completely, then wrap them tightly in plastic wrap or foil before popping them in a freezer bag. They’ll keep for up to 3 months – though mine never last that long! Thaw at room temperature or zap them in the microwave for 15 seconds if you’re impatient like me.
Can I use margarine instead of butter?
Look, I won’t lie – butter makes these bars magical. But yes, you can use margarine in a pinch. Just know the texture won’t be quite as rich and the flavor won’t have that same depth. If you do use margarine, go for the stick kind, not the tub variety – it has a better consistency for baking.
How do I make them gluten-free?
Easy peasy! Just swap the all-purpose flour for your favorite gluten-free flour blend (I like the 1:1 baking mixes). The texture comes out nearly identical – my gluten-free friends can’t tell the difference! You might need to bake them a couple minutes longer though.
Want more chocolatey goodness? Check out these soft and chewy chocolate chip cookies for your next baking session!
Chocolate Chip Dessert Bars
Ingredients
Equipment
Method
- Preheat your oven to 350°F (175°C). Grease a 9×13-inch baking pan.
- In a large bowl, cream together the butter, granulated sugar, and brown sugar until light and fluffy.
- Beat in the eggs one at a time, then stir in the vanilla extract.
- In a separate bowl, whisk together the flour, baking soda, and salt. Gradually add this to the butter mixture, mixing until just combined.
- Fold in the chocolate chips.
- Spread the dough evenly into the prepared baking pan.
- Bake for 25 minutes, or until the edges are golden brown and a toothpick inserted into the center comes out clean.
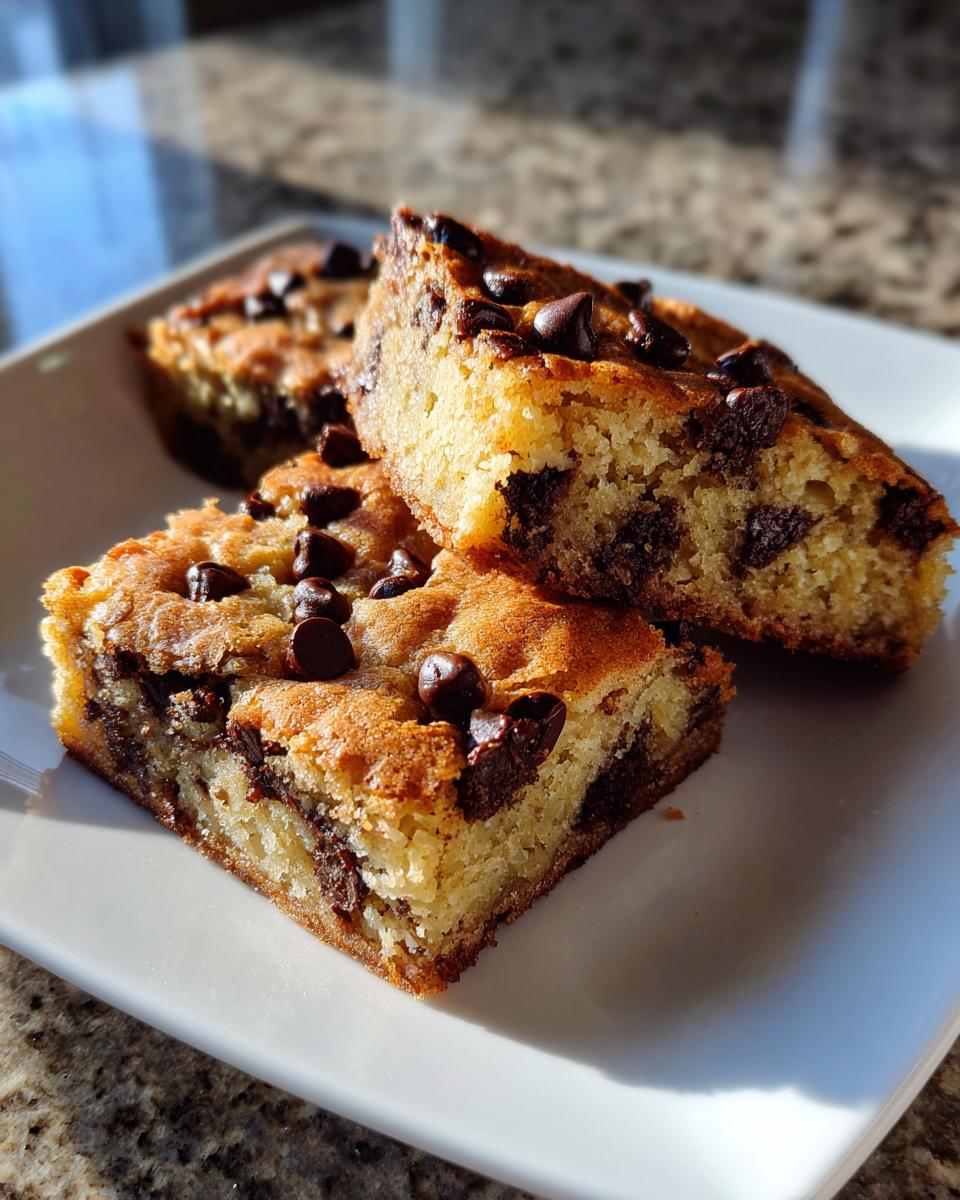
- Let the bars cool in the pan before cutting into squares.