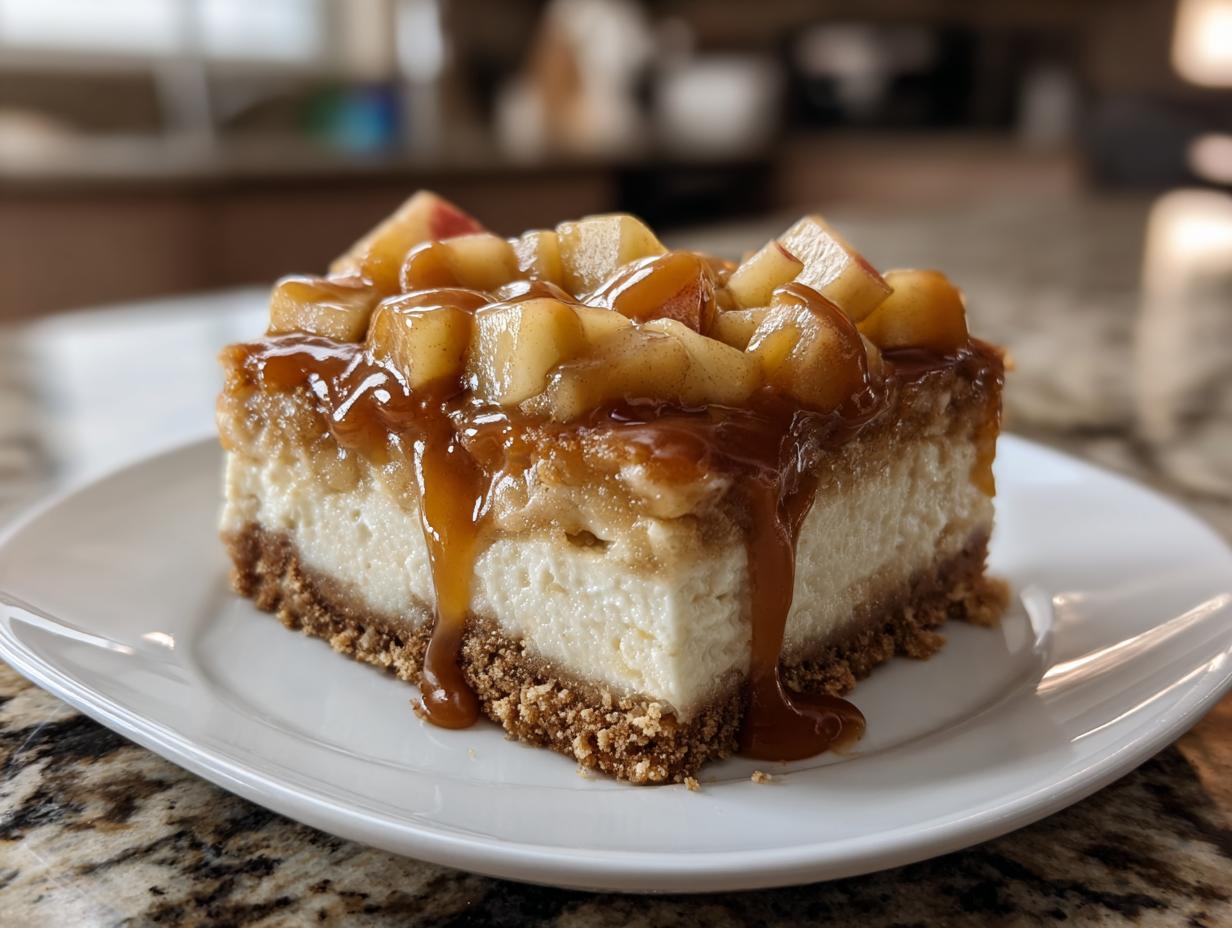
There’s something magical about fall desserts that just warm your soul, don’t you think? I live for this season when my kitchen fills with the smell of cinnamon and caramel. These no-bake caramel apple cheesecake bars have become my secret weapon for effortless entertaining. Last Thanksgiving, I whipped up a batch in 20 minutes flat (while the turkey was roasting!) and they disappeared faster than the pumpkin pie. The combination of creamy cheesecake, crisp apples, and gooey caramel? Absolute perfection. What I love most is how these bars are fancy enough for dinner parties yet simple enough for Tuesday night cravings.
I first discovered the magic of no-bake cheesecake years ago during a sweltering August when turning on the oven felt like a crime. That’s when I fell in love with no-bake cheesecakes, and this caramel apple version quickly became my fall go-to. The graham cracker crust provides that satisfying crunch, while the creamy filling makes them feel indulgent without being overly heavy. Plus, decorating them with extra caramel drizzles and apple slices turns them into little edible masterpieces – my kids love helping with this part!
What really makes these caramel apple cheesecake bars special is how they capture all the flavors of autumn in one bite. I’ve brought them to countless potlucks and football parties, and they’re always the first treat to disappear. For more apple inspiration, check out my favorite apple dessert recipes. And if you’re looking for presentation ideas, Pinterest has endless creative ways to serve them. Trust me, once you try these, they’ll become your fall staple too!
Why You’ll Love These Caramel Apple Cheesecake Bars
Oh, where do I even start? These bars are basically cheating at baking – in the best possible way! Here’s why they never leave my dessert rotation:
- No oven required – Perfect for when it’s too hot to bake (or you’re just feeling lazy like me last Tuesday)
- 20-minute miracle – From pantry to fridge faster than you can peel an apple
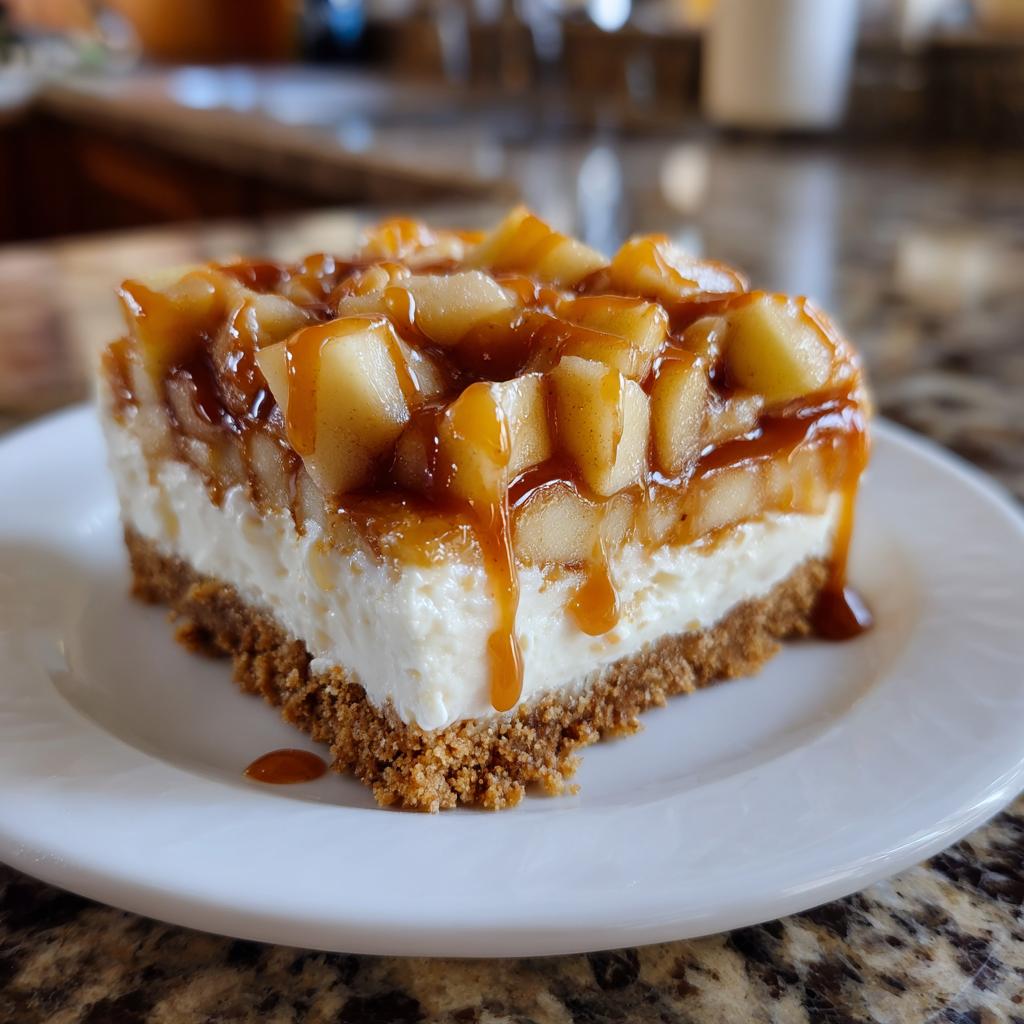
- Fall in every bite – That caramel-apple combo tastes like cozy sweater weather made edible
- Crowd magnet – Disappears faster than candy at a kid’s party (I learned this the hard way at my book club)
- Make it yours – Toss in pecans, swap in pears, or drizzle chocolate like I did last Christmas
See what I mean? Total game-changer. And the best part? You probably have most ingredients in your kitchen right this minute!
Ingredients for Caramel Apple Cheesecake Bars
Now let’s talk ingredients – because trust me, what goes into these bars makes all the difference! I’ve made this recipe enough times to know exactly what works best (and learned a few lessons the hard way). Here’s everything you’ll need, broken down into layers because that’s how I think when making desserts.
For the Crust
Oh, that glorious graham cracker base! Here’s what makes the perfect foundation:
- 2 cups graham cracker crumbs – Pro tip: I like to pulse whole crackers in my food processor for fresher flavor than pre-crumbled ones
- 1/2 cup melted butter – Real butter only, please! It makes the crust hold together beautifully
- 1/4 cup granulated sugar – Just enough sweetness to balance the tart apples later
For the Cheesecake Filling
This creamy middle layer is where the magic happens:
- 16 oz cream cheese – Must be softened! I leave mine out for at least an hour – no one wants lumpy cheesecake
- 1/2 cup granulated sugar – Measure exactly – too much and it’ll overpower the apples
- 1 tsp vanilla extract – Pure vanilla extract makes all the difference – skip the imitation stuff
For the Topping
The crowning glory that makes these bars special:
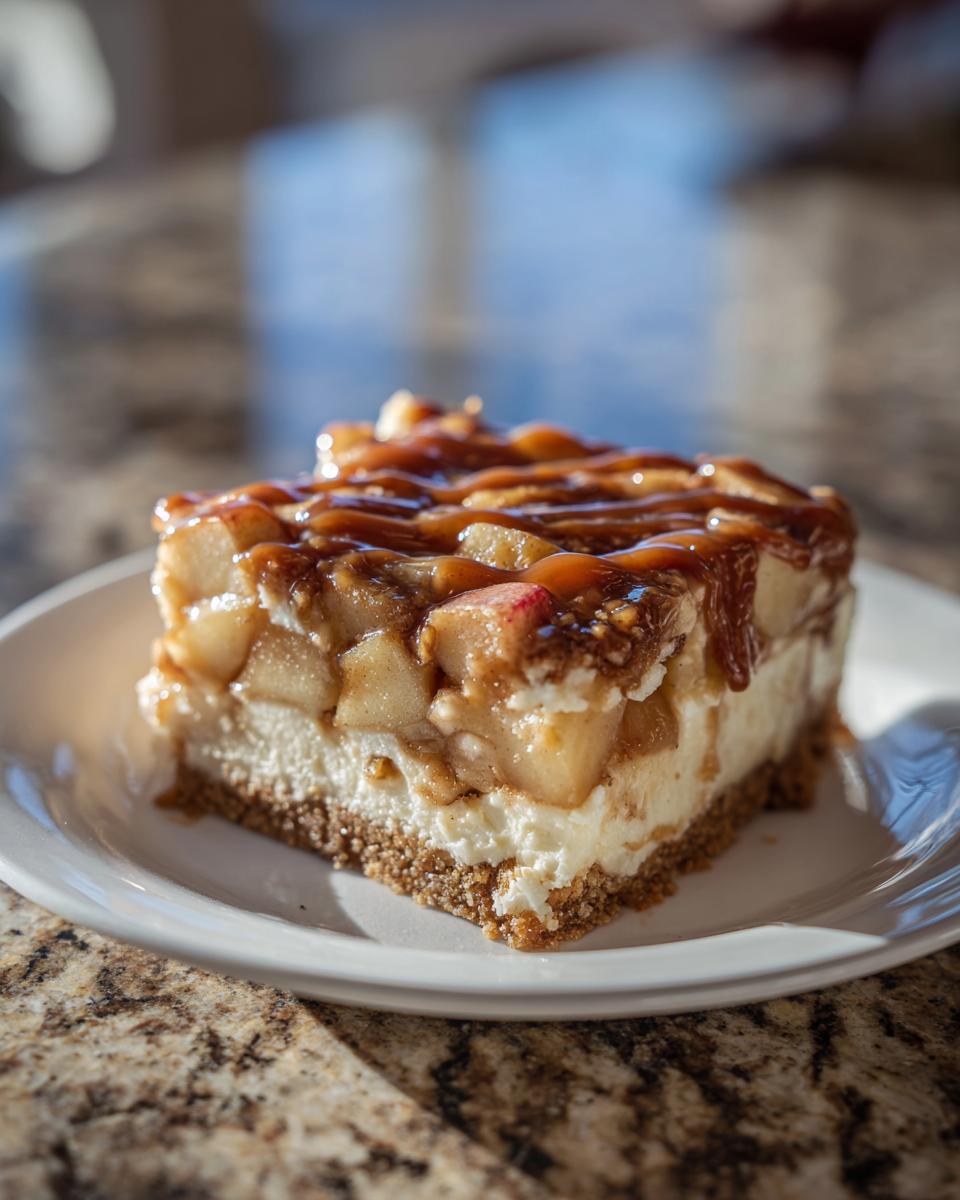
- 2 cups diced apples – I prefer Honeycrisp or Granny Smith for their crisp texture
- 1/2 cup caramel sauce – Homemade is amazing, but a good quality store-bought works great too
One quick note – measure everything properly! Baking is chemistry after all, and these proportions create that perfect balance of sweet, tart, creamy and crunchy we’re after.
How to Make Caramel Apple Cheesecake Bars
Okay, let’s get to the fun part – actually making these beauties! I promise it’s easier than deciding what to watch on Netflix. Follow these steps closely, and I’ll share all my little tricks for perfect bars every time.
1. Prep Your Crust Like a Pro
First things first – grab that 9×9 pan and line it with parchment paper, leaving some overhang on the sides. Trust me, this makes lifting out the bars SO much easier later! Now, for the crust – mix those graham cracker crumbs with melted butter and sugar until it looks like wet sand. But here’s my secret: don’t just dump it in the pan! Start by sprinkling a thin layer first, then press gently with the bottom of a glass or measuring cup. Work from the center out, packing it firmly as you go – this prevents crumbly disasters when slicing. Pop it in the fridge while you make the filling – 15 minutes is perfect for setting the base.
2. Whip Up the Dreamy Filling
Now for my favorite part – that luscious cheesecake layer! Make sure your cream cheese is seriously soft (if you forgot to take it out early, 15 seconds in the microwave usually does the trick). Beat it with sugar and vanilla until it’s completely smooth – no lumps allowed! I use my trusty hand mixer for about 2 minutes. Wanna know a neat trick? Scrape down the bowl halfway through – there’s always sneaky unmixed bits hiding at the bottom. If you’re curious about other cheesecake techniques, I’ve got more in my classic cheesecake recipes guide.
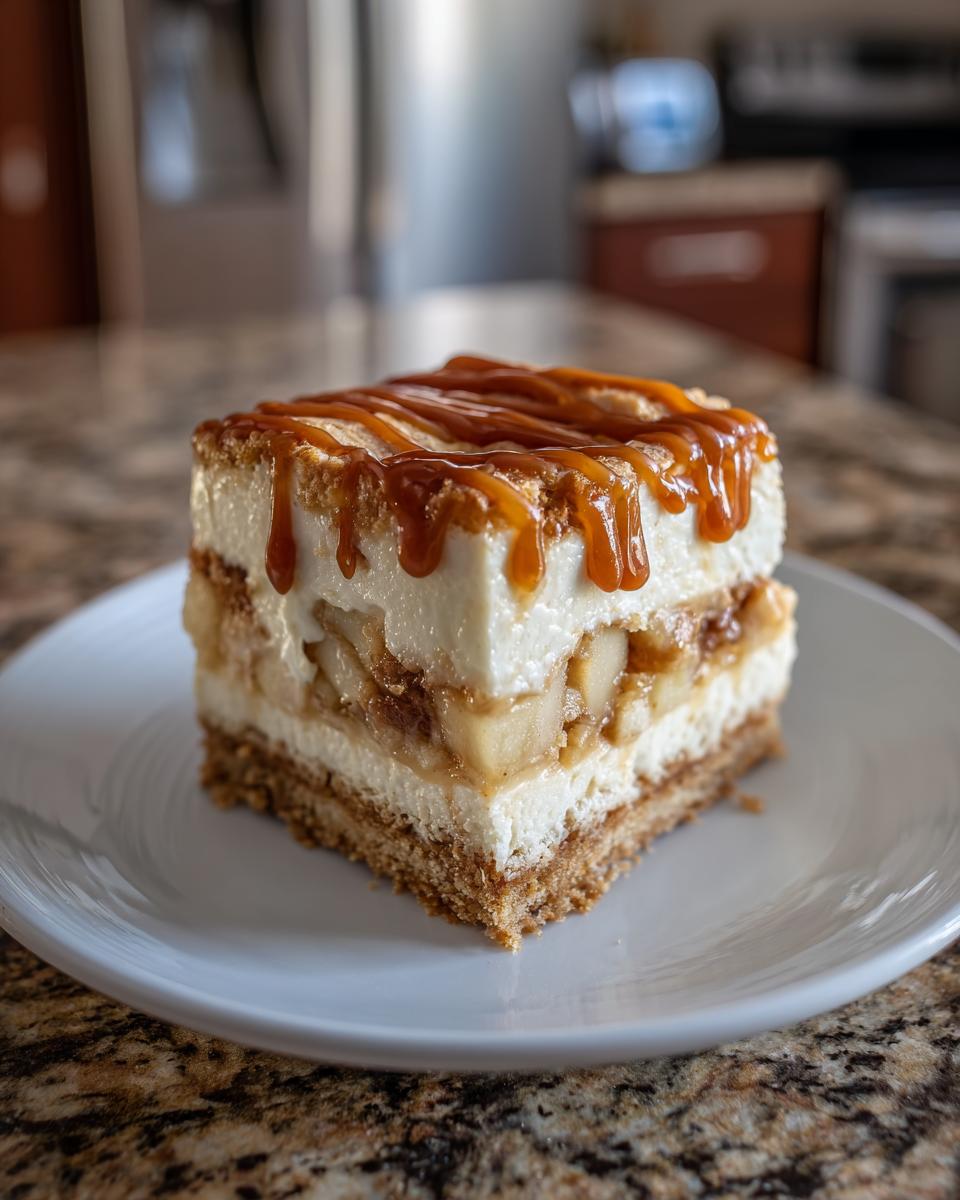
3. Layer on the Magic
Spread that creamy filling over your chilled crust – an offset spatula works wonders here for getting it perfectly even. Now the fun begins! Toss those diced apples right on top (I sometimes toss them with a pinch of cinnamon first for extra flavor). Then drizzle the caramel sauce in zigzags – I warm mine for 10 seconds to make it flow beautifully. Honestly, you can’t go wrong here – make it pretty or go rustic, both look amazing!
4. The Waiting Game (Worth It!)
Here’s where patience comes in – refrigerate those babies for at least 4 hours, but overnight is better. The filling needs time to set up properly. I know it’s tempting (trust me, I’ve ruined many a cheesecake bar by cutting too soon!), but good things come to those who wait. When ready, use the parchment overhang to lift out your masterpiece onto a cutting board. Pro tip: dip your knife in hot water and wipe it clean between cuts for picture-perfect slices.
See? Told you it was easy! Now just try not to eat the whole pan in one sitting – though I won’t judge if you do. Happy baking, friends!
Tips for Perfect Caramel Apple Cheesecake Bars
After making these caramel apple cheesecake bars more times than I can count (my friends call me the cheesecake bar queen now!), I’ve learned all the little tricks that take them from good to oh-my-goodness amazing. Let me save you from the mistakes I made so you can nail it on the first try!
First up – patience is key! That four-hour chill time in the recipe? It’s the bare minimum. I made this mistake once when I was in a rush for a party. The bars were good, but when I tried the “forgotten” leftovers the next day? Magical. Overnight chilling gives the filling time to set up perfectly, with that dreamy, sliceable texture. Now I always make them the night before – problem solved!
Apple selection makes a huge difference too. Tart Granny Smiths are my go-to because they hold their shape and balance the sweet caramel beautifully. Once, in a pinch, I used Red Delicious – big mistake! They got mushy and made the topping weep. Lesson learned! If you prefer sweeter apples, try Honeycrisp or Jazz apples – they’ve got great crunch.
Here’s my favorite caramel trick: warm the sauce for about 10 seconds before drizzling. Cold caramel just globs on, but slightly warm? It flows like a river of golden deliciousness. I use a spoon or fork to create pretty zigzags, but honestly, you can just go wild with it! My kids love making “caramel art” with squeeze bottles – messy but so fun.
One last pro tip – for clean slices, run your knife under hot water between cuts. It makes all the difference in presentation. My first attempt looked like a caramel apple massacre, but with this trick? Total bakery-worthy results every time!

Creative Caramel Apple Cheesecake Bar Ideas
Oh, the possibilities! Once you’ve mastered the basic caramel apple cheesecake bars, it’s time to play with flavors. I’ve experimented with so many variations that my recipe notebook looks like a mad scientist’s journal – in the tastiest way possible!
First up – spice it up! A teaspoon of cinnamon in the graham cracker crust or sprinkled over the apples adds that warm, cozy flavor that screams fall. Last Halloween, I even added a pinch of nutmeg and allspice – the whole house smelled like apple pie meets cheesecake heaven. For more autumnal inspiration, check out my favorite fall dessert recipes.
Want to mix things up? Try swapping the caramel for butterscotch sauce – the deeper flavor pairs amazingly with tart apples. I did this for a caramel-allergic friend and now she requests them weekly! For gluten-free friends, use almond flour or gluten-free graham crackers in the crust. And if you’re feeling extra fancy, top with crushed pecans or toffee bits – that crunch takes them to another level.
Need presentation ideas? I get so many from YouTube tutorials – my latest obsession is piping little caramel swirls on each square. The best part? These variations all keep the 20-minute prep time and no-bake ease! What will you try first?
Serving and Storing Caramel Apple Cheesecake Bars
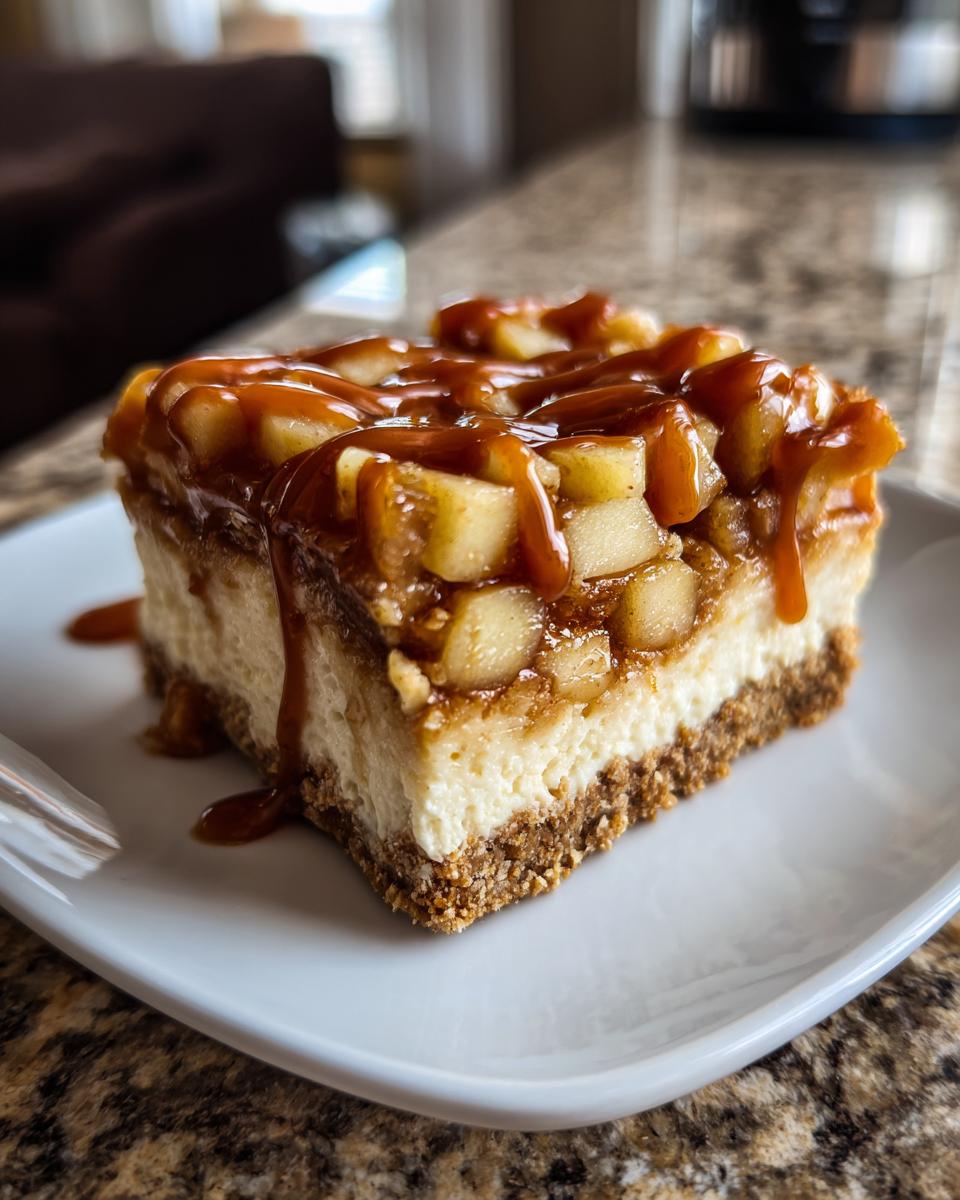
Okay, let me share all my secrets for serving these beauties perfectly – because honestly, presentation is half the fun! First, use the parchment paper “handles” to lift your chilled masterpiece onto a cutting board. Wipe your knife with a warm towel between cuts for those Instagram-worthy slices. Want to wow guests? Drizzle extra caramel just before serving and top with apple slice fans – I use a mandoline for super-thin, pretty slices.
Now for storage – these bars keep fabulously! In the fridge, they’ll stay perfect for 3 days (though they rarely last that long in my house). Just cover tightly with plastic wrap. For longer storage, freeze individual portions wrapped in parchment then foil – they’ll keep for a month! Thaw overnight in the fridge or at room temp for an hour. Pro tip: freeze them before adding fresh apple toppings if you’re planning way ahead.
The best part? No reheating needed – these are meant to be enjoyed chilled straight from the fridge. Though I won’t tell if you sneak one slightly frozen – it’s like caramel apple cheesecake ice cream!
Caramel Apple Cheesecake Bars FAQs
Can I use store-bought caramel?
Absolutely! I use store-bought caramel all the time when I’m in a pinch. Just grab a good quality brand – I’m partial to the ones in jars rather than squeeze bottles since they drizzle better. Homemade caramel tastes amazing (don’t get me wrong!), but these bars are all about ease, right?
How do I prevent a soggy crust?
Here’s my foolproof trick: chill the crust for at least 15 minutes before adding the filling! This creates a protective “seal.” Also, make sure your diced apples aren’t too juicy – pat them dry with a paper towel if needed. And press that graham cracker mixture REALLY firmly – like you mean business!
What are the best apples to use?
Granny Smith are my top pick – their tartness balances the sweet caramel perfectly. Honeycrisp and Jazz apples work great too if you prefer sweeter flavor. Avoid mealy apples like Red Delicious unless you like mushy toppings!
Can I make these ahead?
Yes, and they actually get better! The flavors meld beautifully overnight. Just hold off on apple topping if making more than a day in advance – add fresh apples right before serving to keep that nice crunch.
How long do they keep?
About 3 days in the fridge (covered tight), or freeze individual bars for up to a month! The caramel might weep a bit after day two, but they’ll still taste delicious – not that they last that long in my house!
Nutritional Information
Now let’s talk numbers – because I know some of you (like me!) like to keep track of these things. Remember, these values can change based on your exact ingredients and how generous you are with that caramel drizzle! But here’s the general idea per bar:
- Calories: Around 280 (worth every one!)
- Fat: 18g (but hey, that’s the cheesecake part – the best part!)
- Carbs: 25g (mostly from that delicious graham cracker crust)
- Protein: 4g (who knew dessert could have protein?)
Now don’t stress too much – life’s too short to count calories in caramel apple cheesecake bars! As my grandma used to say, “A little indulgence keeps the soul happy.” And I couldn’t agree more.
Caramel Apple Cheesecake Bars
Ingredients
Equipment
Method
- Line a 9×9 inch baking pan with parchment paper.
- Mix graham cracker crumbs, melted butter, and sugar in a bowl. Press the mixture into the bottom of the prepared pan.
- Beat cream cheese, sugar, and vanilla extract until smooth. Spread the mixture over the crust.
- Top with diced apples and drizzle with caramel sauce.
- Refrigerate for at least 4 hours before serving.