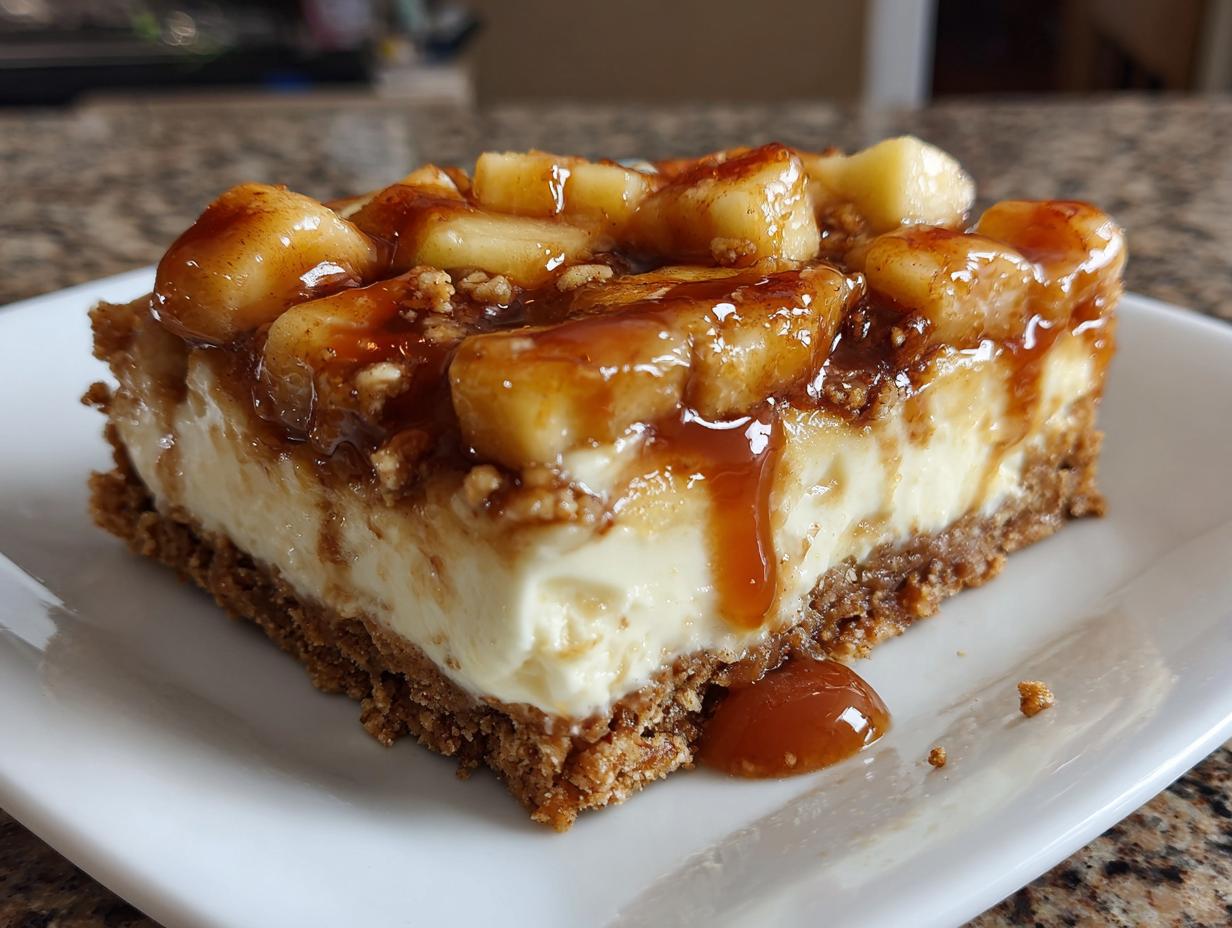
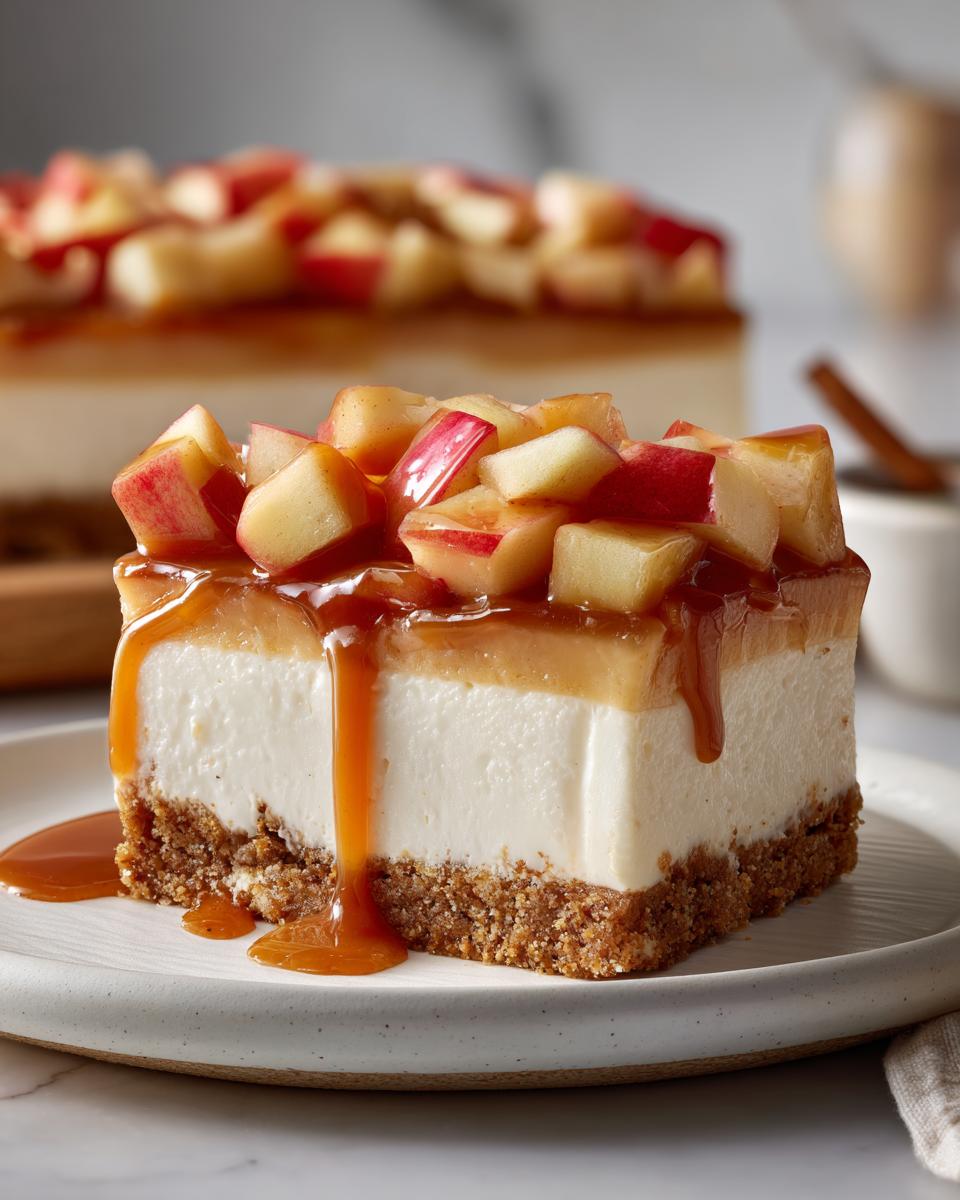
Oh my goodness, have you ever had one of those days where you need a showstopper dessert but don’t want to turn on the oven? That’s exactly how I first discovered these magical caramel apple cheesecake bars. Picture this: creamy no-bake cheesecake meeting tart apples and silky caramel – it’s like autumn decided to throw a party in your mouth! These little squares are my secret weapon when friends suddenly pop by during apple season. Last Thanksgiving, I may or may not have eaten three in one sitting… oops! The best part? You only need 20 minutes of hands-on time before letting the fridge work its magic. If you’re already a fan of no-bake cheesecakes, wait until you try this apple-spin version – it’s life-changing!
Why You’ll Love These Caramel Apple Cheesecake Bars
Let me count the ways these bars will steal your heart (and your tastebuds)! After making these dozens of times – and watching them disappear equally fast – here’s what makes them absolutely irresistible:
- No oven required! Perfect for when you’re craving something decadent but dread baking (or for hot summer days when apples get nostalgic)
- Crowd-pleasing magic: The combo of creamy cheesecake, crisp apples, and gooey caramel makes even picky eaters go back for seconds
- Fall flavors without the fuss: All the cozy vibes of apple pie in a handheld treat that’s ten times easier
- Make-ahead dream: These actually taste better after chilling, meaning less stress before parties
- Endless customization: Swap graham crackers for ginger snaps, add toasted pecans – I’ve tried every variation!
Trust me, these bars have been my secret weapon at potlucks since I first discovered how stupidly easy they are to make. One bite, and you’ll be hooked!
Ingredients for Caramel Apple Cheesecake Bars
Okay, let’s talk ingredients – the building blocks of these irresistible bars! I’ve learned that quality matters here, especially with the cream cheese (trust me, the generic stuff just doesn’t whip up as nicely). Here’s your shopping list, broken down into the dream team layers:
For the Crust (the sturdy foundation):
- 2 cups graham cracker crumbs (about 16 whole crackers if crushing your own – my little secret for extra texture!)
- ½ cup unsalted butter, melted (salted works too, just skip any extra salt)
- ¼ cup granulated sugar (this touch of sweetness balances the tart apples perfectly)
For the Cheesecake Filling (the creamy star):
- 16 oz cream cheese, softened to room temperature (this is non-negotiable – cold cream cheese means lumpy filling!)
- ½ cup granulated sugar (I’ve tried brown sugar too – delicious but makes the filling darker)
- 1 tsp vanilla extract
- 1 cup heavy cream, whipped to soft peaks (make it yourself – the store-bought stuff doesn’t hold up as well)
For the Topping (that showstopper finish):
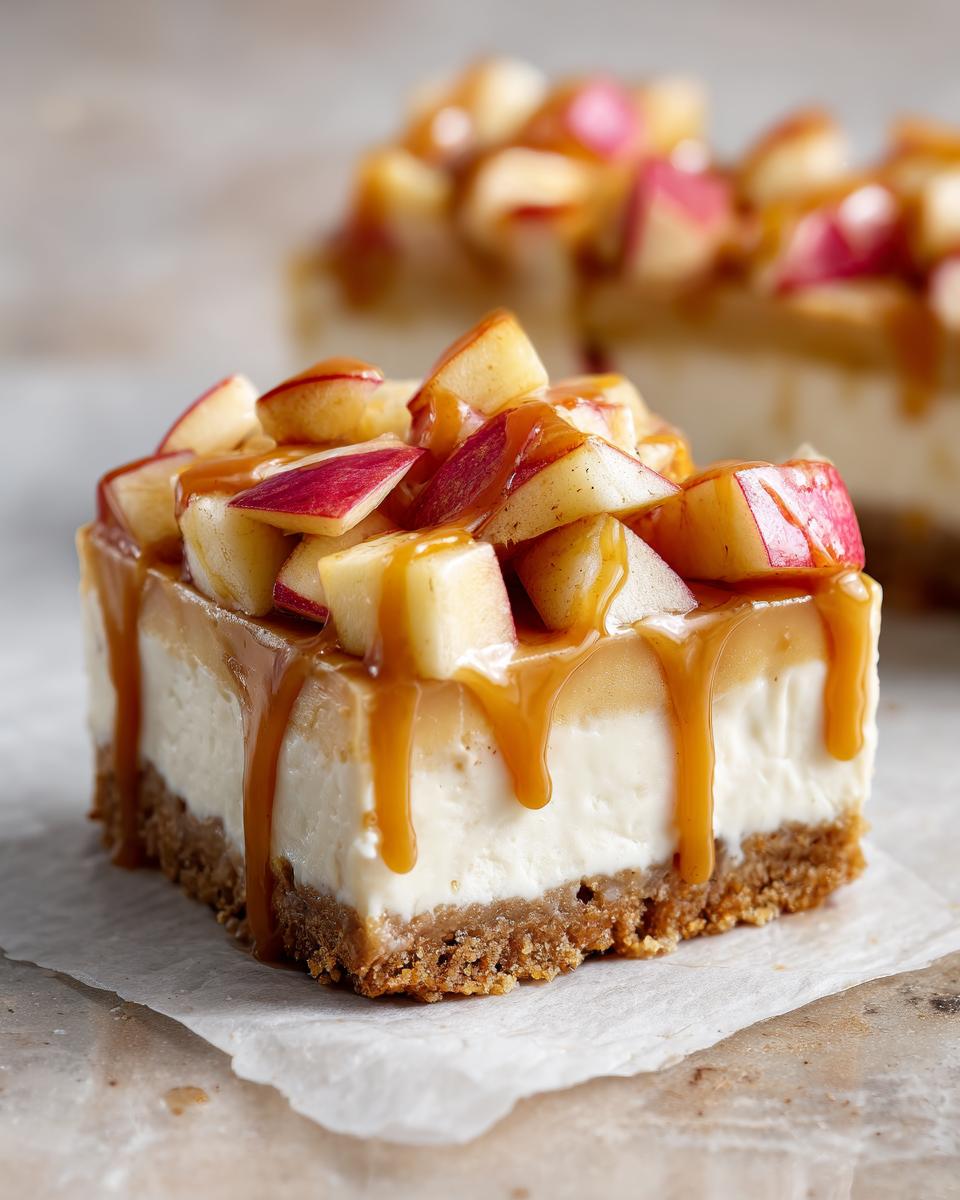
- 2 cups diced apples (I prefer Honeycrisp or Granny Smith for their crunch, but any baking apple works)
- ½ cup caramel sauce (homemade is divine, but I won’t judge if you grab the jar for convenience)
See? Simple ingredients you likely already have! Just promise me you’ll use real butter and proper whipped cream – your tastebuds will thank you later!
How to Make Caramel Apple Cheesecake Bars
Ready to make magic happen? These bars come together in four simple steps, and I’ll walk you through each one like we’re baking side by side in my kitchen! The key is patience (especially with chilling time) and a few tricks I’ve picked up over the years. Let’s do this!
Step 1: Prepare the Graham Cracker Crust
First things first – let’s talk crust! I like to use a resealable bag and rolling pin to crush my graham crackers because, well, it’s oddly satisfying. But store-bought crumbs work perfectly too. In a bowl, mix the crumbs with melted butter and sugar until it looks like wet sand. Don’t be shy with the butter – it’s what makes that crust hold together.
Here’s my best tip: line your 9×9 pan with parchment paper first, letting the edges hang over. This little trick makes removing the bars SO much easier later. Press the crumb mixture firmly into the pan – I mean really pack it in there with your fingers or the bottom of a glass. You want that crust to be about 1/4-inch thick and nice and compact. Pop it in the fridge while you work on the filling to let it set up a bit.
Step 2: Whip Up the Cheesecake Filling
Now for the good stuff – the creamy, dreamy filling! First lesson learned the hard way: your cream cheese MUST be at room temperature. I usually take mine out about 2 hours before starting. If you forget (been there!), just microwave it for 10-second bursts until slightly softened but not melty.
In a large bowl, beat the cream cheese with sugar and vanilla until it’s completely smooth – no lumps allowed! If your mixer’s struggling, that means your cheese wasn’t soft enough (trust me, I’ve made this mistake). While that’s mixing, whip your heavy cream to soft peaks in another bowl. Here’s where the magic happens: gently fold the whipped cream into the cream cheese mixture. I use a big spatula and do broad, sweeping folds to keep it light and airy. Taste it – I won’t tell!
Spread this heavenly mixture over your chilled crust, smoothing the top with an offset spatula if you’re fancy or just the back of a spoon. Now comes the hardest part – waiting! Cover the pan and refrigerate for at least 4 hours, but overnight is even better. The filling needs time to set up properly.
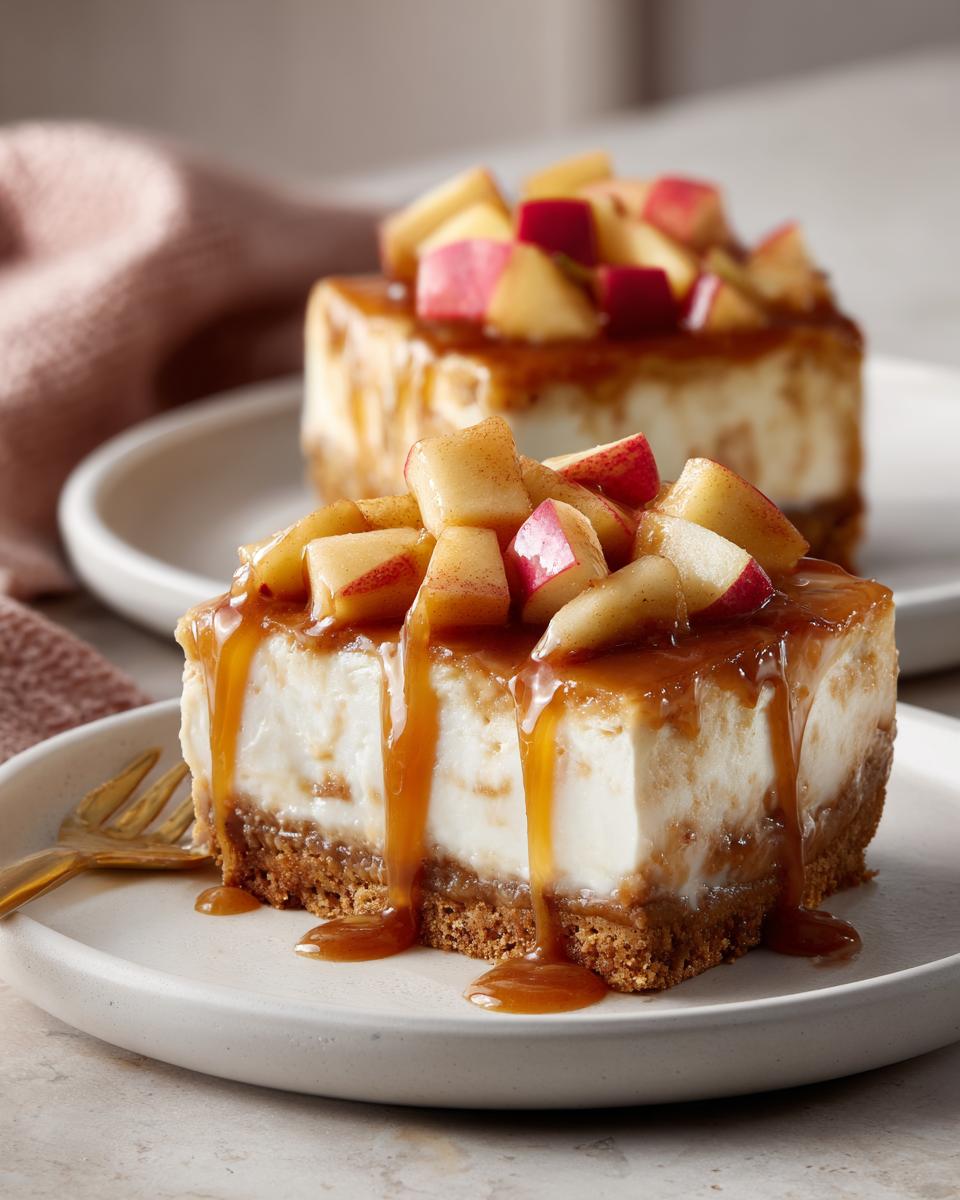
Just before serving, sprinkle your diced apples over the top (I like to toss them with a squeeze of lemon juice first to prevent browning). Then take that caramel and drizzle like you’re Jackson Pollock creating edible art! Slice into squares and watch them disappear faster than you can say “autumn perfection.”
Tips for Perfect Caramel Apple Cheesecake Bars
Alright, let me spill all my hard-earned secrets for making these bars absolutely foolproof! After making these more times than I can count (and eating the “mistakes”), here’s what I’ve learned:
First – that room temperature cream cheese thing isn’t just a suggestion. I learned this the messy way when my first batch came out lumpier than mashed potatoes. Now I set my cream cheese on the counter at least 2 hours before starting. If you’re short on time, cut it into chunks and microwave at 50% power in 10-second bursts. Trust me, smooth filling is worth the wait!
Chilling time is another biggie – don’t skimp! These bars need a solid 4 hours in the fridge, but honestly? Overnight is even better. The texture firms up beautifully when given time. I once tried slicing after just 2 hours (I was impatient!) and ended up with delicious cheesecake soup. Not ideal.
Here’s my favorite trick: wait to add the apples and caramel until right before serving. The apples stay crisp, and the caramel doesn’t make the top soggy. If I’m prepping for a party, I’ll bring everything separately and assemble at the last minute – it’s such a crowd-pleasing move!
Oh! One last thing – when slicing, wipe your knife clean between cuts. It keeps the edges looking sharp and professional (even if you’re just eating them all yourself – no judgement here!).
Storage and Serving Suggestions
Let’s talk about keeping these beauties fresh (because let’s be real – they rarely last long in my house)! These caramel apple cheesecake bars will keep beautifully in the fridge for up to 3 days, just make sure they’re covered tightly with plastic wrap or in an airtight container. The apples might soften a bit, but the flavors actually meld together even better overnight!
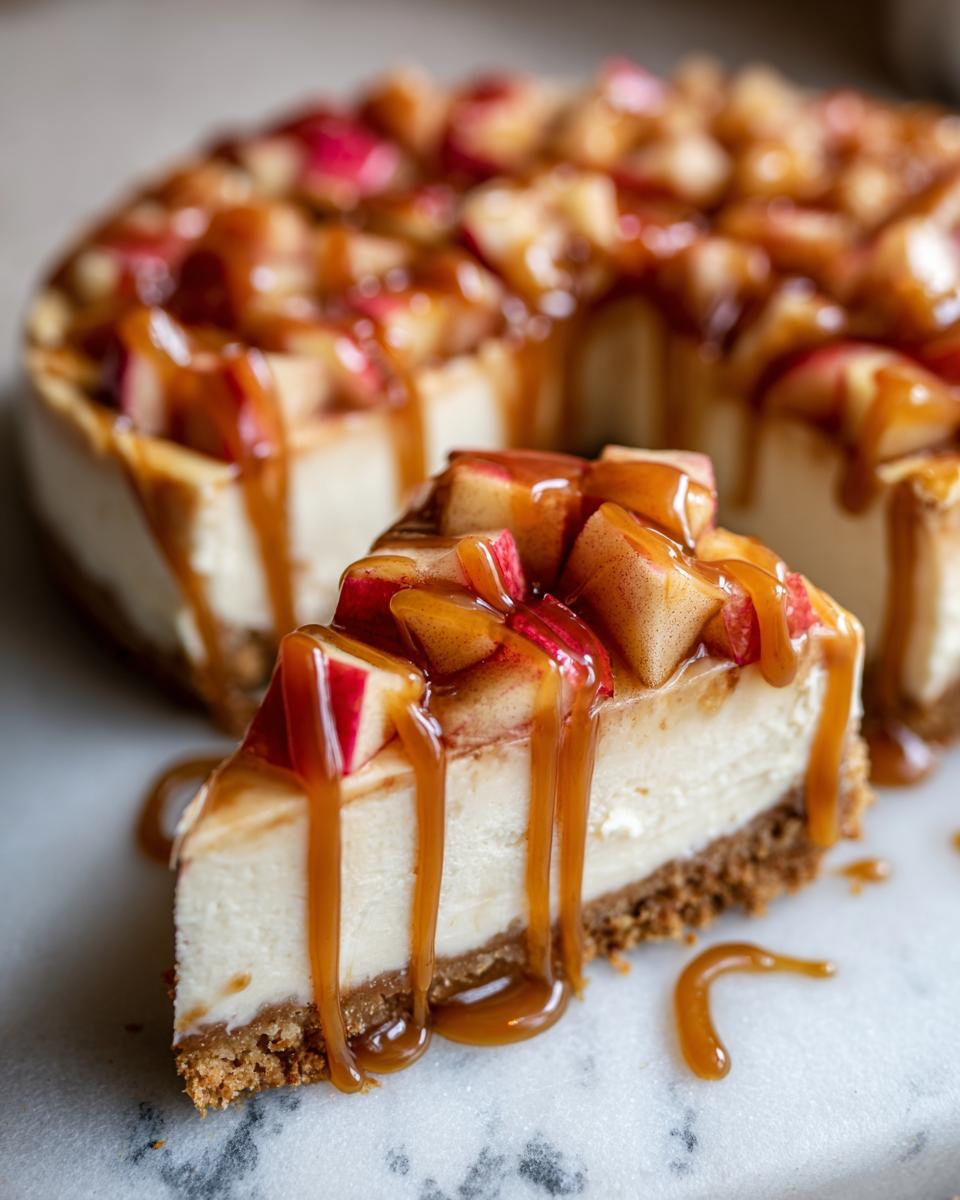
My favorite way to serve them? Ice cold with a steaming cup of spiced coffee or a frosty glass of apple cider. That contrast of temperatures is absolutely heavenly on a crisp fall afternoon. For extra pizzazz at parties, I sometimes arrange the bars on a platter with caramel drizzled in decorative swirls – it makes people think you slaved for hours!
Caramel Apple Cheesecake Bars FAQs
Over the years, I’ve gotten so many questions about these no-bake wonders – here are the answers that’ll help you make the best caramel apple cheesecake bars every single time!
Can I use store-bought caramel sauce?
Absolutely! While homemade caramel is divine (and surprisingly easy to make), a good quality store-bought caramel works beautifully in a pinch. My only tip? Warm it slightly before drizzling so it flows nicely – about 10 seconds in the microwave does the trick. Check out these creative serving ideas to make your presentation extra special!
How do I prevent a soggy crust?
Oh honey, we’ve all been there with that sad, mushy bottom layer! The secret is making sure your filling is completely chilled before adding toppings. Also, press that graham cracker crust FIRMLY into the pan – I mean, really pack it in. A quick 10-minute freeze after the crust is pressed helps too. And remember – assemble the apples and caramel just before serving!
What’s the best apple variety to use?
For that perfect balance of sweet-tart crunch, I swear by Honeycrisp or Granny Smith. They hold up beautifully and don’t turn mealy. If you prefer sweeter bars, Fuji apples work great too. Just avoid super soft varieties like Red Delicious – they’ll turn to mush faster than you can say “cheesecake”!
Can I make these ahead of time?
Friend, these might just be the ultimate make-ahead fall dessert! The cheesecake layer actually tastes better after a full day in the fridge. Just wait to add the apples and caramel until right before serving (I keep them separate in little containers). They’ll stay fresh in the fridge for up to 3 days… if they last that long!
Nutritional Information
Okay, let’s chat about the nutritional side of these dreamy caramel apple cheesecake bars – but remember, I’m no dietitian, and these are just ballpark figures! The exact numbers can vary depending on your specific ingredients (like that extra generous caramel drizzle we both know you’ll add).
Each bar packs a cozy-autumn-hug worth of calories – think of it as energy for jumping in leaf piles! You’re looking at that perfect combo of creamy, crunchy, and sweet that makes your tastebuds sing. Sure, it’s an indulgent treat, but life’s too short not to enjoy those apple-cinnamon moments, right?
Keep in mind that homemade means you control the quality, and I always say moderation is key (though good luck stopping at just one square – I never can!). If you’re watching specific dietary needs, tweaks like reduced-fat cream cheese or sugar alternatives work, but may change the texture we love so much.
At the end of the day, these bars are about celebrating flavor and making memories around the dessert table. So grab one, savor each bite, and maybe take an extra walk through those beautiful fall leaves later!
More Fall Dessert Ideas
If you’re as obsessed with fall flavors as I am, you’ve gotta try these other seasonal treats! My pumpkin cheesecake brownies combine two favorites in one pan – dangerous, I know. Or go classic with a rustic apple crisp that makes your kitchen smell like heaven. For something different, spiced pear hand pies are my latest obsession. Seriously, autumn just tastes better wrapped in buttery pastry!

Caramel Apple Cheesecake Bars
Ingredients
Equipment
Method
- Line a 9×9-inch baking pan with parchment paper.
- Mix graham cracker crumbs, melted butter, and sugar in a bowl. Press firmly into the pan.
- Beat cream cheese, sugar, and vanilla until smooth. Fold in whipped cream.
- Spread the cheesecake filling over the crust. Chill for 4 hours.
- Top with diced apples and drizzle with caramel sauce before serving.