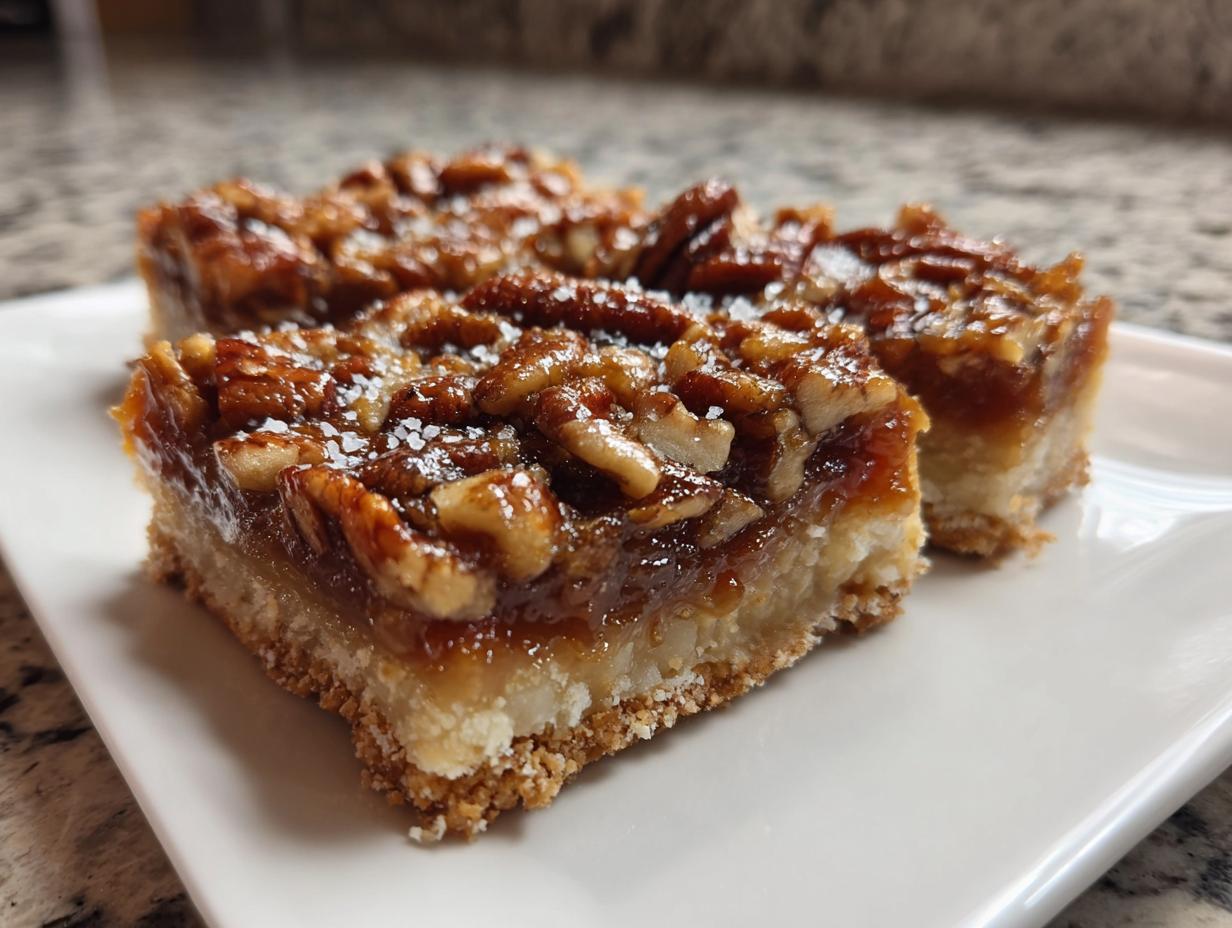
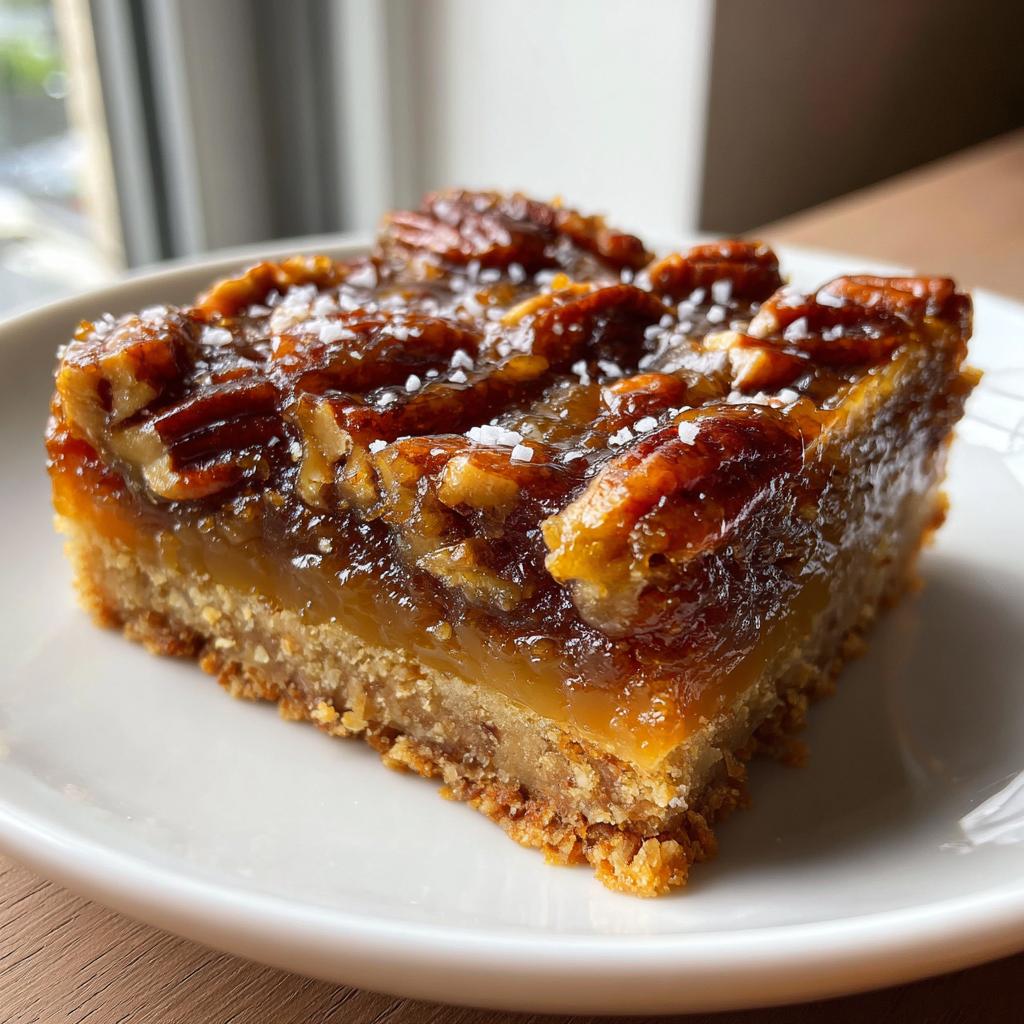
There’s something magical about the rich caramel notes of maple syrup mingling with toasty pecans and a sprinkle of flaky sea salt. These no-bake salted maple pecan pie bars capture that perfect balance of sweet and savory in every bite. They’re my go-to fall dessert when I need something impressive but don’t want to turn on the oven – which happens at least twice a week once September hits! My family actually revolted one Thanksgiving when I tried serving pumpkin pie instead of these bars. Now I always make a double batch, because they disappear faster than I can say “save some for tomorrow!”
Why You’ll Love These Salted Maple Pecan Pie Bars
Trust me, these bars will become your new fall obsession. Here’s why:
- No oven required! On busy days (or when you’re just feeling lazy), these bars are a lifesaver. Just mix, chill, and enjoy.
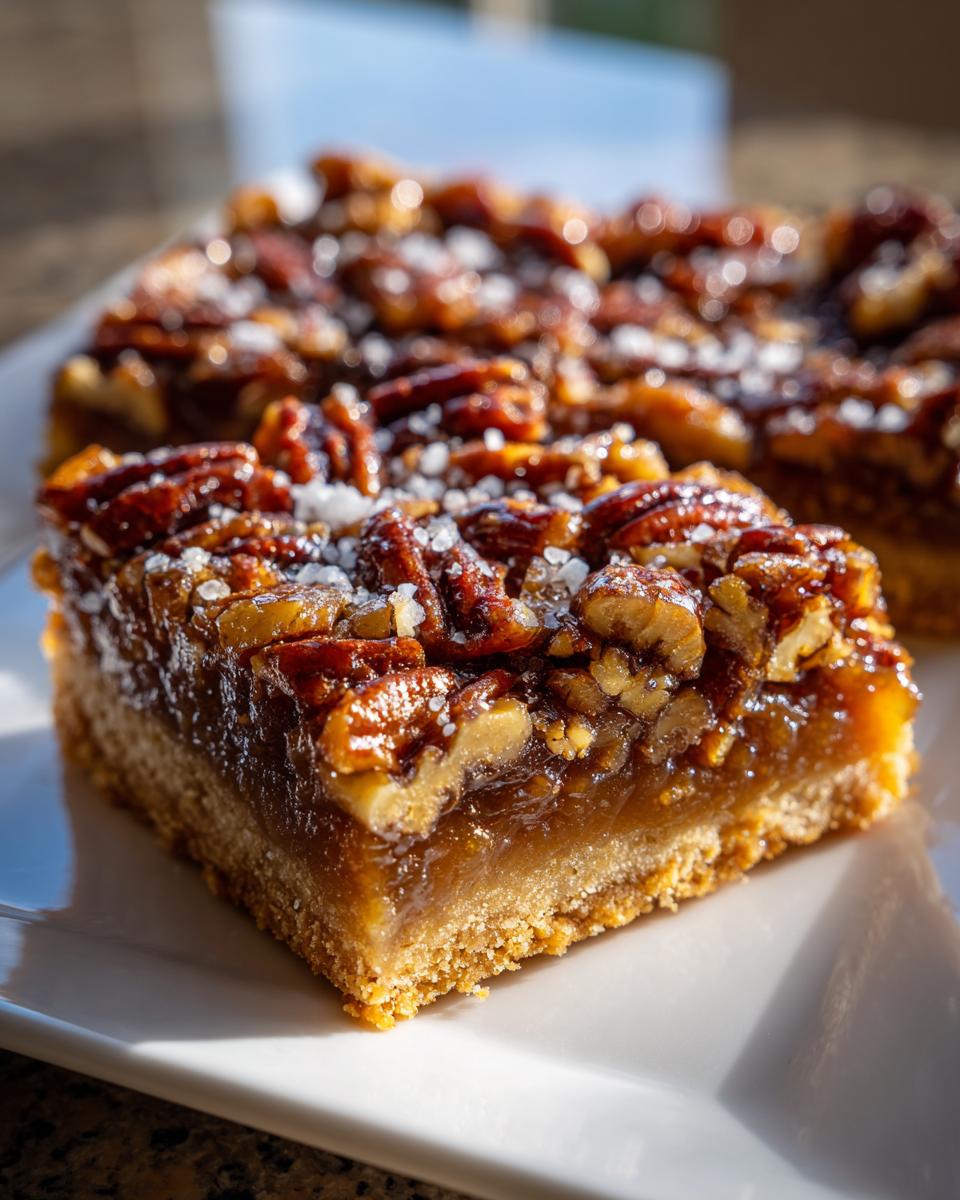
- That maple-pecan magic hits all the right notes – sweet, nutty, with just the right salty kick. It’s like eating pecan pie without the fuss.
- Perfect for gatherings – I’ve brought these to countless potlucks and always get begged for the recipe.
- Super customizable – Add chocolate drizzle, swap walnuts for pecans, or dial up the sea salt to your taste.
- Crowd-pleasing every time, from picky kids to dessert snobs. My nephew once ate four bars in one sitting!
Ingredients for Salted Maple Pecan Pie Bars
Gathering the right ingredients is key to making these bars taste like they came from a fancy bakery! I always use pure maple syrup – not pancake syrup – because the deep, complex flavor makes all the difference. Pro tip: Splurge on the good stuff and you’ll taste why it’s worth every penny! The rest of the ingredients are simple pantry staples, but when combined just right, they create pure magic.
For the Crust
- 2 cups graham cracker crumbs – You can buy them pre-crushed or crush about 15 whole crackers yourself. I like the slightly coarser texture when I do it myself!
- 1/2 cup unsalted butter, melted – No substitutions here, folks. Real butter gives the crust its rich flavor and perfect crispness.
- 1/4 cup maple syrup – This binds everything together while adding that signature maple kiss.
When mixing the crust, don’t be shy – really press it into the pan firmly with your fingers or the back of a measuring cup. A good, compacted crust means your bars won’t fall apart after slicing!
For the Filling
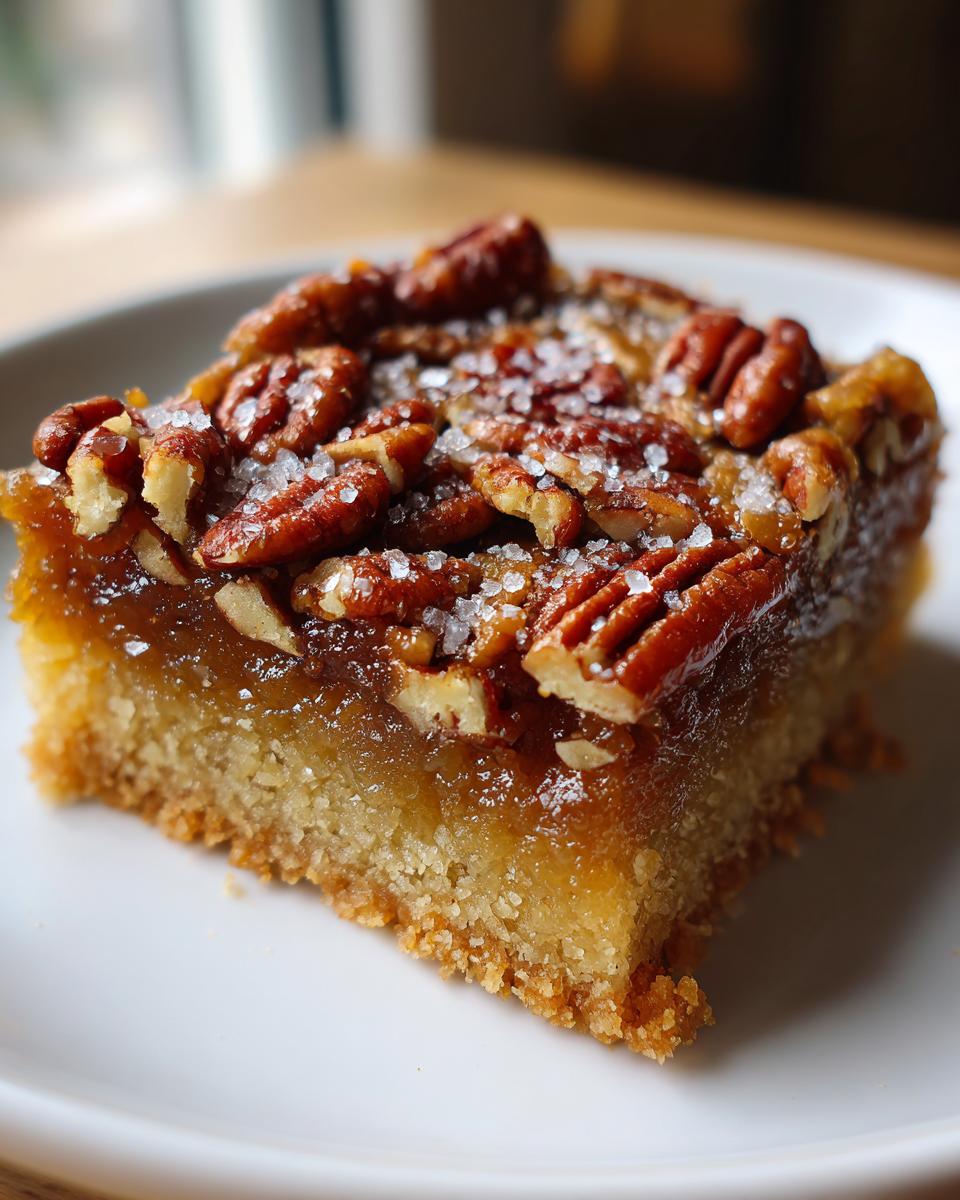
- 1 cup pecans, chopped – I like a mix of fine and chunky pieces for great texture.
- 1/2 cup maple syrup – Yes, more maple! This is what makes the filling gorgeously sticky and sweet.
- 1/4 cup heavy cream – Cream gives the filling its luscious, slightly soft texture.
- 2 tbsp unsalted butter – Just enough to make the filling rich without being overly heavy.
- 1/4 tsp sea salt – The star of the “salted” part! Use flaky sea salt for best results.
The filling thickens beautifully as it cooks – when it coats the back of your spoon and leaves a trail when you run your finger through it, you’ll know it’s perfect!
How to Make Salted Maple Pecan Pie Bars
Ready to make magic happen? These salted maple pecan pie bars couldn’t be simpler – promise! I’ve made this recipe dozens of times, and I’ll walk you through every step so you get perfect bars on your first try. Just follow along, and in about 20 minutes of hands-on time (plus chilling), you’ll have dessert ready to impress!
First things first: Line your 8×8 inch pan with parchment paper, leaving some overhang. This little trick is my secret weapon – it makes removing the bars SO much easier! Don’t skip this step unless you want to wrestle with your dessert later.
Now let’s make that buttery crust! Dump your graham cracker crumbs into a mixing bowl and pour in the melted butter and maple syrup. Mix it until it looks like wet sand – you’ll know it’s right when you can squeeze a handful and it holds its shape. Dump this gorgeous mixture into your prepared pan and press it down FIRMLY with your hands or the back of a measuring cup. Seriously, pretend you’re mad at it – a well-packed crust means clean slices later!
Onto the star of the show – the filling! Grab a saucepan and toss in your pecans, maple syrup, heavy cream, and butter. Fire up the stove to medium heat and stir constantly. This is where the magic happens – you’ll see the mixture slowly thicken after about 5 minutes. Watch for when it coats the back of your spoon and leaves a trail when you run your finger through it. That’s your cue it’s ready!
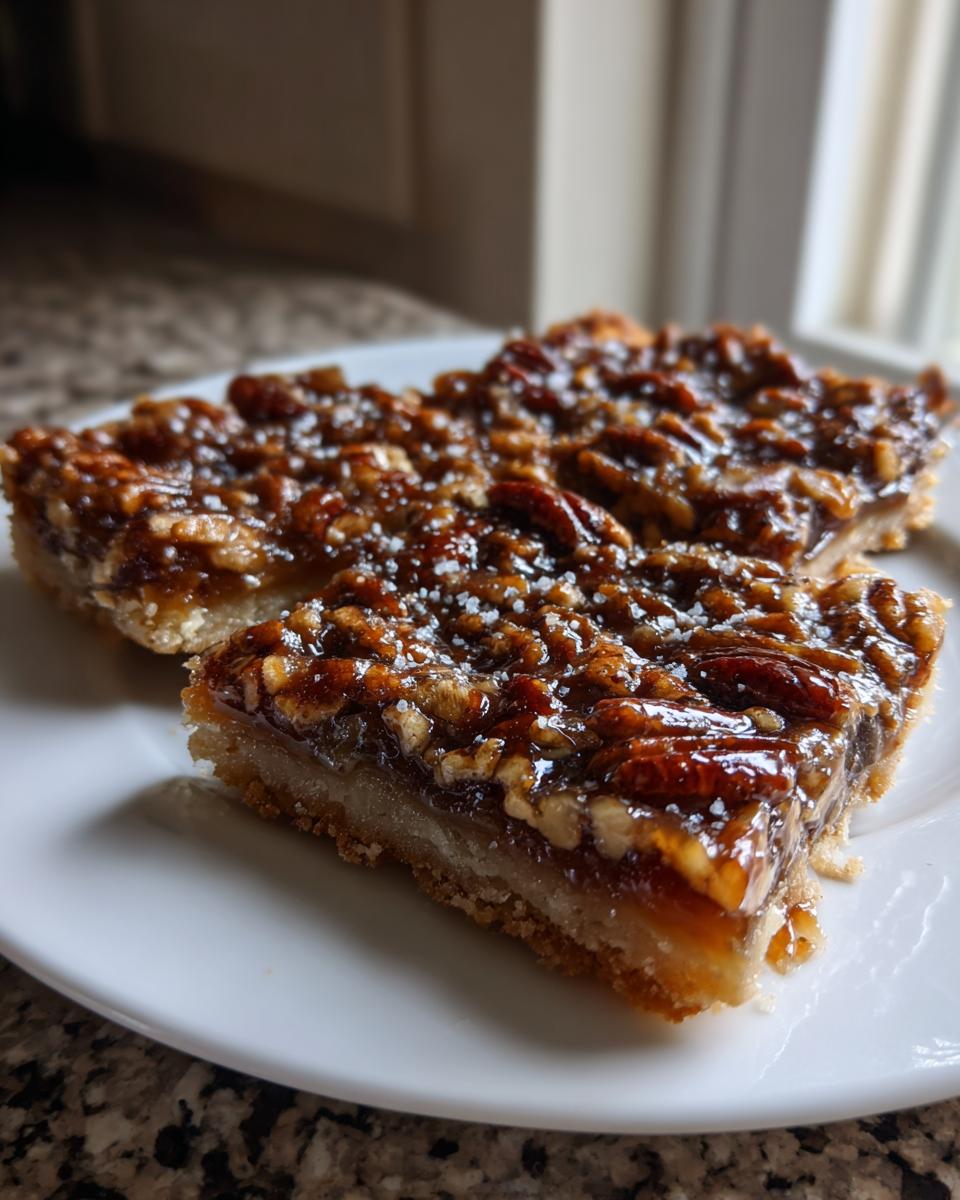
Pour this heavenly pecan mixture over your crust and spread it evenly with a spatula. Now comes the fun part – sprinkle that flaky sea salt over the top! I’m generous with mine, but you do you.

Pop the whole pan in the fridge for at least 2 hours (I know, the waiting’s the hardest part!) until it’s completely set.
When you’re ready to serve, lift the bars out using the parchment overhang and slice them into squares.
Pro tip: Run your knife under hot water first for cleaner cuts. These bars are shockingly sturdy thanks to that firm crust we made – no crumbling disasters here! Serve them chilled, maybe with an extra drizzle of maple syrup if you’re feeling fancy.
Want another no-bake treat that’s just as easy? Try our no-bake cheesecake recipe next!
Tips for Perfect Salted Maple Pecan Pie Bars
Want to make sure your bars turn out flawless every time? Here are my hard-earned tricks from making way too many batches (not that I’m complaining!):
- Parchment is your BFF – I know I already said it, but that overhang makes lifting out the bars SO easy. No more crumbly disasters when slicing!
- Toast those pecans – Just 5 minutes in a dry skillet takes the flavor from good to “oh my gosh what is this wizardry?” level amazing.
- Taste your sea salt – Some brands are saltier than others! I always sprinkle a tiny bit on my palm to test before showering it over the bars.
- Patience pays off – That 2-hour chill time? Non-negotiable. Walk away (hard, I know) and you’ll be rewarded with bars that slice like a dream.
See? Easy-peasy maple-squeezy! Now go make some magic.
Storage and Serving Suggestions
These maple pecan bars keep like a dream in an airtight container in the fridge for up to 5 days – if they last that long in your house! I like to layer them between sheets of parchment paper to prevent sticking. For freezer storage (up to 3 months), wrap individual bars tightly in plastic wrap first. They’re delicious cold straight from the fridge, but I sometimes let them sit out for 10 minutes to take the chill off before serving.
Want to take them over the top? A drizzle of warm maple syrup right before serving adds extra decadence. They’re perfect with coffee in the morning (don’t judge me) or paired with vanilla ice cream for an easy dessert. My neighbor swears a dollop of bourbon whipped cream makes them even better – and who am I to argue with bourbon?
Nutritional Information
Just a quick heads up – these numbers are estimates since ingredients and brands vary. With all that maple syrup and butter, let’s just say these aren’t diet food… but totally worth every delicious bite! If you’re watching portions, remember they’re pretty rich so small squares satisfy.
FAQs About Salted Maple Pecan Pie Bars
I get asked about these bars all the time – which makes sense, because once you taste them, you’ll want to know ALL the secrets! Here are answers to the questions I hear most:
Can I use honey instead of maple syrup?
You can, but trust me, you’ll miss that deep maple flavor! Honey makes the bars sweeter and less complex. If you must substitute, use equal amounts and maybe add a teaspoon of vanilla to round out the flavor.
How do I make these gluten-free?
Super easy – just swap regular graham crackers for gluten-free ones! You can find GF grahams at most stores now. Our gluten-free chocolate chip cookies use a similar trick if you’re baking for dietary needs.
Can I freeze the bars?
Absolutely! They freeze beautifully for up to 3 months. Wrap individual bars tightly in plastic wrap, then pop them in a freezer bag. Thaw in the fridge overnight – they’ll taste just-made!
Do I have to use pecans?
Not at all! Walnuts work great too. My crazy cousin even uses salted peanuts for a fun twist (though personally, I’m team pecan all the way). Want more nutty inspiration? Check out these creative variations!
Why do mine fall apart when cutting?
Two possibilities: Either you didn’t press the crust firmly enough (really get in there next time!), or you didn’t chill long enough. That 2-hour wait is torture, I know, but it’s crucial for clean slices!
More Dessert Recipes to Try
Oh honey, if you went wild for these maple pecan bars (and let’s be real – how could you not?), you’re gonna flip for some of my other go-to desserts. I’m obsessed with our classic cheesecake – it’s just as creamy and dreamy as your favorite diner’s, but way easier to make at home. And don’t even get me started on our soft-baked chocolate chip cookies – I’ve literally seen people argue over the last one! Both recipes are just as foolproof and crowd-pleasing as these bars. Now the only question is… which sweet treat will you tackle next?
Salted Maple Pecan Pie Bars
Ingredients
Equipment
Method
- Line an 8×8 inch baking pan with parchment paper, leaving some overhang for easy removal.
- In a mixing bowl, combine graham cracker crumbs, melted butter, and maple syrup. Press the mixture firmly into the prepared pan.
- In a saucepan over medium heat, combine pecans, maple syrup, heavy cream, and butter. Stir until the mixture thickens slightly, about 5 minutes.
- Pour the pecan mixture over the crust and spread evenly. Sprinkle with sea salt.
- Chill in the refrigerator for at least 2 hours before cutting into bars.