Oh, the magic of Christmas baking! There’s nothing quite like the feeling of flour dusting your apron and the sweet scent of holiday cheer filling your kitchen. When I think of Christmastime, I immediately picture my little ones, high on sugar and excitement, attempting to frost gingerbread men with more frosting on their noses than on the cookies themselves. That’s exactly why these classic Christmas sugar cookies are my absolute go-to. They’re such a quintessential part of our holiday traditions and honestly, among the best christmas cookie recipes out there. They’re super simple, which means less stress for me and more fun for everyone involved. Plus, they are the perfect canvas for all sorts of decorations – from simple sprinkles to elaborate icing designs. These babies are the foundation for so many sweet memories every year!

Why You’ll Love These Christmas Cookie Recipes
Honestly, these sugar cookies are just the best! Here’s why you’ll totally love them:
- Super Easy to Make: Seriously, even if you’re new to baking, you can totally nail these!
- Perfectly Delicious: They have that classic, buttery sugar cookie flavor that everyone adores.
- Decorating Dream: They hold their shape beautifully, making them the ideal base for all your festive icing and sprinkle creations.
- Festive Fun: You can cut them into any holiday shape you can think of – it’s half the fun!
Essential Ingredients for Perfect Christmas Sugar Cookies
Okay, so to get these perfect little Christmas cookie recipe stars made, you really just need the basics, but getting them right makes all the difference. Trust me on this!
- 1 cup (that’s 2 sticks!) unsalted butter, softened: Make sure it’s soft enough to really mash with a spoon, but not melted at all. This is key for that creamy texture.
- 1 ½ cups granulated sugar: This gives them that classic sweet cookie flavor and helps them get those lovely golden edges.
- 2 large eggs: I like to have mine at room temperature, it just seems to mix everything together better, you know?
- 1 teaspoon vanilla extract: For that hint of warmth that just screams cozy Christmas baking.
- 3 cups all-purpose flour: Your standard workhorse for the cookie dough.
- 1 teaspoon baking powder: Just a little lift, nothing too crazy, so they don’t spread out flat.
- ½ teaspoon salt: This really balances out all the sweetness and brings out the buttery flavors.
Step-by-Step Guide to Making Christmas Cookie Recipes
Alright, let’s get down to business! Making these Christmas sugar cookies is actually pretty straightforward, and honestly, it’s half the fun. We’ll tackle it step-by-step, so you don’t have to stress one bit. Grab your apron!
Preparing the Christmas Sugar Cookie Dough
First things first, we need to get that glorious cookie dough made. In a big bowl, take your softened butter and that granulated sugar and just cream them together. You want it light and fluffy – like a sweet cloud! Then, crack in your eggs, one at a time, making sure to mix them in well after each one. A splash of vanilla extract goes in next, and oh, that smell! In a separate bowl, whisk together your flour, baking powder, and salt. Now, gradually add this dry mix to your creamy butter mixture. Mix it up until it *just* comes together. Be careful not to overmix here; we don’t want tough cookies! If you’re curious about making adjustments, you might want to check out these flour substitutes or even explore some gluten-free sugar cookie options.
Chilling and Rolling Your Christmas Cookie Recipes
This step is super important, so don’t skip it! Once your dough is all mixed, divide it into two nice, flat discs. Wrap them up tight in plastic wrap. Now, these little dough discs need a little chill session in the fridge for at least an hour. Why? Because chilled dough is your best friend! It makes it so much easier to roll out without it sticking to everything, and it helps the cookies keep their shape when they bake. Once they’re nice and cold, lightly flour your counter – or a big cutting board – and your rolling pin. Roll out the dough to about a quarter-inch thick. That’s the sweet spot for a cookie that’s not too thin and not too thick.
Cutting and Baking These Christmas Cookie Recipes
Now for the really fun part – the cookie cutters! Dip your favorite festive shapes into a little flour before each cut to prevent sticking. Press them down firmly and twist slightly. Place your adorable cut-out cookies onto baking sheets that you’ve lined with parchment paper. Give them a little space, about an inch apart, because they’ll puff up just a bit. Get your oven preheated to 350°F (175°C). Pop those baking sheets in and bake for about 8 to 10 minutes. You’re looking for the edges to be just lightly golden. Let them cool on the baking sheet for a couple of minutes – they’ll be delicate right out of the oven – then carefully move them to a wire rack to cool completely before you even *think* about decorating.

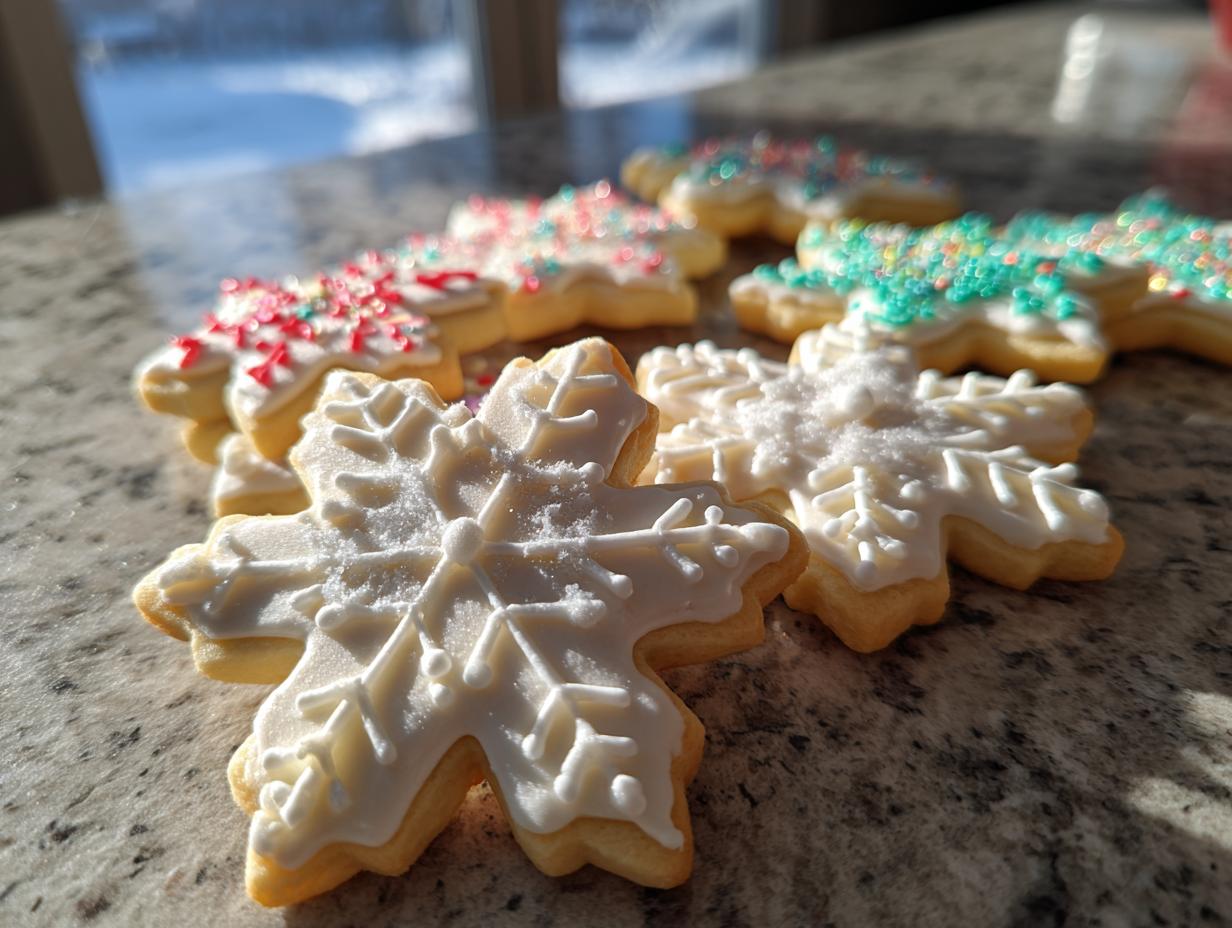
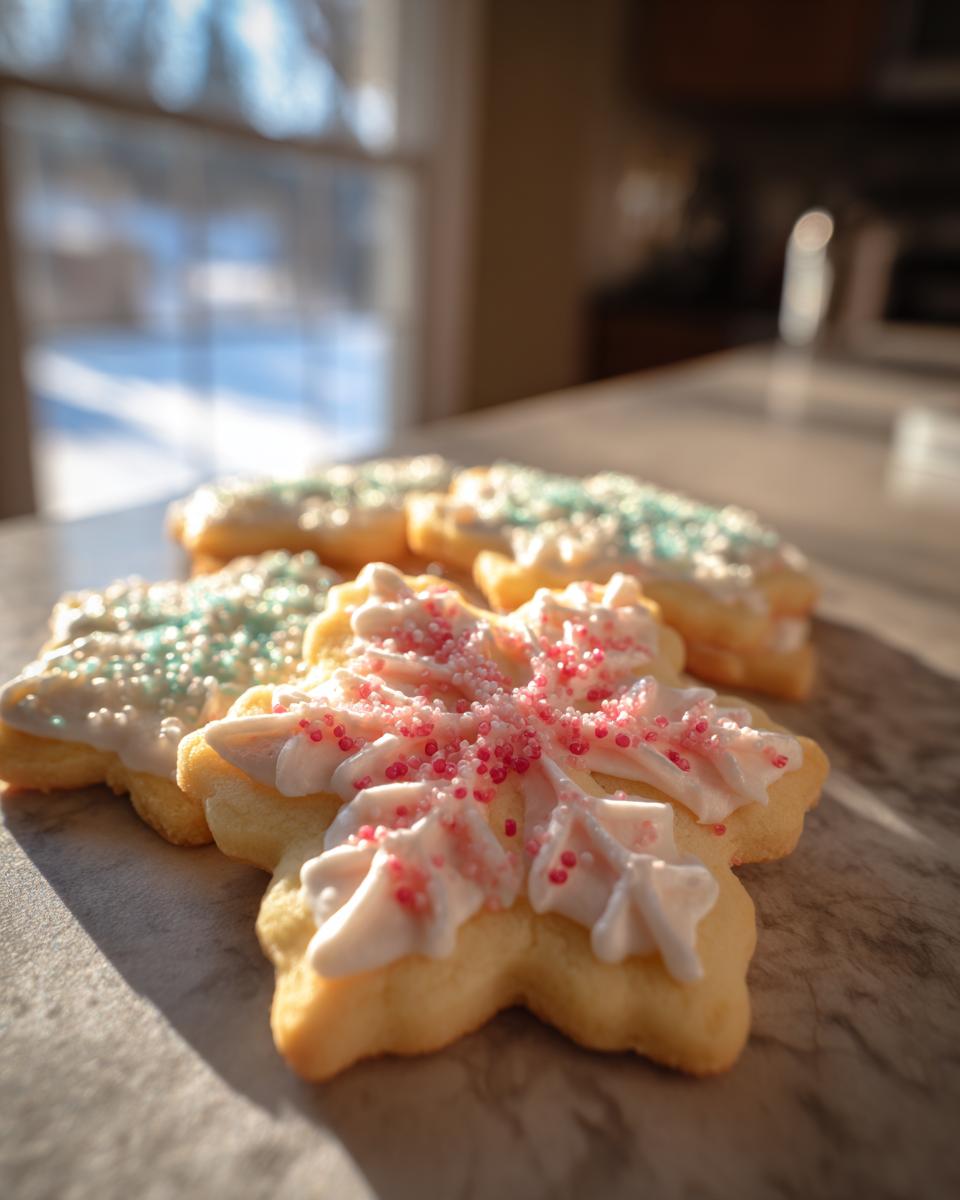
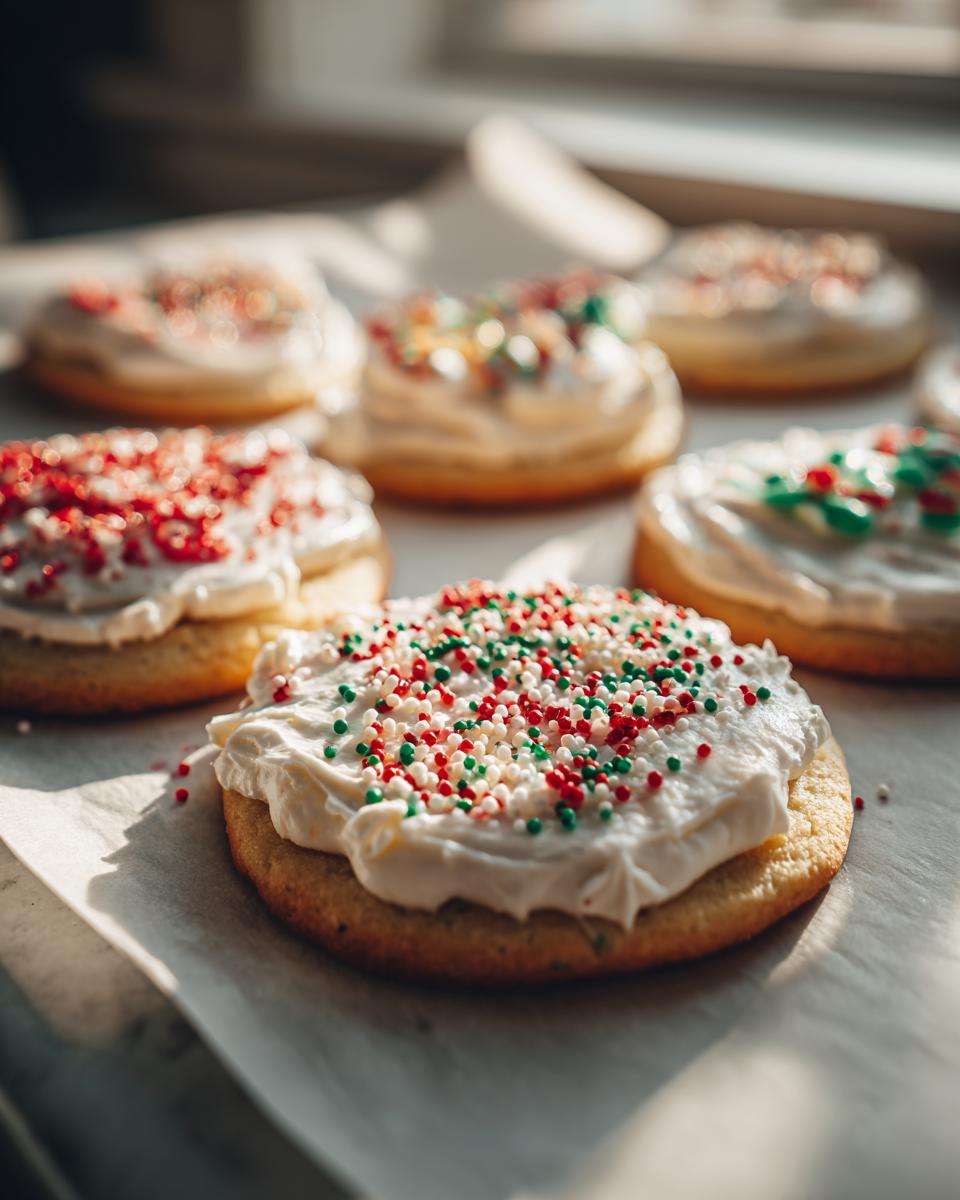
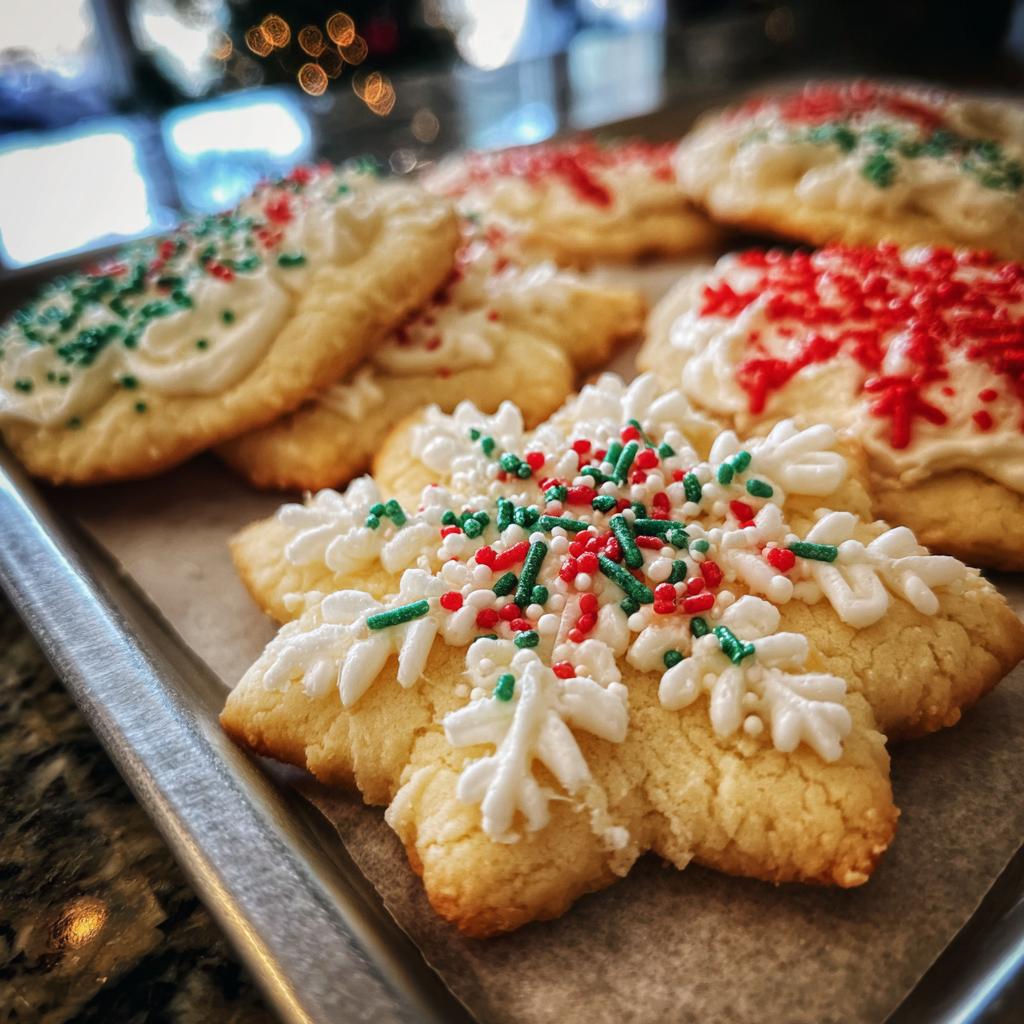
Decorating Your Christmas Sugar Cookies
Okay, once these gorgeous sugar cookies are all cooled down, it’s time for the REALLY fun part – decorating! This is where these christmas cookie recipes truly shine because they’re such a fantastic base. You can go super simple with just a basic buttercream frosting and a handful of colorful sprinkles, and they’ll look amazing. Or, if you’re feeling extra crafty, you could whip up some royal icing – it dries nice and firm, perfect for those sharp lines and intricate designs. A little tip for royal icing: thin it with a tiny bit of water until it’s like toothpaste, not glue! And if you want that really smooth, glossy finish? I find a small offset spatula works wonders. Don’t be afraid to mix and match – a little sprinkle, a little piped icing, maybe some edible glitter for extra sparkle – it’s all part of the festive fun! Need more ideas? Check out some really unique cookie recipes for inspiration!
Tips for the Best Christmas Cookie Recipes
So, you’ve got your dough chilled, your cutters ready, and anticipation is high, right? Here are a few little tricks I’ve picked up over the years to make sure these christmas cookie recipes turn out absolutely perfect every single time. It’s mostly about paying attention to the little things!
- Keep Everything Cool: Whenever you’re working with dough, especially sugar cookie dough, keeping it cool is your main goal. If your hands start to warm up the butter too much while rolling, just pop it back in the fridge for 10 minutes. It makes a huge difference!
- Don’t Overwork the Dough: Like I mentioned before, mixing too much develops the gluten, and that can make your cookies tough or cause them to spread out like a sad puddle. Mix just until it comes together.
- Measure Flour Correctly: Scooping flour directly from the bag can pack too much in. Spoon it into your measuring cup and then level it off with a straight edge. Or, even better, use a kitchen scale! It’s a game-changer for consistent baking.
- Know Your Oven: Ovens can be a little quirky! If your cookies tend to bake unevenly, try rotating your baking sheets halfway through. Also, make sure not to overcrowd the oven; give the heat some room to circulate.
- The Magic of the Pan: Parchment paper isn’t just for easy cleanup; it also helps cookies bake more evenly and prevents the bottoms from getting too dark or sticking. If you don’t have it, silpat mats are also fantastic.
And hey, if your cookies *do* spread a little too much, don’t sweat it! You can often trim the edges right after they come out of the oven while they’re still warm. For more moisture tips, even though it’s cake, you might find some ideas useful in my ‘secret to moist cake‘ post!
Storing and Making Ahead Your Christmas Cookie Recipes
Now, let’s talk about keeping these little beauties perfect, or getting ahead of the game! For storing your beautifully decorated Christmas sugar cookies, an airtight container is your best friend. Stack them carefully, maybe with a layer of wax paper between them if you’ve got a lot of frosting or delicate details, to prevent any smudging. They’ll stay fresh at room temperature for a good few days – though honestly, they never last that long in my house! If you want to get a head start, the dough itself is a total superstar. Just wrap those discs tightly in plastic wrap and pop them in the fridge for up to 3 days. Or, you can totally freeze the dough discs for up to 3 months! Just thaw them in the fridge overnight before you plan to roll and cut. You can even freeze the cut-out shapes before baking them – just pop them on a baking sheet in the freezer until solid, then transfer them to a freezer bag. Bake them straight from frozen, adding just a minute or two to the baking time.
Frequently Asked Questions About Christmas Sugar Cookies
Got questions about these festive little guys? I totally get it! Baking can sometimes feel like a science experiment, but that’s part of the fun, right? Here are some common questions I get asked about these christmas cookie recipes:
Why do my sugar cookies spread too much?
Oh, the dreaded cookie spread! It usually happens for a couple of reasons. If your butter is too soft or even melted when you start creaming it, that’s a big culprit. Also, overmixing the dough can make it spread. Make sure your butter is softened but still firm, and cream it with the sugar until it’s *just* light and fluffy. Don’t go overboard! Another thing is if the dough isn’t chilled long enough; it makes it easier for the cookies to lose their shape in the oven. If you’re having trouble with spread, you might want to check out why other cookies might be gooey or spread too much – some of those tips, like chilling, can totally apply here too!
Can I use a different type of flour for these Christmas cookie recipes?
You know, usually, all-purpose flour is the go-to because it has just the right amount of gluten to give the cookies structure without being too tough. If you need to avoid gluten entirely, you’d want to look for a really good gluten-free baking blend that includes a binder like xanthan gum. Replacing just part of the flour might change the texture a bit, making them a little more crumbly or soft, which could be nice, but it might also affect how well they hold their shape for decorating. For the best results, sticking to all-purpose flour is usually safest for classic sugar cookies!
How long do these Christmas Sugar Cookies last? Can I make them ahead?
These cookies are pretty sturdy! Once they’re decorated (and if the frosting is fully set), they will last in an airtight container at room temperature for a good week, maybe even a bit longer. They don’t really go stale quickly at all. And yes, making them ahead is totally the way to go! You can keep the dough discs wrapped tightly in the fridge for a few days, or pop them in the freezer for up to 3 months. Bake them straight from frozen and just add a couple extra minutes to the baking time. So convenient for busy holiday schedules! It reminds me a bit of how you can prep brownies ahead of time; the secret is all in the storage!
Nutritional Information for These Christmas Cookie Recipes
Okay, so while these Christmas sugar cookies are absolutely delicious and a total holiday must-have, it’s always good to have a rough idea of what you’re getting, right? Keep in mind that these are just estimates, and they can change a bit depending on how you decorate them – all that frosting and sprinkles can add up! But generally, each cookie is probably somewhere around 150-200 calories, with a decent amount of sugar and butter, of course. It’s all part of the holiday fun, and totally worth it!
Christmas Sugar Cookies
Ingredients
Equipment
Method
- In a large bowl, cream together the softened butter and granulated sugar until light and fluffy.
- Beat in the eggs one at a time, then stir in the vanilla extract.
- In a separate bowl, whisk together the flour, baking powder, and salt.
- Gradually add the dry ingredients to the wet ingredients, mixing until just combined.
- Divide the dough in half, flatten each half into a disc, wrap in plastic wrap, and refrigerate for at least 60 minutes.
- Preheat your oven to 350°F (175°C). Line baking sheets with parchment paper.
- On a lightly floured surface, roll out the chilled dough to about 1/4 inch thickness.
- Cut out shapes using your favorite cookie cutters.
- Place the cookies on the prepared baking sheets, about 1 inch apart.
- Bake for 8-10 minutes, or until the edges are lightly golden.
- Let the cookies cool on the baking sheets for a few minutes before transferring them to a wire rack to cool completely.
- Decorate with frosting and sprinkles as desired.