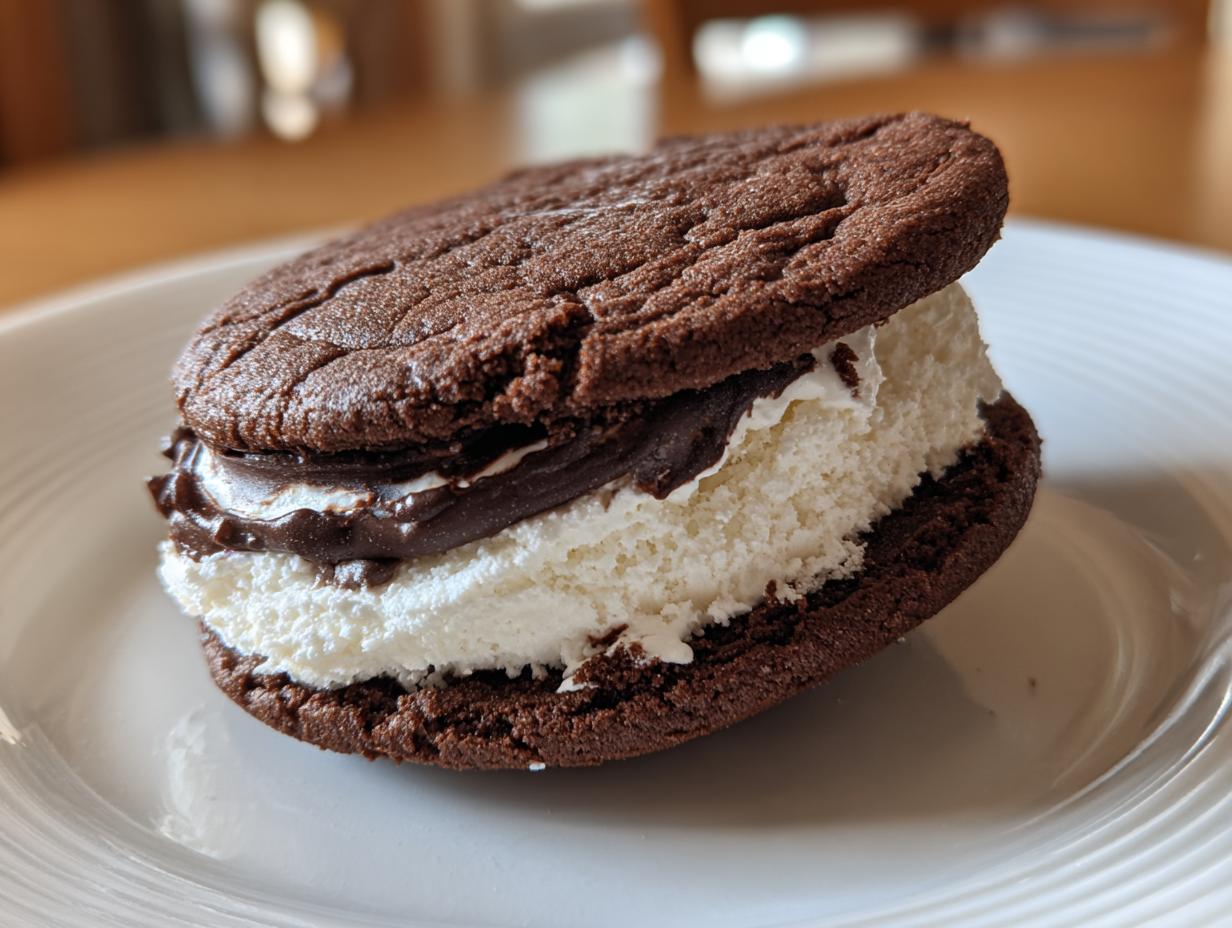
Who doesn’t love a good surprise on a hot day? For me, it’s all about bringing a little extra joy into the kitchen, especially when it involves characters we all adore. That’s why I’m absolutely buzzing to share my recipe for the most adorable Snoopy ice cream sandwiches! Seriously, imagine Betty Crocker meets Peanuts – pure magic! I remember making these with my nephew last summer, and the look on his face when he saw Snoopy smiling back at him? Priceless! It’s such a simple way to make a regular treat feel super special, perfect for birthday parties or just a fun afternoon baking project.
Why You’ll Love These Snoopy Ice Cream Sandwiches
Seriously, these are a blast and so easy to whip up! Here’s why you’re going to adore making them:
- Super Fun for Kids (and Adults!): They turn a simple dessert into a character-filled masterpiece.
- Easy to Make: The cookie recipe is straightforward, and decorating is more playful than precise.
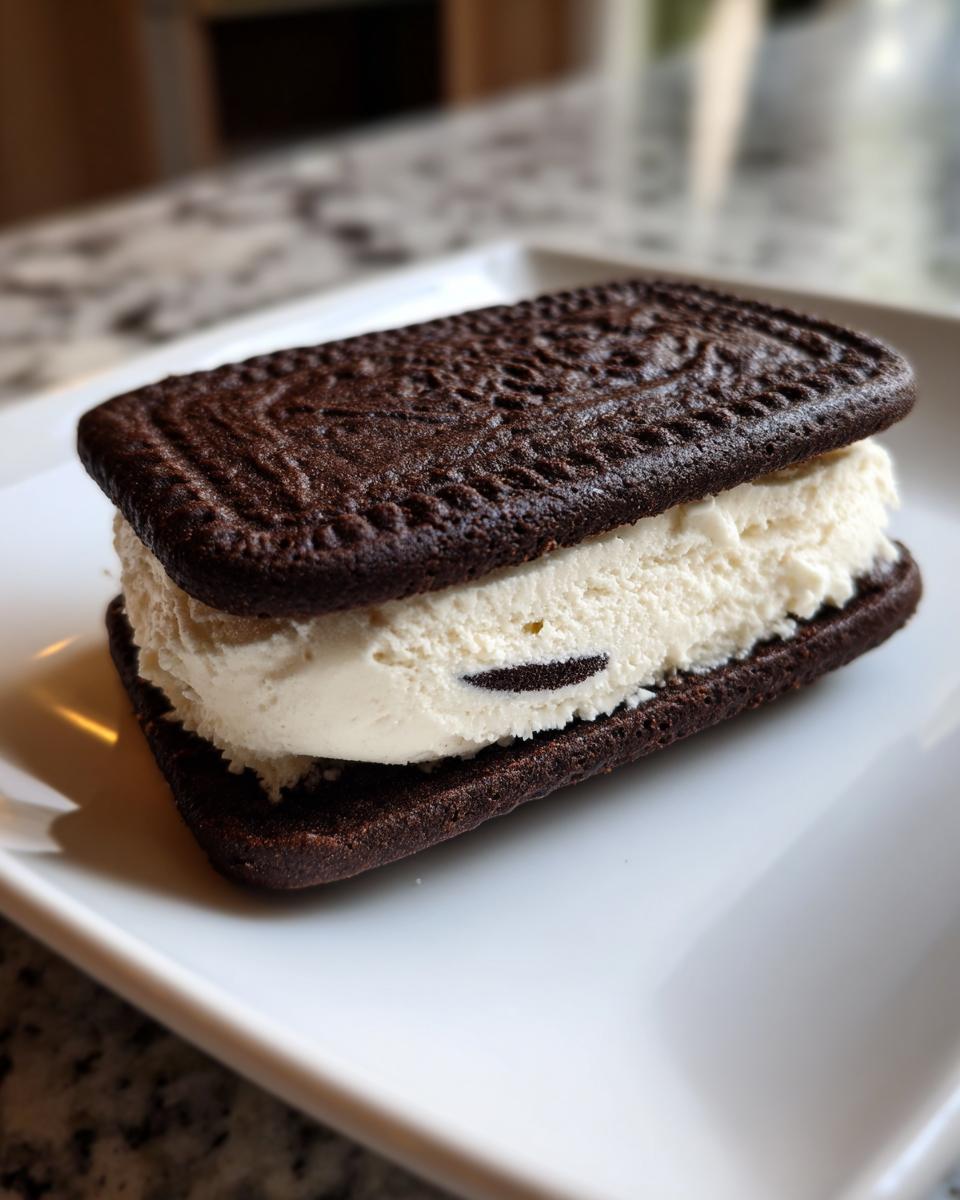
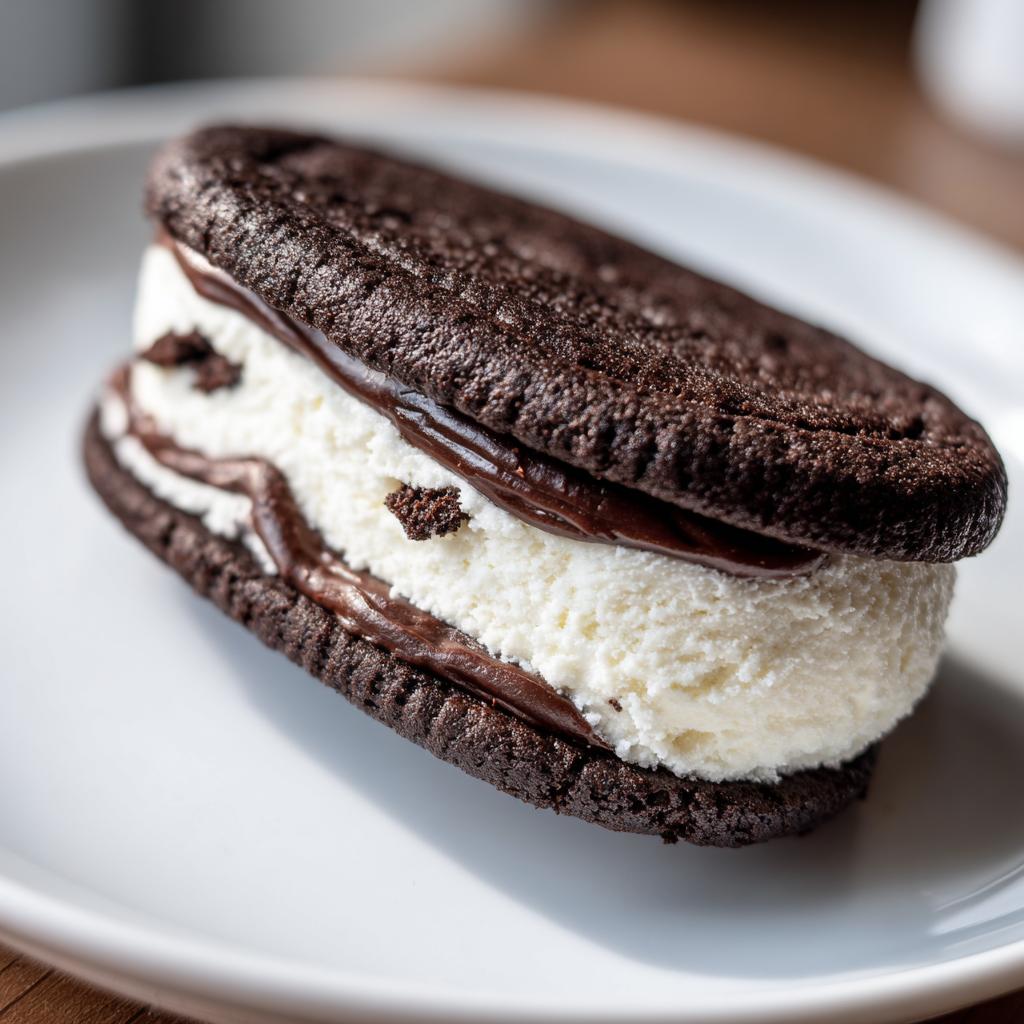
- Deliciously Classic Taste: You get that perfect combination of soft, sweet cookies and creamy vanilla ice cream.
- Totally Customizable: Feel free to use your favorite ice cream flavor or even different cookie types!
- Instant Crowd-Pleaser: Whether it’s a birthday party or a summer get-together, these Snoopy ice cream sandwiches are a guaranteed hit.
- DIY Delight: It’s a great activity to do with kids, letting them help with the decorating.
Gather Your Ingredients for Snoopy Ice Cream Sandwiches
Alright, let’s get our kitchen ready for some fun! To make these amazing Snoopy ice cream sandwiches, you’ll need these bits and bobs. I always find that using good quality ingredients really makes a difference in taste, so don’t skimp if you can help it!
For the Cookies
These are your basic, happy little sugar cookies that bake up perfectly soft. You’ll want:
- 1 cup unsalted butter, softened – Make sure it’s truly softened, not melted!
- 1 cup granulated sugar
- 2 large eggs – Room temperature is best for baking!
- 1 teaspoon vanilla extract – The good stuff makes everything better.
- 3 cups all-purpose flour
- 1 teaspoon baking soda
- 1/2 teaspoon salt
For Assembly
This is where the magic happens and Snoopy comes to life! You’ll need:
- 1 quart vanilla ice cream, softened – Let it sit on the counter for about 10-15 minutes. Not too soupy, just spreadable!
- 1/4 cup black decorating gel – This is for Snoopy’s nose and that famous smile.
- 1/4 cup white decorating gel – For his super cute eyes!
Trust me, having everything prepped and ready makes the assembly process a breeze!

Essential Equipment for Making Snoopy Ice Cream Sandwiches
Alright, let’s talk tools! Having the right gear makes whipping up these Snoopy ice cream sandwiches so much easier. You don’t need anything super fancy, just your trusty everyday kitchen stuff:
- Baking sheets: You’ll need a couple of these to get your cookies baked up nicely.
- Parchment paper: This is a lifesaver for preventing sticking and making cleanup a breeze.
- Mixing bowls: A couple of good-sized bowls are essential for mixing your cookie dough.
- Electric mixer (or a sturdy whisk and some elbow grease!): This makes creaming the butter and sugar so much faster and fluffier.
- Wire rack: Crucial for letting those cookies cool completely before they become ice cream sandwiches.
- Offset spatula or butter knife: Perfect for spreading that softened ice cream!
With these basics, you’re totally set to create some Snoopy magic!
Step-by-Step Guide to Crafting Snoopy Ice Cream Sandwiches
Okay, it’s time for the fun part – making our awesome Snoopy ice cream sandwiches! Don’t worry, it’s not as complicated as it looks. We’re going step-by-step, and I’ll give you all my little tricks along the way. Think of it like painting a masterpiece, but way tastier! Ready? Let’s get these cookies baked and then bring Snoopy to life!
Baking the Perfect Cookies for Your Snoopy Ice Cream Sandwiches
First things first, let’s get those cookies ready. Preheat your oven to 350°F (175°C) and line your baking sheets with that handy parchment paper. In a nice big bowl, cream together your softened butter and sugar until it’s nice and fluffy – like clouds! Then, beat in the eggs one by one, followed by the vanilla. In another bowl, whisk up your flour, baking soda, and salt. Now, slowly add the dry stuff to the wet stuff, mixing until it *just* comes together. Seriously, don’t overmix it, or your cookies will be tough! You can learn more about preventing tough cookies in my secret to moist cake post, though these cookies aim for a slightly different texture. Drop rounded tablespoons of dough onto your prepared sheets, giving them some space, and flatten them a little with the bottom of a glass. Pop them in the oven for about 10-12 minutes. You want them lightly golden around the edges. Let them cool on the sheet for a bit before moving them to a wire rack. Make SURE they’re totally cool before we move on to the next step – warm cookies and ice cream? Disaster!
Assembling Your Adorable Snoopy Ice Cream Sandwiches
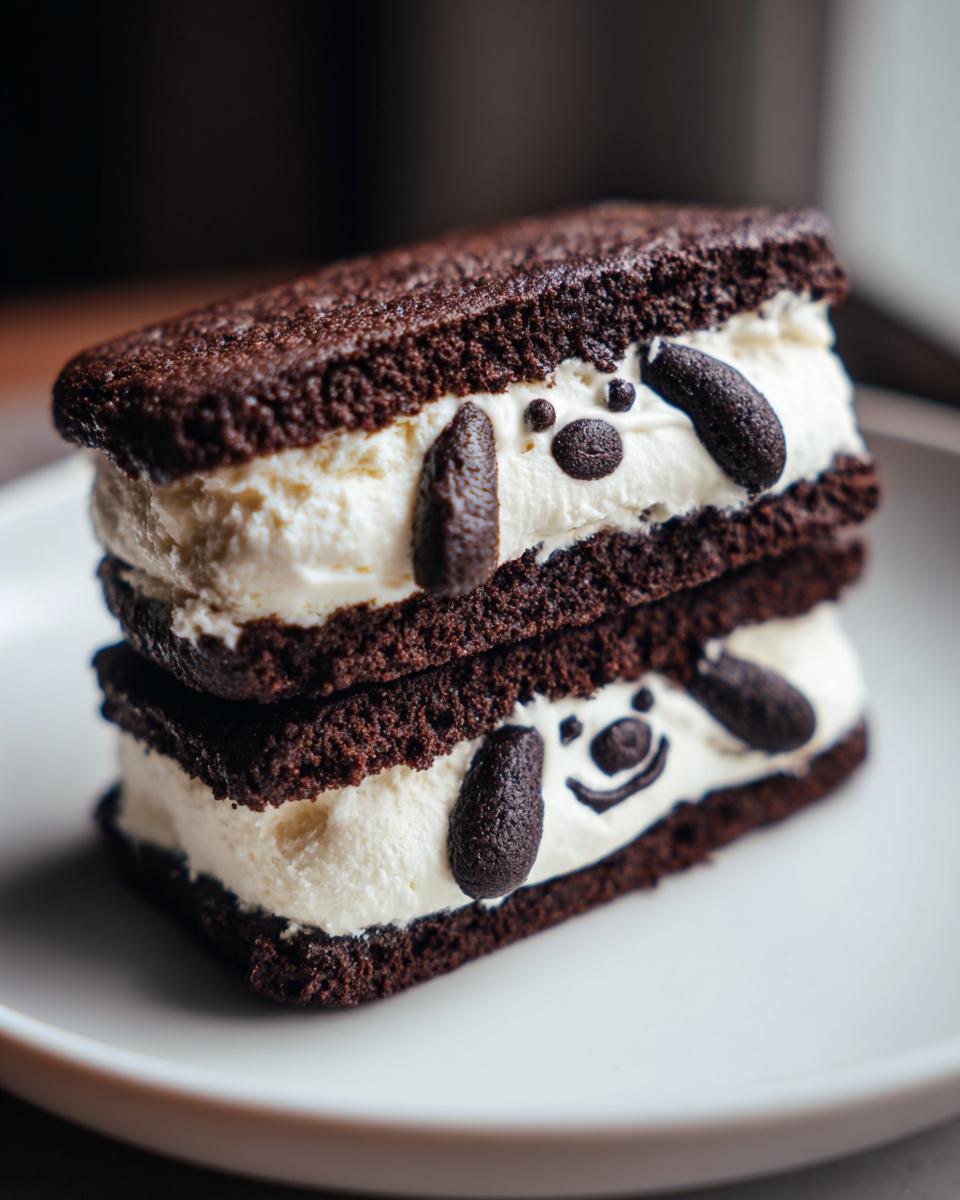
Alright, cookie cooling time is over, and our ice cream should be perfectly softened – just squishy enough to spread but not a melty mess! Grab two of your cooled cookies, place one flat side up, and spread a good layer of that lovely vanilla ice cream on it. Pop the second cookie on top, flat side down, to make your sandwich. Now for the super fun part: Snoopy’s face! Take your black decorating gel and draw on his nose and that classic little mouth. Then, grab the white gel for his eyes. You can get really creative here, or just do a simple design. The key when you’re assembling these Snoopy ice cream sandwiches is to work quickly so the ice cream doesn’t melt all over your hands. It’s going to look so cute!

Freezing Your Snoopy Ice Cream Sandwiches to Perfection
Once your Snoopy creations are all assembled, carefully place them on that parchment-lined baking sheet. Now, they need a little chill time to firm up. Pop them into the freezer for at least 30 minutes. This just helps everything set so they don’t fall apart when you pick them up. You can store them in an airtight container in the freezer for longer, but honestly, they usually disappear pretty fast!
Tips for Success with Snoopy Ice Cream Sandwiches
You know, making these Snoopy ice cream sandwiches is pretty straightforward, but a few little tricks can really make them extra special. I’ve learned a thing or two over the years, and I want to share them so yours turn out perfectly!
First off, ingredient temperature is key. Make sure your butter and eggs are at room temperature for the cookies. It really helps them cream together beautifully, making for a nicer cookie texture. You can read all about getting amazing textures in my secret to moist brownies post; the principles of creaming are similar! When it comes to the ice cream, you want it softened, not melted. Letting it sit out on the counter for maybe 10-15 minutes usually does the trick. It should be spreadable with a spatula but still firm enough to hold its shape. Oh, and my personal tip? Make sure those cookies are COMPLETELY cool before you even *think* about adding the ice cream. Seriously, I’ve rushed it before, and let’s just say it ended up being more of a gooey mess than an ice cream sandwich!
Ingredient Notes and Substitutions for Snoopy Ice Cream Sandwiches
Sometimes you just gotta tweak things, right? If you’re out of something or want to try a little twist on these Snoopy ice cream sandwiches, here are a few notes. For the decorating gels, if you can’t find them, you could try using melted chocolate (black and white) or even just some simple buttercream frosting for the details, though the gel is super easy to control. If you’re not a fan of vanilla ice cream, feel free to use your favorite! Chocolate or strawberry would be fun too. For the cookies themselves, they’re pretty forgiving, but if you ever wanted to experiment with cookie bases, you might find some inspiration in my flour substitutes for sugar cookies post!
Frequently Asked Questions About Snoopy Ice Cream Sandwiches
Got questions about these fun Snoopy ice cream sandwiches? I totally get it! Here are some things people often ask:
Can I make the cookie part ahead of time?
Oh yes, absolutely! You can bake and completely cool the cookies a day or two in advance. Just store them in an airtight container at room temperature. Waiting until you’re ready to assemble with the ice cream keeps everything fresh and firm.
How should I store leftover Snoopy ice cream sandwiches?
The best way is to wrap each sandwich individually in plastic wrap or foil, then pop them into an airtight container or a freezer bag. That way, they stay perfectly frozen and don’t get freezer burn. They’ll keep for a couple of weeks, though I doubt they’ll last that long!
What if I don’t have decorating gel for Snoopy’s face?
No worries at all! You can totally use melted chocolate. Melt a little bit of white chocolate for the eyes and some dark chocolate or black candy melts for the nose and mouth. Just put them in a piping bag with a small tip, or even a Ziploc bag with a tiny corner snipped off. It works just as well for creating Snoopy’s classic look!
Can I use different ice cream flavors or cookie types?
You bet! While vanilla is classic and works great with the cookie flavor, feel free to get creative. Chocolate ice cream would be fun, or fruity flavors for a different vibe. You could even try chocolate chip cookies or another favorite sugar cookie recipe as the base. The Snoopy theme is flexible!
Nutritional Information (Estimated)
Now, I’m not a dietician or anything, but if you’re curious about the numbers behind these fun Snoopy ice cream sandwiches, here’s a little estimate for ya. Remember, this can really change depending on the exact brands you use and how generous you are with that ice cream and cookie dough! But generally, you’re looking at something in the ballpark of X calories, Y grams of fat, Z grams of protein, and maybe W grams of carbs per sandwich. It’s a treat, after all, and totally worth it for that Snoopy smile!
Share Your Snoopy Ice Cream Sandwich Creations!
Alright, bakers, I’ve spilled all my secrets for these super-cute Snoopy ice cream sandwiches, and now it’s your turn! I absolutely LOVE seeing what you all create in your kitchens. Did yours turn out perfectly? Did you add your own special Snoopy-inspired twist? Let me know in the comments below! And if you share a pic online, be sure to tag me so I can see your amazing work. Happy baking, everyone!
Snoopy Ice Cream Sandwiches
Ingredients
Equipment
Method
- Preheat your oven to 350°F (175°C). Line baking sheets with parchment paper.
- In a large bowl, cream together the softened butter and granulated sugar until light and fluffy.
- Beat in the eggs one at a time, then stir in the vanilla extract.
- In a separate bowl, whisk together the flour, baking soda, and salt.
- Gradually add the dry ingredients to the wet ingredients, mixing until just combined.
- Drop rounded tablespoons of dough onto the prepared baking sheets, about 2 inches apart. Flatten each cookie slightly with the bottom of a glass.
- Bake for 10-12 minutes, or until the edges are lightly golden. Let the cookies cool on the baking sheets for a few minutes before transferring them to a wire rack to cool completely.
- Once the cookies are completely cool, spread a generous amount of softened vanilla ice cream between two cookies to form a sandwich.
- Use the black decorating gel to draw Snoopy’s nose and mouth on the top cookie. Use the white decorating gel to draw Snoopy’s eyes.
- Place the finished ice cream sandwiches on a baking sheet lined with parchment paper and freeze for at least 30 minutes, or until firm.