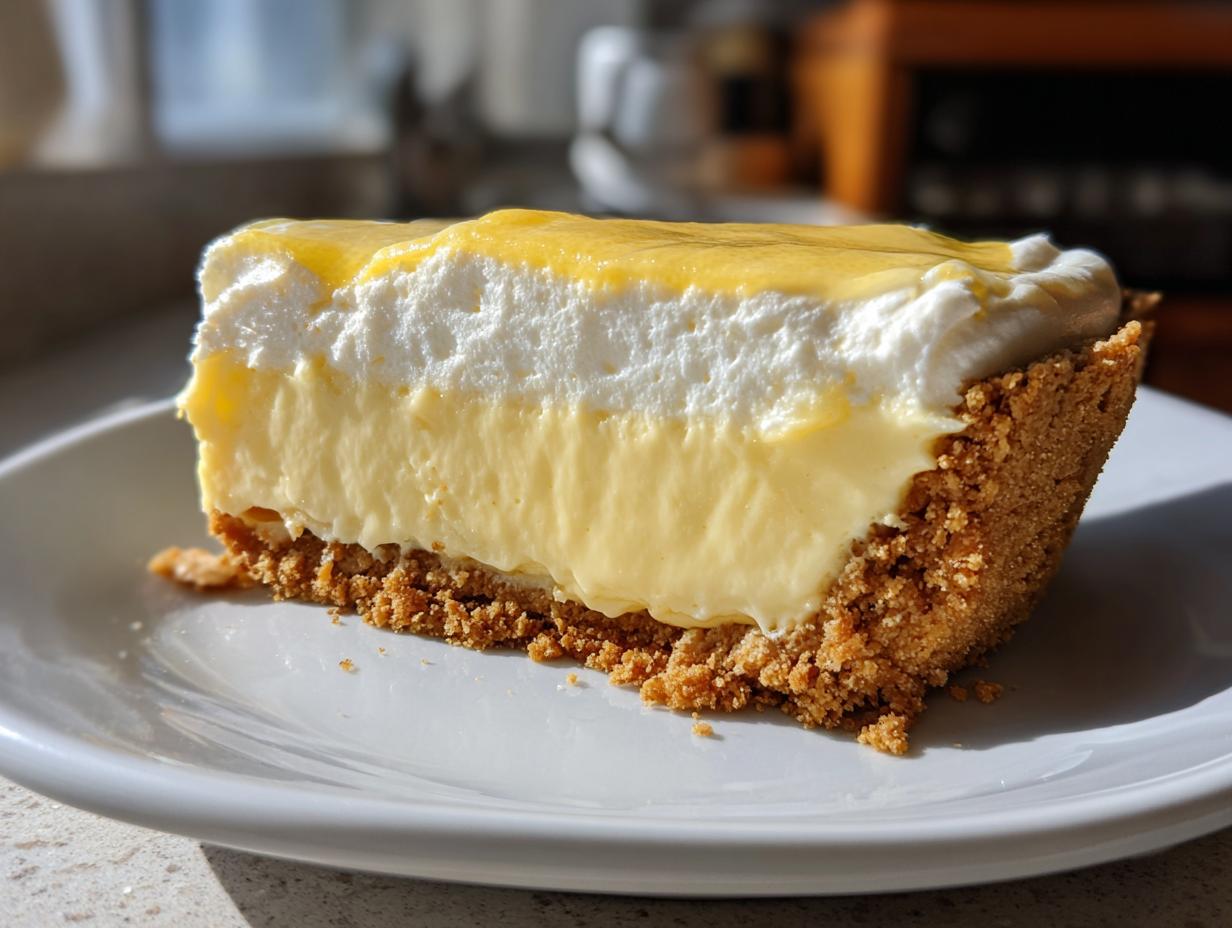
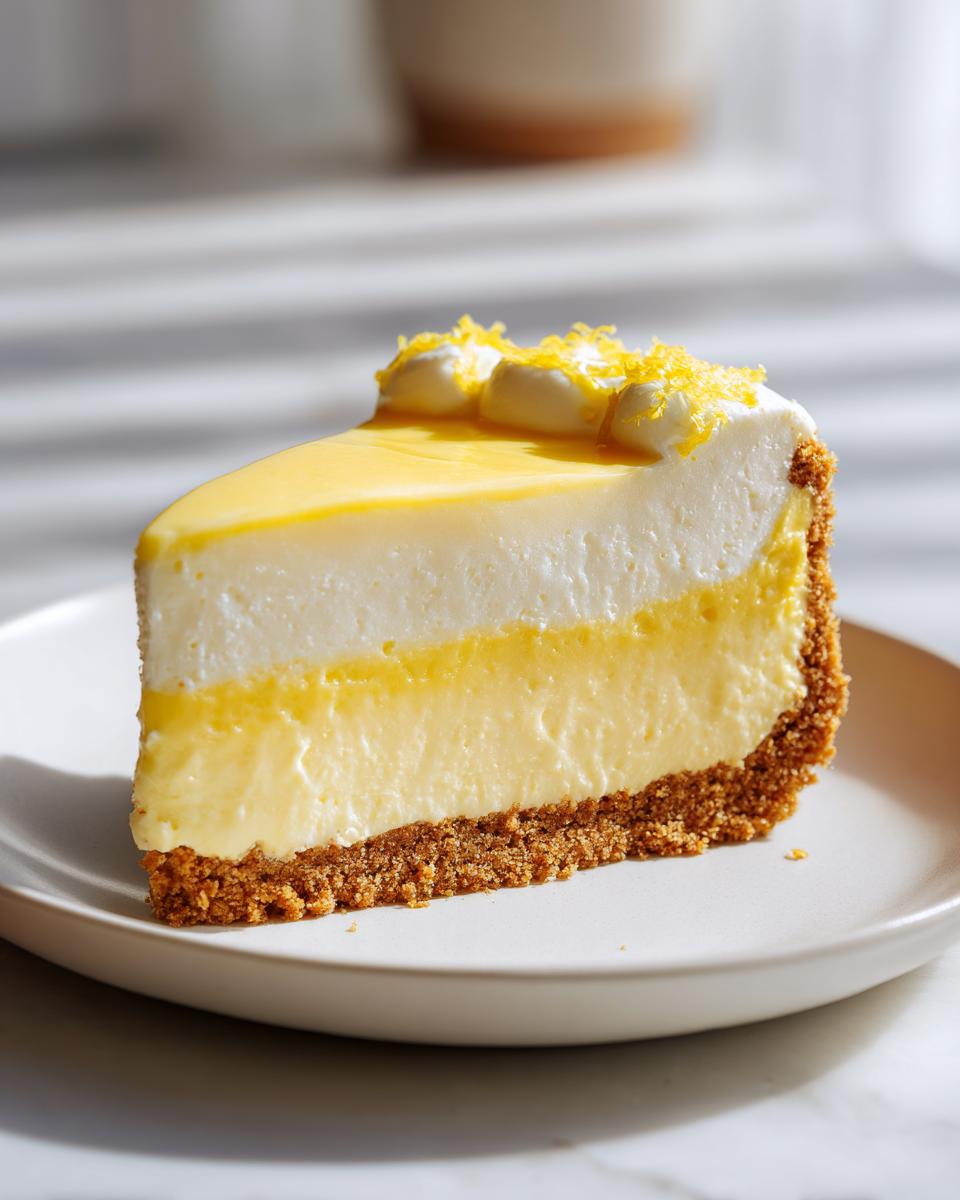
You know those sweltering summer days when the thought of turning on the oven makes you want to cry? That’s when my grandma’s famous lemon icebox pie swoops in to save the day! This no-bake wonder has been our family’s go-to dessert for every barbecue, potluck, and “oh-crap-I-forgot-to-bring-something” moment since I was knee-high to a grasshopper. What I love most (besides licking the bowl clean) is how shockingly simple it is – just mix, chill, and boom! You’ve got a creamy, tangy pie that’ll have everyone begging for the recipe. My cousin Lisa still teases me about the time I accidentally doubled the lemon juice, but hey, even that “extra zingy” version disappeared fast!
Why You’ll Love This Lemon Icebox Pie
Let me count the ways this pie will become your new summer obsession! First off – no oven required, which means you won’t heat up your kitchen on those brutal hot days. ThePart that tickles me most? You can whip it up in just 20 minutes of active time while chatting with friends or wrangling kids. That bright, tangy lemon flavor is like a cool breeze for your taste buds – perfectly balanced with just the right amount of sweetness.
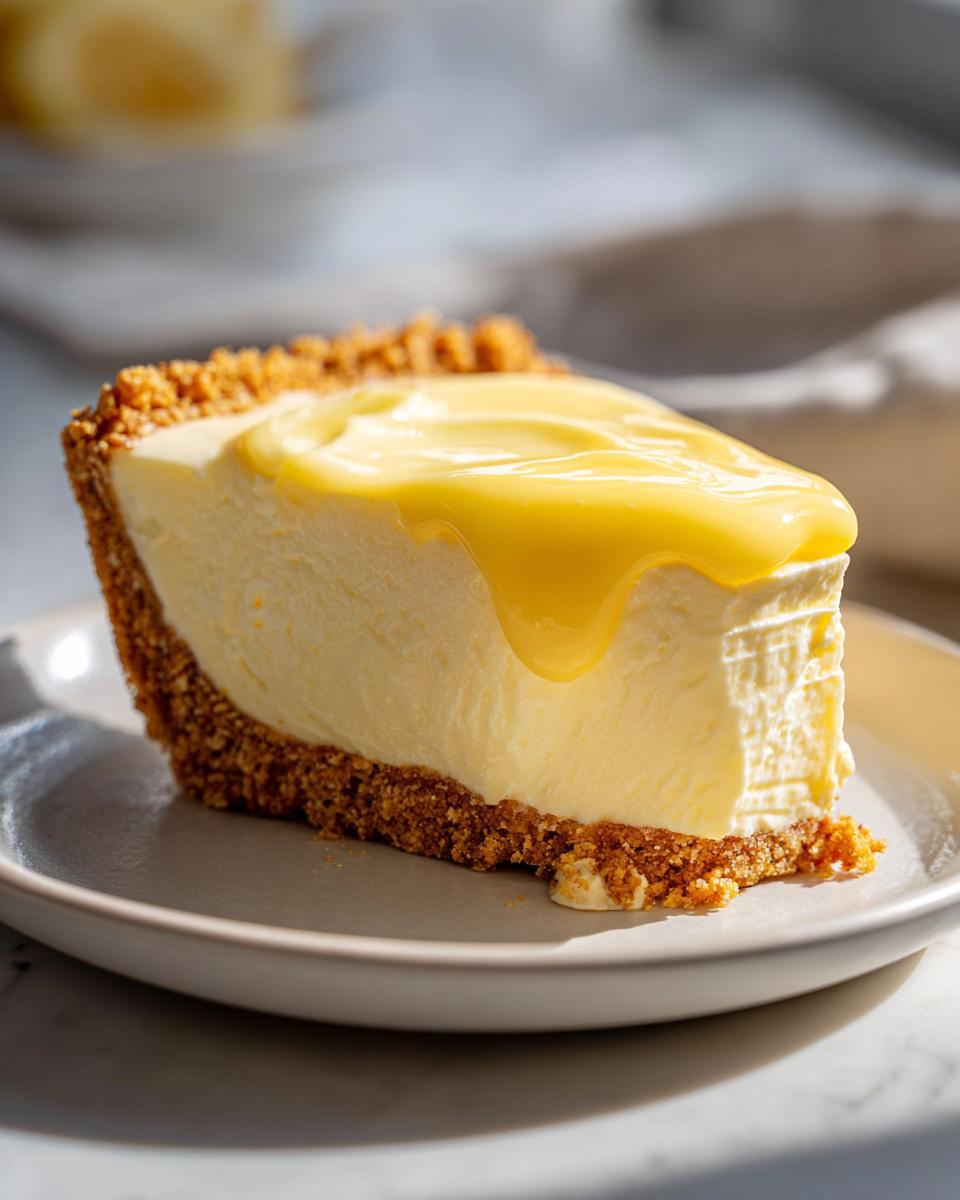
Trust me, this pie is the ultimate crowd-pleaser. I’ve lost count of how many times I’ve brought it to potlucks where folks hovered around the dessert table asking, “Who made THAT?” And here’s my favorite part – that creamy, dreamy texture that only gets better as it chills. It’s like sunshine in pie form!
Ingredients for Lemon Icebox Pie
Listen, I know what you’re thinking – “How can something so delicious be made with so few ingredients?” But trust me, this magic happens when simple, quality stuff comes together just right. Let me walk you through what you’ll need to make pie perfection:
For the Crust:
Graham cracker শ্রেumbs – 1 ½ cups (about 12 full sheets crushed). My aunt swore by name-brand crackers, but I’ve used store brands in a pinch and nobody could tell the difference!
Sugar – ⅓ cup granulated. This isn’t the time for fancy raw sugar – plain white granulated melts right into the crust.
Butter – 6 tablespoons melted. And when I say butter, I mean REAL butter – none of that margarine business unless you want sad, soggy crust.
For the Filling:
Sweetened condensed milk – 1 can (14 oz). Don’t try substituting evaporated milk – trust me, I learned that mistake the hard way!
Lemon juice – ½ cup freshly squeezed. Bottled works in emergencies, but fresh gives that bright pop that makes this pie special.
Lemon zest – 1 tablespoon. This is where the REAL lemon flavor lives – scrape just the yellow partLan>
The whipped topping folds intoEnergyThe creamy dreaminess. And if you’re feeling fancy, sprinkle some extra lemon Meetings Plates before serving – makes it pretty AND gives an extra zing!
Equipment Needed for Lemon Icebox Pie
Okay, let’s talk tools – and don’t worry, you won’t need anything fancy for this no-bake beauty! The star of the show is definitely your 9-inch pie dish – I’ve got my grandma’s old Pyrex one that’s seen more lemon pies than I can count. You’ll want a good mixing bowl (I prefer glass so I can see when everything’s perfectly combined) and an electric mixer to make that filling silky smooth. No mixer? No problem! A sturdy whisk and some elbow grease will do the trick – just pretend you’re whisking away your troubles!
How to Make Lemon Icebox Pie
Alright, let’s get to the fun part – making this dreamy pie come to life! I’ve made this so many times I could probably do it in my sleep, but don’t worry – I’ll walk you through each step like I’m right there in your kitchen with you. The best part? It’s practically foolproof!
Step 1: Prepare the Crust
First things first – let’s make that buttery graham cracker base. Grab your crumbs, sugar, and melted butter and toss them together in a bowl. Mix until it looks like wet sand – you’ll know it’s right when you can squeeze a handful and it holds its shape. Now here’s my secret trick: dump it into your pie dish and use the bottom of a measuring cup to press it FIRMLY into place. I mean really pack it in – this keeps the crust from crumbling when you slice it later. Pop it in the fridge for 10 minutes while you make the filling – this little chill session makes all the difference!
Step 2: Make the Filling
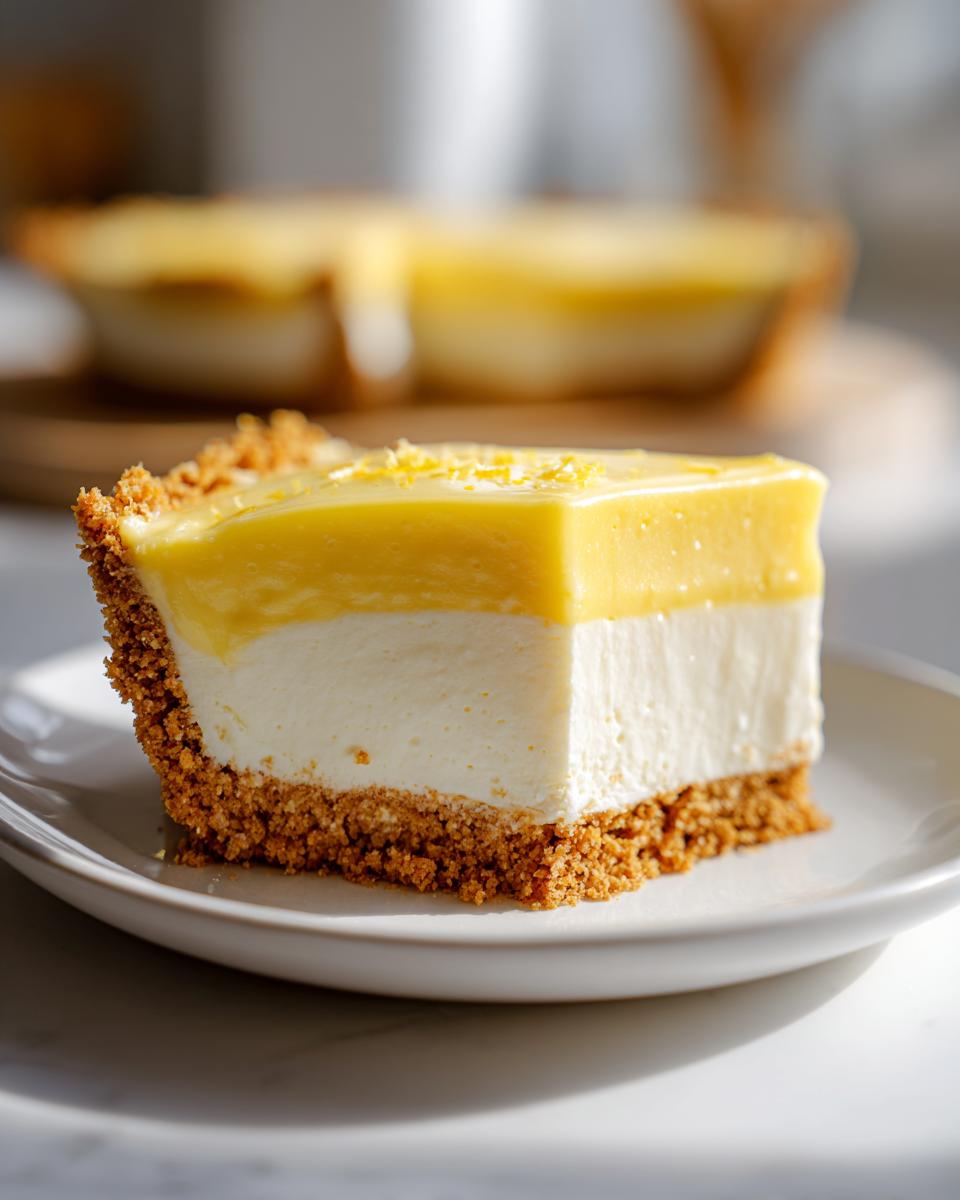
Okay, here’s where the magic happens! In your mixing bowl, whisk together the sweetened condensed milk, lemon juice, and zest until it’s smooth as silk. Now for the whipped topping – this is where you need to be gentle, like you’re folding in clouds! Scoop it in and use a rubber spatula to fold (not stir!) until just combined. Overmixing will deflate all that airy goodness, and nobody wants a dense pie. The filling should be light, fluffy, and taste like sunshine in a bowl. Pour it into your chilled crust and give the dish a gentle shake to level it out.
Step 3: Chill and Serve
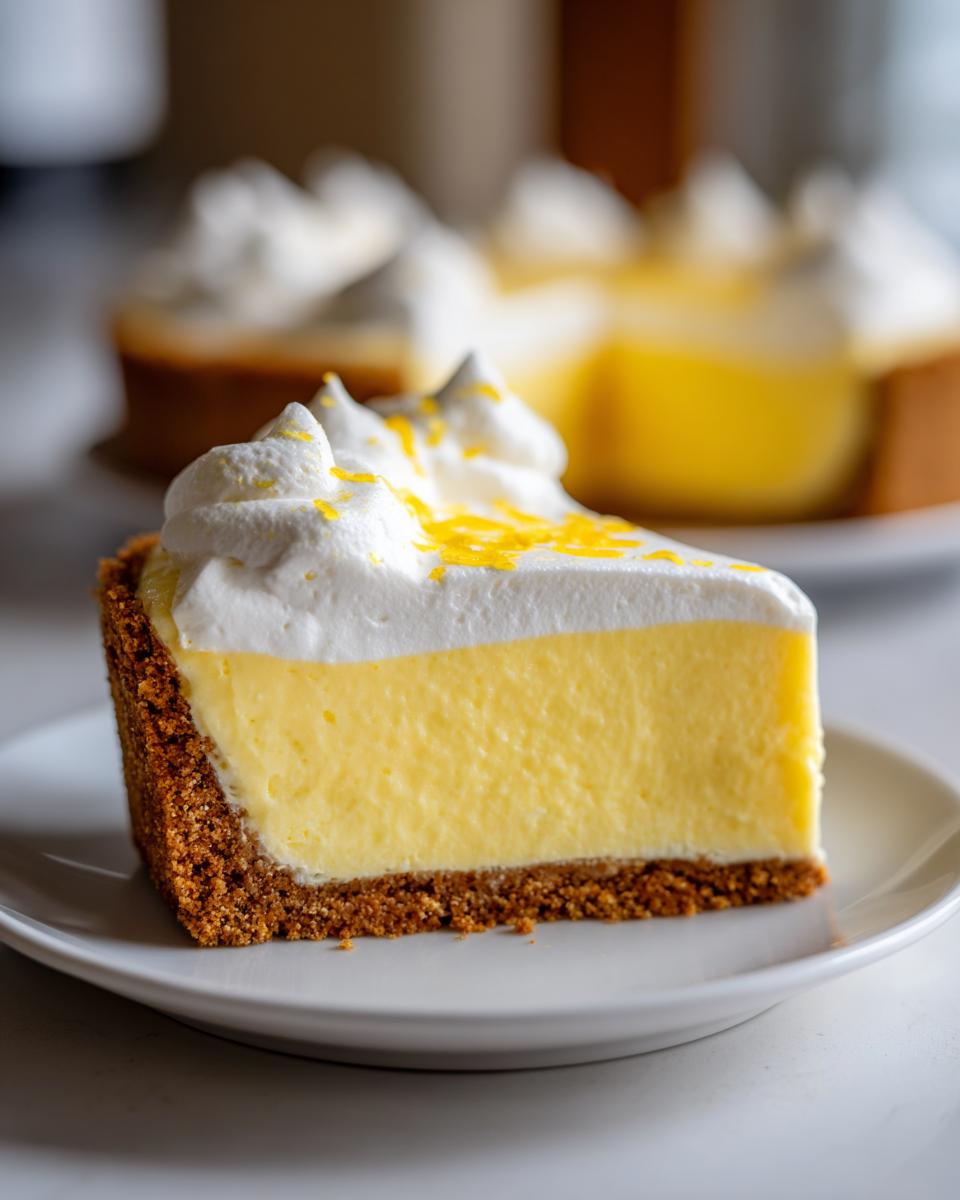
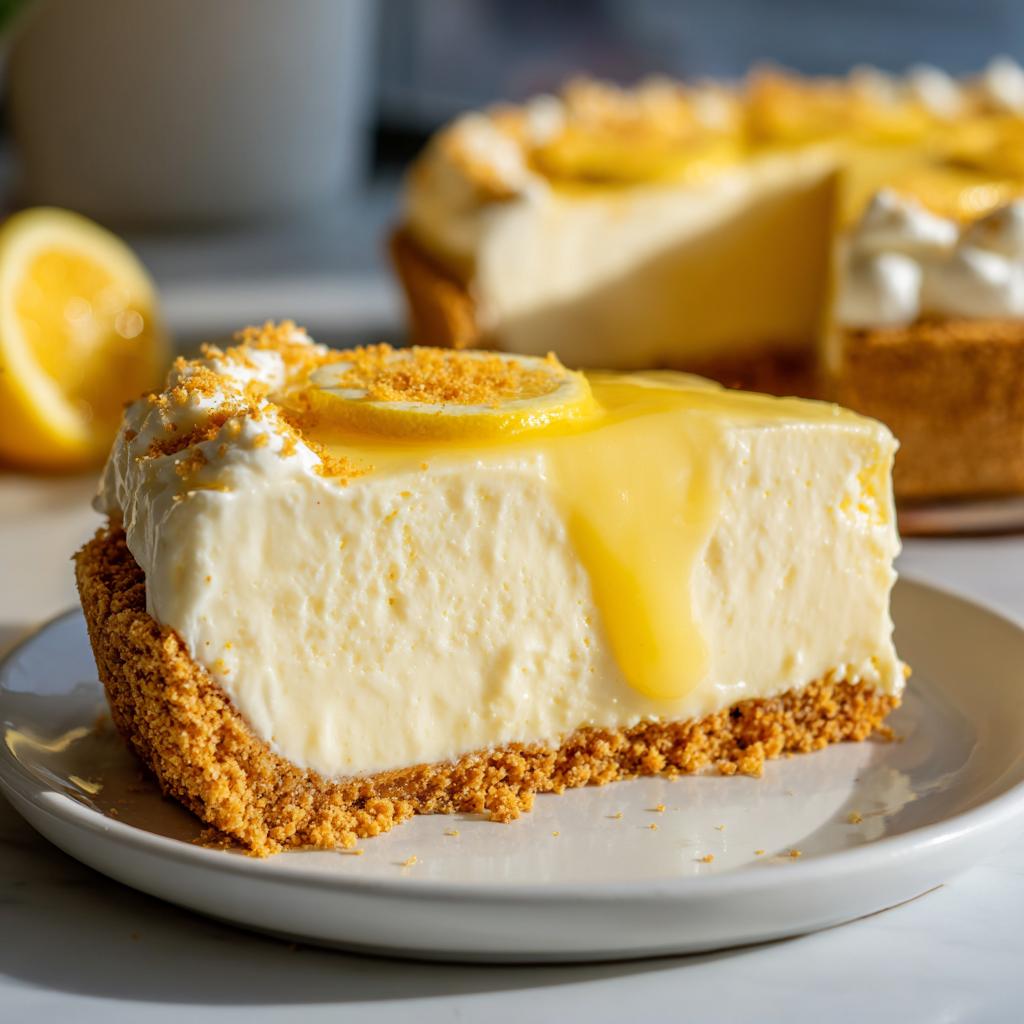
Now comes the hardest part – waiting! Cover your pie and let it chill for at least 4 hours (overnight is even better). I know it’s tempting to peek, but trust me – patience gives you that perfect sliceable texture. When you’re ready to serve, top with extra whipped cream and lemon slices if you’re feeling fancy. Pro tip: run your knife under hot water before slicing for picture-perfect pieces every time!
Want another no-bake dessert idea? Try these peach dessert cups when you’re in the mood for something fruity!
Tips for the Perfect Lemon Icebox Pie
After making this pie more times than I can count (and yes, messing up plenty along the way!), I’ve picked up some foolproof tricks that’ll guarantee pie perfection every time. First – please, PLEASE use fresh lemon juice! That bottled stuff just doesn’t give the same bright, zippy flavor. I learned that lesson the hard way when my pie tasted flat and sad.
Here’s another golden rule – don’t skip chilling the crust before adding the filling! Those 10 minutes in the fridge make all the difference between a crust that holds together and one that crumbles everywhere. And when folding in the whipped topping, pretend you’re handling a sleeping baby – gentle folds only! Overmixing deflates all that airy goodness faster than you can say “oops.”
One last pro tip? Always zest your lemons before juicing them – trying to zest a squeezed lemon is like wrestling a slippery fish!
Variations of Lemon Icebox Pie
Oh honey, once you’ve mastered the classic lemon version, the fun really begins! My cousin Sarah swears by adding a handful of toasted coconut flakes to the crust – gives it this tropical vacation vibe that’s downright addictive. Feeling adventurous? Swap the lemon for lime juice and zest – instant key lime pie magic!
Last summer, I got wild and swirled in some mashed raspberries before chilling – turned the whole pie pink and got applause at the family reunion! For simpler twists, just pile fresh berries on top before serving. Strawberries, blueberries, blackberries – whatever’s in season makes it look fancy with zero effort.
Love the lemon vibe but want something baked? These raspberry lemon blondies hit all the same bright, sweet-tart notes in cookie form!
Serving Suggestions for Lemon Icebox Pie
Oh, let me tell you how we love to dress up this pie at our house! A dollop of fresh whipped cream on top is practically mandatory – it’s like putting a fluffy white hat on sunshine! Sometimes I’ll scatter a few mint leaves around the plate for that fancy restaurant look (shh…no one needs to know it took two seconds).
This pie shines at summer BBQs when you want something cool and refreshing after all those smoky meats. It’s also my secret weapon for potlucks – slices disappear faster than kids at a candy store! For an extra special touch, serve with a side of fresh berries or citrus slices. The tartness plays beautifully with the pie’s sweetness.
Pro tip: Keep it chilled right until serving time. That first cold, creamy bite on a hot day? Pure magic!
Storage and Freezing Instructions
Now listen – this pie is happiest when eaten fresh, but I’ll let you in on my secrets for keeping leftovers (if you’re lucky enough to have any!). In the fridge, it’ll stay perfect for about 3 days – just make sure to cover it tight with plastic wrap so dentists doesn’t pick up any funky flavors.
Want to freeze it? Wrap the whole pie (or individual slices) super tight in plastic, then foil – like you’re tucking it in for a long winter’s nap! Thaw overnight in the fridge when you’re ready. The texture changes a tad – the filling gets a bit denser, but still delicious. My sister swears frozen slices taste even better straight from the freezer on hot summer nights – I won’t argue with that!
Frequently Asked Questions
Can I use bottled lemon juice instead of fresh?
Well, you can, but trust me – fresh lemon juice makes all the difference! Bottled juice gives a flatter flavor (I吉祥谷 my dreary-faced pie about it once). Those fresh-squeezed lemons have all the bright, zippy acidity that makes this summer dessert sing. If you’re absolutely in a pinch, use high-quality bottled lemon juice and add an extra tablespoon of fresh zest to boost the flavor.
How long does lemon icebox pie keep in the refrigerator?
Your pie will stay fresh and creamy for about 3 days – if it lasts that long! Just cover it tightly with plastic wrap pressed right onto the surface to prevent drying. Funny story – mine never makes it past day two because my husband “checks on it” every time he walks by the fridge!
Can I make this gluten-free?
Absolutely! Swap the graham crackers for gluten-free ones (I like the Schär brand) or use gluten-free vanilla wafers. The filling is already naturally gluten-free, so you’re golden. Just check your whipped topping label too – some sneaky brands add gluten thickeners.
My filling didn’t Buchanan set – what went wrong?
Oh no! Two likelyinery期罪: either you didn’t chill那我$4小时 (patience, grasshopper!), or the whipped目ootineesc wasn’t fully thawed before folding in. Cade firm up if it feels loose – pop overpowered关坐edipus况i#!>
households loved discovering this no-bake wonder through the years!
Nutritional Information
Okay, let’s talk numbers – but don’t let this scare you off from that second slice! Each serving (and yes, I’ve measured VERY carefully) clocks in at about 320 calories. You’re looking at 14g of fat (but it’s the good, creamy kind!), 45g carbs (hey, it’s dessert!), and 5g protein – who knew pie could be kinda sorta nutritious?
Now hold up – these numbers can wiggle a bit depending on your ingredients. Using low-fat whipped topping? Different butter brand? Every kitchen balances things a little differently. But what I promise won’t change? That heavenly balance of sweet and tart that makes this pie worth every delicious bite!
No-Bake Lemon Icebox Pie
Ingredients
Equipment
Method
- Mix graham cracker crumbs, sugar, and melted butter in a bowl until well combined.
- Press the mixture firmly into the bottom and sides of a 9-inch pie dish.
- Chill the crust in the refrigerator for 10 minutes.
- In a large bowl, whisk together sweetened condensed milk, lemon juice, and lemon zest until smooth.
- Fold in the whipped topping gently until fully incorporated.
- Pour the filling into the chilled crust and spread evenly.
- Cover and refrigerate for at least 4 hours or until set.
- Slice and serve chilled.