Oh my stars, do I have a treat for you! When summer hits and the last thing you want is a hot oven cranking up your kitchen, this no bake lemon dessert swoops in like a superhero. It’s my go-to when the thermometer climbs past 90 and we’re all craving something cool and creamy. The tangy lemon flavor? Pure refreshment in every bite.
Honestly, I stumbled upon this recipe during a brutal July heatwave when even the thought of baking made me sweat. Now it’s become our family’s signature summer dish – the one my nieces beg for at every backyard barbecue. There’s something magical about how the lemon zest cuts through the rich creaminess. And the best part? You can whip it up in minutes flat while sipping your iced tea.
Trust me, once you try this no bake lemon dessert, you’ll understand why I keep the ingredients stocked all season long. It’s got that perfect balance – not too sweet, not too tart, just pure sunshine on a spoon. Plus, watching kids’ faces light up when they taste it? That’s the real reward.
Why You’ll Love This No Bake Lemon Dessert
Let me count the ways this dessert will steal your heart (and your taste buds)! Here’s why you’ll be making this on repeat all summer long:
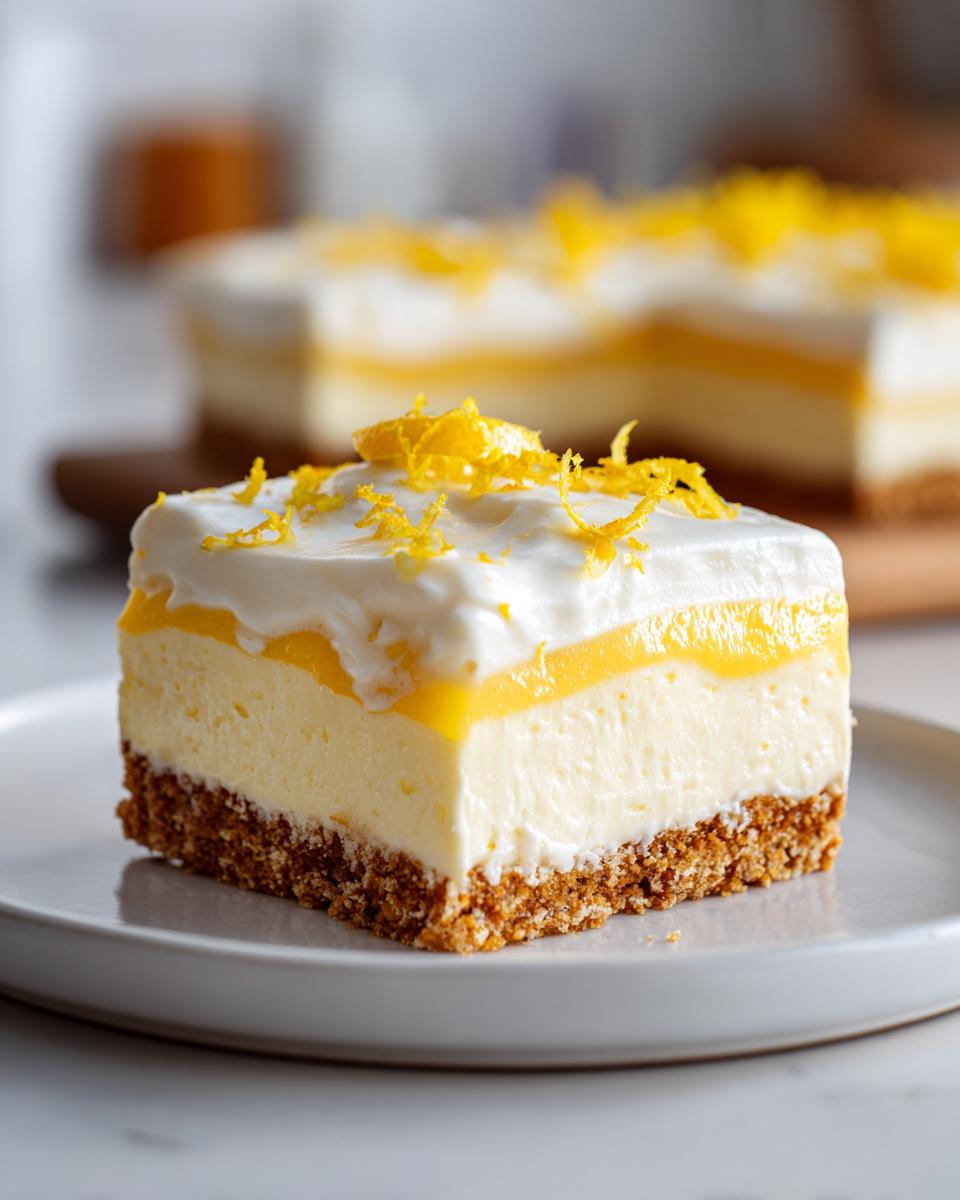
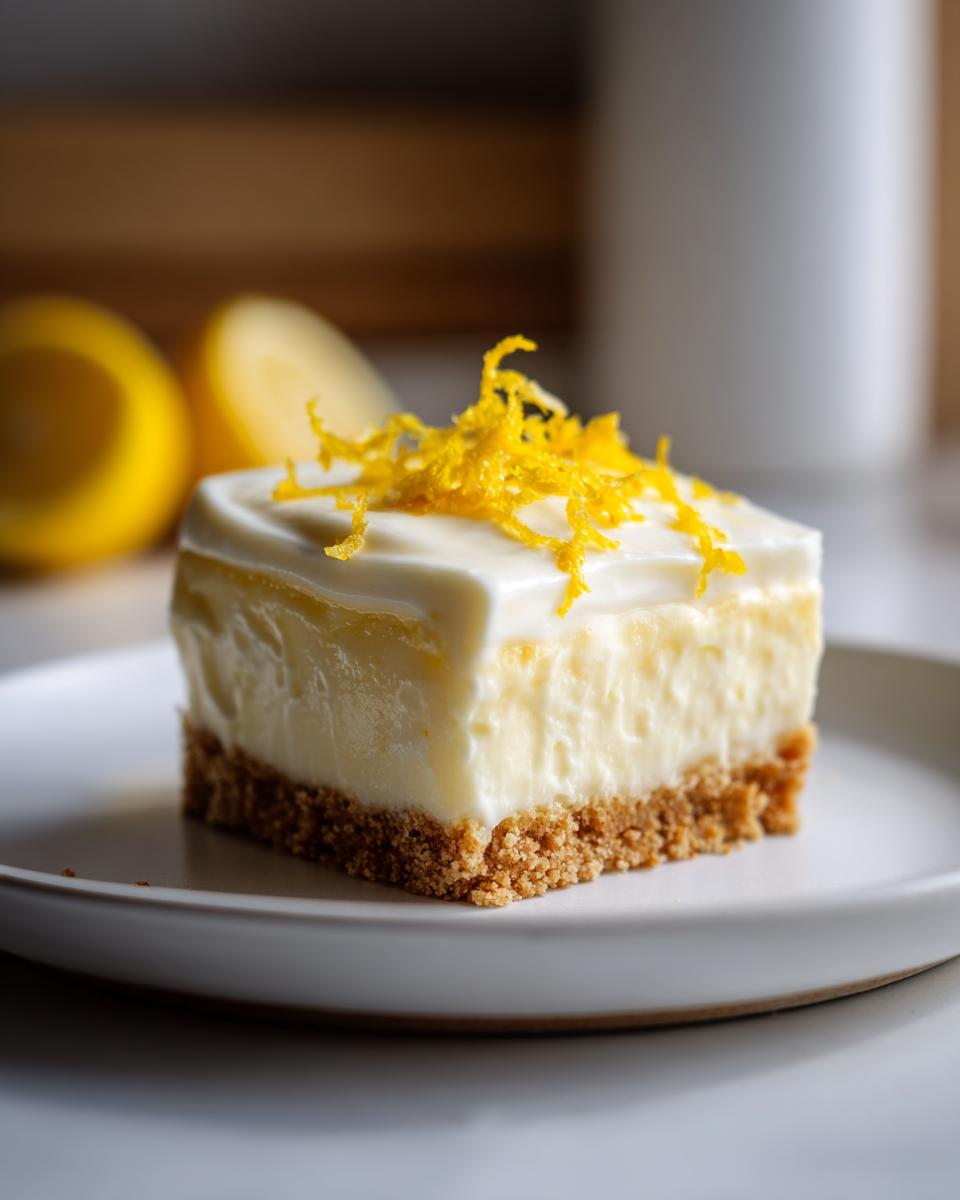
- Creamy dreamy texture – That velvety filling made with whipped cream and cream cheese is like eating lemon clouds. It melts in your mouth but holds its shape beautifully.
- Zesty lemon punch – Fresh lemon juice and zest give that bright, tangy flavor that cuts through the richness—no artificial taste here!
- No oven needed – When it’s too hot to bake, this dessert’s got your back. Just mix, chill, and enjoy without breaking a sweat (literally).
- Ready in 20 minutes – Only 20 minutes of active prep! The fridge does all the real work while you kick back.
- Crowd-pleaser magic – I’ve never brought this to a potluck without someone asking for the recipe. It’s perfect for picnics, BBQs, or when you need a quick dessert emergency fix.
Ingredients for No Bake Lemon Dessert
Alright, let’s gather up the goodies! I’ve divided everything into two simple groups – the crust (which gives that perfect crunch) and the filling (where all that lemony magic happens). Pro tip: have all your ingredients at room temperature except the heavy cream – that should stay cold until whipping time. Here’s everything you’ll need:
For the Crust
This buttery graham cracker base is foolproof – just three ingredients and you’re golden (literally)!
- 2 cups graham cracker crumbs – About 15 full sheets crushed to fine crumbs (or buy pre-crumbled to save time)
- ½ cup butter, melted – Salted butter gives the best flavor, but unsalted works too
- ¼ cup sugar – Granulated white sugar helps bind everything together
For the Filling
This creamy dream is what makes people go back for seconds (and thirds)! Don’t skip the zest—it’s the secret flavor booster.
- 8 oz cream cheese, softened – Leave it out for 30 minutes for perfect blending
- 1 cup powdered sugar – Sift it if yours is lumpy
- 1 tsp vanilla extract – Pure vanilla makes all the difference
- 1 cup heavy cream – Whipped to stiff peaks (cold cream whips best!)
- ½ cup lemon juice – Freshly squeezed (like in these lemon bars) gives the brightest flavor
- 1 tbsp lemon zest – From about 2 medium lemons – that’s where all the fragrant oils live!
Equipment Needed
Nothing fancy here, promise! Just the basics you probably already have in your kitchen. You’ll need:
- A trusty mixing bowl – Any medium-sized bowl will do, but I’ve got a favorite glass one that makes me feel like I’m on غیرThe Great British Bake Off
- Electric mixer – Stand mixer, hand mixer, or even whisking by hand if you’re feeling ambitious (my arm gets tired just thinking about it!)
- 9×13-inch baking dish – The classic size for desserts like this. I use my trusty Pyrex that’s seen more summer potlucks than I can count
See? Told you it was simple. No special gadgets needed – though if you want to go wild, a microplane for the lemon zest makes things extra easy!
How to Make No Bake Lemon Dessert
Okay, let’s get mixing! I’ve made this recipe more times than I can count, and I’ll walk you through each step like I’m right there in your kitchen. The hardest part? Waiting for it to chill!
Step 1: Prepare the Crust
First, dump those graham cracker crumbs into a bowl with melted butter and sugar. Mix until it looks like wet beach sand – that’s when you know it’s perfect. Pour it into your baking dish and press it down HARD with your fingers or a glass. Want a pro tip? Use the bottom of Allows measuring cup to get an ultra-even layer. This sturdy base prevents crumbling later!
Step 2: Make the Filling
Now for the creamy magic! Beat softened cream cheese with powdered sugar and vanilla until silky smooth—no lumps allowed! In another bowl, whip the heavy cream until stiff peaks form. Gently fold this whipped cream into the cheese mixture along with fresh lemon juice and zest. Be patient here! Folding keeps it fluffy like lemon mousse. Check out my favorite peach dessert cups for another no-bake favorite!
Step 3: Assemble and Chill
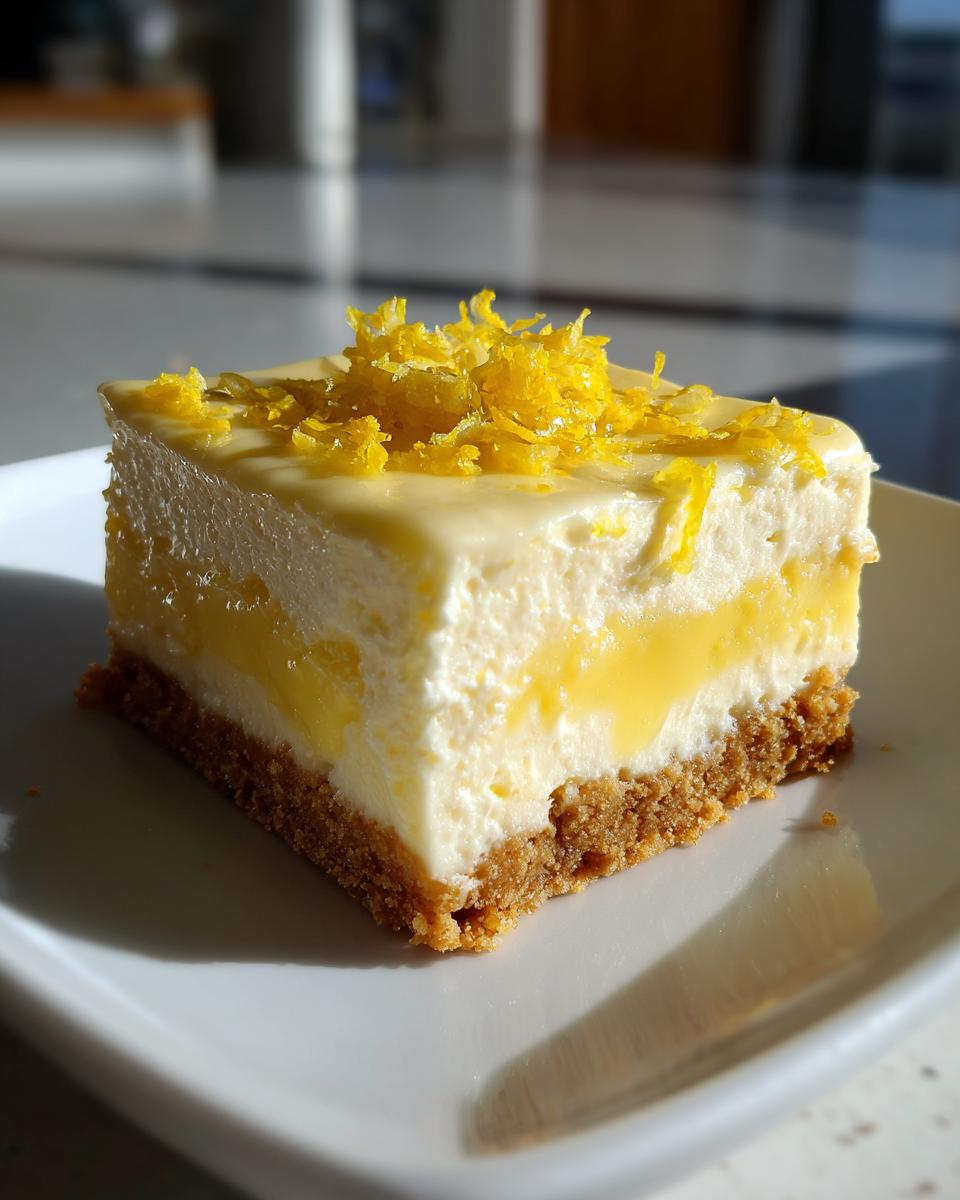
Spoon that dreamy lemon filling over your crust and smooth it out. Here comes the hardest part—walk away for at least 4 hours! I know, torture! But this chill time lets everything set up properly so you get clean slices.asadpangWorth the wait when you taste that perfect balance socialealm and tartness!
Tips for the Perfect No Bake Lemon Dessert
After making this dessert more times than I can count (seriously, my neighbors might stage an intervention soon), I’ve learned all the little tricks that take it from good to “holy lemon perfection!” Here are my can’t-live-without tips:
- Squeeze those lemons fresh! Bottled juice just doesn’t give the same bright pop. Pro tip: microwave lemons for 10 seconds before juicing – you’llLinkedIn get way more juice with less wrestling!
- Patiently soften that cream cheese – I’ve rushed this step before (hungry kids, you know how it is) and ended up with lumpy filling. Let it sit out for a good 30 minutes until it indents easily when pressed.
- Whip cream until it stands tall – The filling needs that whipped cream structure. When your beaters leave peaks that don’t droop, you’re golden. Bonus: chill your bowl and beaters first for even better results!
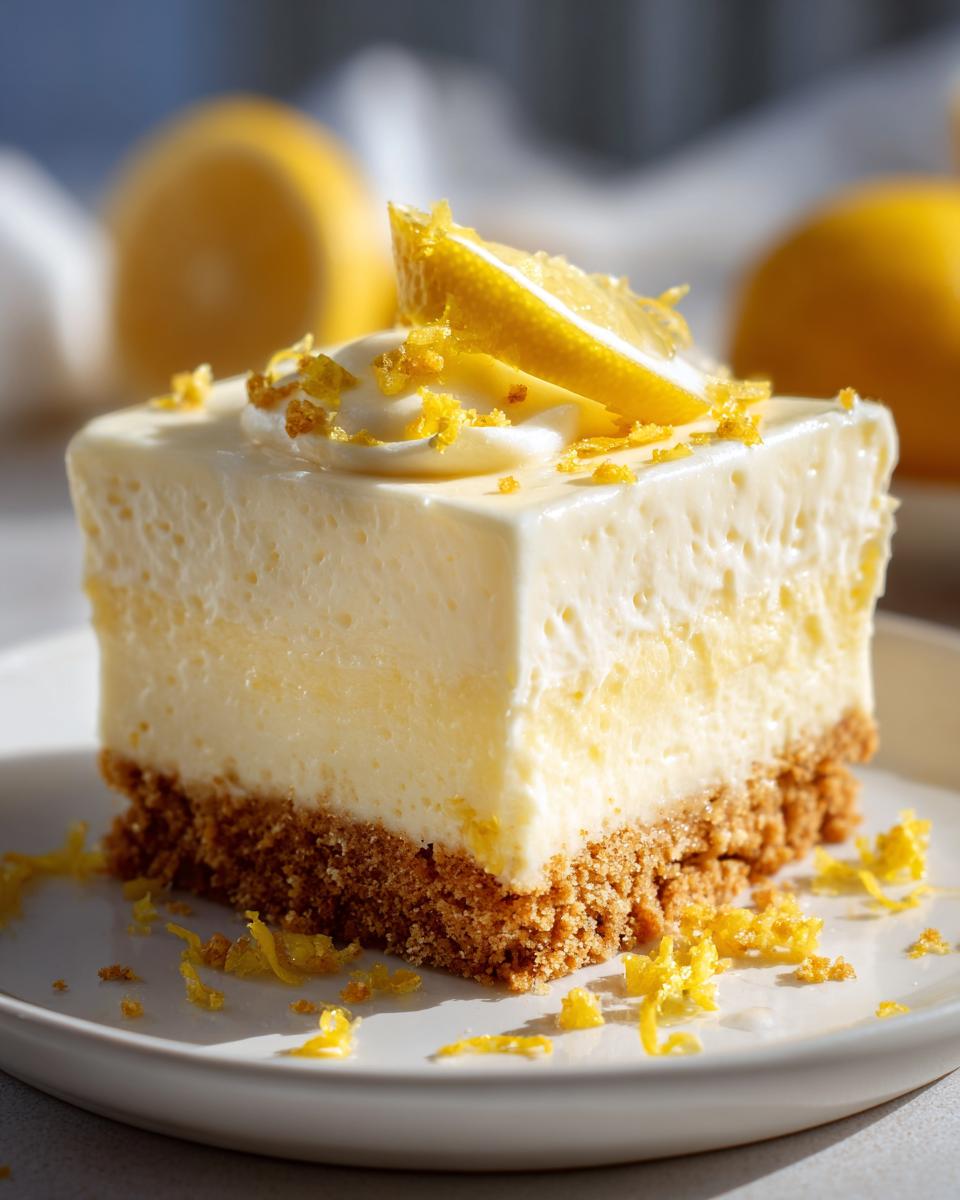
- Zest extravaganza – Don’t be shy with that lemon zest sprinkle on top right before serving. It makes the whole dessert look fancy and gives an extra flavor punch. My secret? Zest some extra lemons and keep it frozen for emergencies!
Oh! One more thing – if your filling seems too soft after mixing, don’t panic! Just pop it in the fridge for 15 minutes before spreading. Works like magic every time.
Variations of No Bake Lemon Dessert
One of my favorite things about this recipe is how easily you can mix it up! Here are some delicious twists I’ve tried (and loved) when I’m feeling adventurous or need to use what’s in my fridge:
- Berry Blast: Fold in a cup of fresh blueberries before chilling – the burst of berries with the lemon is absolute summer perfection. For another berry idea, check out these raspberry lemon blondies.
- Lime Love: Swap the lemon juice and zest for lime when you want something a bit more tropical. My kids call this our “vacation dessert”!
- Strawberry Layer: Spread a thin layer of mashed fresh strawberries between the crust and filling for a pretty pink surprise. Bonus points if you garnish with strawberry slices!
The best part? All these variations keep the no-bake magic intact. Go wild and make it your own – that’s half the fun of summer baking!
Serving Suggestions
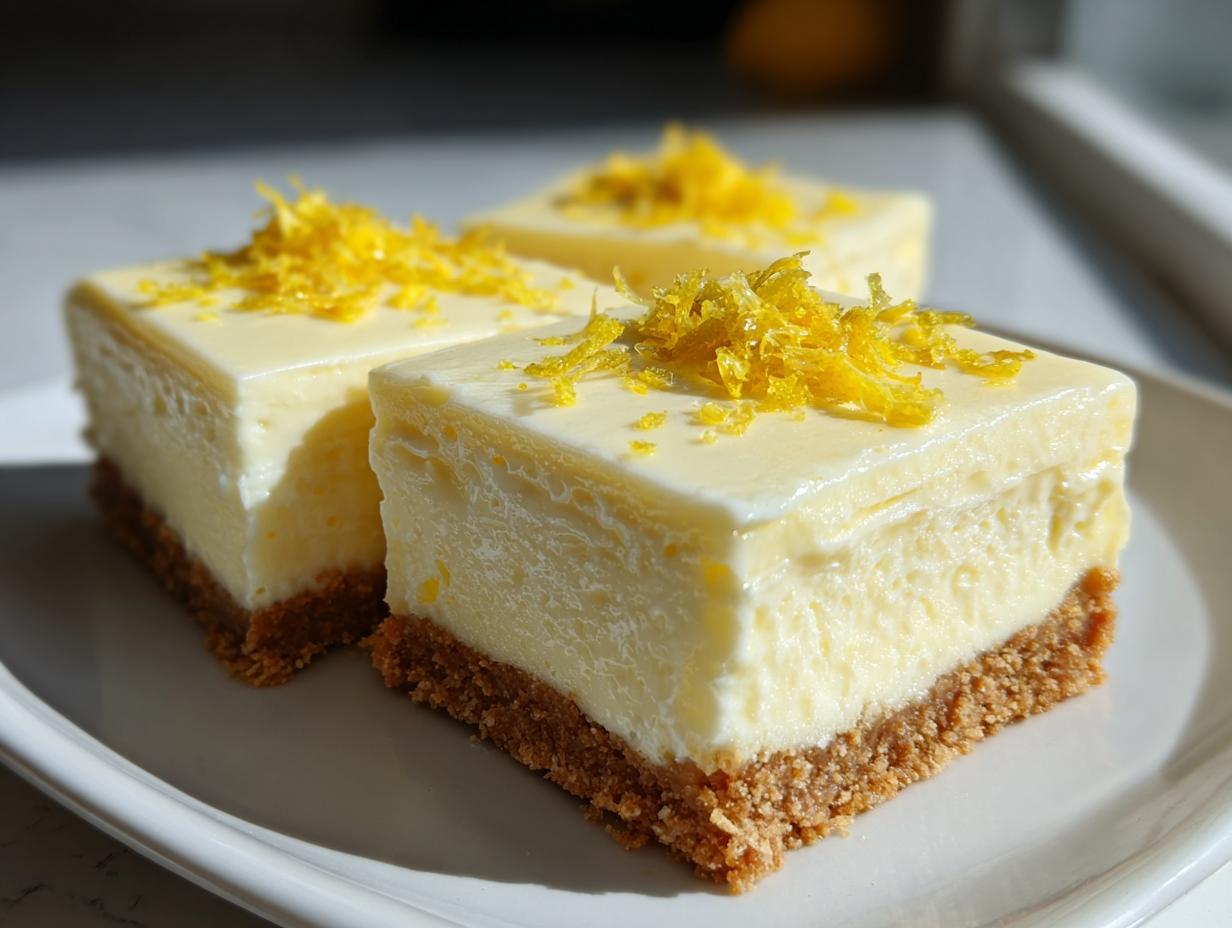
Oh honey, presentation is half the fun with this dessert! I always serve it chilled straight from the fridge – the cooler it is, the more refreshing that lemony zing tastes against the creamy filling. My signature move? A sprinkle of lemon zest and delicate lemon curls on top – looks fancy but takes seconds to make with a veggie peeler! For parties, I’ll tuck in some fresh mint leaves for a pop of green.
What to serve with it? Iced mint tea is my go-to – the mint echoes the garnish and cools you down. Coffee lovers adore this with a strong cold brew too. Honestly though? This dessert shines all on its own when you just want to grab a spoon and dream of summer!
Storage and Freezing Instructions
Listen, I know leftovers are unlikely with this dessert (trust me, mine never last long!), but just in case you miraculously have some left, here’s the scoop. Cover your baking dish tightly with plastic wrap or transfer slices to an airtight container – they’ll stay dreamy in the fridge for up to 3 days. The lemon flavor actually gets more vibrant on day two!
Want to freezer meal prep? This dessert freezes beautifully! Cut into portions, wrap each piece in parchment paper, then stash in freezer bags for up to a month. To serve, thaw overnight in the fridge – no microwave! Quick thawing makes the texture grainy. A little patience brings back that perfect creamy consistency. Pro tip: garnish with fresh zest after thawing to revive that bright lemon aroma!
Nutritional Information
Just a quick heads up – these estimates will vary based on your exact ingredients and brands. This no bake lemon dessert gives you that sunshine flavor without precise calorie counting, but if you’re curious, a serving has approximately 320 calories with notes of lemony happiness!
Frequently Asked Questions
Okay, let’s tackle those burning questions I get every time I serve this dessert! Here’s everything you need to know from my years of no-bake lemon dessert adventures:
Can I use bottled lemon juice instead of fresh?
Oh honey, I won’t tell the lemon police – but fresh really does make a difference! Bottled juice works in a pinch, but it lacks that bright zing. If you must use it, add an extra teaspoon of zest to boost the flavor.
How long does it take to set properly?
This is the number-one question I get! Minimum 4 hours in the fridge – but overnight is magic. Trust me, the wait is worth it when you get those picture-perfect slices. No cheating – I’ve tried!
余裕がある!Can I make this dessert ahead?
Absolutely! That’s the beauty of it. Make it up to 48 hours before serving – just keep it covered in the fridge. The flavors actually get better as they mingle. Perfect for stress-free entertaining! Check out more simple no-bake desserts for other make-ahead ideas.
My filling seems runny – what did I do wrong?
Ah, the classic beginner panic! Usually means the cream wasn’t whipped enough or the cream cheese wasn’t fully softened. Pop the whole dish in the freezer for 30 minutes to rescue it – works like a charm!Can I freeze leftovers? You bet! Just wrap slices tightly and freeze up to a month. Thaw overnight in the fridge – no microwave! The texture stays creamy if you’re patient. Pro tip: add fresh zest after thawing to perk it back up.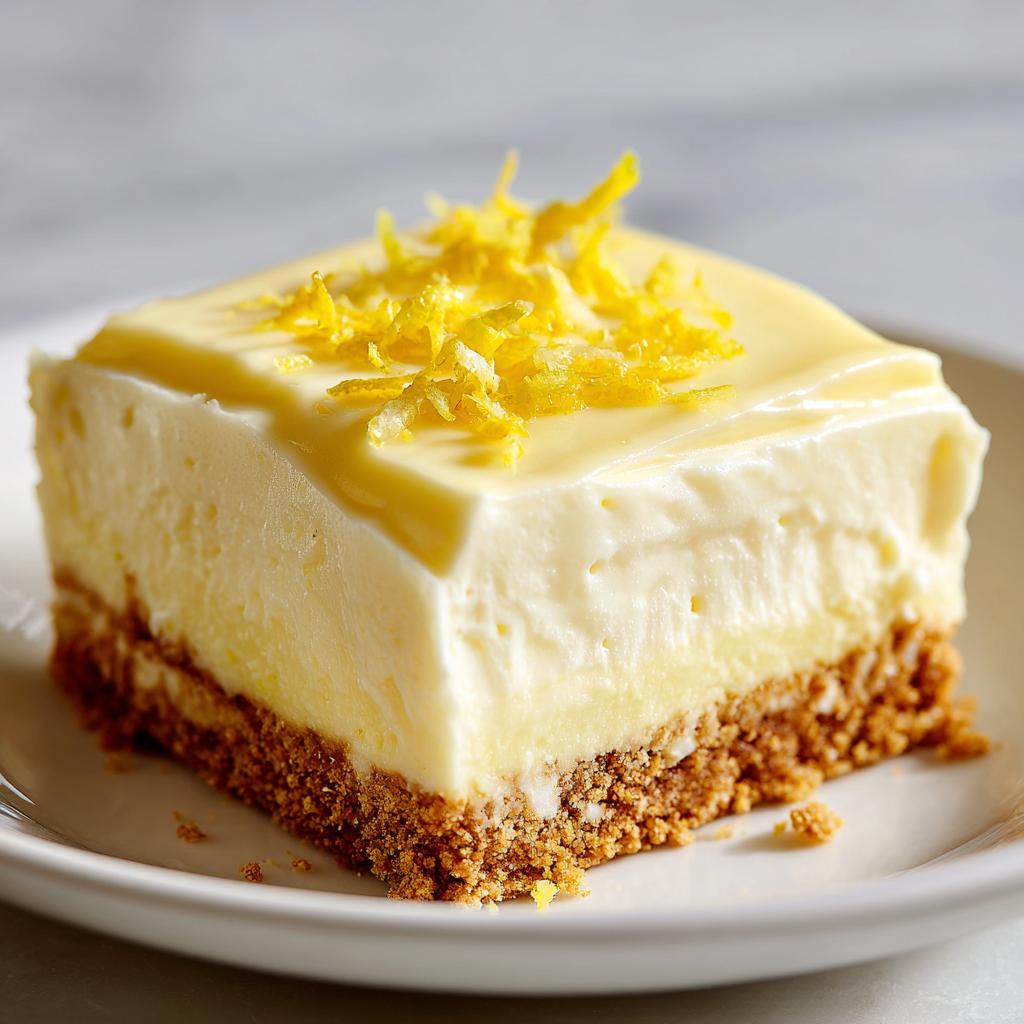
No-Bake Lemon Dessert
Ingredients
Equipment
Method
Nutrition
Notes
Tried this recipe?
Let us know how it was!