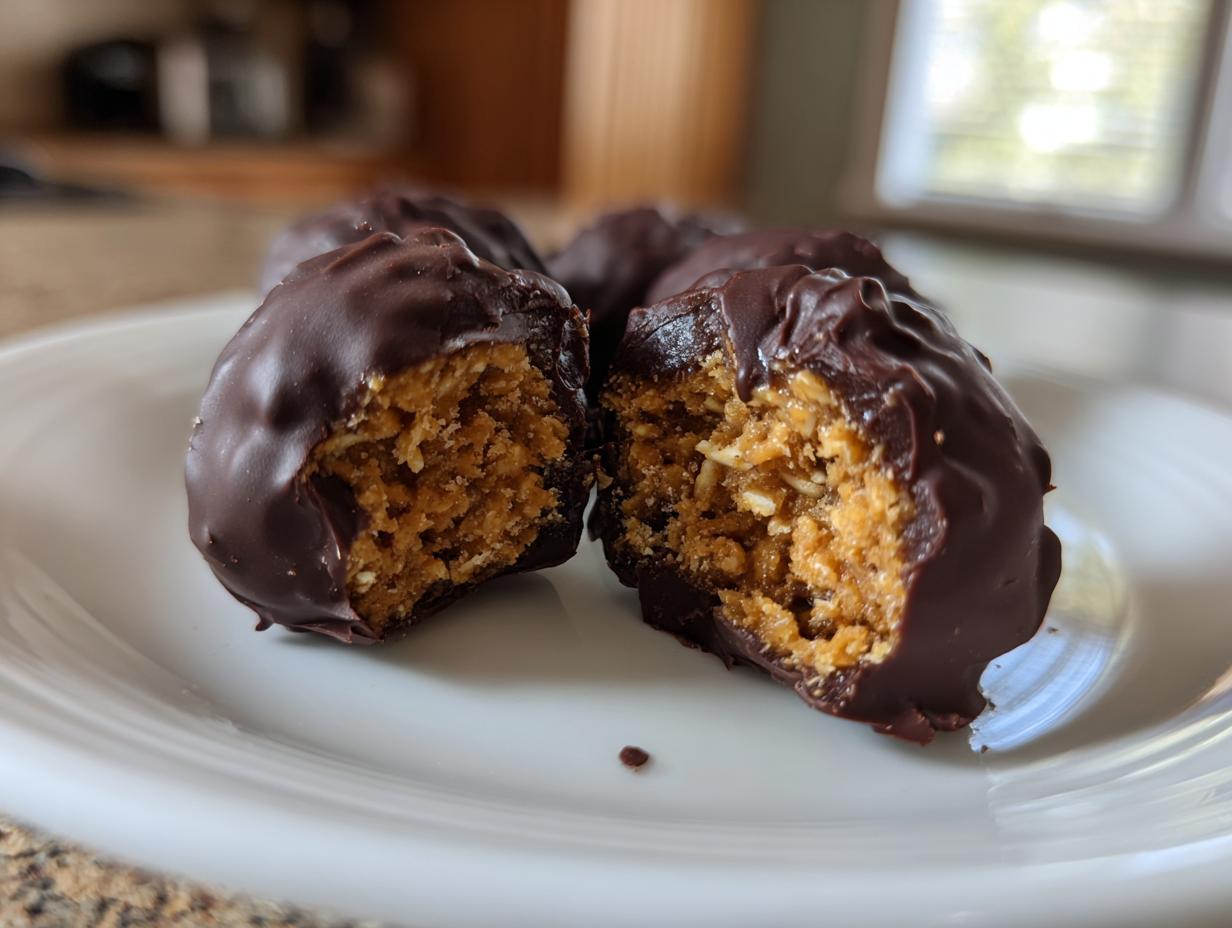
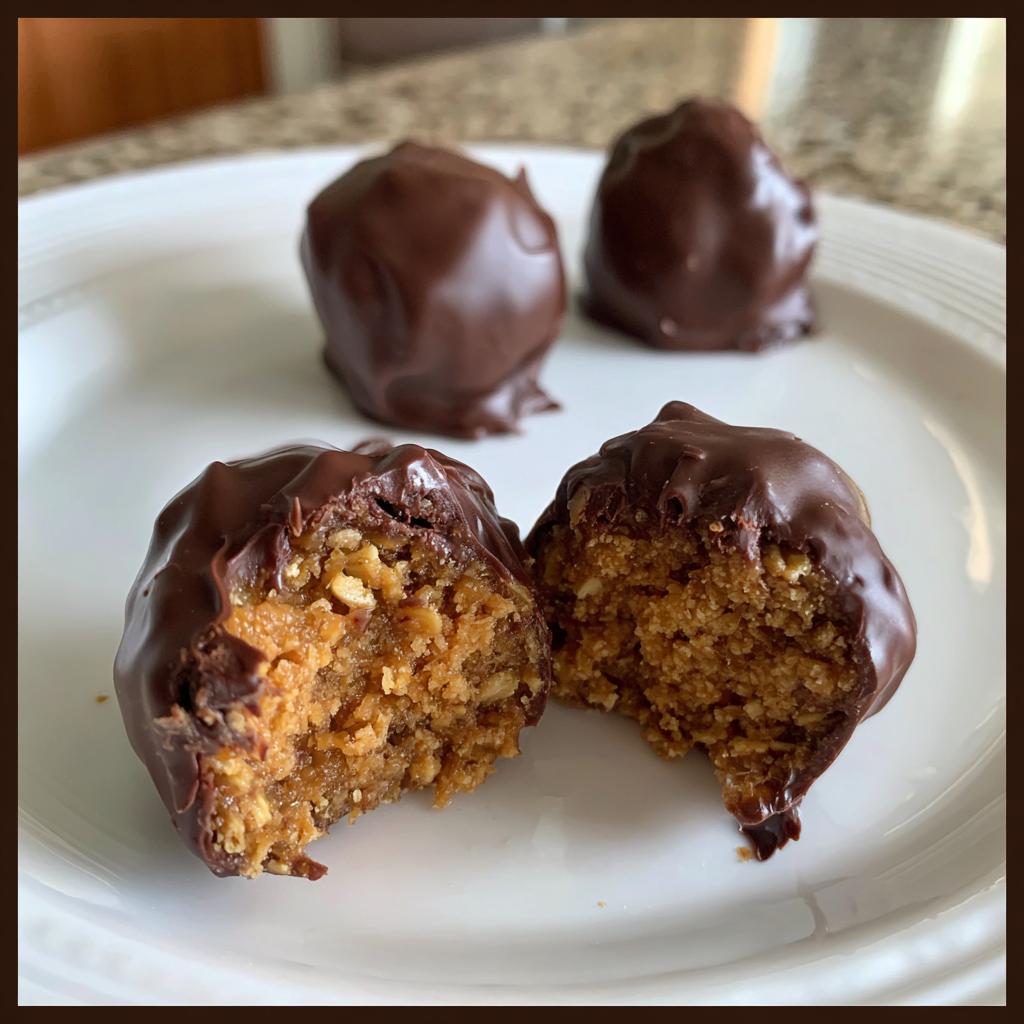
You know those moments when you need a quick energy boost and something sweet? That’s where these chocolate peanut butter snacks come in! I’ve been making these no-bake bites for years – they’re my secret weapon for busy afternoons and snack emergencies. My kids beg for them, and honestly? I sneak a few too. The best part? You can whip them up in 15 minutes flat with just a handful of ingredients. Peanut butter’s protein keeps you full, while the dark chocolate coating makes it feel like a treat. It’s the perfect combo of healthy-ish and indulgent!

Why You’ll Love These Chocolate Peanut Butter Snacks
Let me tell you why these little bites are my go-to snack about 90% of the time. First off – no oven required! When I’m craving something sweet but don’t want to heat up the whole house (or wait for something to bake), these come together in just 15 minutes. Perfect for when those 3pm cravings hit.
Here’s what makes them so great:
- Instant gratification: From mixing bowl to snack time in under 15 minutes – try getting that from the bakery!
- Packed with protein: The peanut butter gives these serious staying power. I always feel satisfied, not just sugared-up. My kids don’t crash either, which makes them perfect for after-school snacks.
- Grab-and-go perfection: I keep these in the fridge for emergency snack attacks. They’re the perfect size for lunchboxes, road trips, or sneaking one more when no one’s looking.
- Customizable: Toss in some chia seeds, swap out the coconut – make them your own! (But trust me, the chocolate coating is non-negotiable.)
Honestly? I’ve made these for years because nothing beats that peanut butter-chocolate combo. They’re foolproof, fast, and disappear even faster – the true test of a great recipe!
Ingredients for Chocolate Peanut Butter Snacks
Let’s talk ingredients – because with just a few simple things from your pantry, you’re minutes away from snack heaven! I promise, these chocolate peanut butter snacks are easier to throw together than finding your car keys in the morning chaos. I’ve made these so often I could probably do it blindfolded (though I don’t recommend it – melted chocolate is slippery!)
For the Base:
- 1 cup creamy peanut butter (go for the good stuff – none of that oily weird kind!)
- 1/4 cup honey (local if you’ve got it – that slight floral taste makes magic)
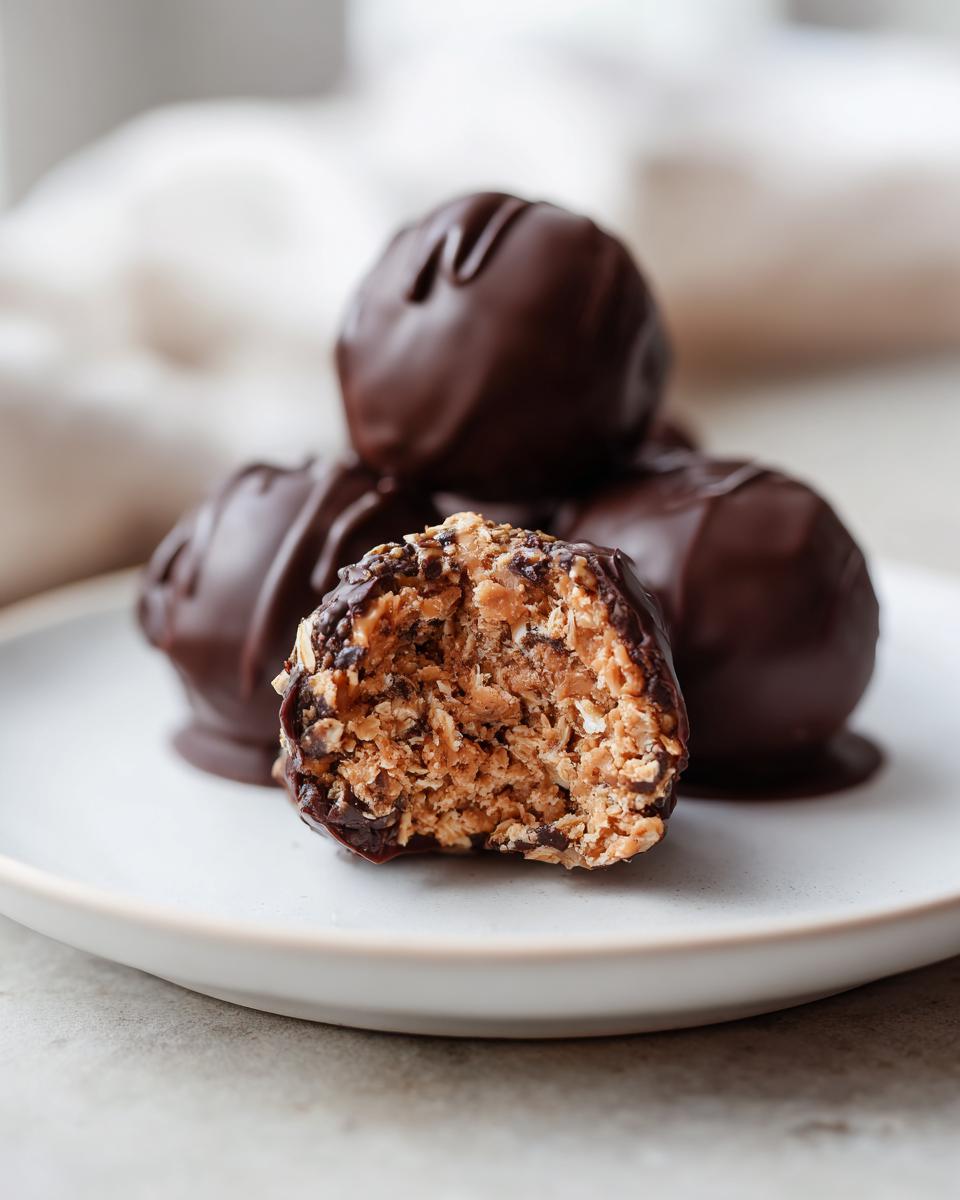
- 1 cup rolled oats (not instant – we want texture here)
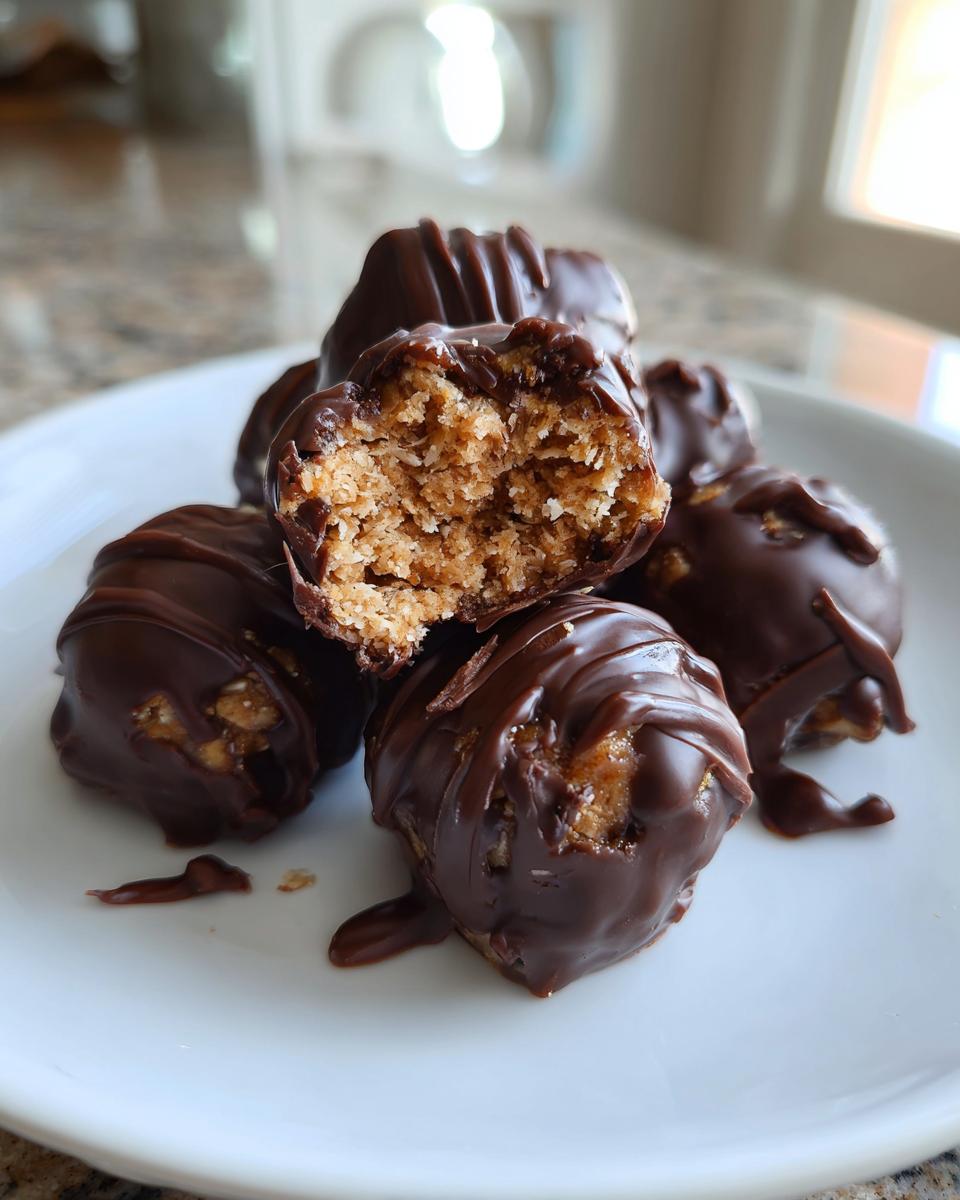
- 1/2 cup shredded coconut (optional, but adds this lovely chew I can’t resist)
For the Chocolate Coating:
- 1 cup dark chocolate chips (60-70% cacao is my sweet spot)
- 1 tsp coconut oil (the secret to that smooth, glossy finish)
A quick note – if your peanut butter is super thick, pop it in the microwave for 10 seconds first. Not enough to cook it, just enough to make mixing easier. Learned that the hard way after I broke my favorite wooden spoon trying to stir cold peanut butter one January morning!
How to Make Chocolate Peanut Butter Snacks
Okay, let’s get rolling! Making these chocolate peanut butter snacks is easier than deciding what to watch on Netflix. I’ve made this recipe so many times I could do it in my sleep (though I don’t recommend sleep-baking – chocolate is messy!). Here’s my foolproof method:
1. Prep your workstation: Line that baking sheet with parchment paper first – trust me, you’ll thank me later when cleanup takes 2 seconds. I learned this the hard way when my first batch stuck like superglue!
2. Mix it up: Dump your peanut butter, honey, oats and coconut (if using) into a bowl. Now get in there with your hands or a wooden spoon – I prefer hands because feeling the texture tells me when it’s perfect. You want it to hold together when pinched, like playdough but tastier.
3. Chill out: Roll your mixture into balls – about tablespoon-sized works great. Pop them on your prepared sheet and into the fridge for 10 minutes. This quick chill keeps them from crumbling during the chocolate dip phase.
4. Chocolate magic: While they’re chilling, melt your chocolate chips with the coconut oil. I do 30-second bursts in the microwave, stirring between each until smooth. If you’re fancy, use a double boiler, but honestly? Microwave works just fine for quick treats like this.
5. Dip and swirl: Pull your chilled balls from the fridge. Now comes the fun part! Dip each one into the chocolate, letting excess drip off before returning to the sheet. If you’re feeling artsy, drizzle extra chocolate on top with a spoon.
6. Final chill: Back into the fridge they go for 15 minutes minimum – just enough time to fold a load of laundry or scroll through your phone. The chocolate should be firm to the touch when they’re ready.
Tip for Perfect Chocolate Coating
Here’s my secret for that flawless chocolate shell: stir, stir, stir! Chocolate goes from perfect to clumpy real fast if you ignore it. Keep stirring as it melts and after every dip. Pro tip? Use a fork to hold the balls while dipping – lets excess chocolate drip back into the bowl and gives you cleaner bottoms.
Ingredient Substitutions & Variations
One of my favorite things about these chocolate peanut butter snacks is how easily you can swap ingredients based on what’s in your pantry or your taste preferences. My kids beg for them all the time, and I love that I can change it up to keep things interesting. Here are my go-to substitutions and fun variations:
- Nut butter swap: Almond butter works great if you’re not a peanut butter fan – it gives a slightly sweeter, more delicate flavor. I’ve even used cashew butter in a pinch!
- Sweetener changes: Maple syrup is my first choice instead of honey (especially for vegan friends), but agave or date syrup work too. Just note the texture might be slightly softer.
- Oat options: Gluten-free oats make these safe for friends with celiac. Quick oats work in a pinch but make the texture a bit smoother.
Now for the fun part – variations! Try mixing in:
• Crushed pretzels for that sweet-salty crunch (my brother’s favorite)
• Mini chocolate chips for extra chocolatey bites
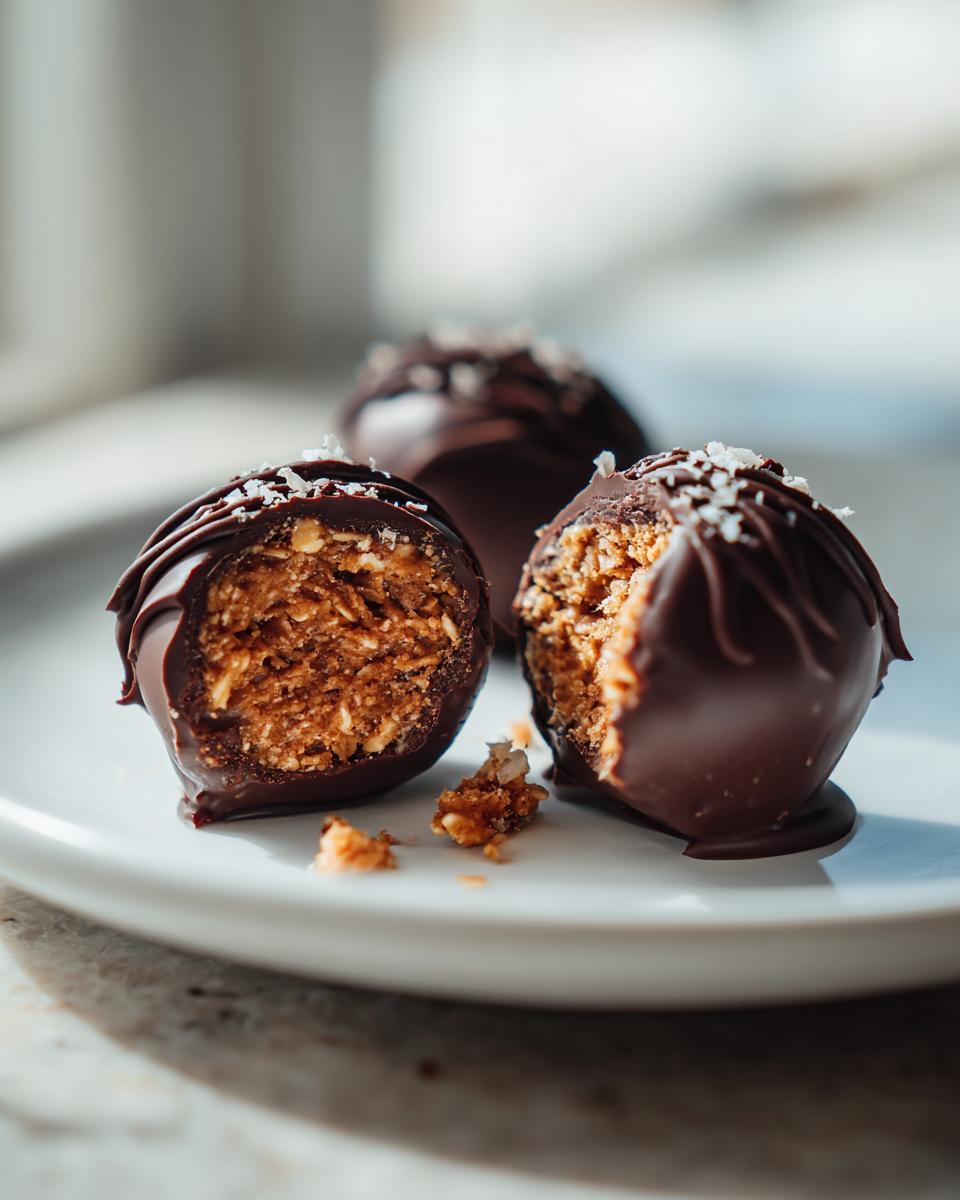
• A sprinkle of sea salt on top of the chocolate coating
• Or my personal obsession – a pinch of cinnamon in the peanut butter mixture that makes it taste like a snickerdoodle!
The possibilities are endless, so don’t be afraid to play around. That’s the beauty of no-bake recipes – they’re practically foolproof! The only rule? Don’t skip the chocolate coating. That’s where the magic happens.
Storage Tips for Chocolate Peanut Butter Snacks
Now here’s the best part – these chocolate peanut butter snacks actually get better as they sit (if they last that long in your house!). I always make a double batch because they disappear so fast – my tip? Hide half at the back of the fridge before the kids find them!
For storing, I swear by airtight containers – my favorite glass ones keep them fresh for up to a week in the fridge. That little bit of condensation that forms when you take them out? It actually makes the chocolate coating even shinier! Just pop them in lunchboxes straight from the fridge.
Want to keep them longer? Freeze them! I’ll lay them out on a baking sheet first (so they don’t-condition-pssss//e=”tightness”)ick together), freeze for an hour, pupils then tran””sfer to a freezer bag. They’ll keep for a solid month – perfect for when you need that chocolate-peanut but## fix but can’t make it to the store. Pro tip? Thaw them in the fridge overnight instead of on the counter – helps the chocolate staynice and firm.
Nutritional Information
Now, I’m no nutritionist – just a peanut butter-loving home cook – but here’s the scoop on what’s in these chocolate peanut butter snacks. Keep in mind, these numbers are estimates and will change based on your exact ingredients. (Like if you go wild with extra chocolate chips – no judgment here!)
Per snack (about the size of a ping pong ball):
- 180 calories – perfect little energy boost
- 12g fat – mostly the good kind from peanut butter and coconut
- 5g protein – thanks to our friend peanut butter
Not too shabby for something that tastes like dessert, right? The oats add fiber too, so you’re getting way more than just empty calories. My kids call them “healthy candy” – and I don’t correct them!
Frequently Asked Questions
Can I use crunchy peanut butter instead of creamy?
Absolutely! I’ve done it plenty of times when that’s all I had. Just know it’ll change the texture – you’ll get those satisfying little peanut bits in every bite. The balls might be slightly less smooth when rolling, but honestly? That crunch with the chocolate coating is pretty amazing. My husband actually prefers them this way!
How long does the chocolate coating take to set?
About 15 minutes in the fridge does the trick. I know – waiting is the hardest part! If you’re impatient like me, you can speed it up by popping them in the freezer for 5 minutes. Just don’t skip this step unless you want chocolate fingerprints everywhere (learned that lesson the messy way!).
Are these chocolate peanut butter snacks vegan?
Almost! Just swap the honey for maple syrup or agave nectar, and you’re good to go. I’ve made them vegan for my niece’s school snacks (they’re perfect for lunchboxes), and she couldn’t tell the difference. Bonus tip – check your chocolate chips too, since some brands contain milk products.
Chocolate Peanut Butter Snacks
Ingredients
Equipment
Method
- Line a baking sheet with parchment paper.
- In a mixing bowl, combine peanut butter, honey, rolled oats, and shredded coconut (if using). Mix until well combined.
- Roll the mixture into small balls and place them on the prepared baking sheet. Chill in the fridge for 10 minutes.
- Melt the chocolate chips and coconut oil in a microwave or double boiler, stirring until smooth.
- Dip each peanut butter ball into the melted chocolate, coating evenly. Return to the baking sheet.
- Chill for another 15 minutes or until the chocolate hardens.