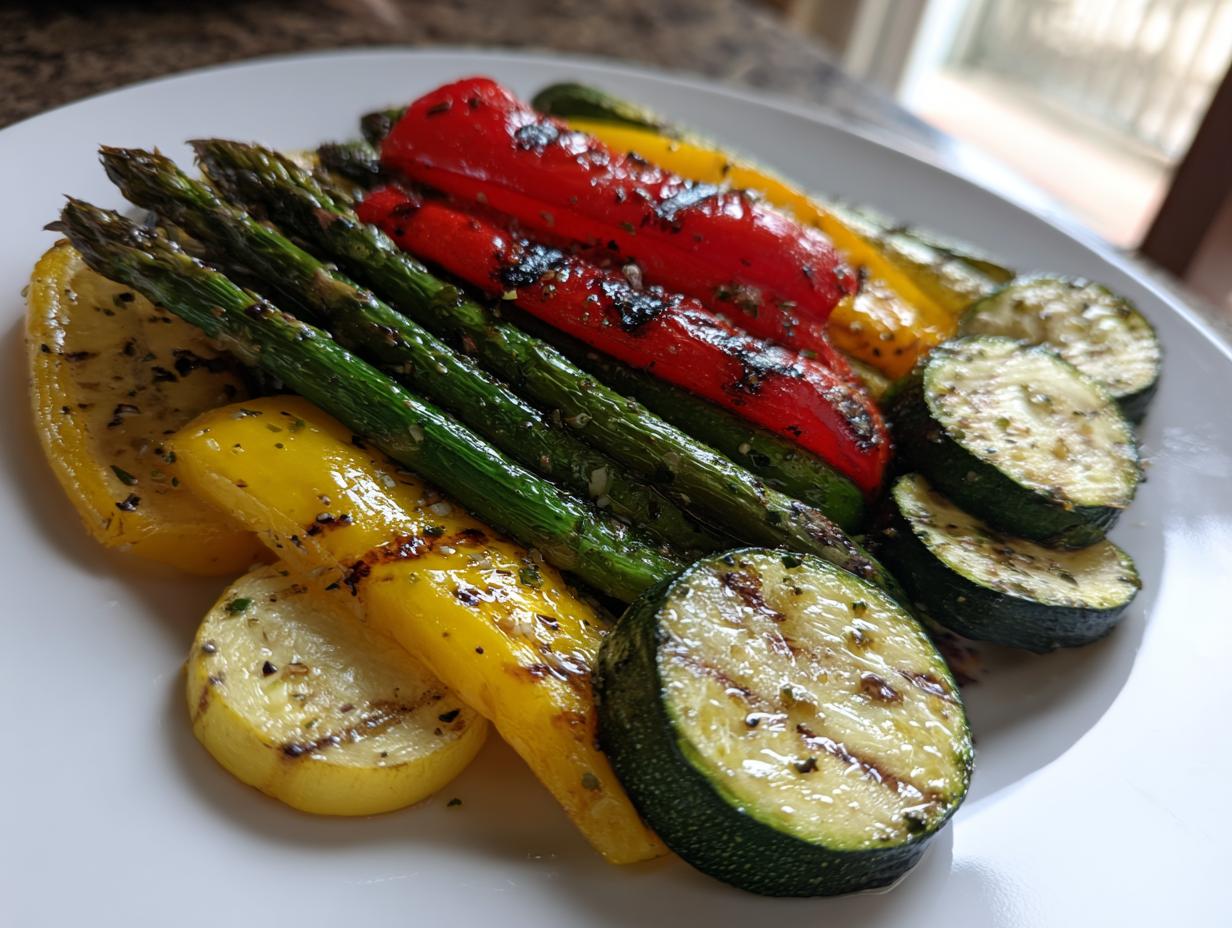
Oh, that first warm breeze of spring – you know the one I mean, right? When the air smells like fresh-cut grass and possibility, and all I can think about is firing up the grill. There’s something magical about cooking outdoors after a long winter, and these spring grill recipes are my absolute favorite way to celebrate the season. I wait all year for those first tender asparagus spears and crisp zucchini at the farmers market. Last April, I accidentally charred a batch of veggies to oblivion during an impromptu backyard picnic (oops!), but that happy disaster taught me the perfect timing for these beauties. Now I can whip up vibrant, smoky-charred vegetables in under 30 minutes flat – no fancy skills required, just fresh ingredients and that glorious spring sunshine.
Why You’ll Love These Spring Grilled Vegetables
Trust me, this recipe will become your go-to side dish all season long. Here’s why:
- Quick as a spring shower – From prep to plate in under 30 minutes!
- Healthier than a bunny’s lunch – All those fresh vitamins with just a kiss of olive oil
- Flavors that sing – The marinade makes every bite zesty and bright
- Easy cleanup – Just one bowl and the grill to wipe down
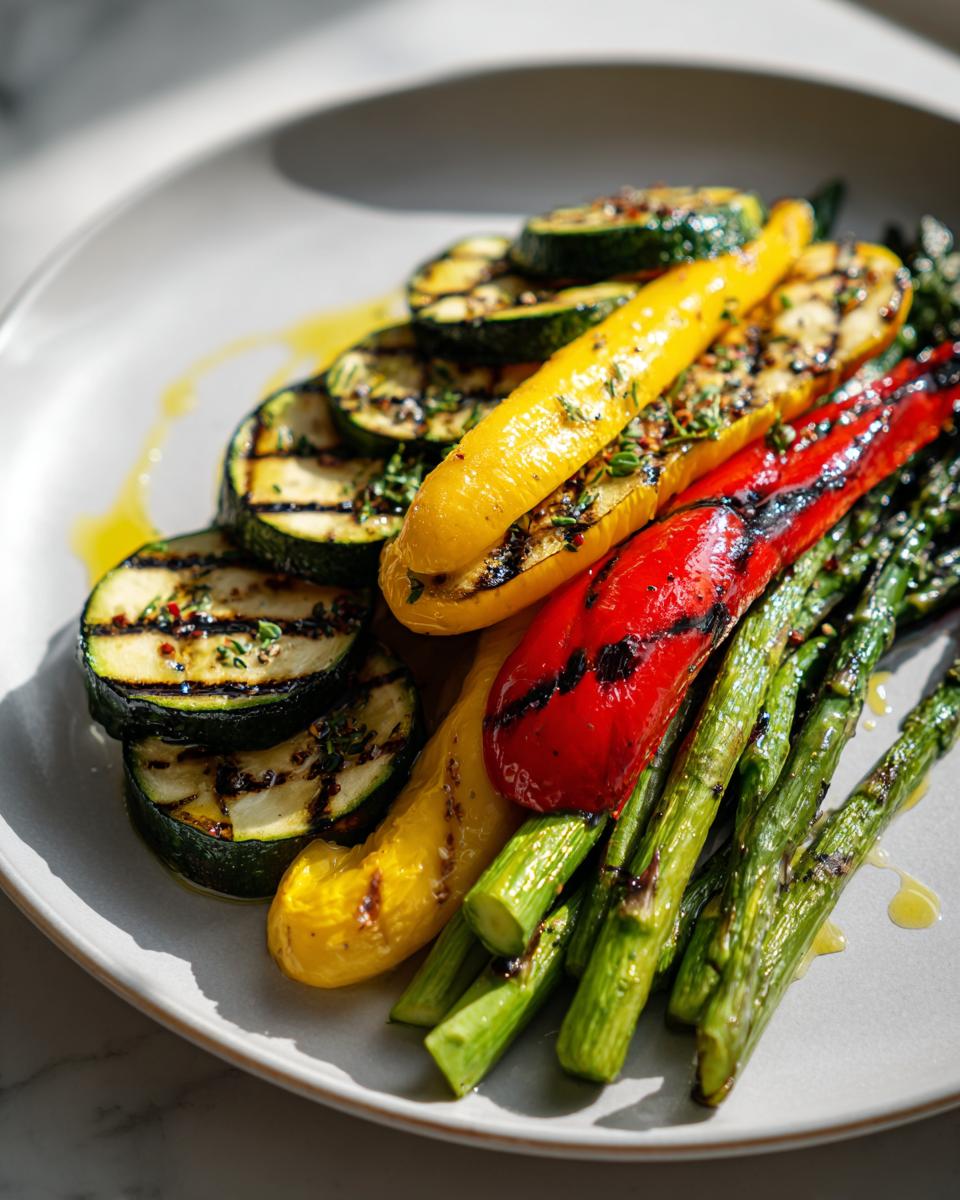
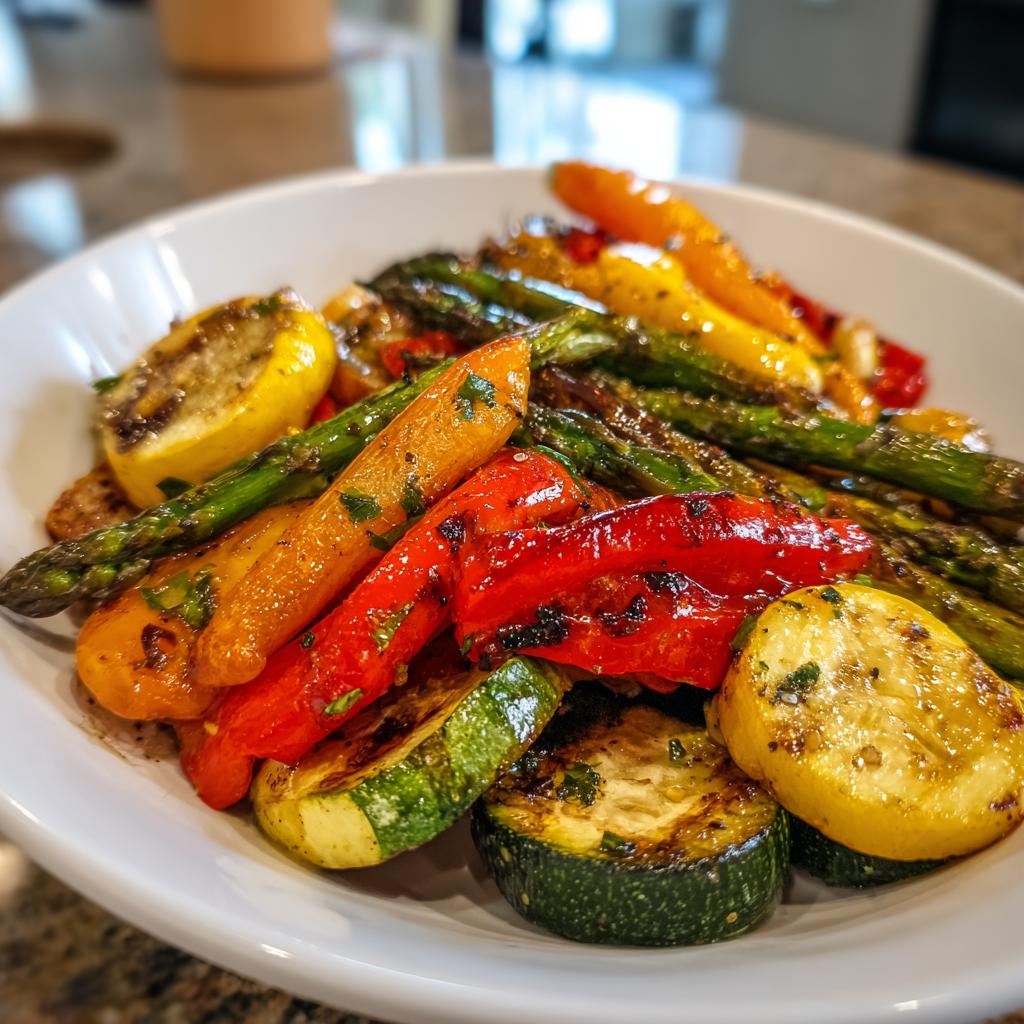
- Looks gorgeous – Those pretty grill marks make it dinner party-worthy
I make this at least twice a week when spring veggies are at their peak. It’s so simple, but always gets compliments!
Ingredients for Spring Grill Recipes
Gathering the right ingredients is half the fun of these spring grill recipes! I like to hit the farmers market early when everything’s still dewy and fresh. Here’s exactly what you’ll need to make those veggies sing:
For the Vegetables
- 2 cups asparagus, trimmed (look for those tight, bright green tips!)
- 1 zucchini, sliced lengthwise (about 1/4-inch thick – not too thin or they’ll fall apart)
- 1 yellow squash, sliced lengthwise (same thickness as the zucchini)
- 1 red bell pepper, quartered (seeds and ribs removed – save those for another recipe)
For the Marinade
- 2 tbsp olive oil (the good stuff – it makes a difference!)
- 1 tbsp lemon juice (fresh squeezed if you’ve got it)
- 1 tsp garlic, minced (about 1 clove – but I usually add an extra because garlic is life)
- 1/2 tsp salt (I use kosher – it sticks to the veggies better)
- 1/4 tsp black pepper (freshly cracked if you can)
See? Nothing fancy, just fresh, simple ingredients that let spring’s flavors shine. The marinade comes together in seconds, but oh what magic it works!
How to Make Spring Grilled Vegetables
Okay, let’s get grilling! I’ve made this so many times I could do it in my sleep, but I’ll walk you through each step so your veggies come out perfectly charred and tender every time. Here’s how we do it:
- Fire up that grill! Preheat to medium-high heat (about 400°F). You want it hot enough to get those gorgeous grill marks but not so hot the veggies burn before cooking through. While it heats, grab your veggies and marinade ingredients – we’re about to work some magic.
- Make the marinade – In a small bowl, whisk together the olive oil, lemon juice, garlic, salt, and pepper. I like to use a fork to really emulsify it – you’ll see it turn slightly creamy as you whisk. Taste it (my favorite part!) and adjust seasoning if needed. Sometimes I add a pinch of red pepper flakes for heat.
- Coat those beauties – Place all your prepared veggies in a large bowl and pour the marinade over them. Use your hands (clean ones!) to toss everything together, making sure each piece gets nicely coated. Don’t be shy – really massage that marinade in! Let them sit for about 5 minutes while the grill finishes heating.
- Grill time! Place the veggies directly on the grill grates. The asparagus and pepper quarters go first since they take slightly longer. After about 3 minutes, flip everything with tongs. You’re looking for those perfect char marks and just a bit of softening – about 3-5 minutes per side total. Rotate them occasionally for even cooking.
- Serve immediately – Transfer to a platter the second they’re done. These taste best piping hot off the grill when the flavors are brightest. I sometimes squeeze a little extra lemon over the top for freshness. Pair them with this baked salmon for a complete spring meal!
Pro Tip for Perfect Spring Grill Recipes
Here’s my secret weapon: a grill basket! Those skinny asparagus spears love to fall through the grates, so I toss them in a basket with the zucchini slices. Halfway through cooking, I brush everything with any leftover marinade – it adds extra flavor and keeps the veggies juicy. Learned that trick after my third batch of sacrificed asparagus disappeared into the coals!
Ingredient Substitutions & Variations
One of the best things about spring grill recipes is how flexible they are! Don’t have asparagus? No problem – toss in some green beans instead. Out of lemon juice? A splash of balsamic vinegar gives a delicious sweet-tart twist. I’ve made this recipe with practically every spring veggie under the sun, and here are my favorite ways to mix it up:
- Veggie swaps: Try mushrooms (they soak up that marinade like little flavor sponges), green beans, or even thick slices of eggplant
- Marinade tweaks: Swap lemon for lime or orange juice, add a teaspoon of honey for sweetness, or throw in some fresh herbs like thyme or rosemary
- Finishing touches: Crumble feta or goat cheese over the top while still warm, sprinkle with toasted almonds, or drizzle with a balsamic reduction
Here’s a time-saving trick: the marinade can be made up to 3 days ahead and stored in the fridge. Just give it a good whisk before using. I often double the marinade batch to have it ready for impromptu grilling sessions – because when spring calls, you answer!
Serving Suggestions for Spring Grill Recipes
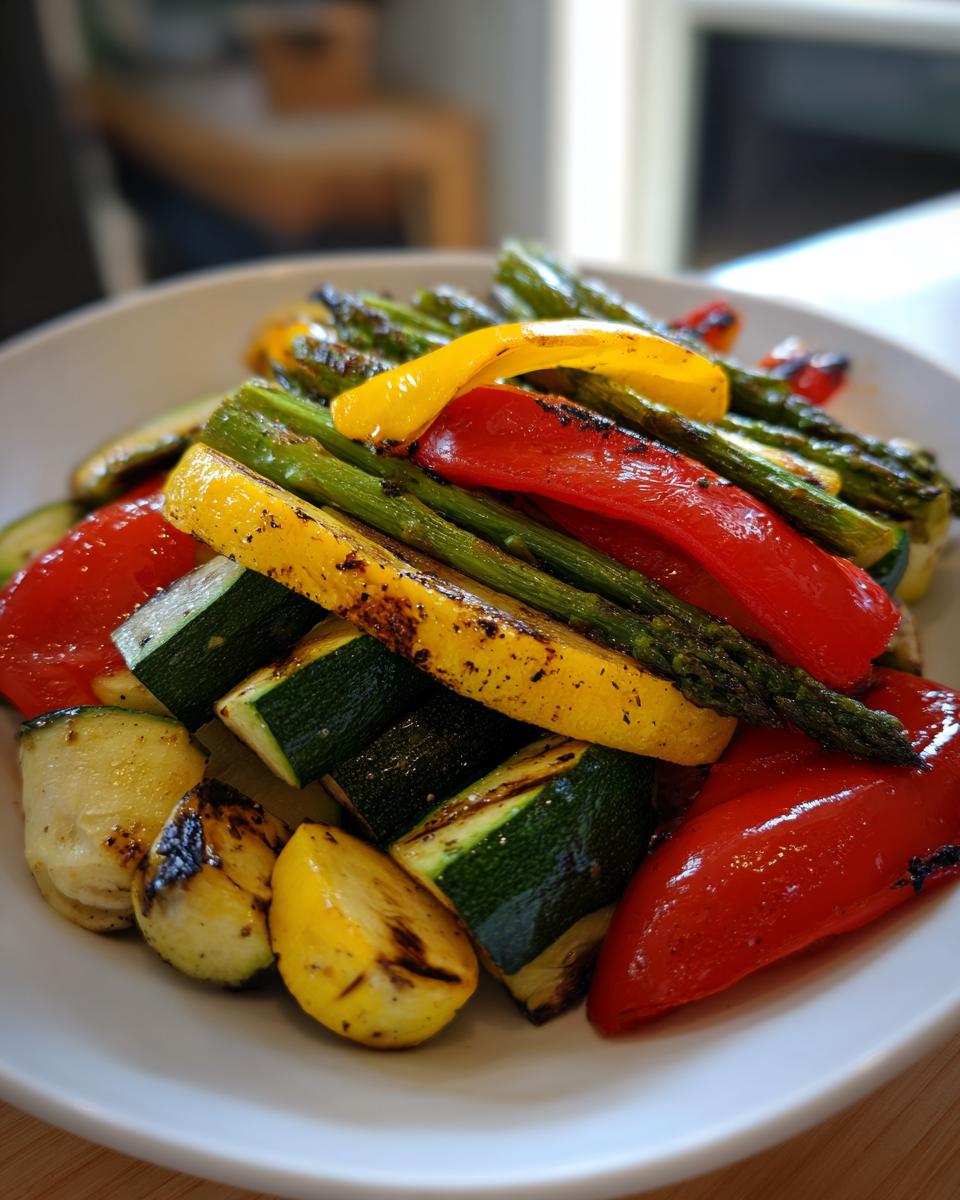
Now comes the fun part – showing off those gorgeous grilled veggies! I love piling them high on a rustic wooden board or pretty platter with lemon wedges tucked around the edges. The bright colors just scream “spring is here!” Here are my favorite ways to serve them:
- With grilled chicken – The perfect light-but-satisfying meal (I use any leftover marinade as a quick sauce!)
- Over quinoa – Makes a fantastic warm salad when you toss everything together
- Next to crusty bread – For soaking up all those delicious juices
- As part of a spread – Pair with this veggie stir fry for a colorful spring feast
Pro tip: Let the veggies rest for about 5 minutes before serving – it lets the flavors mingle beautifully. And always, always have extra lemon wedges on the side for that last-minute brightness!
Storage & Reheating
Okay, confession time – I rarely have leftovers because we gobble these veggies up so fast! But when I do manage to save some, here’s how I keep them tasting fresh: pop them in an airtight container in the fridge for up to 3 days. For reheating, skip the microwave (it makes them soggy – yuck!). Instead, warm them in a dry skillet over medium heat or in a 350°F oven for about 5 minutes. The oven method brings back some of that lovely crispness. Trust me, it’s worth the extra minute to keep that spring-fresh texture!
Nutritional Information
Now, I’m no nutritionist (just a veggie-loving home cook!), but I can tell you this much – these spring grilled vegetables are about as wholesome as it gets. All those bright colors mean you’re getting a rainbow of vitamins and antioxidants with every bite. The olive oil adds healthy fats, while the lemon juice gives you that vitamin C boost we all crave after winter.
Just remember – nutritional values are estimates and can vary based on the specific ingredients and brands you use. That gorgeous organic olive oil from the farmers market? Probably has different numbers than the grocery store brand. And those plump, just-picked asparagus spears likely pack more nutrients than ones that traveled cross-country. That’s why I never stress about exact counts – I just focus on using the freshest, highest-quality ingredients I can find.
What matters most is that you’re eating real, seasonal food prepared with love. And trust me, when something tastes this good, you know it’s good for you too!
Spring Grill Recipes FAQ
I get asked about these spring grilled veggies all the time – here are the answers to the most common questions that pop up in my kitchen (and probably yours too!):
Can I use frozen vegetables?
Honestly? I wouldn’t recommend it. Frozen veggies tend to get mushy on the grill since they’ve already been blanched. The magic of this recipe comes from fresh, crisp spring vegetables that hold their shape and get those perfect char marks. If you’re in a pinch, thaw and pat them very dry first, but fresh is always best!
How do I prevent sticking?
Here’s my foolproof method: first, clean those grill grates really well with a brush while they’re heating up. Then, right before adding the veggies, take a folded paper towel, dip it in oil (I use canola for high heat), and rub it over the grates with tongs. You’ll hear that satisfying sizzle – that’s your sticking prevention right there!
Can I bake instead?
Absolutely! When April showers ruin my grilling plans, I roast these at 400°F for about 15 minutes, flipping halfway. You won’t get those gorgeous grill marks, but the flavor is still amazing. Just spread everything on a parchment-lined baking sheet in a single layer – no crowding! The edges will get nicely caramelized. It’s my rainy-day backup plan that never fails.
Rate This Recipe
Did you give these spring grilled veggies a whirl? I’d love to hear how they turned out for you! Drop a star rating below if you tried them – it helps other home cooks know what to expect. No need for fancy reviews (though I always smile when I read them!), just tap those stars to share your experience. Your feedback helps me create even better recipes for our next spring grilling adventure!
Spring Grilled Vegetables
Ingredients
Equipment
Method
- Preheat the grill to medium-high heat.
- In a small bowl, whisk together olive oil, lemon juice, garlic, salt, and black pepper to make the marinade.
- Toss the vegetables with the marinade until evenly coated.
- Place the vegetables on the grill and cook for 3-5 minutes per side, or until tender and lightly charred.
- Remove from the grill and serve immediately.