Oh my goodness, do I ever love Easter treats! There’s just something magical about pastel colors and sweet flavors this time of year. But let me tell you about the star of our family’s dessert table—my super simple Easter candy bark. It’s the one recipe my nieces beg me to make every spring, and honestly? I can’t blame them. Last year, we had the best time decorating it together—even my brother (who claims to “hate baking”) got involved, tossing M&M’s like confetti!

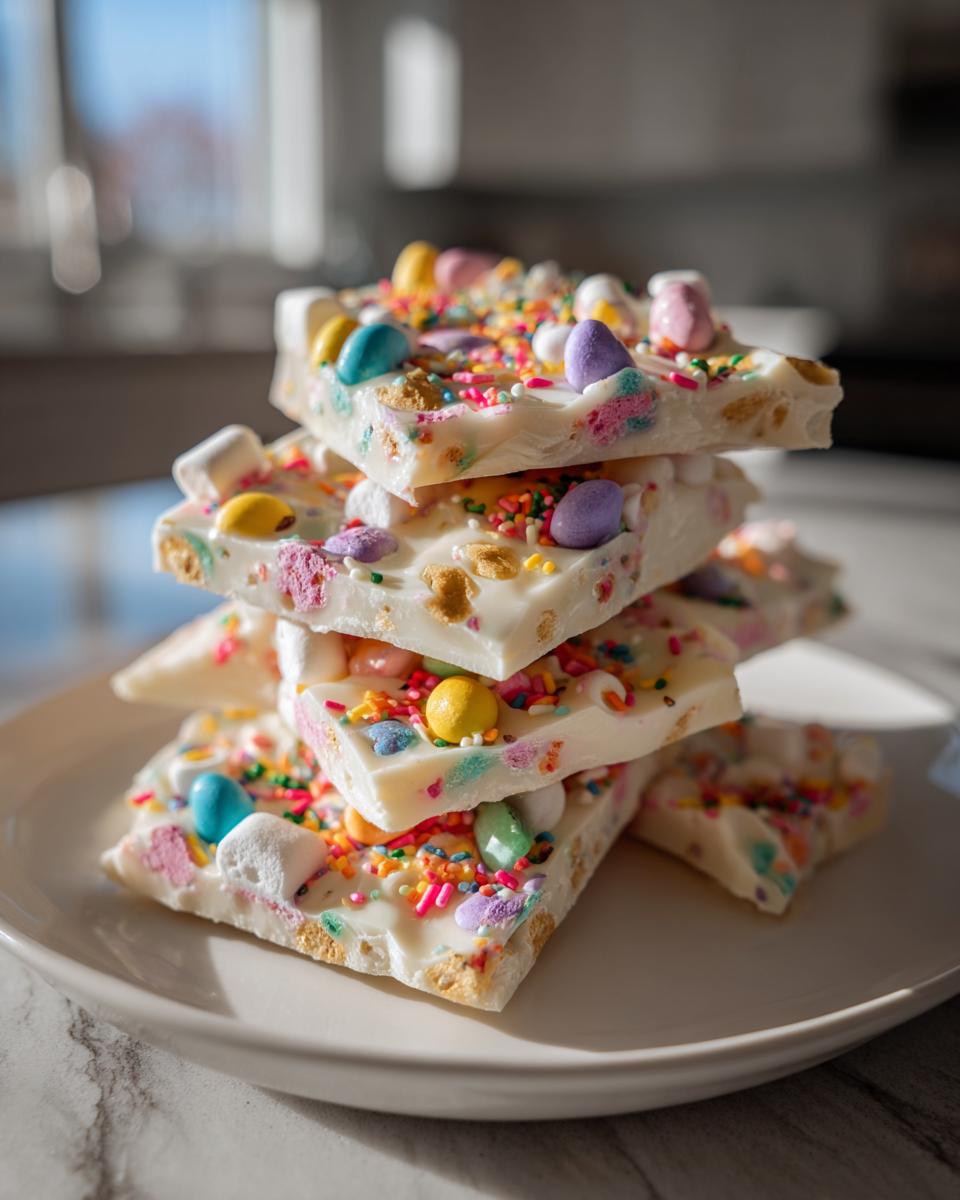
This colorful Easter candy bark comes together in minutes with just a few ingredients, but looks like you spent hours crafting it. The white chocolate base makes the perfect canvas for all those festive sprinkles and candies. Honestly, it’s the easiest way I know to bring that joyful Easter energy to your dessert spread without any fuss. And trust me, once you see how quickly everyone devours it, you’ll want to make extra batches—one for sharing and one for sneaking when no one’s looking!
Why You’ll Love This Easter Candy Bark
Let me count the ways this Easter candy bark will become your new spring tradition! First off, it’s done in just 15 minutes flat – faster than you can hide those chocolate eggs from sneaky little hands. No oven? No problem! This no-bake wonder comes together with microwave magic. But here’s what really makes it special:
- Kid Central: Little helpers can decorate to their hearts’ content – I swear those tiny fingers are better at sprinkle distribution than I’ll ever be
- Endless Options: Raid your candy stash and go wild with toppings. Last year I used crushed Peeps, and oh my stars, the Pastel Perfection!
- Gift Goldmine: Tuck pieces into cellophane bags with ribbon for instant teacher gifts that’ll outshine any store-bought treat
Trust me, once you see how this cheerful bark disappears (and how many recipe requests you get), you’ll understand why it’s my Easter MVP!
Ingredients for Easter Candy Bark
Okay, let’s talk ingredients – and I promise, this Easter candy bark couldn’t be simpler! Everything you need probably already lives in your pantry (or will after one quick trip down the Easter candy aisle). Here’s what makes this treat so magical:
For the Bark
- 12 oz white chocolate chips: Not the fancy kind – just good old grocery store chips work perfectly
- 1 tbsp vegetable oil: This little secret keeps the chocolate smooth as silk when melting
For Topping
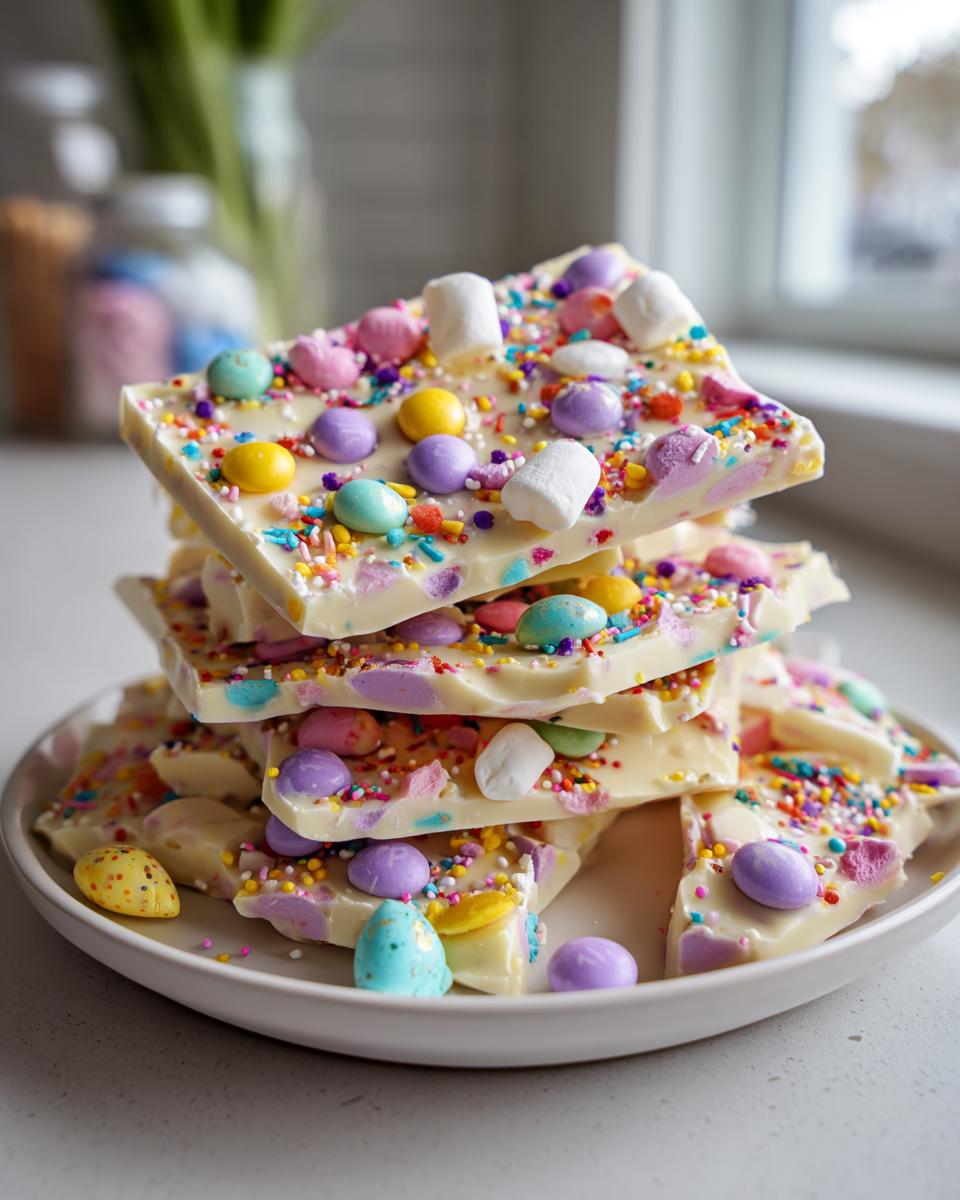
- 1 cup mini marshmallows: Those tiny puffs look like little clouds on your bark
- 1/2 cup pastel M&M’s: Easter colors only, please – we’re going for maximum spring vibes here!
- 1/2 cup Easter-themed sprinkles: The more pastel jimmies and egg-shaped sprinkles, the merrier
Pro tip from last year’s sprinkle disaster: measure your toppings beforehand and keep them in little bowls ready to go. That way when your chocolate’s perfectly melted, you’re not frantically digging through cabinets while it starts to set!
Ingredient Substitutions
Listen, I’m all about using what you’ve got! Swap white chocolate for milk or dark if that’s your jam – just know the colors won’t pop quite as much. Out of vegetable oil? Coconut oil works beautifully and adds a hint of tropical flavor (weirdly delicious with the M&M’s!).
For my allergy-prone friends: dairy-free chocolate chips exist and work great! And those pastel M&M’s can absolutely be replaced with whatever Easter candies make your heart happy – jelly beans, crushed Peeps, or even chopped up chocolate bunnies if you’re feeling wild.
Equipment Needed for Easter Candy Bark
Okay, confession time – I love when a recipe only needs three basic tools! Here’s what you’ll grab for this Easter candy bark:
- Baking sheet: Any standard size works – I use my trusty quarter sheet pan
- Parchment paper: Lifesaver for easy removal and cleanup (no scrubbing melted chocolate!)
- Microwave-safe bowl: My old Pyrex measuring cup gets the job done perfectly
See? Nothing fancy required. Though I should warn you – once you see how easy this is, you might start eyeballing all your baking sheets as potential bark canvases!
How to Make Easter Candy Bark
Alright, let’s get down to the fun part—making this Easter candy bark that’ll have everyone squealing with delight! Don’t let the colorful finished product fool you; this is seriously the easiest treat you’ll make all spring. Just follow these simple steps, and you’ll be the hero of Easter dessert tables everywhere.
- Prep your canvas: First, line that baking sheet with parchment paper—don’t skip this! Trust me, you do not want to be chiseling chocolate off your pan later.
- Melt that chocolate: Toss your white chocolate chips and vegetable oil into a microwave-safe bowl. Heat in 30-second bursts, stirring well after each one. You’ll know it’s perfectly melted when it’s smooth and glossy (usually 1-1.5 minutes total). Don’t walk away though—burnt chocolate is a sad sight!
- Spread it out: Pour that luscious melted chocolate onto your prepared baking sheet. Use the back of a spoon or an offset spatula to spread it into an even layer about ¼ inch thick. Work quickly here—chocolate waits for no one!
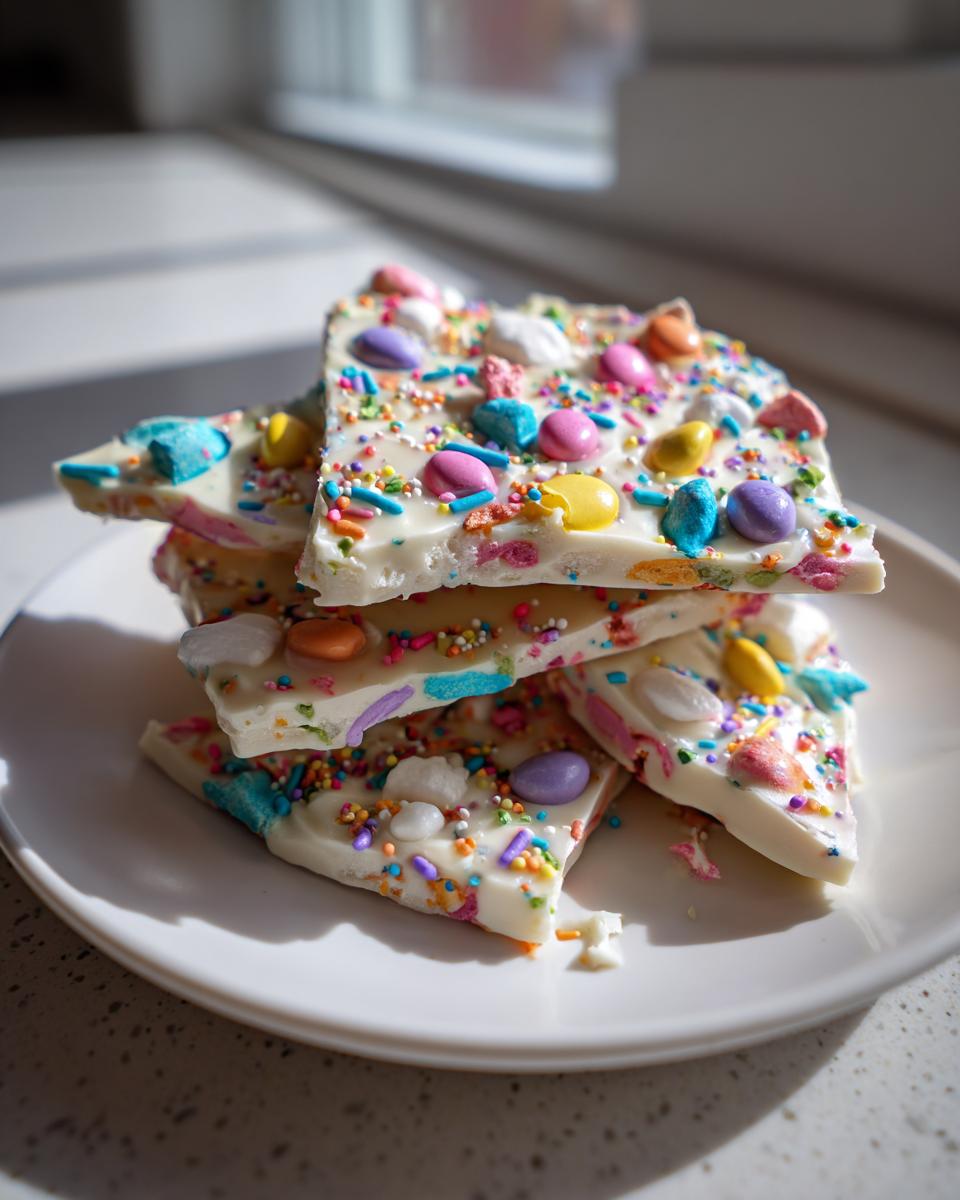
- Top it like a boss: This is the best part! Immediately shower your chocolate with mini marshmallows, pastel M&M’s, and all those cheerful sprinkles. I like to do this while singing some made-up sprinkle song—keeps me in the Easter spirit!
- The waiting game: Let your masterpiece cool at room temperature until completely set, usually about an hour. If you’re impatient like me, pop it in the fridge for 20 minutes—just don’t cover it or you’ll get condensation spots.
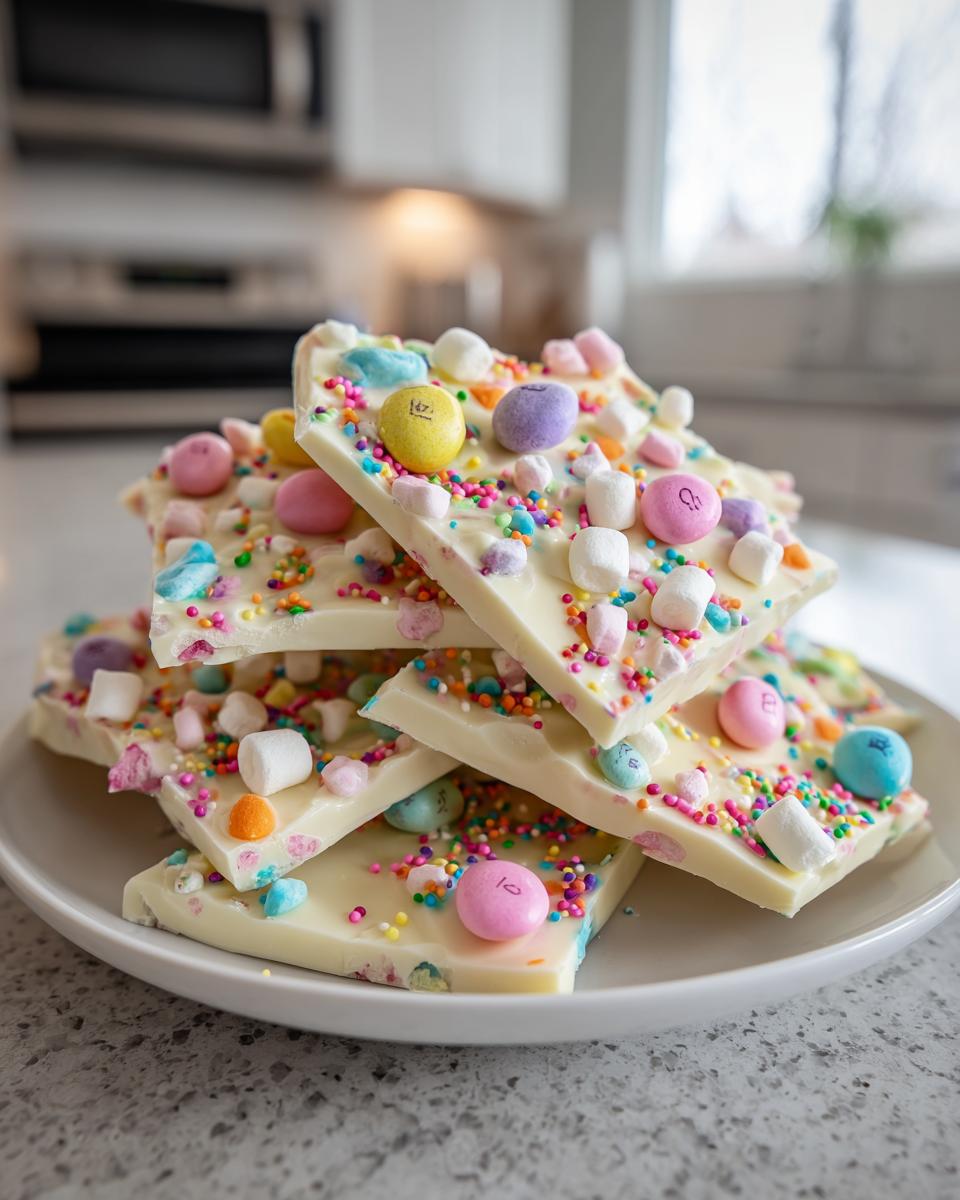
- Break it up: Once set, lift the parchment paper and crack your bark into fun, irregular pieces. I like to leave some big chunks—they make such a statement on dessert platters!
The whole process takes less time than it does to watch an episode of your favorite baking show, and let’s be honest—this tastes way better than anything they’re making on TV!
Tips for Perfect Easter Candy Bark
Here are my hard-earned tips from years of bark-making mishaps (oh yes, there have been mishaps!):
- The paper trick: Lightly grease your parchment paper first. It helps the chocolate release in one beautiful sheet—no broken pieces!
- Sticky situations: If toppings won’t stay put, gently press them into the chocolate with clean fingers. Those sprinkles can be stubborn little things.
- Secret scoring: For extra-pretty breaking lines, lightly score the chocolate with a knife before it fully sets. You’ll get perfect pieces every time.
- Speed is key: Have all your toppings measured and ready before melting the chocolate. Once it’s melted, you’ve got about 90 seconds before it starts setting up.
- Temperature matters: If your kitchen is warm, let the bark set in the fridge. Just be sure to wrap it tight once broken to avoid any weird moisture or odors.
The biggest mistake I see people make? Trying to skip the oil—that one tablespoon makes all the difference in keeping the chocolate smooth. And don’t you dare try to speed up cooling with a fan—learned that one the messy way!
Variations of Easter Candy Bark
Oh, the possibilities with this Easter candy bark are endless! Once you’ve mastered the basic version, it’s time to get creative. My niece and I had a blast last year testing different combos – turns out crushed shortbread cookies mixed with freeze-dried strawberries makes the most delicious “strawberry shortcake” version. And don’t even get me started on the time I swirled in some food coloring to make pastel stripes before adding toppings – total showstopper!
Here are some of my favorite twists:
- Trail Mix Bark: Swap out sprinkles for chopped nuts and dried cranberries – perfect for grown-up Easter baskets
- Cookie Monster: Crush up your favorite Easter cookies (those sugar cookies with pastel icing? Yes please!) and mix right into the chocolate
- Tropical Escape: Use coconut flakes and chopped dried pineapple for a sunny spring vibe
- Chocolate Lover’s Dream: Layer melted milk chocolate under the white chocolate for a marbled effect
And if you’re feeling extra adventurous, try my frozen yogurt bark technique with pastel yogurt and Easter candies for a lighter treat. The best part? There’s no wrong way to do it – just grab whatever Easter goodies make you happy and create your own signature bark!
Storing and Serving Easter Candy Bark
Okay, let’s talk about keeping your Easter candy bark looking as gorgeous as the day you made it! First rule: always store it in an airtight container at room temperature. I learned this the hard way after ruining a batch by refrigerating it—hello, condensation spots! Properly stored, your bark will stay fresh and delicious for up to a week (though let’s be real, it never lasts that long in my house).
Now for the fun part—serving! I love piling broken pieces into clear cellophane bags tied with pastel ribbons for Easter baskets. Or go all out on a dessert platter surrounded by chocolate eggs and marshmallow chicks. Pro tip: break some extra-large “showpiece” chunks to place strategically on top—they make everyone go “ooh” and “aah” before diving in!
Nutritional Information for Easter Candy Bark
Now, let’s be real—this Easter candy bark isn’t exactly health food, but hey, it’s a holiday treat! The nutritional values are estimates (your exact sprinkles and chocolate brand might change things slightly). Each delicious piece comes in at about:
- 180 calories – Worth every single one!
- 9g fat (5g saturated) – It’s chocolate, what did you expect?
- 22g sugar – That’s the Easter bunny approved amount
Remember, these numbers can vary based on how generous you are with toppings (I won’t judge if you go heavy on those M&M’s!). Everything in moderation, right? Except maybe during Easter weekend—then all bets are off!
Frequently Asked Questions
Can I use dark chocolate instead of white chocolate?
Absolutely! Dark chocolate makes a deliciously rich Easter candy bark—just know your toppings won’t pop quite as vibrantly against the darker background. I sometimes do half white, half dark for a marbled effect that looks fancy but takes zero extra effort. The vegetable oil trick works the same way to keep it smooth.
How long does the Easter candy bark take to set?
At room temperature, plan for about an hour. If you’re impatient like me, 20 minutes in the fridge does the trick! Just don’t cover it until fully set or you’ll get condensation spots. Pro tip: the thinner you spread your chocolate, the faster it’ll harden.
Can I freeze Easter candy bark?
You can, but I don’t recommend it. Freezing can cause the chocolate to “bloom” (get those white streaks) and toppings like sprinkles might bleed color. It keeps beautifully at room temp for a week—if it lasts that long!
What’s the best way to break the bark into pieces?
My favorite method is lifting the whole sheet of parchment paper and gently bending it until natural cracks form. For more control, use a butter knife to score lines before it fully hardens. And don’t stress about perfect pieces—the irregular chunks have the most charm!
Can kids help make this Easter candy bark?
Are you kidding? This is the perfect kid-friendly Easter activity! Little hands are actually better at sprinkling toppings evenly than adults. Just handle the hot melted chocolate yourself, then let them go wild decorating. Warning: you may need to make extra—quality control tasting is mandatory!
Share Your Easter Candy Bark Creations
I can’t wait to see your colorful Easter candy bark masterpieces! Snap a photo and tag me on Instagram—I’ll feature my favorites in my stories. Better yet, leave a comment below telling me what creative toppings you used. Did you try crushed Peeps? Rainbow sprinkles? Chocolate bunnies? Spill all your sweet secrets!
Easter Candy Bark
Ingredients
Equipment
Method
- Line a baking sheet with parchment paper.
- Melt white chocolate chips and vegetable oil in a microwave-safe bowl, stirring every 30 seconds until smooth.
- Spread the melted chocolate evenly on the prepared baking sheet.
- Immediately sprinkle marshmallows, M&M’s, and sprinkles over the chocolate.
- Let the bark cool completely at room temperature or in the refrigerator until firm.
- Break into pieces and serve.