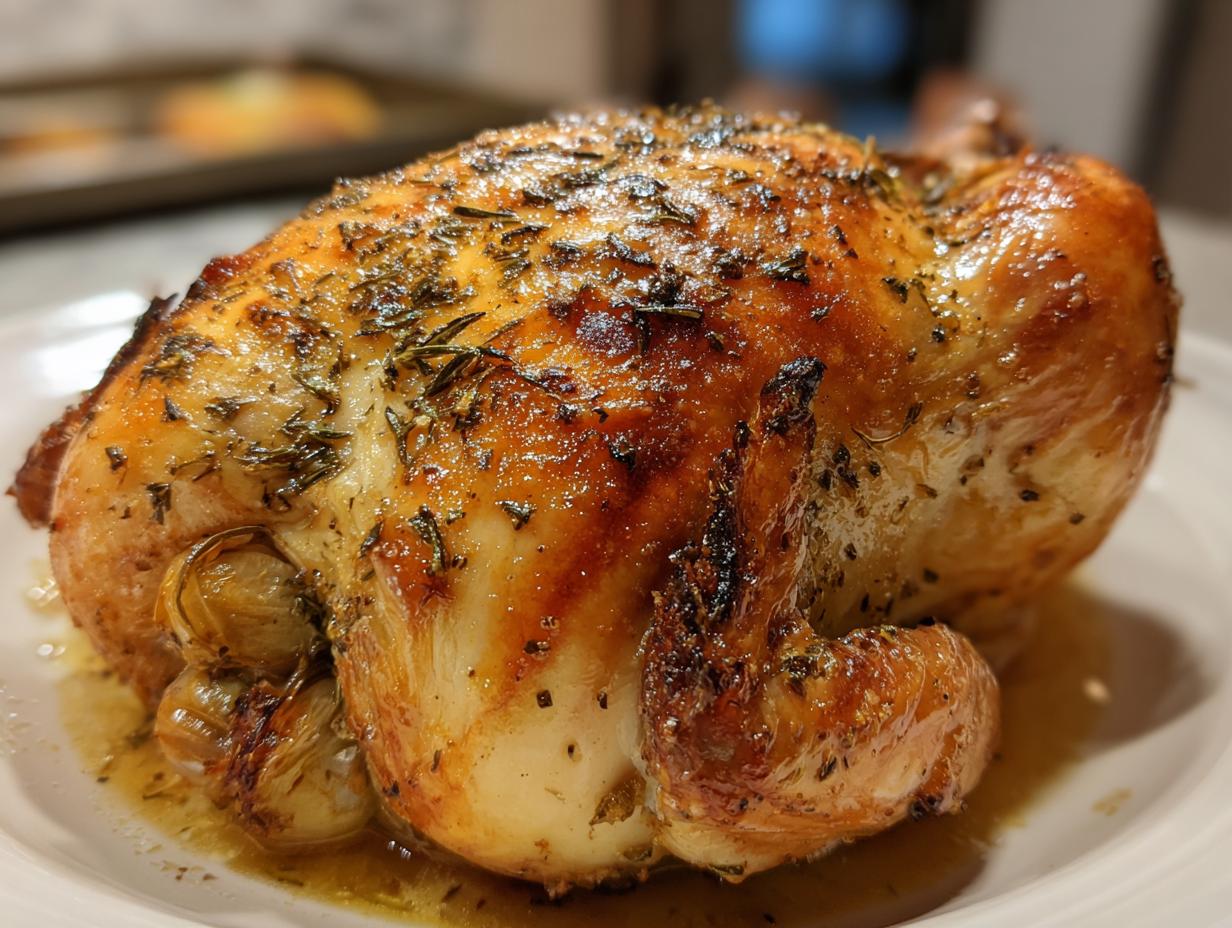
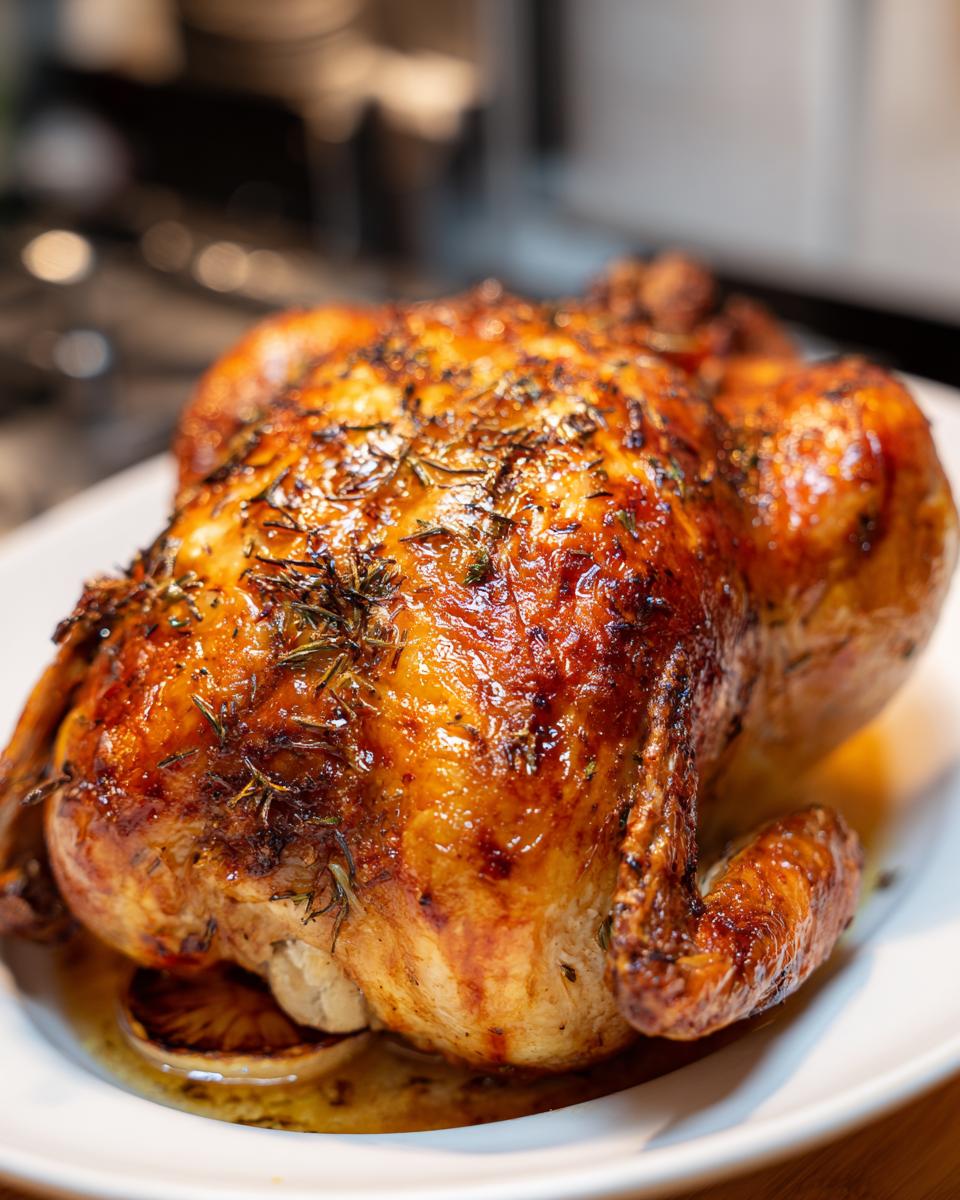
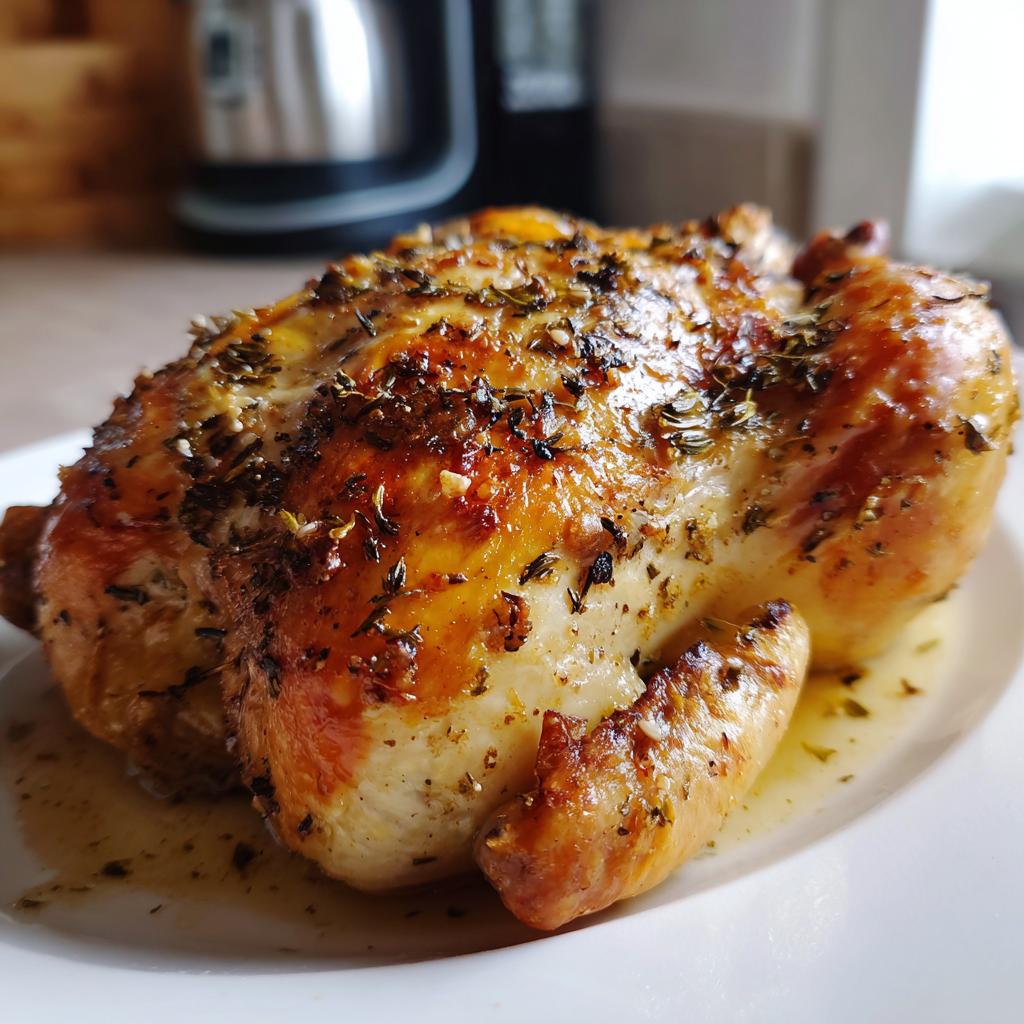
There’s something magical about a perfectly roasted chicken, isn’t there? That golden-brown skin, the juicy meat falling off the bone, and that incredible aroma filling your kitchen—it’s pure comfort food at its finest. I’ve been making this simple roasted chicken recipe for years, and it never fails to impress, whether it’s a busy Tuesday night or a special Sunday dinner. My grandma taught me this method when I was just learning to cook, and now it’s my go-to when I need something foolproof and delicious. Trust me, once you try this version, you’ll never go back to those dry, flavorless chickens again!
Why You’ll Love This Roasted Chicken
Oh, where do I even start? This roasted chicken recipe is my absolute lifesaver when I need something delicious without the fuss. Here’s why you’ll adore it as much as I do:
- Effortless elegance: With just a handful of ingredients and minimal prep, you get this gorgeous centerpiece that looks like you spent hours in the kitchen.
- Flavor bomb: That simple combo of lemon, garlic, and thyme works magic together – it’s bright, herby, and just perfectly balanced.
- Meal prep superstar: The leftovers? Oh my goodness. Use them in sandwiches, salads, soups… I’ve even tossed the shredded meat with pasta for a quick dinner the next day.
- Crowd-pleaser: Whether it’s picky kids or fancy dinner guests, everyone goes crazy for this chicken. My neighbor still asks for the recipe every time I make it!
- Kitchen confidence: If you’re nervous about roasting a whole chicken, this is the perfect starter recipe. I promise it’s way easier than you think!
The best part? While it’s roasting, you get that incredible smell filling your whole house. It’s like edible aromatherapy!
Ingredients for Roasted Chicken
Okay, let’s gather our simple but mighty ingredients! This is everything you’ll need for that perfect roasted chicken – I promise it’s nothing fancy, just good stuff that works together beautifully. Here’s what I always have ready on my counter:
- 1 whole chicken (about 4 lbs): Look for one with nice, plump breasts – that’s my secret for extra juicy meat. And don’t worry about organic unless that’s your thing; regular chickens work great too!
- 2 tbsp olive oil: Just your basic extra virgin is perfect here. It helps the skin get that gorgeous golden color we all love.
- 1 tsp salt: I’m partial to kosher salt because it sticks to the chicken better, but table salt works in a pinch.
- 1/2 tsp black pepper: Freshly ground if you can – it makes such a difference in flavor!
- 1 tsp dried thyme: This is my favorite herb for chicken, but you could use rosemary or poultry seasoning if that’s what you’ve got.
- 1 lemon, halved: Squeeze it a bit as you put it in the cavity – that extra juice keeps things moist.
- 4 garlic cloves, crushed: No need to peel them! Just give them a good whack with your knife to release all that garlicky goodness.
See? Nothing complicated here. These simple ingredients come together to make something truly special. Now let’s get cooking!
How to Make Roasted Chicken
Alright, let’s get this beautiful bird in the oven! I’ve made this roasted chicken more times than I can count, and I’ve learned a few tricks along the way. Follow these steps, and you’ll have the most juicy, flavorful chicken that’ll make you feel like a kitchen rockstar!
First things first – preheat that oven! Crank it up to 375°F (190°C). This gives your oven time to get nice and toasty while you prep the chicken. I learned the hard way that putting a cold chicken in a cold oven leads to sad, rubbery skin – and we don’t want that!
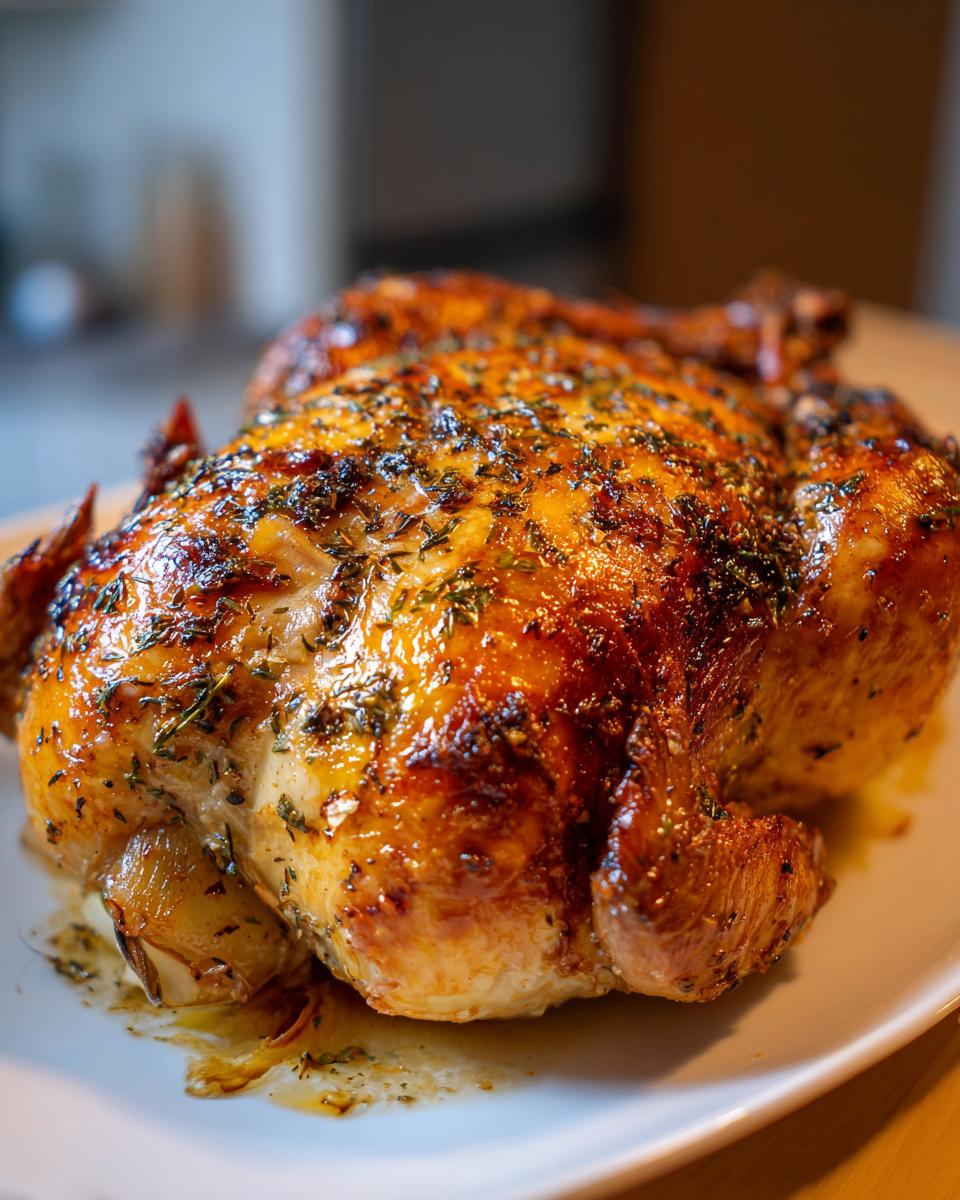
Now, grab your chicken and pat it dry with paper towels. This might seem like a small step, but trust me, it’s crucial! Dry skin means crispy skin, and who doesn’t love that? Rub that bird all over with olive oil – I use my hands to really get in there. Then comes the fun part: seasoning! Sprinkle your salt, pepper, and thyme all over, making sure to get some under the wings and legs too. Don’t be shy – this is where the flavor happens!
Here’s my favorite trick: stuff the cavity with those lemon halves (give ’em a little squeeze first) and the crushed garlic cloves. It’s like a little flavor bomb inside your chicken! The steam from the lemon keeps the meat moist while it cooks, and the garlic… well, garlic makes everything better, right?
Pop that beauty in your roasting pan, breast-side up. No rack needed – just straight in the pan works great. Now into the oven it goes for about 60 minutes. But here’s the important part: check the temperature with a meat thermometer in the thickest part of the thigh (without touching bone). You’re looking for 165°F (74°C). If you don’t have a thermometer, the juices should run clear when you pierce the thigh.
Want extra crispy skin? Turn on the broiler for the last 2-3 minutes – just keep a close eye so it doesn’t burn! When it’s done, resist the urge to cut into it right away. Let it rest for 10 minutes. I know, it’s hard to wait when it smells so good, but this lets the juices redistribute so every bite is moist and delicious.
And that’s it! You’ve just made a perfect roasted chicken. Serve it whole for a beautiful presentation, or carve it up if you prefer. Either way, get ready for compliments! Oh, and if you’re looking for more easy chicken recipes, I’ve got plenty more where this came from.
Tips for Perfect Roasted Chicken
After making this roasted chicken more times than I can count, I’ve picked up some foolproof tricks that’ll take your bird from good to “oh my goodness, how did you make this?!” Here’s what I’ve learned:
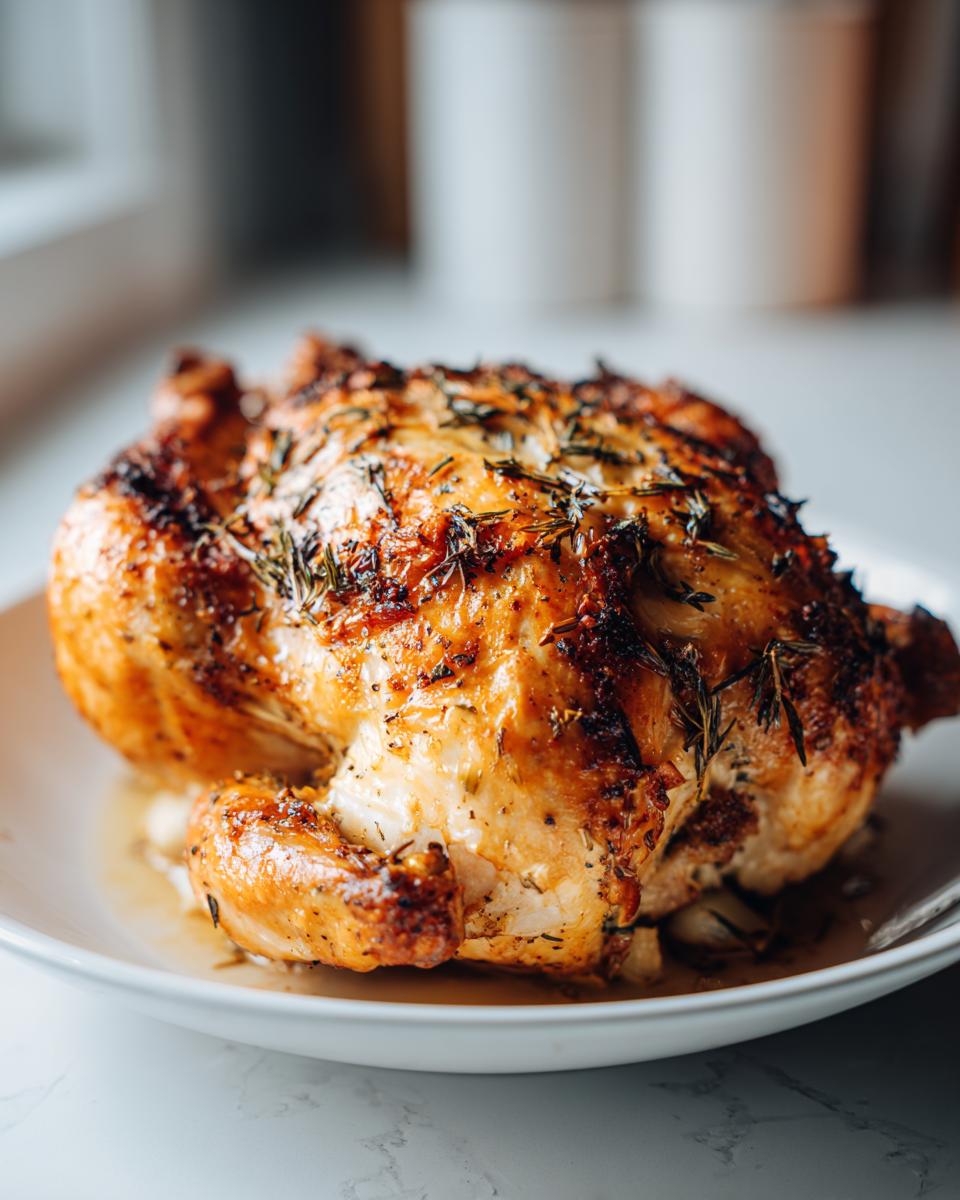
Dry that skin! I can’t stress this enough – patting the chicken dry before seasoning is the secret to that golden, crispy skin we all crave. My grandma used to say, “Wet chicken is sad chicken,” and she wasn’t wrong!
Temperature is everything. Don’t trust cooking times alone – invest in a simple meat thermometer. That little gadget saved me from so many dry chickens early on. The sweet spot is 165°F in the thickest part of the thigh, but I pull mine at 160°F because it keeps cooking as it rests.
Get creative with flavors! While I love the classic lemon-garlic combo, sometimes I mix it up. Try orange slices instead of lemon, or tuck some fresh herbs like rosemary or sage under the skin. A sprinkle of smoked paprika gives it a gorgeous color and subtle smokiness.
Let it rest. I know it’s tempting to dig right in when that amazing smell fills your kitchen, but resist! Those 10 minutes of resting time make all the difference between juicy meat and dry disappointment. Use the time to whip up a quick gravy with the pan drippings.
Room temp start. Here’s my little secret – I take the chicken out of the fridge about 30 minutes before roasting. It cooks more evenly when it’s not ice-cold going into the oven. Just don’t leave it out too long – food safety first!
Serving Suggestions for Roasted Chicken
Oh, the possibilities! A perfectly roasted chicken deserves equally amazing sides, don’t you think? Here’s how I love to serve mine – these pairings never fail to make the whole meal sing:
First up, you can’t go wrong with classic creamy mashed potatoes – that silky texture is just made for soaking up all those delicious chicken juices. For something lighter, I’m crazy about roasted vegetables – carrots, Brussels sprouts, and sweet potatoes tossed with olive oil and herbs roast beautifully alongside the chicken. A simple green salad with lemony dressing cuts through the richness perfectly. And if I’m feeling fancy? A crusty baguette to mop up every last bit of flavor from the pan!

The best part? These sides come together almost as easily as the chicken itself. Now that’s what I call a winning dinner!
Storage and Reheating Instructions
Okay, let’s talk leftovers – because let’s be real, this roasted chicken is just as amazing the next day! Here’s how I keep it tasting fresh and delicious:
First, let that chicken cool completely before storing – but don’t leave it out more than 2 hours (food safety first!). I like to carve the meat off the bones and store it in an airtight container in the fridge – it’ll stay good for 3-4 days this way. The carcass? Don’t you dare throw it out! Toss it in a freezer bag for making the most incredible stock later.
Now, reheating is where most people go wrong. Never microwave it straight – that’s a one-way ticket to Dry Chicken Town! Instead, I drizzle a tiny bit of broth or water over the meat, cover it loosely with foil, and warm it in a 300°F oven until just heated through. For quick lunches, I’ll often just eat it cold in sandwiches or salads – the flavor actually gets better overnight!
Pro tip: If you’ve got crispy skin leftovers (lucky you!), reheat it skin-side up under the broiler for just a minute to bring back that crunch. You’re welcome!
Nutritional Information
Now, I’m no nutritionist, but here’s the scoop on what you’re getting with this delicious roasted chicken! Keep in mind these numbers can vary based on your specific ingredients and portion sizes. This is just a general idea to help you plan your meals. The chicken packs about 335 calories per serving, with 30g of protein to keep you satisfied. You’ll get 23g of fat (6g saturated), and minimal carbs at just 2g. It’s also a good source of iron and vitamin C from that zesty lemon! Remember, homemade food doesn’t come with perfect labels – what matters most is that it’s made with love and real ingredients!
Frequently Asked Questions
Can I use dried herbs instead of fresh?
Absolutely! I actually prefer dried thyme for this recipe because it sticks to the chicken better. The general rule is to use 1/3 the amount of dried herbs compared to fresh – so if a recipe calls for 1 tablespoon fresh, use 1 teaspoon dried. My pantry always has dried thyme, rosemary, and oregano just for moments like this when I’m out of fresh herbs!
How do I know when the chicken is done without a thermometer?
I’ve been there – no thermometer, panicking about undercooked chicken! Here’s my grandma’s foolproof test: pierce the thickest part of the thigh with a knife. If the juices run clear (not pink) and the leg moves easily in its joint, you’re good to go. Another trick? The meat should pull away from the bone easily. But honestly? A $5 meat thermometer is the best kitchen investment you’ll ever make!
Why does my chicken sometimes turn out dry?
Oh honey, we’ve all been there! The two biggest culprits are overcooking and not letting it rest. Remember – chicken keeps cooking after it comes out of the oven, so pull it at 160°F. And that 10-minute rest isn’t just for show – it lets the juices redistribute. Also, make sure you’re not using a chicken that’s too small (under 3.5 lbs) – they dry out faster. My 4-pounders always come out juiciest!
Can I make this with chicken parts instead of a whole chicken?
You bet! Bone-in, skin-on thighs are my favorite substitute – they stay so moist! Just reduce the cooking time to about 35-40 minutes. If you’re using breasts, keep an eye on them after 25 minutes – they cook faster. The seasoning and method stay the same, though I sometimes add an extra lemon wedge under each piece for good measure. Easy peasy!
Share Your Experience
I’d love to hear how your roasted chicken turned out! Did you stick with my classic lemon-garlic combo or put your own spin on it? Drop a comment below to share your tricks, tweaks, or timeless traditions – food tastes better when we share the joy! And if you loved it as much as I do, give it a little star rating so others can find this recipe too. Happy cooking, friends!
Simple Roasted Chicken
Ingredients
Equipment
Method
- Preheat the oven to 375°F (190°C).
- Pat the chicken dry with paper towels. Rub the chicken with olive oil, then season with salt, pepper, and thyme.
- Place the lemon halves and garlic cloves inside the chicken cavity.
- Place the chicken in a roasting pan, breast-side up. Roast for about 60 minutes, or until the internal temperature reaches 165°F (74°C) when measured with a meat thermometer.
- Remove from the oven and let rest for 10 minutes before carving.