Oh my gosh, remember your first sip of a perfectly layered Starbucks drink? That caramel drizzle sliding down the glass, the espresso hitting your tongue just right – pure magic! But let’s be real, those daily coffee runs add up fast. I’ll never forget the day I tried making my first caramel macchiato at home – total game changer! Now I can whip up all my favorite Starbucks drinks in minutes for a fraction of the price. The best part? You control exactly what goes in them – extra caramel? Double espresso? Almond milk? Done! Let me show you how easy it is to bring that Starbucks magic into your own kitchen.
Why You’ll Love These Starbucks Drinks
Trust me, once you try making these at home, you’ll wonder why you ever waited in those long drive-thru lines! Here’s why these copycat Starbucks drinks are absolute game-changers:
- Way cheaper – I’m talking about saving $5+ per drink! Those coffee shop markups are insane when you realize how simple these are to make.
- Totally customizable – Want extra caramel? Less sweet? Almond milk instead? You’re the boss! No more awkwardly asking baristas for “just a little more syrup.”
- Ready in minutes – Seriously, most take less than five minutes once you get the hang of them. Perfect for when that coffee craving hits hard.
- Tastes just as good (sometimes even better!) – Fresh ingredients make all the difference, and you can really taste it. Friends always ask if I actually made them at home.
The first time I made my own caramel macchiato and it was BETTER than Starbucks? That’s when I became a total convert. Never looked back!
Equipment Needed for Starbucks Drinks
You probably already have most of what you need in your kitchen! Here’s the short list of essentials for making Starbucks-worthy drinks at home:
- A good blender – For those creamy Frappuccinos! I use my trusty Vitamix, but any decent blender will work.
- Coffee maker – An espresso machine is great if you have one, but strong brewed coffee works perfectly fine too.
- Measuring spoons – Those pumps at Starbucks are precise for a reason! Eyeballing syrup amounts never works out right.
That’s seriously it! No fancy equipment needed – just these basics will get you sipping your favorite drinks in no time. Though I will say, investing in a milk frother takes lattes to the next level!
Ingredients for Starbucks Drinks
Okay, let’s raid the pantry! The beauty of these Starbucks copycats is how simple the ingredients really are. I’ve made these drinks so many times I could probably recite the ingredient list in my sleep – but don’t worry, I’ll walk you through everything you need. Pro tip: always use the best quality ingredients you can find – it makes ALL the difference in flavor!
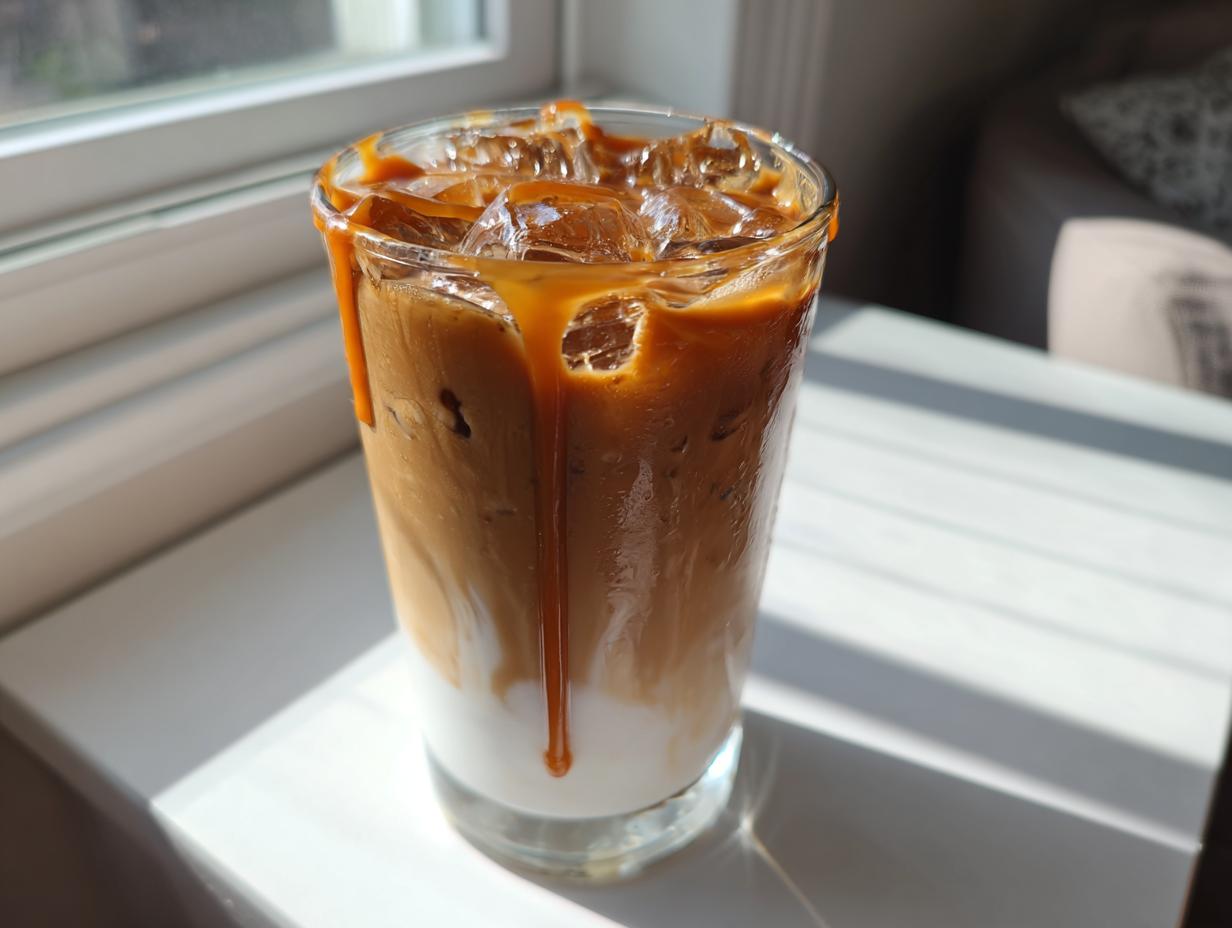
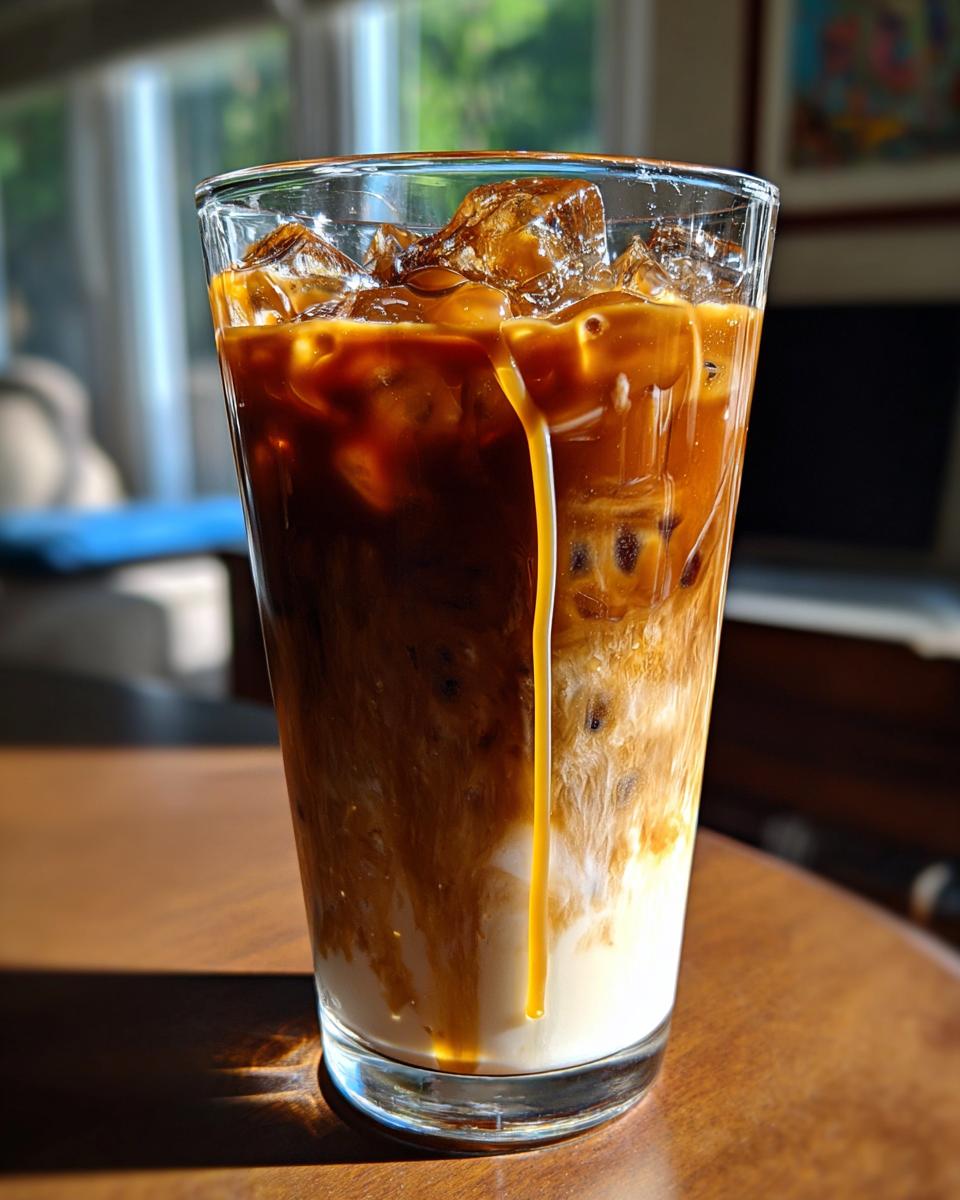
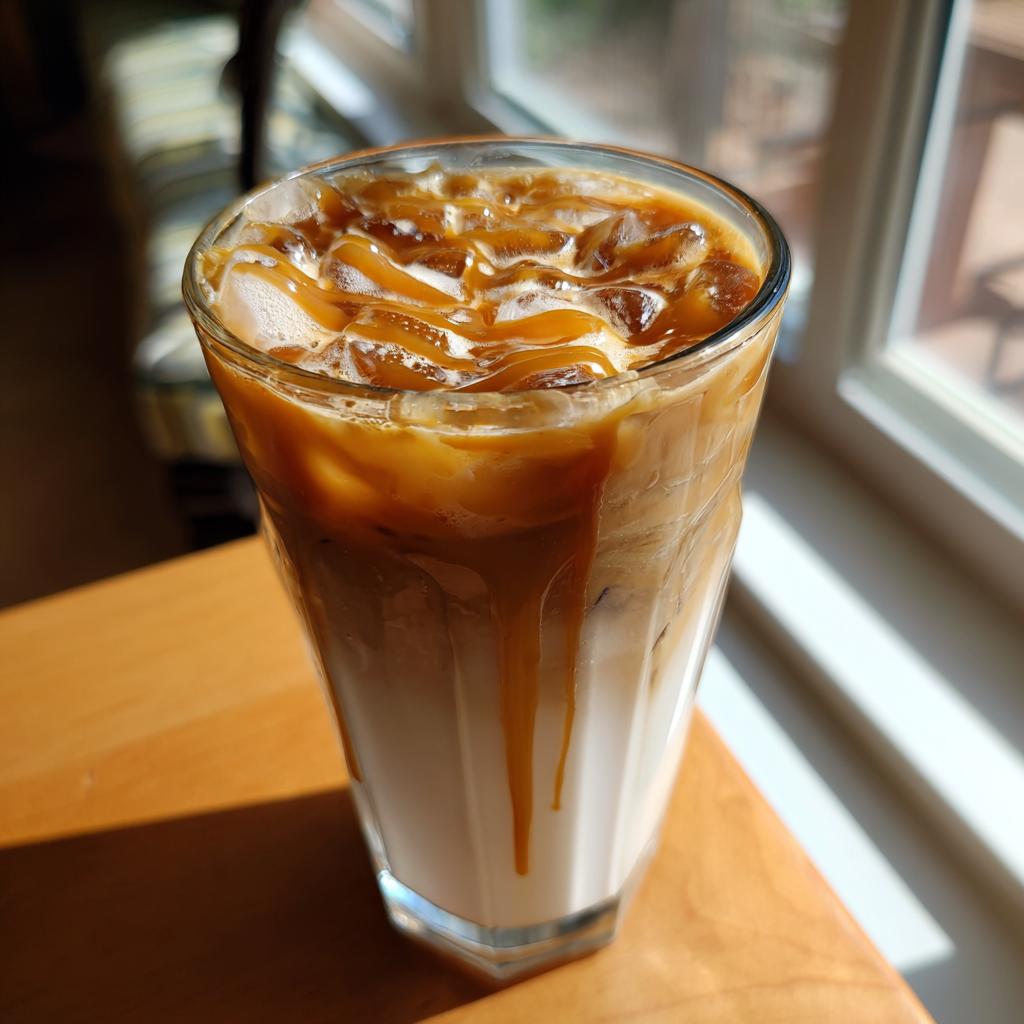
For the Iced Caramel Macchiato
- 1 shot espresso – or 1/4 cup of extra strong brewed coffee if you don’t have an espresso machine
- 1 cup milk – whole milk gives that classic creamy texture, but any milk works
- 2 tbsp vanilla syrup – the real secret! Homemade or store-bought both work
- 1 tbsp caramel sauce – plus extra for drizzling because…well, why not?
- Ice cubes – lots of them! The drink should be frosty cold
For the Frappuccino
- 1 cup ice – packed full for that thick, slushy texture
- 1 cup milk – try almond or oat milk for a dairy-free version
- 1/4 cup strong coffee – chilled overnight works best
- 2 tbsp sugar – or your favorite sweetener to taste
- Optional: whipped cream and chocolate syrup for topping
See? Nothing crazy! Just simple ingredients that come together to create something magical. Now let’s get mixing!
How to Make Starbucks Drinks at Home
Alright, coffee lovers, it’s showtime! Making these Starbucks drinks at home is so easy you’ll be doing it half-asleep (which, let’s be real, is how most of us make our morning coffee anyway). I’ve broken it down step by step – just follow along and you’ll be sipping your cafe-quality drink in minutes!
Making the Iced Caramel Macchiato
Okay, let’s make that gorgeous layered caramel macchiato! First, grab your favorite tall glass – I use a 16-ounce one because, let’s face it, who wants a small coffee? Fill it to the top with ice cubes. The more ice, the better to keep that drink frosty cold!
Now pour in your milk – slow and steady! Leave about an inch at the top for the espresso. Add those 2 tablespoons of vanilla syrup and give it a quick stir. Here’s my secret: swirl it gently instead of stirring too hard to maintain those beautiful layers.
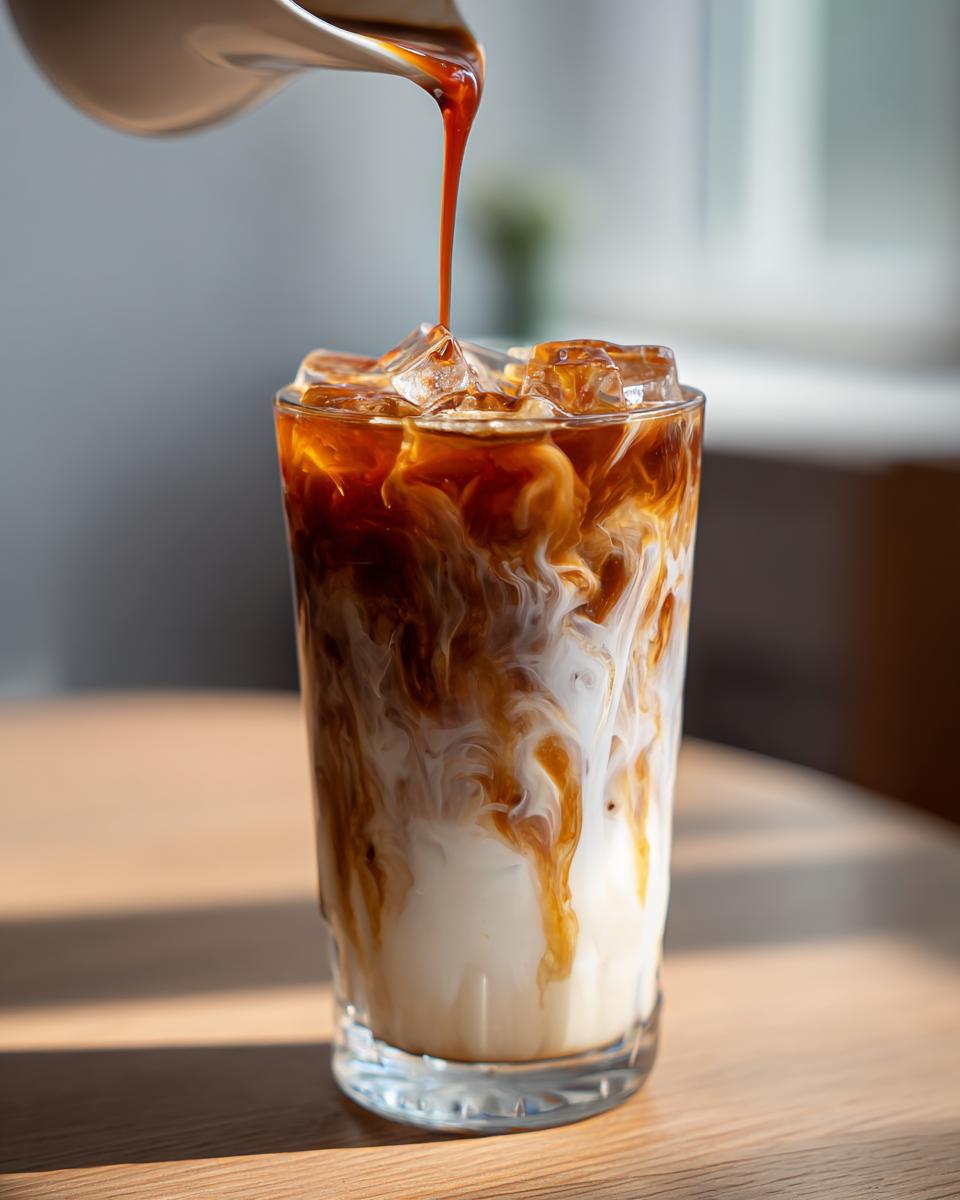
Time for the star of the show – the espresso! Brew it fresh if you can, and let it cool just slightly (about 30 seconds) before slowly pouring it over the back of a spoon onto the milk. Watch how it creates that perfect dark layer on top – so satisfying!

Last step – the caramel drizzle! Zigzag that glorious sauce over the top like you’re Jackson Pollock creating a masterpiece. And don’t be shy with it – this is the best part! Give it one final gentle stir before sipping and preparing to be amazed at how Starbucks-worthy your creation is.
Making the Frappuccino
Turn on that blender – it’s Frappuccino time! Start by adding all your liquid ingredients first – the milk and chilled coffee. This helps everything blend smoothly. Then toss in your sugar and ice. Pro tip: if you’re using a less powerful blender, crush your ice a bit first to avoid wearing out your motor.
Blend it on high for about 30-45 seconds. You’re looking for that perfect slushy consistency – thick enough to stand a straw up in, but still drinkable. Too thick? Add a splash more milk. Too thin? More ice! This is where you get to customize it to your perfect texture.
Pour it into your glass immediately – these drinks start melting fast! Top it with whipped cream if you’re feeling fancy (and really, why wouldn’t you be?). Drizzle some chocolate or caramel sauce over the top for that authentic Starbucks look. Grab a straw and enjoy your icy, coffee-flavored bliss!

Quick note: Frappuccinos are best enjoyed right away. If you must store it (though I can’t imagine why you’d have leftovers), pop it in the freezer, but know the texture won’t be quite the same after thawing.
Tips for Perfect Starbucks Drinks
Okay, my coffee-loving friends, here are my absolute must-know tips for making Starbucks-worthy drinks at home every single time:
- Chill everything first! I keep milk, coffee, and even my glass in the fridge beforehand. Nothing ruins an iced drink faster than warm ingredients melting all your ice.
- Taste as you go with the sweetness. Start with less syrup/sugar – you can always add more! I learned this the hard way after making a caramel macchiato that was basically liquid candy.
- Serve immediately, especially frappuccinos! They start separating faster than you’d think. That beautiful layered look? Only lasts about 5 minutes max.
- Quality matters – splurge on good vanilla syrup and caramel sauce. The cheap stuff just doesn’t give you that authentic Starbucks flavor.
- Presentation is half the fun! Use clear glasses so you can see those gorgeous layers, and don’t skimp on the drizzle. Instagram-worthy drinks taste better, I swear!
There you have it – my tried-and-true secrets after years of perfecting these drinks. Now go make something delicious!
Common Questions About Starbucks Drinks
I get SO many questions about making these Starbucks copycats at home! Here are the ones I hear most often – and my honest answers after years of tinkering with these recipes:
Can I use decaf coffee in these drinks?
Absolutely! I make decaf versions of these all the time for my afternoon caffeine-free cravings. Just swap in decaf espresso or coffee in the same amounts – the flavor will be exactly the same. Decaf caramel macchiatos are my guilty pleasure when I want that cozy coffee taste without the jitters!
How should I store leftovers?
Honestly? These drinks are best fresh – especially frappuccinos which turn into weird coffee soup when stored. But if you must, keep macchiatos in the fridge for up to 24 hours (give them a good stir before drinking). For frappuccinos? Freeze them in ice cube trays and re-blend with a splash of milk later!
Can I make these vegan?
Totally! My sister’s vegan, so I’ve perfected dairy-free versions. Swap regular milk for almond or oat milk (they froth the best!), use coconut whipped cream, and check that your caramel sauce is plant-based. Pro tip: add a pinch of salt to vegan versions – it helps balance the sweetness perfectly!
Why doesn’t my caramel drizzle stay layered like at Starbucks?
Ah, the eternal question! First, make sure your milk is ice-cold – warm liquid makes the layers blend faster. Also, pour the espresso slowly over the back of a spoon. But honestly? The secret is that Starbucks uses thicker syrup than we usually buy at stores. I sometimes warm my caramel sauce slightly to make it more drizzle-able!
What’s the closest syrup to Starbucks’ vanilla?
After years of taste-testing (tough job, I know), I swear by Torani vanilla syrup – it’s got that same rich, almost buttery vanilla flavor. But making your own is shockingly easy too: just simmer equal parts sugar and water with vanilla beans until slightly thickened. Game changer!
Nutritional Information
Just a quick heads up – the nutrition in these Starbucks copycats can vary a ton depending on what ingredients you use! Whole milk vs almond milk, extra caramel vs light syrup…you get the idea. While I can’t give exact numbers (my kitchen scale broke after I tried weighing whipped cream – oops!), know that these drinks are definitely treats rather than health food. But hey, that’s what makes them special, right?
Share Your Starbucks Drinks Experience
Go ahead – show off your barista skills! I’d love to hear how your homemade Starbucks drinks turned out. Drop a comment with your favorite tweaks, snap a picture for Instagram (tag me @YourCoffeeQueen!), or leave a star rating if you’re as obsessed with these recipes as I am. Happy sipping!
Starbucks Drinks
Ingredients
Equipment
Method
- For the Iced Caramel Macchiato, fill a glass with ice.
- Add milk and vanilla syrup, then stir.
- Pour espresso over the top and drizzle with caramel sauce.
- For the Frappuccino, blend all ingredients until smooth.
- Pour into a glass and serve immediately.