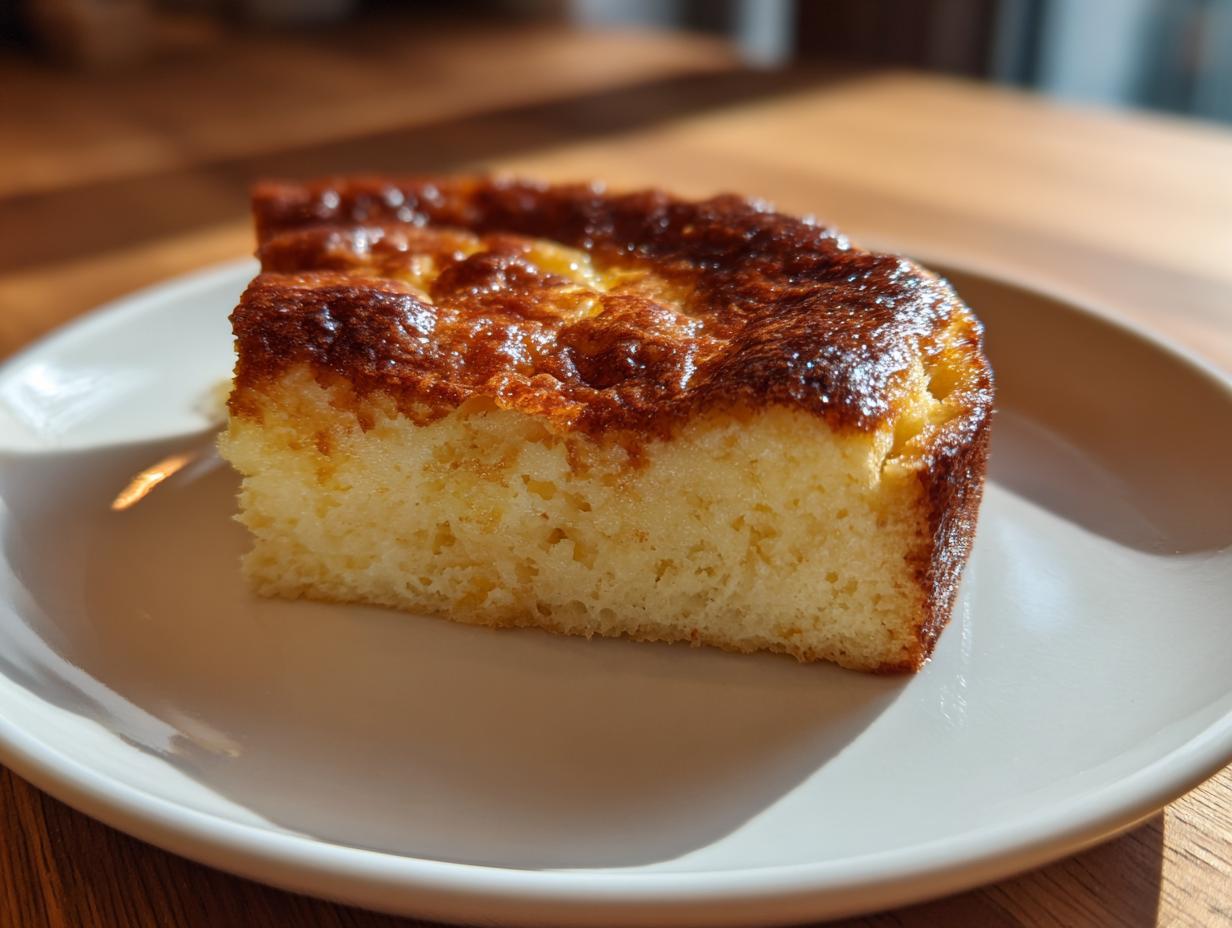
There’s nothing quite like the sweet reward of a homemade dessert, especially when it comes together with barely any effort. Simple homemade dessert recipes are my lifeline when cravings hit or unexpected guests arrive—like the time my niece showed up unannounced and I whipped up this treat in under 30 minutes with pantry staples. Now it’s our little tradition whenever she visits. This foolproof recipe proves you don’t need fancy ingredients or hours in the kitchen to make something delicious. Just a bowl, a few basics, and that magical moment when something so easy turns out so good.
Why You’ll Love This Simple Homemade Dessert
Oh, where do I start? This dessert is my secret weapon when life gets crazy but I still want something sweet. First off, you probably have all the ingredients in your pantry right now – no fancy grocery runs needed. I can’t count how many times this has saved me when I’ve had last-minute guests or a sudden sugar craving.
Here’s why it’s magic:
- Ready in under 30 minutes – from mixing bowl to table faster than ordering takeout
- Only four basic ingredients (five if you count love!) that you’ll always have on hand
- No special equipment – just a bowl and spoon will do the trick
- Kids and grown-ups alike go crazy for it – it’s the perfect balance of sweet without being too rich
The best part? It makes your house smell heavenly while baking. That vanilla scent? Pure comfort. Trust me, once you try it, you’ll wonder how something so simple can taste so special.
Ingredients for Your Simple Homemade Dessert
Here’s everything you’ll need for this crazy-easy dessert – and I mean everything. I’ve made this so many times I could probably do it blindfolded (though I don’t recommend that). The beauty is in its simplicity, but don’t let that fool you – each ingredient plays a special role:
- 1 cup all-purpose flour – Spoon it in and level it off, don’t pack it down like you’re stuffing a suitcase!
- 1/2 cup granulated sugar – Regular white sugar works best here for that perfect sweetness without overpowering
- 1 teaspoon pure vanilla extract – Please, please use the real stuff, not that imitation vanilla. You’ll taste the difference
- 1/2 cup whole milk – I use whole for richness, but any milk works in a pinch (even almond or oat milk, though it might be slightly less sweet)
That’s it – four basic ingredients, no fuss. When I first saw this recipe, I actually double-checked to make sure I wasn’t missing anything. But trust me, these humble ingredients transform into something magical in the oven. And if you’re out of something? No panic – I’ve got a million substitutions up my sleeve that I’ll happily share!
How to Make This Simple Homemade Dessert
Okay, are you ready for the easiest baking session ever? I still remember the first time I made this – I kept checking the recipe thinking I’d missed a step because it’s just that straightforward. Here’s exactly how I do it every time for perfect results:
- Preheat that oven! Get it nice and toasty at 350°F (175°C). Don’t skip this – I learned the hard way once when I got excited and tossed everything in a cold oven. Let’s just say we had dessert… eventually.
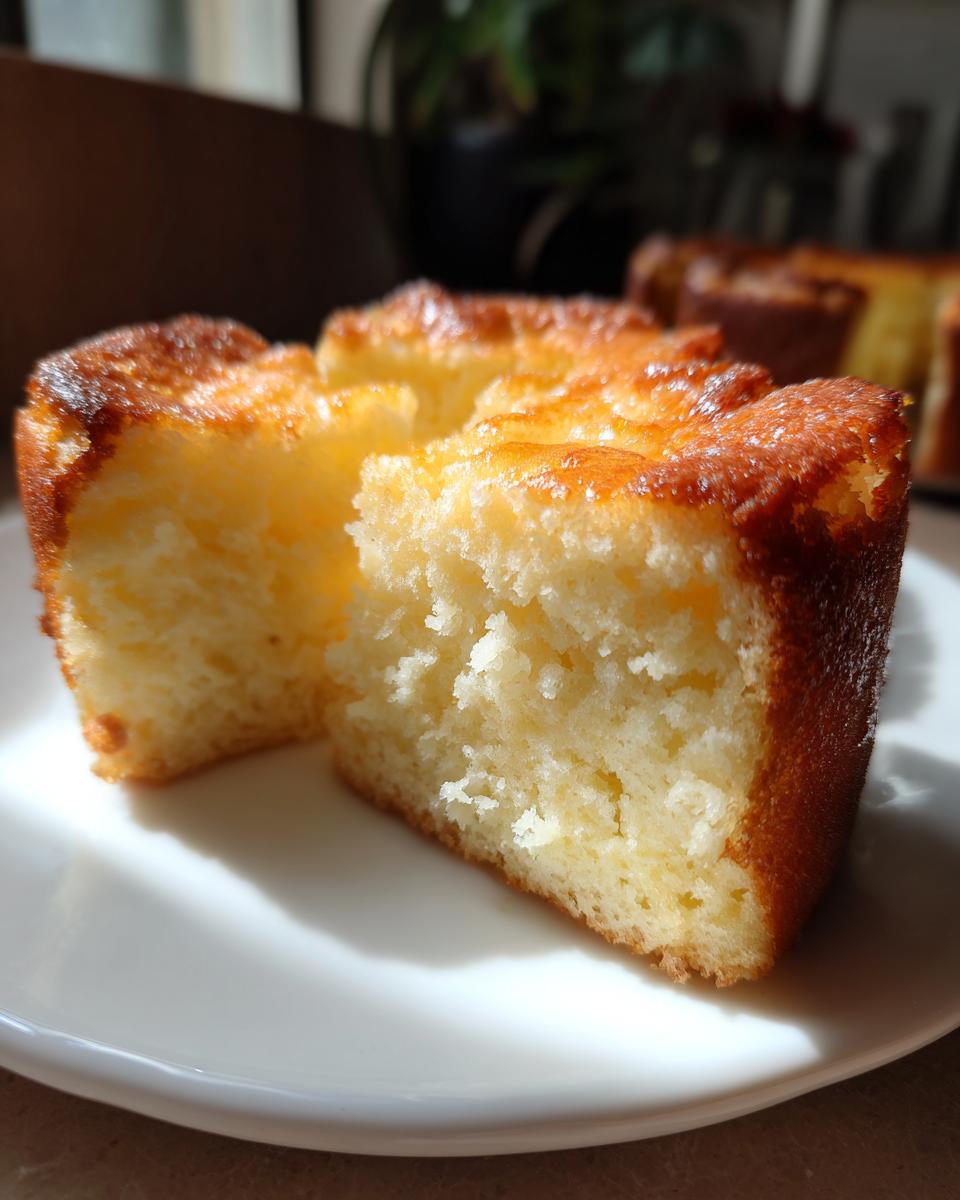
- Mix with love. In your trusty bowl, whisk together the flour and sugar first. Then add the vanilla and milk and stir just until combined. Watch me closely here – you want to stop mixing the moment the batter comes together. Overmixing makes it tough, and we want that dreamy tender texture!
- Pour with confidence. Transfer your batter to any baking dish you’ve got – I use my little 8×8 pan, but a pie plate works too if that’s what’s clean! The batter will look thin but don’t worry – it’ll puff up beautifully.
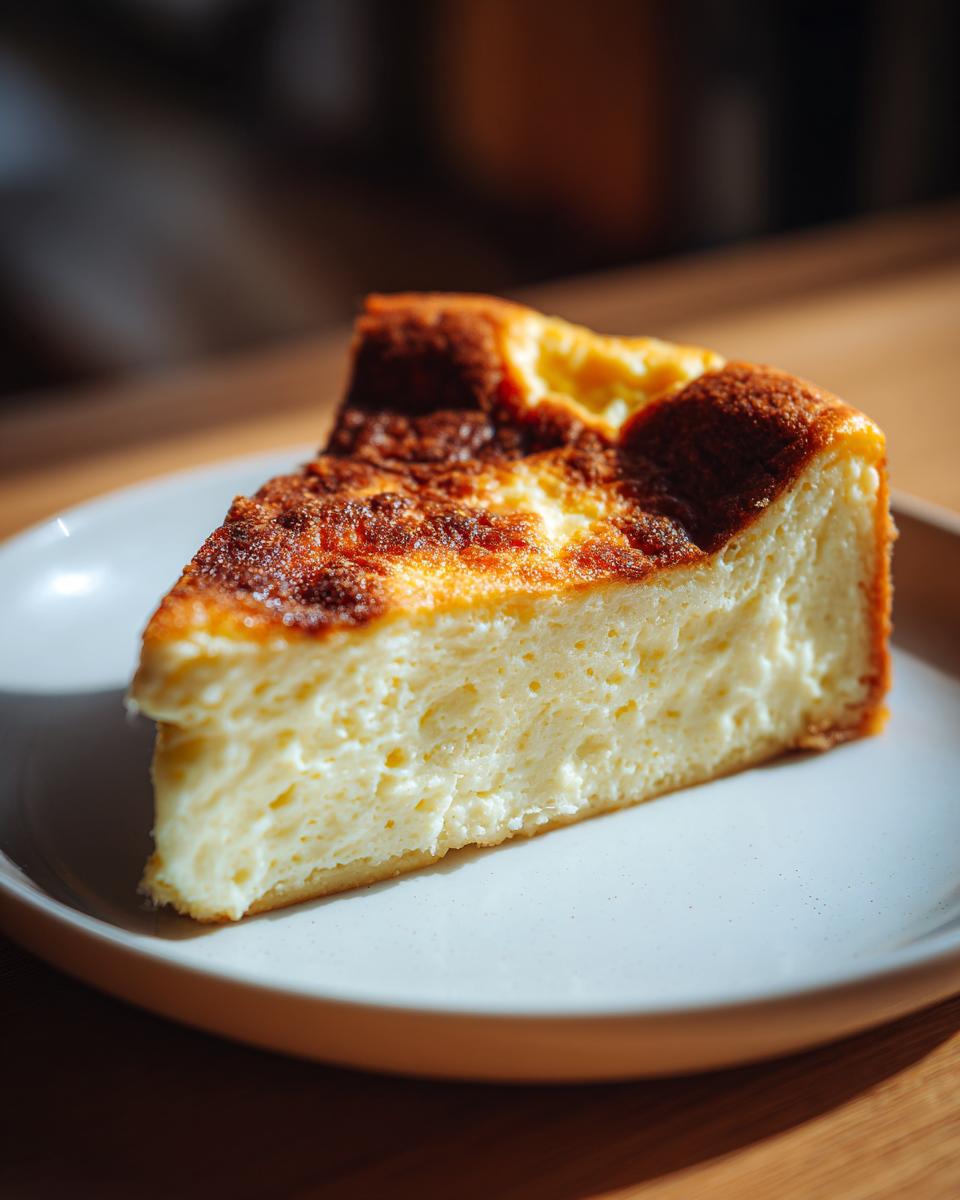
- Bake to golden perfection. Pop it in your preheated oven for 15 minutes (set a timer – I’ve burned too many things by getting distracted). You’ll know it’s done when the edges pull away slightly and the top looks like a pale golden blanket.
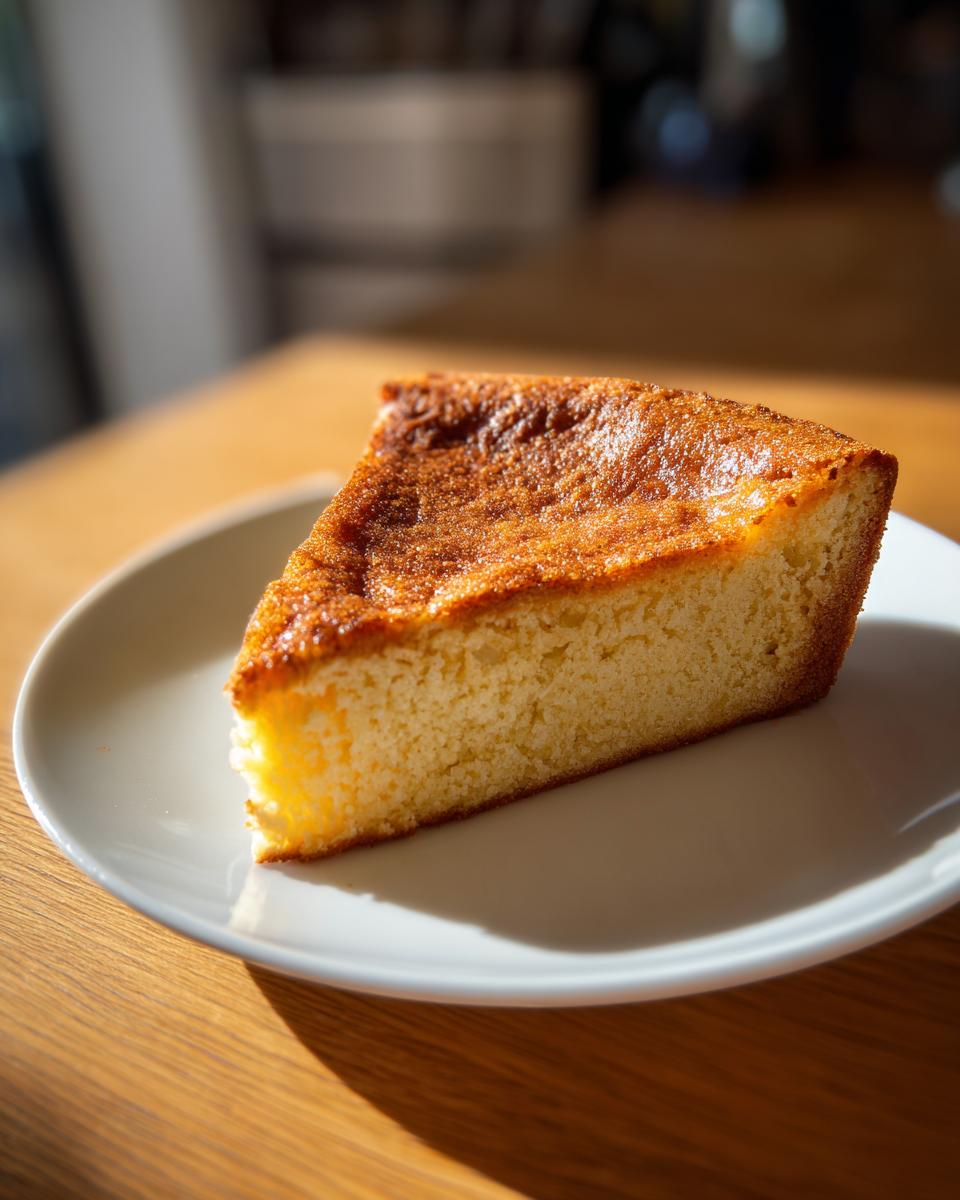
That’s it! Four simple steps to dessert heaven. If you want to mix things up, this easy vanilla cake recipe uses a similar method with a few tweaks that make it extra fluffy.
Pro Tip for Perfect Texture
Here’s my secret weapon: let it rest for about 5 minutes after baking before digging in. I know it’s tempting to grab a spoon immediately (oh, have I been there), but that short wait makes the texture go from good to “how is this so good?!”
Serving Suggestions for Your Simple Homemade Dessert
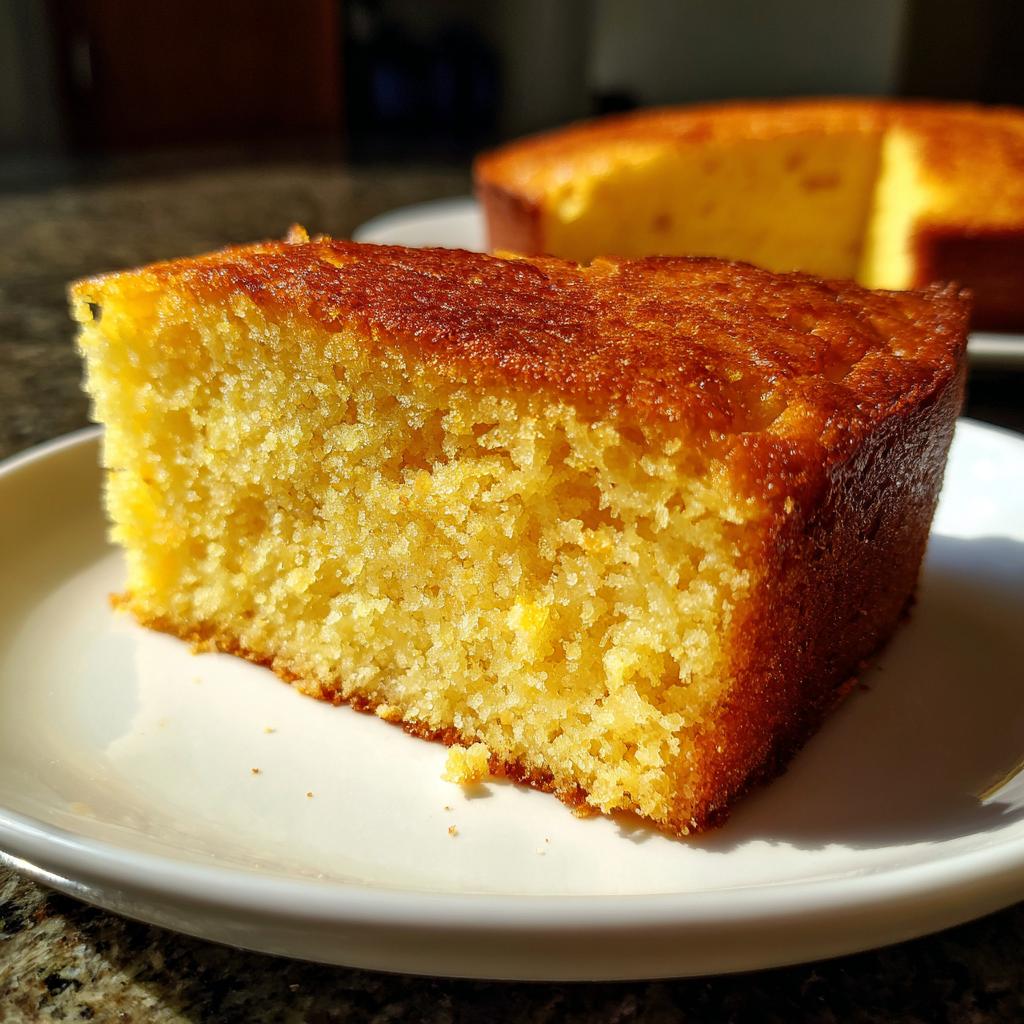
Now for the fun part – making this simple dessert feel extra special! My favorite way? A big scoop of vanilla ice cream melting over the warm cake – that hot-cold combo is magic. Fresh berries on the side add a pop of color and tartness that balances the sweetness perfectly. You could also try a dollop of whipped cream or even drizzle some of this easy chocolate fruit dip for chocolate lovers. For portion sizes, I usually cut it into 4 generous squares, though let’s be honest – sometimes “just one more little piece” turns into eating half the pan (no judgment here!).
Storage Tips for Your Simple Homemade Dessert
Listen, I know leftovers are rare with this dessert (trust me, my family inhales it), but just in case you have some self-control, here’s how to keep it fresh! Cover it with plastic wrap or pop it in an airtight container at room temperature for up to 2 days. If it lasts longer (ha!), stash it in the fridge for 3-4 days max.
Want that fresh-from-the-oven magic the next day? Just warm individual slices in the microwave for 10-15 seconds – it’s like you baked it again! Pro tip: sprinkle a few drops of water on top before heating to keep it from drying out. The texture stays perfect every time.
Nutritional Information
Just a quick heads up – these nutritional values are ballpark estimates that might change based on your exact ingredients. I’m no nutritionist (just a dessert lover!), so take it as general guidance rather than gospel. The real numbers? That’s between you and your ingredients!
Frequently Asked Questions
Let me answer those burning questions I get ALL the time about this simple homemade dessert – the ones my friends text me about at 10pm when they’re mid-baking crisis!
Can I use gluten-free flour?
Absolutely! I’ve made this with gluten-free 1:1 baking flour plenty of times when my celiac friend comes over. Just use the same amount as regular flour and maybe add an extra tablespoon of milk if the batter feels too thick. The texture comes out slightly different, but still totally delicious – more like a soft, chewy blondie.
Can I double the recipe?
Oh honey, I’ve quadrupled it for parties! This recipe scales beautifully – just use a bigger baking dish (a 9×13 pan works perfectly for a double batch). Watch your baking time though – it might need 5 extra minutes since there’s more batter. Pro tip: stir your doubled ingredients in a bigger bowl unless you enjoy flour explosions on your counter (been there!).
How do I know when it’s done baking?
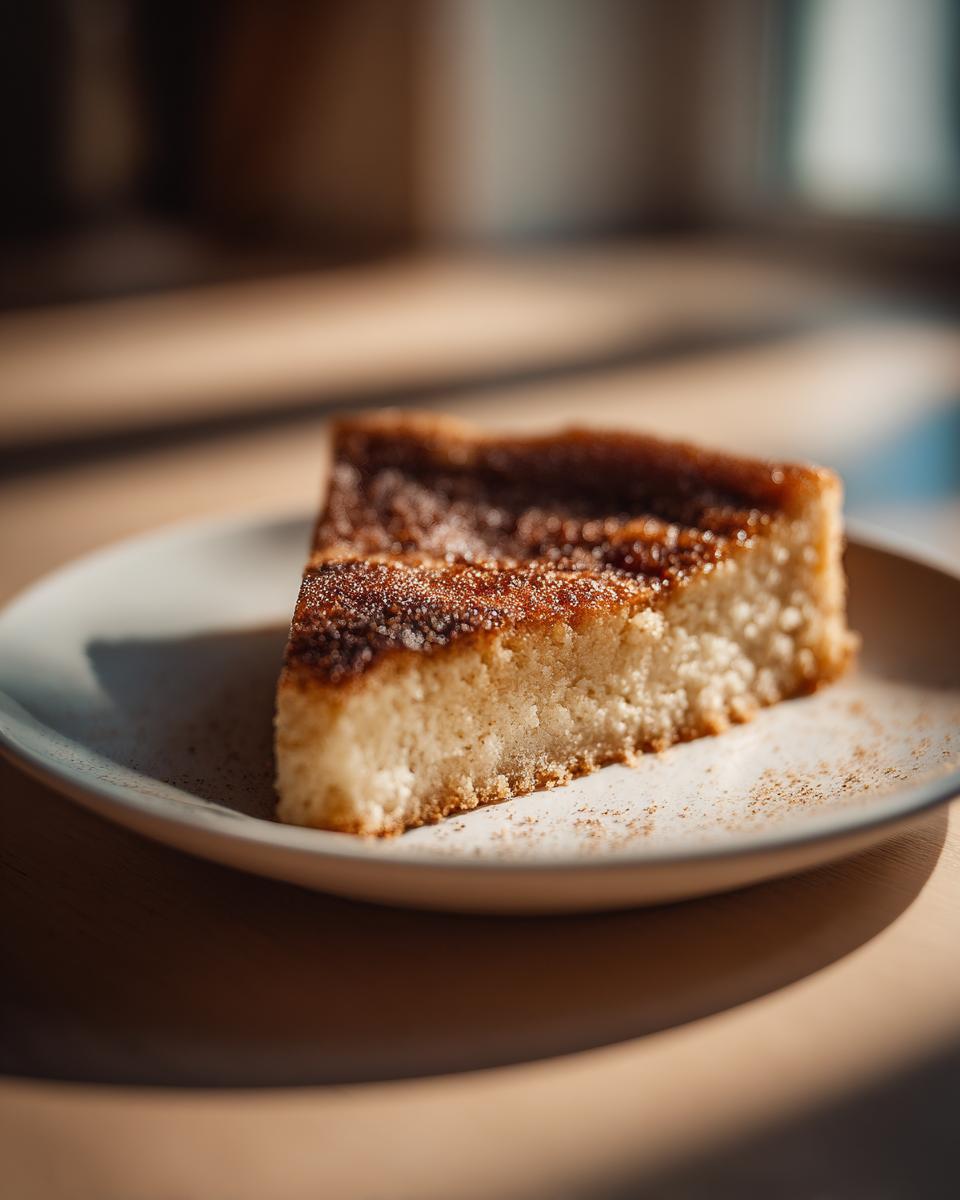
Look for three signs like I do: 1) The edges pull slightly away from the pan, 2) The top looks dry and has tiny cracks (like a desert floor!), and 3) A toothpick comes out with just a few moist crumbs – no wet batter. It keeps cooking a bit after you pull it out, so don’t overbake it. If you’re nervous, err on the side of underdone – a slightly gooey center is the best “mistake” you can make!
More Simple Homemade Dessert Recipes to Try
If you loved this easy treat, wait till you try my other go-to recipes! My no-bake chocolate oat bars are perfect for when you can’t even turn on the oven (we’ve all been there!). And when holidays roll around, these simple Easter dessert recipes will save you time while impressing everyone. They’re all just as easy, I promise!
Simple Homemade Dessert
Ingredients
Equipment
Method
- Preheat the oven to 350°F (175°C).
- Mix the flour, sugar, vanilla extract, and milk in a bowl until smooth.
- Pour the mixture into a baking dish.
- Bake for 15 minutes or until golden brown.