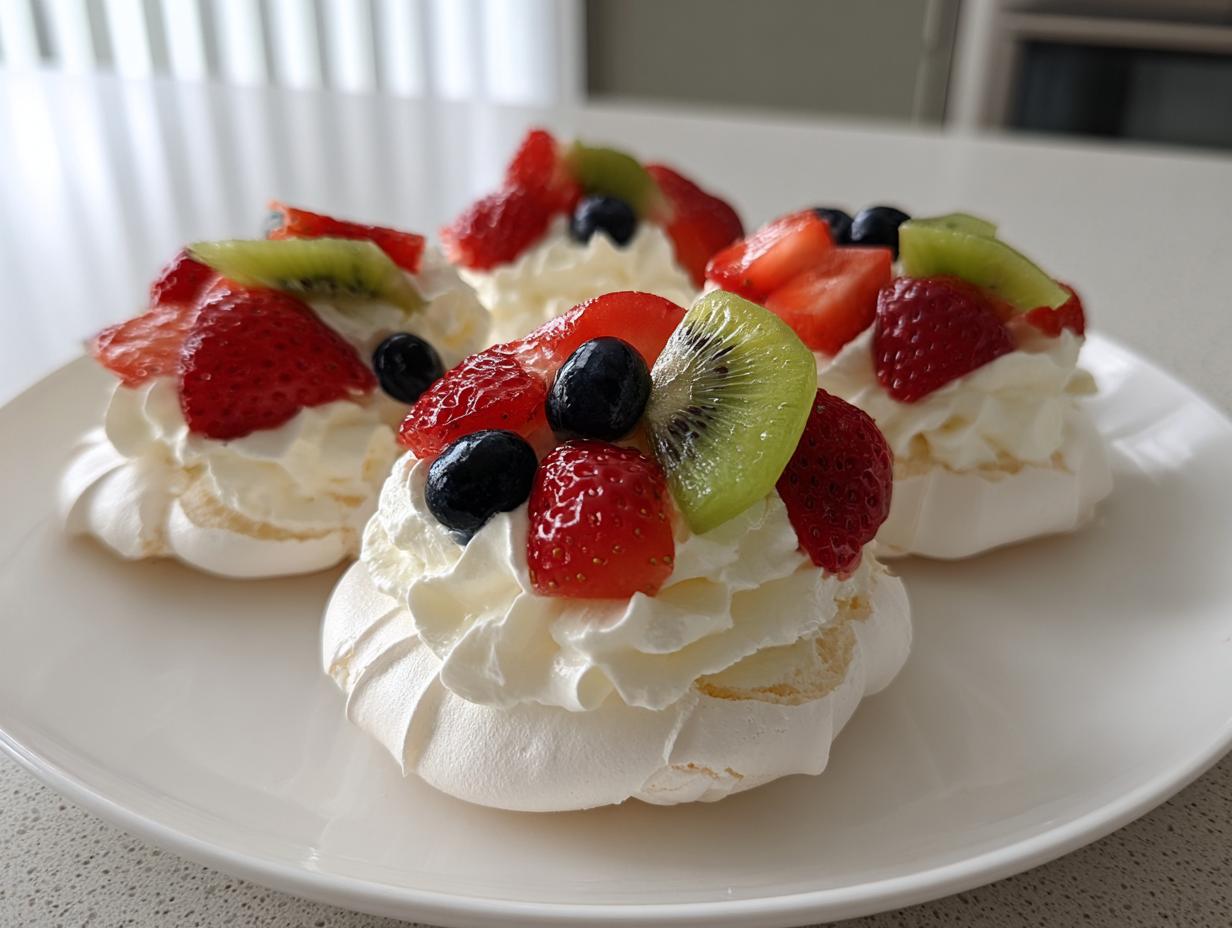
Oh, you’re going to love these mini pavlova dessert nests! They’re my go-to when I want something light yet impressive – crisp on the outside, marshmallowy inside, and just begging to be piled high with whipped cream and fresh fruit. I first fell for these delicate Australian treats at a friend’s baby shower, where they stole the show on the dessert table. What I adore most is how versatile they are – dress them up with berries for summer, pomegranate seeds for winter, or even just a drizzle of chocolate when you’re feeling fancy. Trust me, once you master these little clouds of joy, you’ll be making them for every special occasion (and inventing reasons to celebrate!).
Why You’ll Love These Mini Pavlova Dessert Nests
Let me tell you why these little meringue clouds have become my absolute favorite dessert to make (and eat!):
- That magical texture – crisp outer shell giving way to a soft, marshmallowy center that melts in your mouth
- Endless topping options – I’ve used everything from summer berries to winter citrus, and they’re all delicious
- Party perfection – their dainty size makes them ideal for showers, brunches, or fancy dinner parties
- Naturally gluten-free – a great option when you need to accommodate different diets
- Surprisingly simple – just a few basic ingredients transform into something spectacular
The best part? They look like you spent hours in the kitchen when really, most of the time is just waiting for them to bake and cool. Total showstoppers with minimal effort!
Ingredients for Mini Pavlova Dessert Nests
Gathering the right ingredients is half the battle with these delicate treats – and trust me, I’ve learned the hard way that substitutions rarely work with pavlovas! Here’s exactly what you’ll need, divided into the nests themselves and their dreamy toppings. Every measurement matters here, so I’ve included all my little notes from years of trial and error. (Psst – if you’re looking for more easy dessert recipes, I’ve got you covered!)
For the Pavlova Nests
- 4 egg whites – at room temperature (this is crucial – cold whites won’t whip properly!)
- 1 cup granulated sugar – superfine if you can find it, but regular works too
- 1 tsp white vinegar – the secret ingredient that stabilizes the meringue
- 1 tsp cornstarch – helps create that perfect crisp-yet-chewy texture
- 1 tsp vanilla extract – pure, not imitation, for the best flavor
For the Topping
- 1 cup heavy cream – chilled (the colder, the better it whips!)
- 2 tbsp powdered sugar – sifted to avoid lumps in your cream
- 1 cup mixed fresh fruit – my favorites are berries, kiwi, or passionfruit when I’m feeling fancy
A quick tip from my many kitchen experiments: measure everything before you start. Once those egg whites begin whipping, you won’t have time to hunt for ingredients! And don’t worry if your pantry doesn’t have superfine sugar – regular granulated works just fine, though you might need to beat it a tad longer to dissolve completely.
How to Make Mini Pavlova Dessert Nests
Alright, let’s get to the fun part – turning those simple ingredients into little clouds of deliciousness! I’ll walk you through each step just like I learned from my Australian friend Sarah, who taught me her grandmother’s foolproof method. Don’t let the fancy look fool you – these are easier than you think if you follow a few key tricks I’ve picked up over the years.
Preparing the Pavlova Nests
First things first – that bowl better be spotless! Any grease will sabotage your meringue. I learned this the hard way when my first attempt stayed stubbornly liquid. Now I wipe my bowl with lemon juice just to be safe. Beat those room-temperature egg whites (I can’t stress this enough – cold eggs won’t whip!) until stiff peaks form. This means when you lift the beaters, the peaks stand straight up without flopping over.
Now the sugar goes in – slowly! Add it tablespoon by tablespoon while beating, letting each addition dissolve completely before adding more. You’ll know it’s ready when the mixture looks glossy and holds stiff peaks. Then gently fold in the vinegar, cornstarch, and vanilla – don’t overmix! Use a spatula in big, sweeping motions to keep all that air in there.
For shaping, I use a spoon to dollop mounds onto parchment paper, then make little wells in the center with the back of a teaspoon. Pro tip: If you’re feeling fancy, pipe them using a star tip for pretty ridges!
Baking and Cooling Tips
Here’s where patience pays off. Bake low and slow at 250°F for exactly 60 minutes – no peeking! That steady heat dries them out without browning. When time’s up, turn off the oven but leave them inside for another 30 minutes to cool gradually. This prevents cracking (though if they do crack, just cover it with whipped cream – our little secret!).
I once rushed this step and ended up with chewy, sticky pavlovas instead of crisp ones. Lesson learned – let them take their sweet time cooling in the oven!
Assembling with Toppings
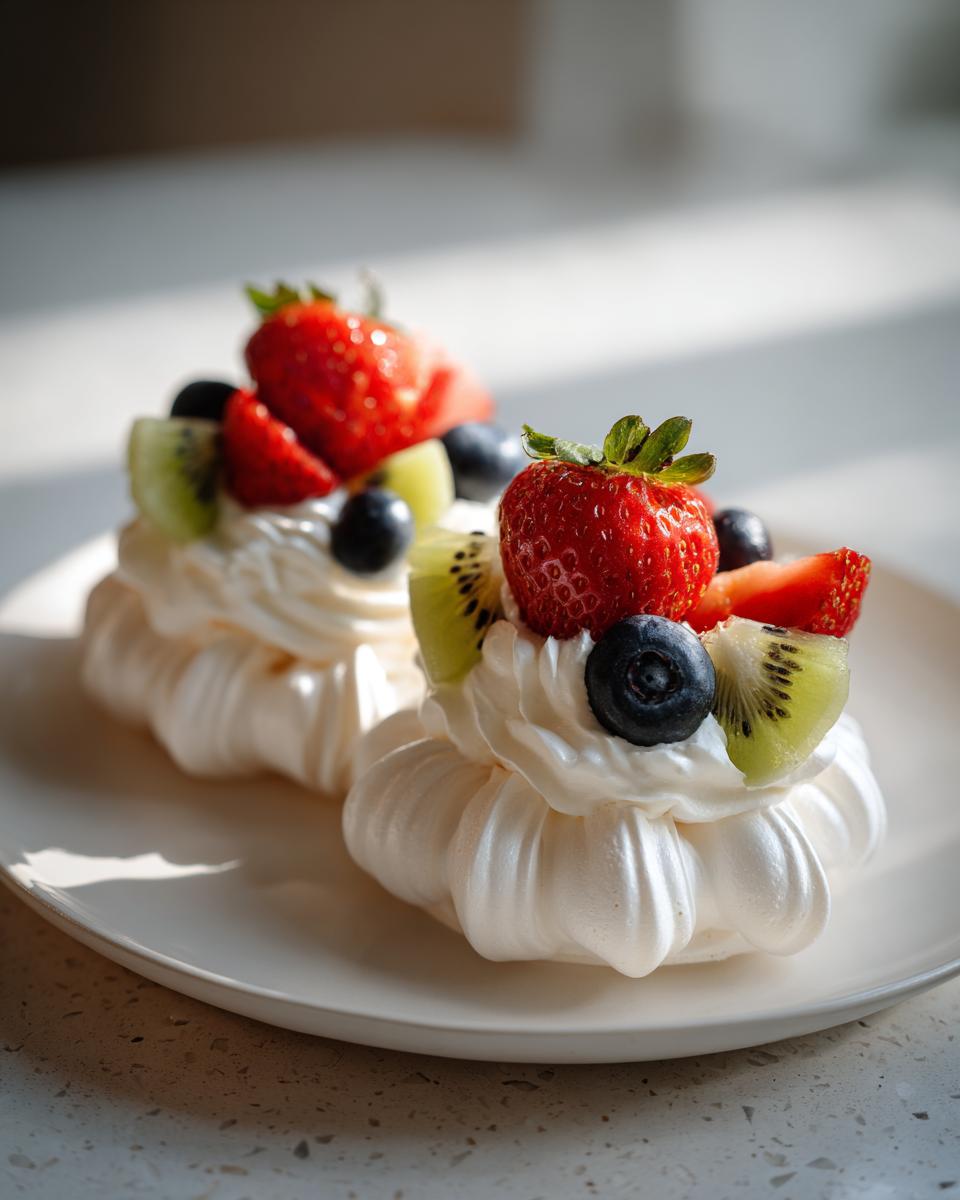
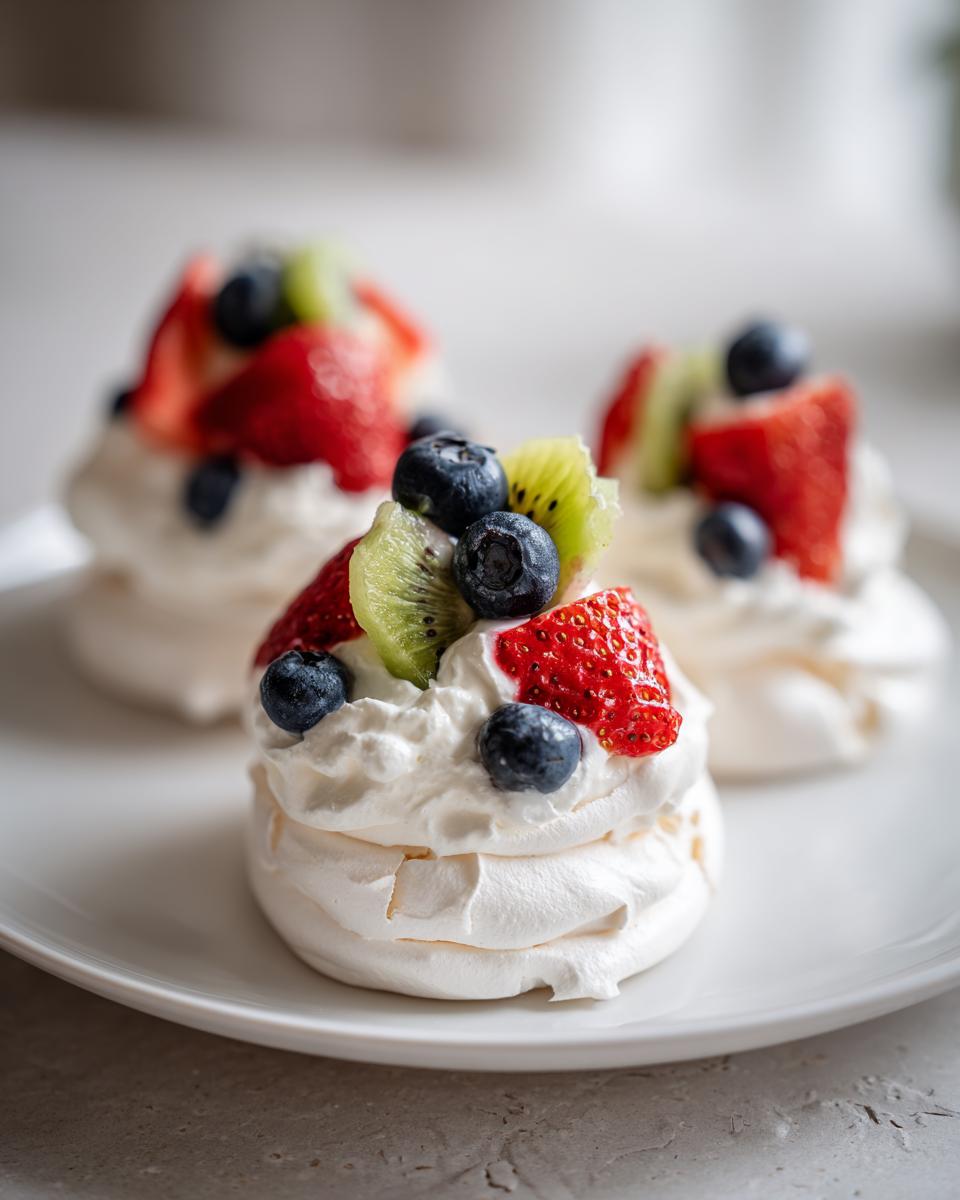
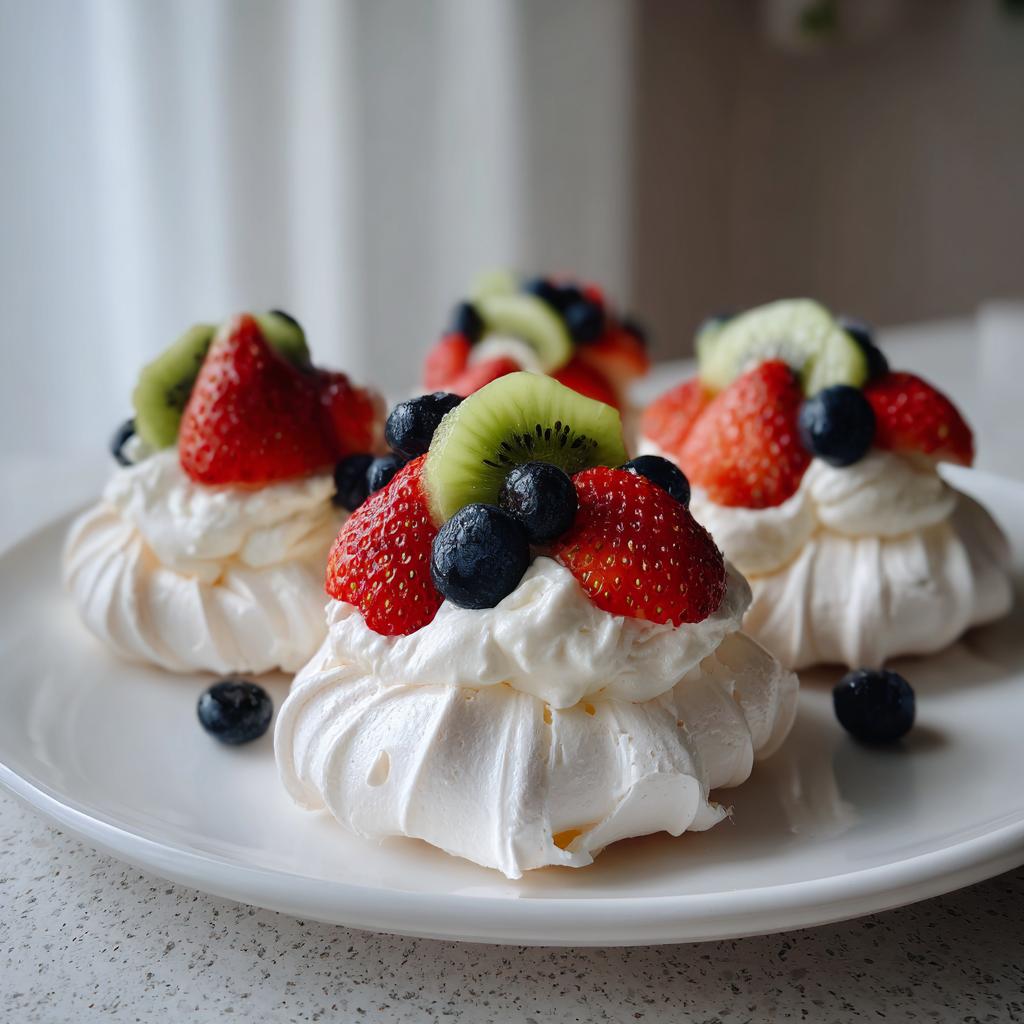
The best part! Whip that chilled cream with powdered sugar until soft peaks form – stop before it gets grainy. Spoon generously into each nest’s well. Now the fun begins – top with whatever fruit makes you happy! Berries are classic, but I adore kiwi slices for their bright color and tartness. Passionfruit pulp makes them extra special when I’m feeling fancy.

Remember – assemble right before serving or the nests will get soggy. If you need to prep ahead, store the components separately (the nests keep beautifully in an airtight container for 2 days). For more simple no-bake desserts, check out my other favorites!
Tips for Perfect Mini Pavlova Dessert Nests
After making these delicate treats more times than I can count (and yes, having my fair share of kitchen disasters!), I’ve learned a few tricks that guarantee perfect pavlova nests every time. Trust me, these little nuggets of wisdom will save you from the heartbreak of collapsed meringues!
First – that bowl needs to be cleaner than clean! I wipe mine down with lemon juice or vinegar before starting. Any trace of grease will stop your egg whites from whipping properly. And speaking of egg whites, room temperature is non-negotiable. I leave mine out for at least 30 minutes before baking.
Watch the weather too – pavlovas and humid days don’t mix. If it’s rainy out, I’ll wait for drier weather or crank up the AC. The moisture in the air can make your beautiful nests weep (and nobody wants soggy pavlovas!).
For storage, keep those unfilled nests in an airtight container at room temperature – they’ll stay crisp for up to 2 days. But here’s my golden rule: always add toppings at the last minute. That whipped cream and fruit will turn your crispy clouds into mush if they sit too long. I learned this the hard way when I prepped a batch for a party too early – let’s just say we had pavlova soup instead of nests!
One last pro tip: if your nests crack while cooling (it happens to the best of us!), just cover the evidence with extra whipped cream and fruit. Your guests will never know – and they’ll be too busy enjoying these heavenly bites to notice anyway!
Serving Suggestions for Mini Pavlova Dessert Nests
Oh, these little beauties shine at any gathering! I love serving them with strong coffee after dinner – the bitterness balances the sweetness perfectly. For fancier occasions, pair them with a sweet dessert wine or bubbly prosecco. The crisp bubbles against the soft meringue? Absolute heaven!
They’re practically made for spring celebrations. I always make a batch for Easter brunch – their pastel toppings look so festive next to the chocolate eggs. And if you’re planning a Mother’s Day tea? These nests will be the star of your dessert table. Check out my other Easter dessert recipes for more seasonal inspiration!
Pro tip: Arrange them on a pretty cake stand with fresh flowers around the base. The contrast between the delicate nests and vibrant blooms makes for such an Instagram-worthy presentation. Just try not to eat them all before your guests arrive – I may have failed at this once or twice!
Storage and Make-Ahead Tips
Here’s my golden rule for these delicate nests: store them naked! Keep those unfilled pavlovas in an airtight container at room temperature, and they’ll stay perfectly crisp for up to 2 days. I’ve stashed mine in cookie tins with great success – just make sure they’re completely cool first. The toppings? Those wait until the very last second before serving. I learned this lesson the hard way when I got overeager and assembled everything the night before a party – let’s just say we had pavlova pancakes instead of nests by morning! Trust me, that whipped cream and juicy fruit will turn your crispy clouds into sad, soggy messes if they sit too long together.
Mini Pavlova Dessert Nests FAQs
I get asked about these little clouds of joy all the time! Here are the most common questions that pop up (usually after friends taste them and immediately want to make their own):
Can I make mini pavlova nests ahead of time?
Absolutely! The unfilled nests keep beautifully in an airtight container at room temperature for up to 2 days. Just wait to add the whipped cream and fruit until right before serving – otherwise they’ll lose that perfect crisp texture. I often bake a batch on Thursday for weekend parties!
Why did my pavlova crack?
Oh honey, we’ve all been there! Cracks usually happen from temperature changes – either opening the oven door too soon or cooling them too quickly. My trick? Leave them in the turned-off oven for that full 30 minutes to cool gradually. And if they do crack? Pile on extra whipped cream – no one will ever know!
Can I freeze mini pavlova nests?
Honestly? I don’t recommend it. The texture changes when thawed – they lose that magical crispness and can become chewy. They’re so quick to make fresh that it’s better to bake them the day you need them. Trust me, the difference is worth the extra effort!
Why won’t my egg whites whip properly?
This drove me crazy until I learned the secrets! First, make sure your bowl and beaters are squeaky clean – any grease is the enemy. Second, room temperature egg whites whip much better than cold ones. And third – patience! It takes a good 3-5 minutes of beating to get those stiff, glossy peaks.
Can I use brown sugar instead of white?
I wouldn’t recommend it for these delicate nests. The molasses in brown sugar adds moisture that can make your pavlovas weep (and nobody wants sticky meringues!). Stick with regular granulated or superfine sugar for that perfect crisp texture.
Nutritional Information
Just a quick note about the nutrition in these delightful little nests – these numbers are estimates based on standard ingredients. Your actual counts might vary depending on the exact brands and types of fruit you use. Each mini pavlova nest comes in around 150 calories, with that heavenly combo of crisp meringue, pillowy cream, and fresh fruit. While they’re not exactly health food (let’s be real!), they’re lighter than most desserts and packed with vitamin C from all that beautiful fresh fruit!
Share Your Mini Pavlova Dessert Nests
I’d love to see your beautiful creations! Did you try a fun fruit combo? Maybe add a drizzle of chocolate? Snap a photo and share it with me – there’s nothing I enjoy more than seeing how you put your own spin on these delicate nests. Leave a comment below with your tips or questions, or tag me on social media so I can admire your handiwork. Happy baking, my fellow pavlova lovers!
Mini Pavlova Dessert Nests
Ingredients
Equipment
Method
- Preheat the oven to 250°F (120°C). Line a baking sheet with parchment paper.
- In a clean bowl, beat the egg whites until stiff peaks form.
- Gradually add the sugar, one tablespoon at a time, while continuing to beat until the mixture is glossy and stiff.
- Gently fold in the vinegar, cornstarch, and vanilla extract.
- Spoon the mixture onto the prepared baking sheet, forming 12 small nests with a slight indentation in the center.
- Bake for 60 minutes, then turn off the oven and let the pavlovas cool inside for 30 minutes.
- Whip the heavy cream and powdered sugar until soft peaks form.
- Top each pavlova nest with whipped cream and fresh fruit before serving.