How to Cook the Perfect Kitchenaid Pasta Recipe: A Culinary Masterpiece 🍝✨🌿
1. Introduction
Craving the taste of authentic, fresh pasta? Imagine twirling a forkful of perfectly cooked pasta, made entirely from scratch in your own kitchen! Look no further! With the help of your KitchenAid mixer and its pasta attachments, creating the perfect Kitchenaid pasta recipe at home is easier and more satisfying than you think. This comprehensive guide will walk you through each step with helpful tips and tricks, ensuring you achieve pasta perfection every time. From the initial mixing of the dough to the final flourish of cooking your homemade creation, we’ve got you covered. Whether you’re a seasoned chef looking to refine your technique or a complete beginner eager to learn a new skill, this homemade pasta recipe is guaranteed to impress your friends, family, and most importantly, yourself.
2. Gathering Your Ingredients and Equipment
Before you begin your pasta-making adventure, it’s essential to make sure you have all the necessary ingredients and equipment readily accessible. A little preparation goes a long way in making the process smoother and more enjoyable. For the perfect Kitchenaid pasta recipe, you’ll need:
- 2 cups of all-purpose flour (or semolina flour for a more traditional taste and slightly coarser texture). Semolina flour can elevate your pasta!
- 3 large eggs (preferably at room temperature for better emulsification)
- 1/2 teaspoon of salt (enhances the flavor of the pasta)
- 2 tablespoons of olive oil (optional, but adds smoothness and richness to the dough)
- KitchenAid Stand Mixer (the star of the show!)
- Pasta Roller Attachment (for creating thin, even sheets of pasta)
- Pasta Cutter Attachment (for transforming those sheets into spaghetti, fettuccine, or your favorite shape)
Having everything measured, organized, and prepared beforehand will significantly streamline the homemade pasta recipe process, leaving you free to focus on the art of pasta making. If you’re feeling adventurous, consider exploring other beef recipes too, such as these keto recipes using beef mince.
3. Step-by-Step Guide to Making Kitchenaid Pasta
3.1. Step 1: Mixing the Dough
In the impeccably clean bowl of your KitchenAid mixer, combine the flour and salt. It’s best to use the dough hook attachment for this process. Gently add the eggs and olive oil (if you’re using it). Mix on low speed until the dough starts to come together, forming a somewhat shaggy mass. If the dough appears to be too dry and isn’t quite holding together, add water, one teaspoon at a time, until it coalesces into a shaggy ball. Be careful not to add too much water at once! Once the dough has come together, increase the mixer speed to medium and knead the dough for about 5-7 minutes until it transforms into a smooth and elastic ball. This kneading process is a crucial step in developing the proper gluten structure and creating the right texture for your signature Kitchenaid pasta recipe. The dough should be firm but pliable.
3.2. Step 2: Resting the Dough
Remove the freshly kneaded dough from the mixer and gently form it into a neat, round ball. Wrap it tightly and securely in plastic wrap (ensure there are no air pockets) and let it rest at room temperature for a minimum of 30 minutes, but ideally for an hour. This resting period allows the gluten in the flour to relax, making the dough significantly easier to roll out into thin, even sheets. Resting the dough is a non-negotiable step for achieving the very best results and a superior texture in your homemade pasta recipe. Patience is key!
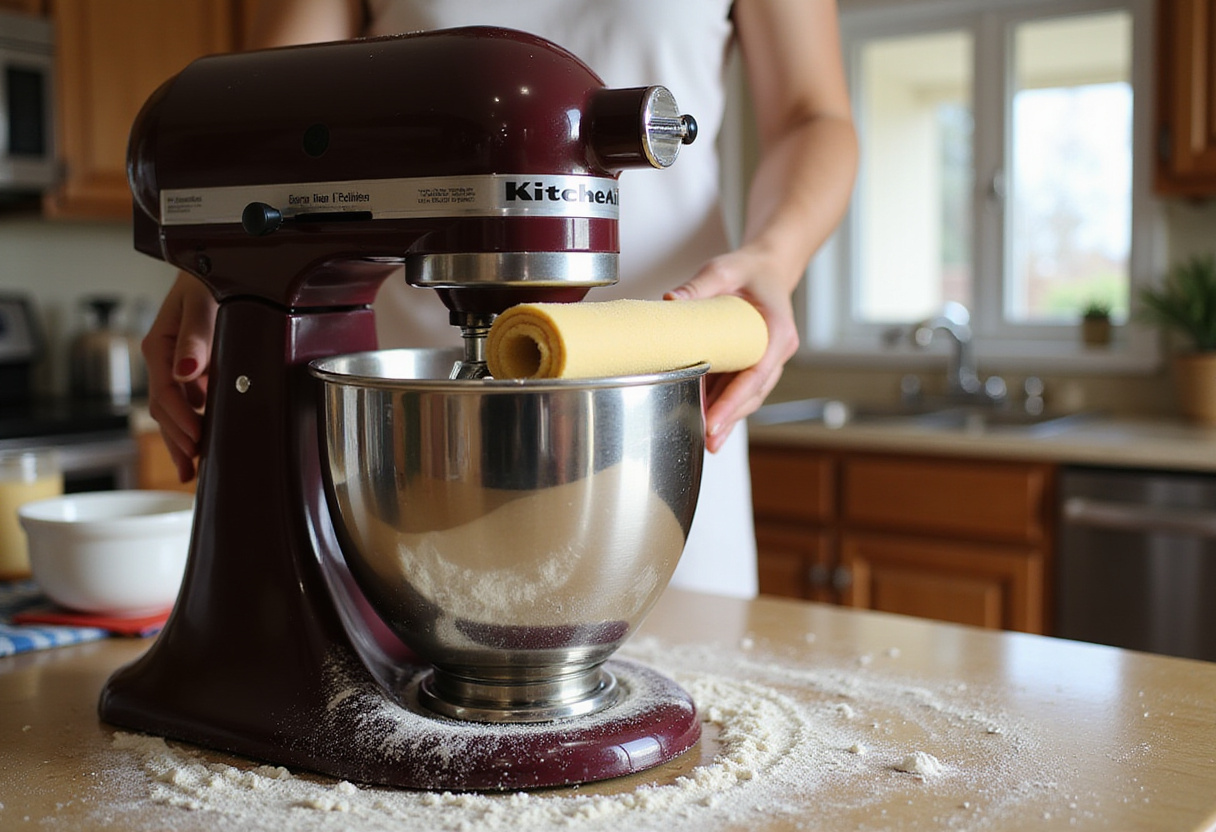
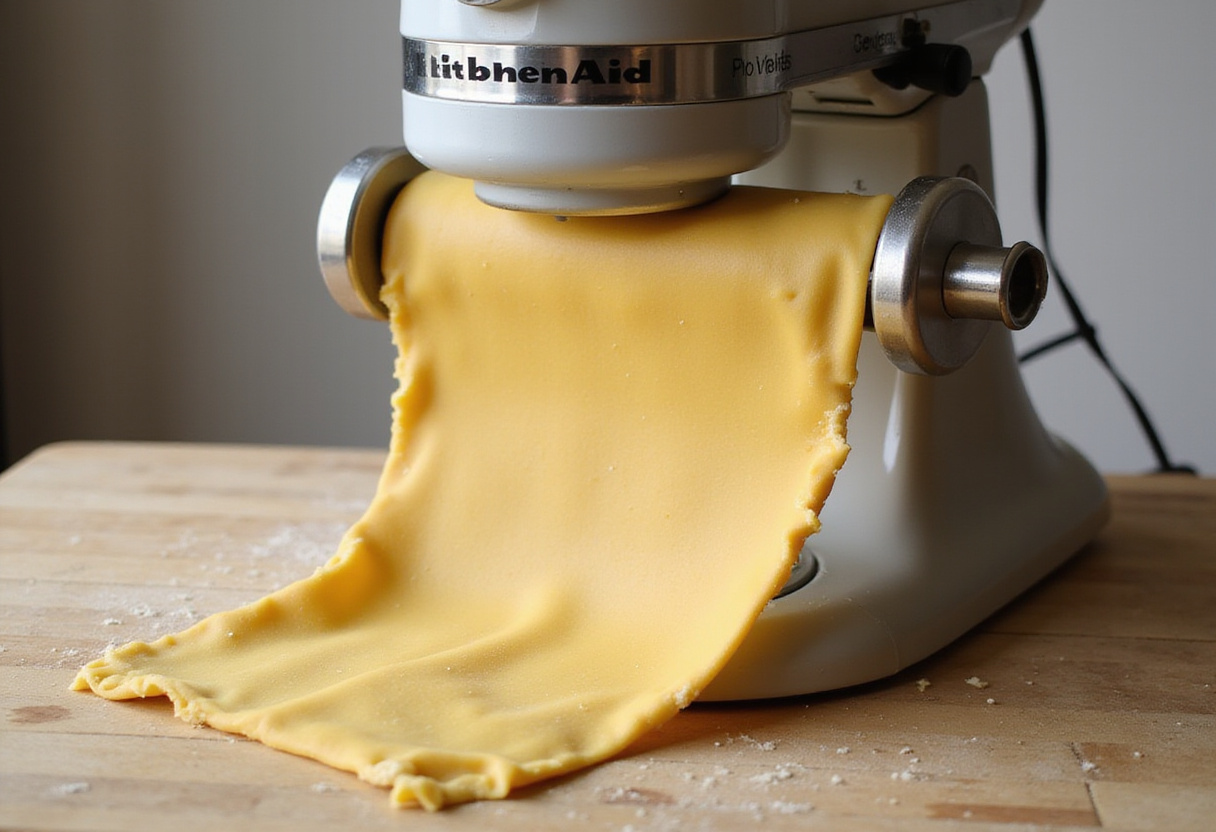
3.3. Step 3: Rolling the Pasta
Now for the exciting part! Attach the pasta roller attachment securely to your KitchenAid mixer, following the manufacturer’s instructions. Divide the rested dough into smaller, manageable portions (about the size of a tennis ball is a good starting point). Flatten one portion into a disc shape with your hands to prepare it for the roller. Feed the prepared dough disc through the pasta roller at the widest setting (usually marked as #1). As the dough emerges, fold it in half and repeat this process several times (4-5 times is ideal) to ensure the dough is perfectly smooth and uniform. Gradually decrease the setting on the pasta roller to make the dough thinner with each pass, carefully passing it through each setting in sequence (e.g., #2, #3, #4, and so on) until you reach your desired thickness for your pasta. Remember to lightly flour the dough sheet if it starts to stick. This meticulous rolling process is where your pasta with Kitchenaid truly shines, giving you unparalleled control over the final texture and thickness of your pasta.
3.4. Step 4: Cutting the Pasta
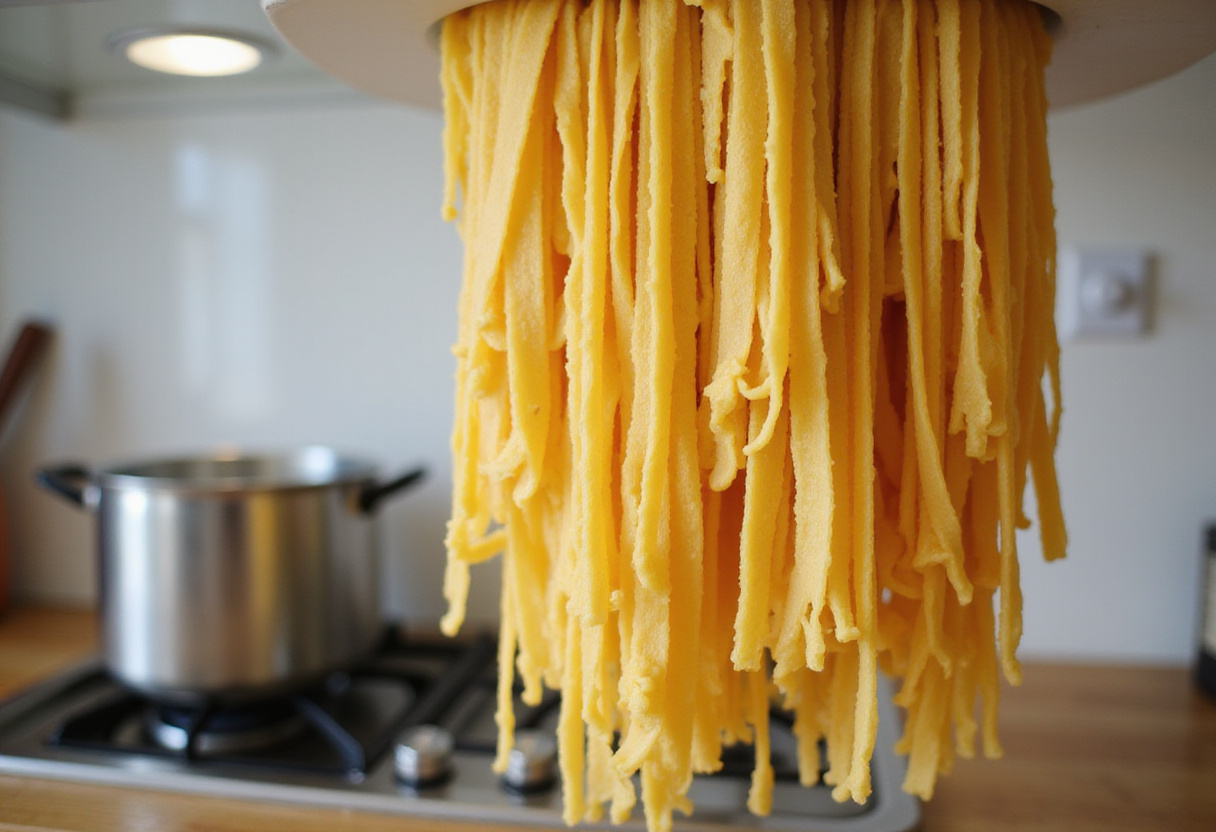
Once you’ve successfully rolled the pasta dough to your desired thinness (typically setting #6 or #7 for most pasta shapes), it’s time to switch gears and attach the pasta cutter attachment to your KitchenAid mixer. Select the cutter that corresponds to your desired pasta shape (e.g., spaghetti, fettuccine, tagliatelle). Gently feed the thin sheet of rolled pasta through the cutter attachment to create your chosen pasta shape. As the freshly cut pasta emerges, toss it lightly with a generous dusting of flour to prevent it from sticking together in clumps. Carefully lay the cut pasta strands on a clean drying rack or hang them to dry slightly for about 15-20 minutes before cooking. This brief drying period helps the pasta maintain its shape during cooking. Utilizing the specialized KitchenAid attachments makes this crucial step incredibly efficient and ensures consistent, professional-looking results for any Kitchenaid pasta recipe. You can find more information about making pasta on the KitchenAid website here.

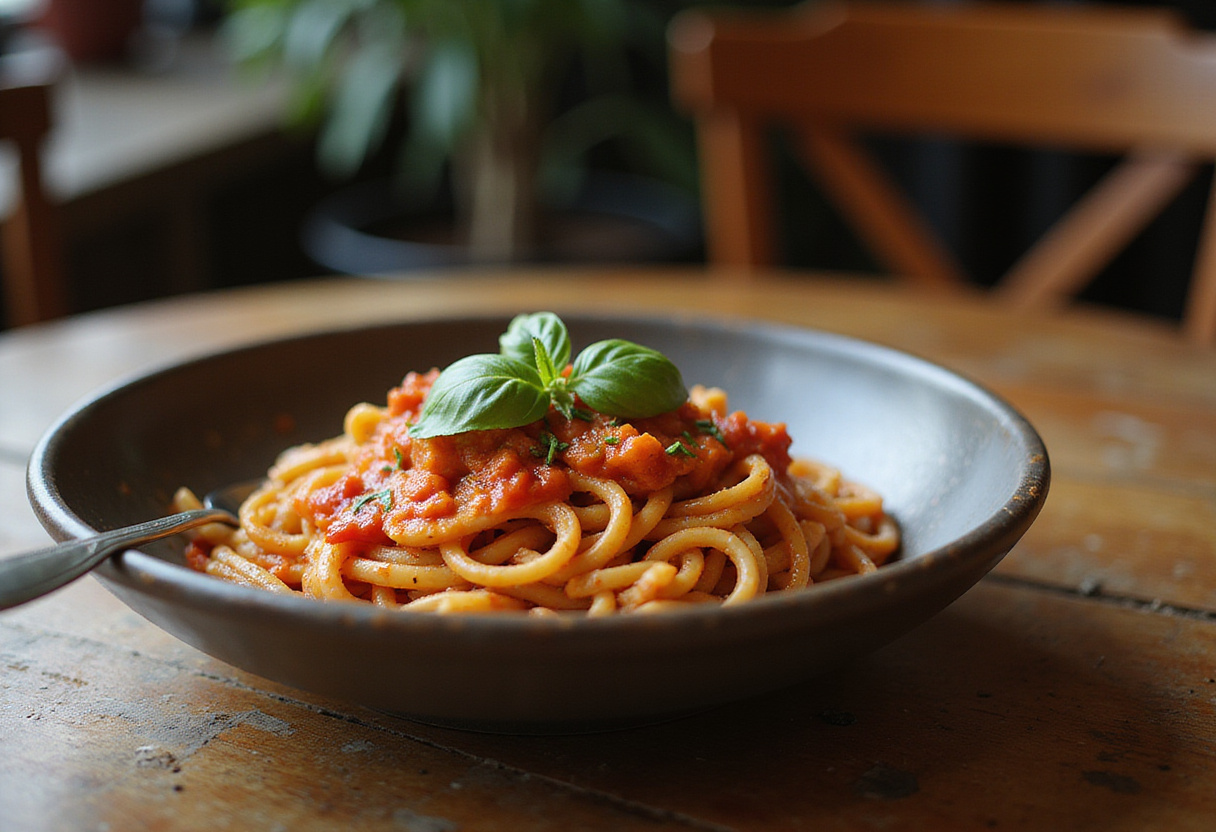
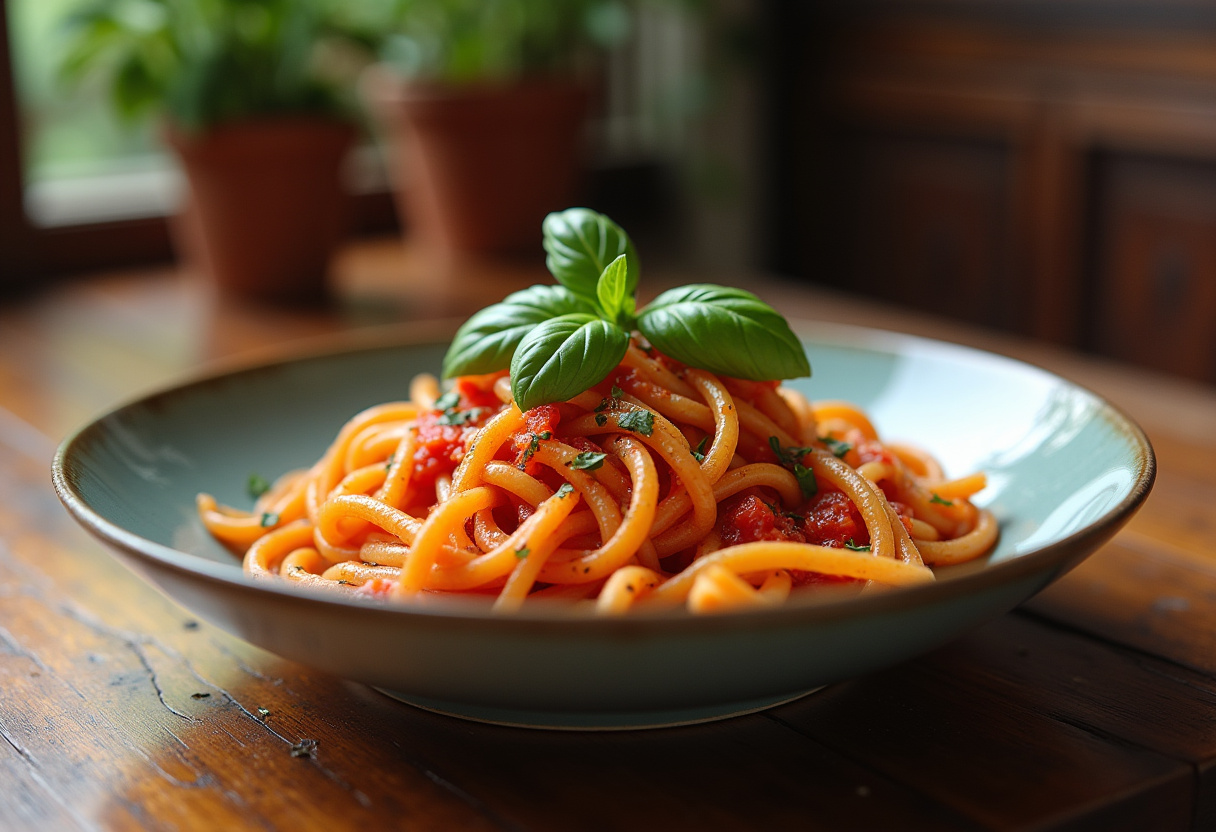
4. Cooking Your Homemade Pasta
Bring a large pot of generously salted water to a vigorous, rolling boil. The salt is crucial for seasoning the pasta from the inside out. Add the fresh pasta carefully to the boiling water, ensuring not to overcrowd the pot. Cook the fresh pasta for a remarkably short 2-3 minutes, or until it floats gracefully to the surface and achieves that perfect “al dente” texture – tender but still slightly firm to the bite. Remember, fresh pasta cooks much faster than its dried counterpart, so keep a vigilant eye on it to prevent overcooking. Once cooked to perfection, carefully drain the pasta in a colander and serve it immediately with your favorite, complementary sauce. Whether you opt for a simple yet vibrant tomato sauce, a luxurious creamy Alfredo, or a robust ragu, your labor-of-love Kitchenaid pasta recipe creation will undoubtedly taste absolutely divine.
5. Tips for the Perfect Pasta Texture
- Use the Right Flour: While all-purpose flour can certainly work in a pinch, using semolina flour (or a blend of all-purpose and semolina) gives your pasta a more authentic, slightly coarser, and delightfully chewy texture.
- Don’t Skip the Resting Time: We cannot emphasize this enough! Resting the dough is absolutely essential for achieving a tender, pliable pasta that is easy to work with and yields a superior final product.
- Adjust the Dough as Needed: Pasta dough is a delicate balance. If the dough feels too dry and crumbly, gradually add a teaspoon of water at a time until it comes together. Conversely, if the dough is excessively sticky, incorporate a tablespoon of flour at a time until it reaches the desired consistency.
By following these indispensable tips, you’ll be well on your way to fine-tuning your specific homemade pasta recipe to perfectly match your exact preferences and achieve consistently outstanding results. And if you want to explore more about beef recipes, check out how to make keto beef mince stir fry.
6. Serving Suggestions
Freshly made pasta is incredibly versatile and serves as the perfect canvas for a wide array of delectable sauces and accompaniments. Here are just a few enticing serving suggestions to spark your culinary creativity:
- Classic Marinara: Embrace simplicity with a vibrant and fragrant tomato sauce, brimming with fresh basil, garlic, and a touch of olive oil.
- Creamy Alfredo: Indulge in the ultimate comfort food with a rich and decadent Alfredo sauce, featuring copious amounts of Parmesan cheese, butter, and a hint of cream.
- Pesto Perfection: Transport your taste buds to the Mediterranean with a vibrant green pesto sauce, crafted from fresh basil, pine nuts, garlic, Parmesan cheese, and extra virgin olive oil.
Regardless of the sauce you choose to pair it with, your exquisite pasta with Kitchenaid creation is destined to be a resounding hit! For different dining experience, you might want to try beef shank recipes.
7. Troubleshooting Common Issues
- Dough Too Sticky: Resist the urge to add large quantities of flour at once. Instead, gradually incorporate more flour, one tablespoon at a time, until the dough begins to pull away from the sides of the bowl and reaches that Goldilocks consistency – not too sticky, not too dry.
- Pasta Tearing While Rolling: When pasta stubbornly tears during the rolling process, it’s a telltale sign that the dough is likely too dry. Combat this by allowing the dough to rest for a longer period, giving the gluten more time to relax and hydrate. Alternatively, you can try adding a minuscule amount of water (a teaspoon at a time) to the dough to increase its moisture content.
- Pasta Sticking Together After Cutting: Combat the dreaded pasta sticking dilemma by tossing the freshly cut pasta generously with flour immediately after cutting. Ensure that the pasta is thoroughly coated in a light dusting of flour before allowing it to dry slightly on a rack.
Proactively addressing these common issues will not only ensure a smoother and more enjoyable pasta-making experience but also elevate the overall quality and consistency of your cherished Kitchenaid pasta recipe.
8. Storing Homemade Pasta
If you’re not planning on cooking your freshly made pasta immediately, don’t fret! You can easily store it for later use in either the refrigerator or the freezer. To refrigerate the pasta effectively, toss it generously with flour to prevent sticking and arrange it in a single, non-overlapping layer on a baking sheet lined with parchment paper. Cover the baking sheet loosely with plastic wrap to prevent the pasta from drying out and store it in the refrigerator for up to 24 hours. For longer-term storage, freezing is an excellent option. Follow the same steps as for refrigerating – toss with flour, arrange in a single layer on a baking sheet – but freeze the pasta, uncovered, for about 15-20 minutes before transferring it to a freezer-safe bag or container. This initial freezing period prevents the pasta strands from clumping together in the freezer. When you’re ready to cook the frozen pasta, simply add it directly to boiling water straight from the freezer, adding an extra minute or two to the cooking time to compensate for its frozen state. If you’re enjoying cooking beef, you can also try beef shoulder roast recipe.
9. Conclusion
Creating a delectable Kitchenaid pasta recipe at home is not just about following instructions; it’s a deeply rewarding culinary experience that connects you to tradition and allows you to express your creativity. With the right combination of high-quality ingredients, reliable equipment like your trusty KitchenAid mixer, and a mastery of essential techniques, you can consistently enjoy fresh, flavorful, and utterly delicious pasta that rivals anything you’d find in even the finest restaurants. Embrace the process, don’t be afraid to experiment, and most importantly, remember to have fun! Follow this comprehensive guide diligently, and you’ll undoubtedly master the time-honored art of the homemade pasta recipe in no time. So gather your ingredients, dust off your KitchenAid, and embark on a pasta-making journey that will tantalize your taste buds and impress everyone you share it with. Enjoy every step of the journey and savor each and every delightful bite of your homemade creation! From the initial mixing of the dough to the final plating, utilizing your pasta with Kitchenaid is truly a game-changer, transforming the process from a chore into an enjoyable and fulfilling culinary adventure! You can also find other ways to cook beef such as slow cooking the beef shank.