You know those times when you need a quick, delicious treat for a party or just a sweet afternoon pick-me-up? I totally get it – that’s why I’m obsessed with these easy sweet finger foods. They’re my go-to when I want something irresistible without spending hours in the kitchen. Honestly, the first time I made these, I couldn’t believe how simple they were – just a few basic ingredients and 25 minutes from start to finish. Now they’re my little secret weapon for impressing guests (who always think I slaved over them!) or satisfying those sudden chocolate cravings. The best part? They’re so easy that even my 7-year-old can help make them!
Why You’ll Love These Easy Sweet Finger Foods
Let me tell you why these little treats have become my kitchen heroes time and time again. First off, they’re ridiculously quick – we’re talking 15 minutes of prep and you’re done. No fancy equipment, no complicated steps, just mix, press, bake, and enjoy. I’ve made these when surprise guests showed up and they never suspect how little effort went into them!
Here’s what makes them so special:
- Minimal ingredients: You probably have everything in your pantry right now. Graham crackers, butter, chocolate chips – that’s basically the shopping list!
- Party perfect: These are the finger food dreams are made of. One-bite wonders that disappear from platters faster than you can say “seconds please!”
- Kid-approved magic: My little ones go nuts for helping make (and eat) these. The marshmallow topping makes them feel like they’re getting away with something special.
- Endlessly adaptable: Feeling fancy? Add some sea salt. Want extra crunch? Throw on some chopped nuts. The basic recipe is just the starting point for your creativity.
Trust me, once you try these, you’ll understand why they’re the first thing I reach for when I need something sweet, simple, and sure to please a crowd.
Ingredients for Easy Sweet Finger Foods
Okay, let’s talk about what makes these little sweet bites so magical – and honestly, it all comes down to simple, everyday ingredients. I love recipes where I don’t have to make special trips to the store, and this one definitely fits that bill. I always joke that if my kitchen was bare except for these five items, I could still whip up something impressive!
For the Base
The foundation of these treats couldn’t be easier – just two ingredients for that perfect crisp-but-tender bite:
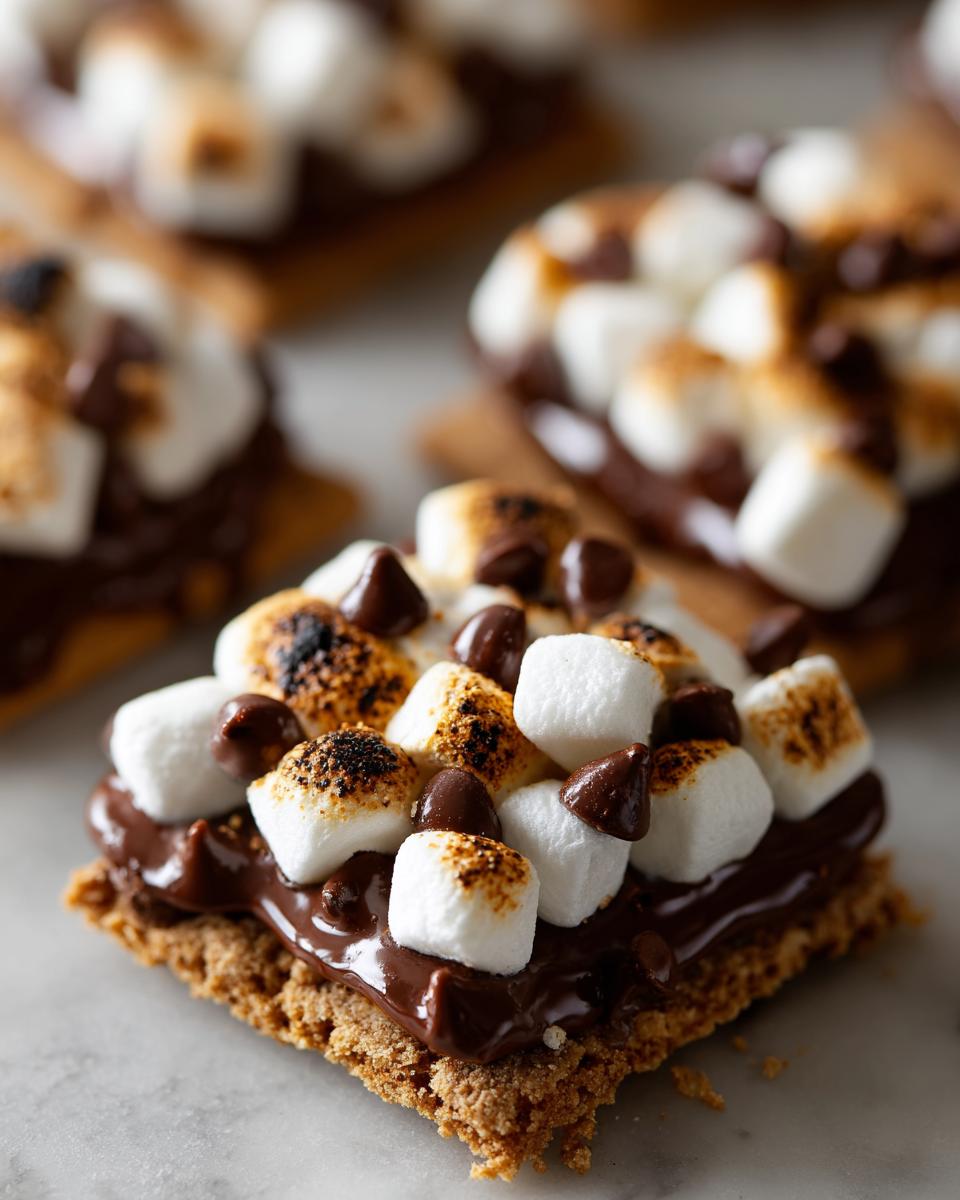
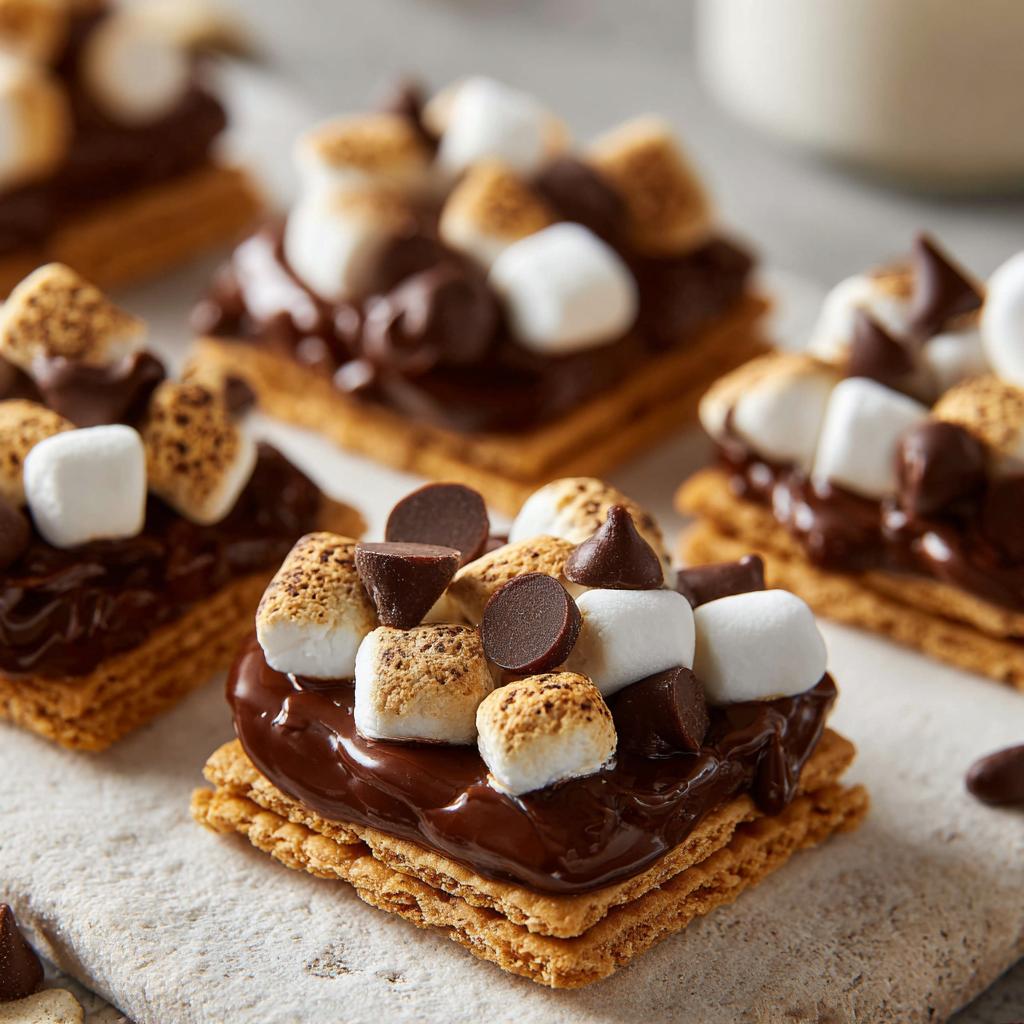
- 1 cup graham cracker crumbs – Don’t even think about buying pre-crumbled ones! I just throw whole crackers in a ziplock and let my rolling pin have some stress relief. The texture is so much better when you do it yourself.
- ¼ cup melted butter – And I mean real butter, none of that margarine stuff. Once I accidentally grabbed salted butter and you know what? It was a happy accident that I’ve stuck with ever since. That tiny salty bite plays so nicely with the sweetness!
For the Topping
Here’s where things get really fun – these are the ingredients that turn your basic base into little pieces of heaven:
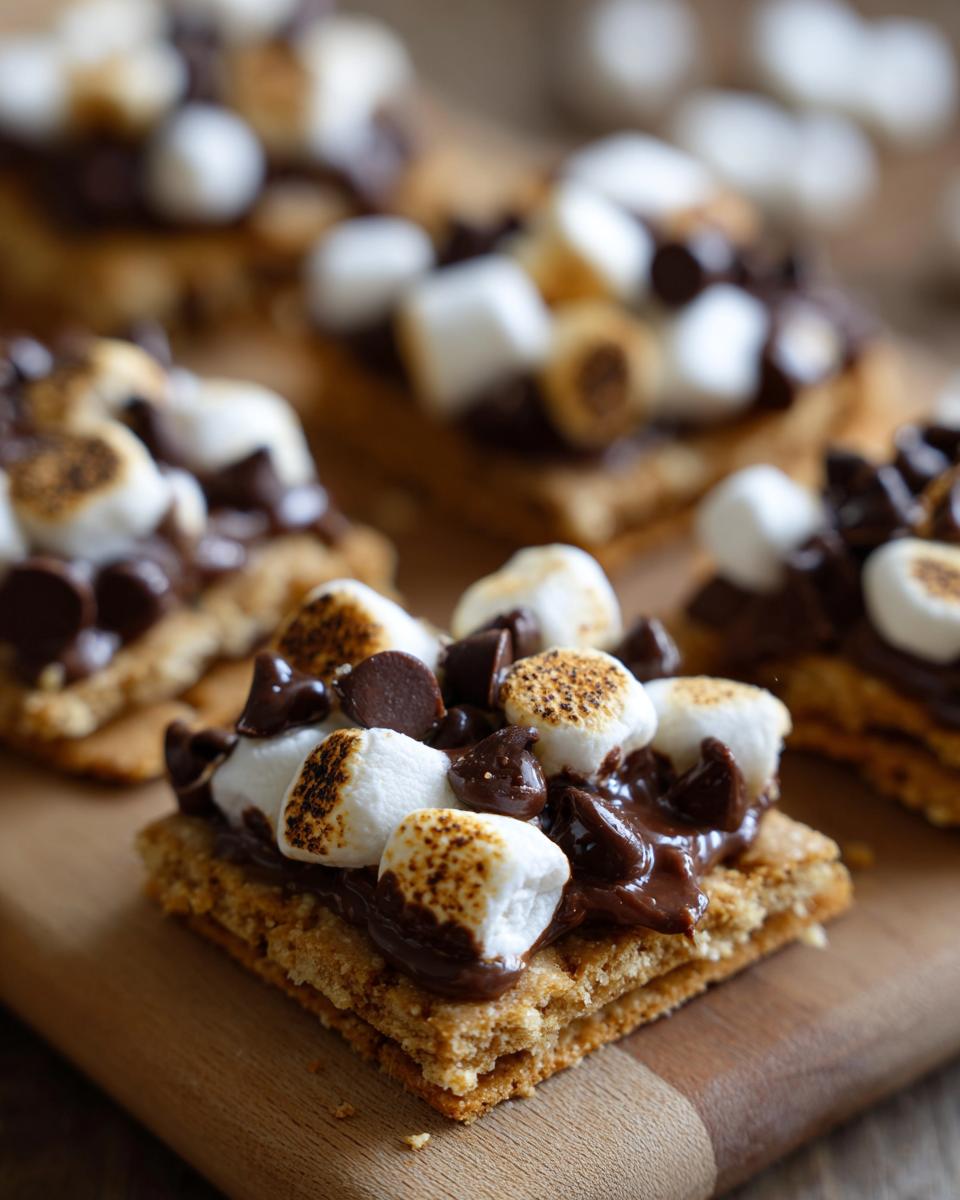
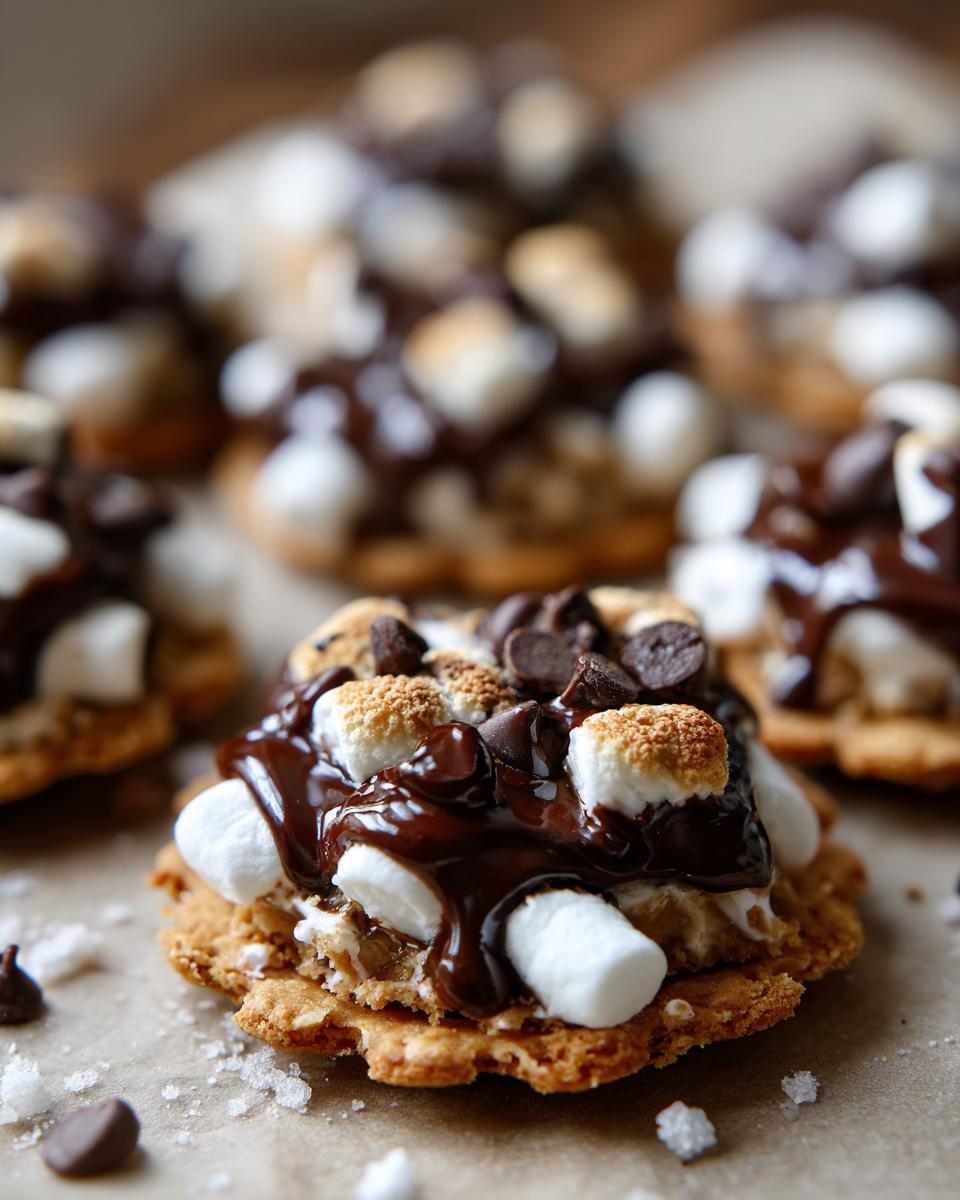
- 1 cup chocolate chips – Semi-sweet is my go-to, but feel free to mix it up! I’ve used everything from white chocolate to dark chocolate chunks when that’s what I had on hand. For extra flair, try mixing two kinds like I did last Valentine’s Day – it was a hit!
- ½ cup mini marshmallows – The minis are crucial here – they melt perfectly over those chocolate chips. Regular marshmallows would be too much. Though one time I cut up big marshmallows when I ran out of minis… let’s just say I don’t recommend that method (hello, sticky fingers!).
Looking for more fruit-based dessert ideas? Check out these easy fruit dessert recipes that pair perfectly with these sweet finger foods!
How to Make Easy Sweet Finger Foods
Alright, let’s get to the fun part – making these irresistible little bites! I promise it’s easier than you think. The first time I made these, I was shocked at how quickly they came together. Now I can practically make them with my eyes closed (though I don’t recommend trying that with melted chocolate involved!).
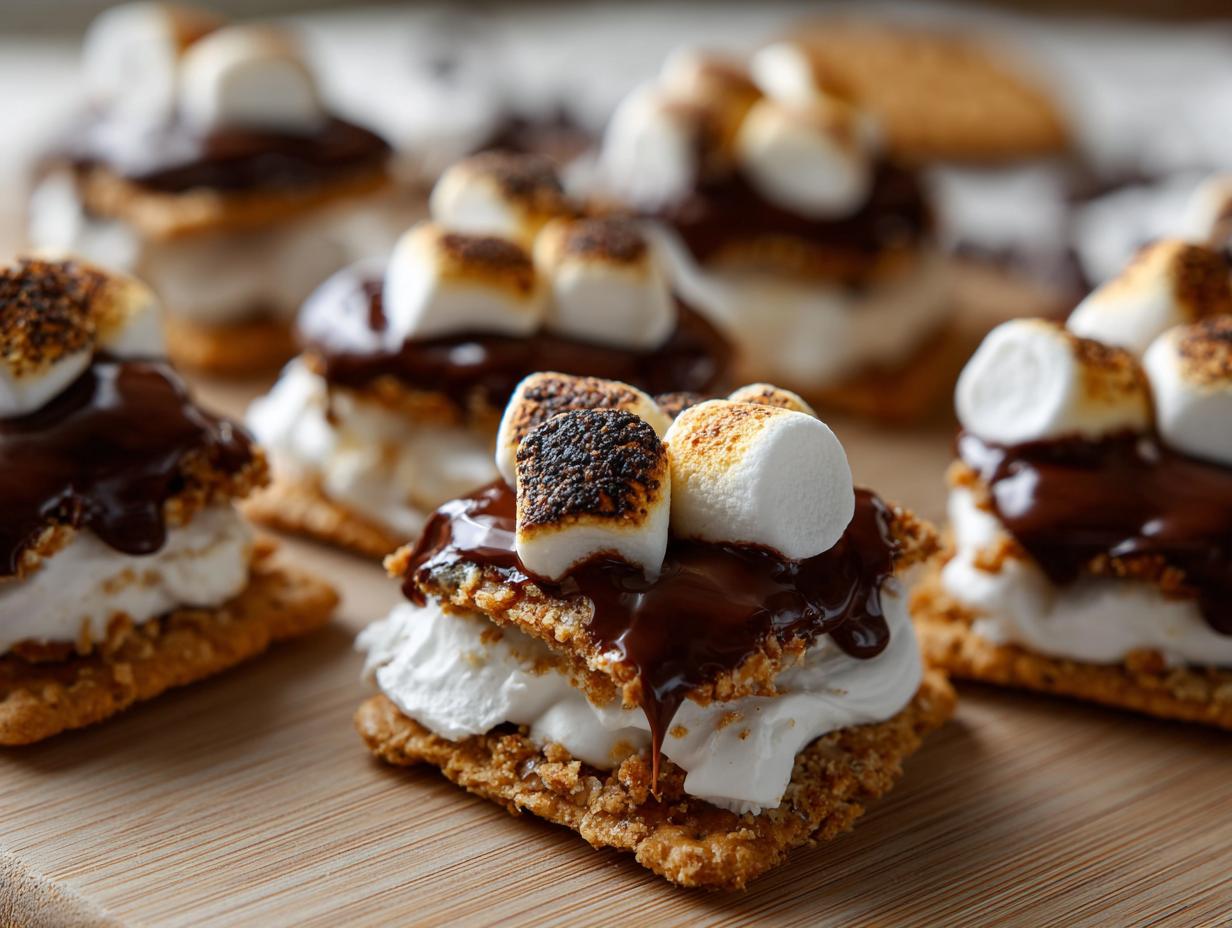
- Preheat your oven to 350°F (175°C). Line your baking sheet with parchment paper – this little trick saves so much cleanup time! I learned this the hard way after scraping melted marshmallow off my favorite baking sheet.
- Mix the base by combining your graham cracker crumbs and melted butter in a bowl. I like using a fork to really work the butter into every crumb. The mixture should hold together when you press it – if it’s too dry, add just a tiny bit more butter.
- Press into circles on your prepared baking sheet. I use about 1 tablespoon per circle and press firmly with my fingers. Pro tip: wet your fingers slightly to prevent sticking! You should get about 12 perfect little bases.
- Bake for 8 minutes – this gives them that perfect golden edge while keeping the center tender. Set a timer – I’ve burned more than one batch by getting distracted!
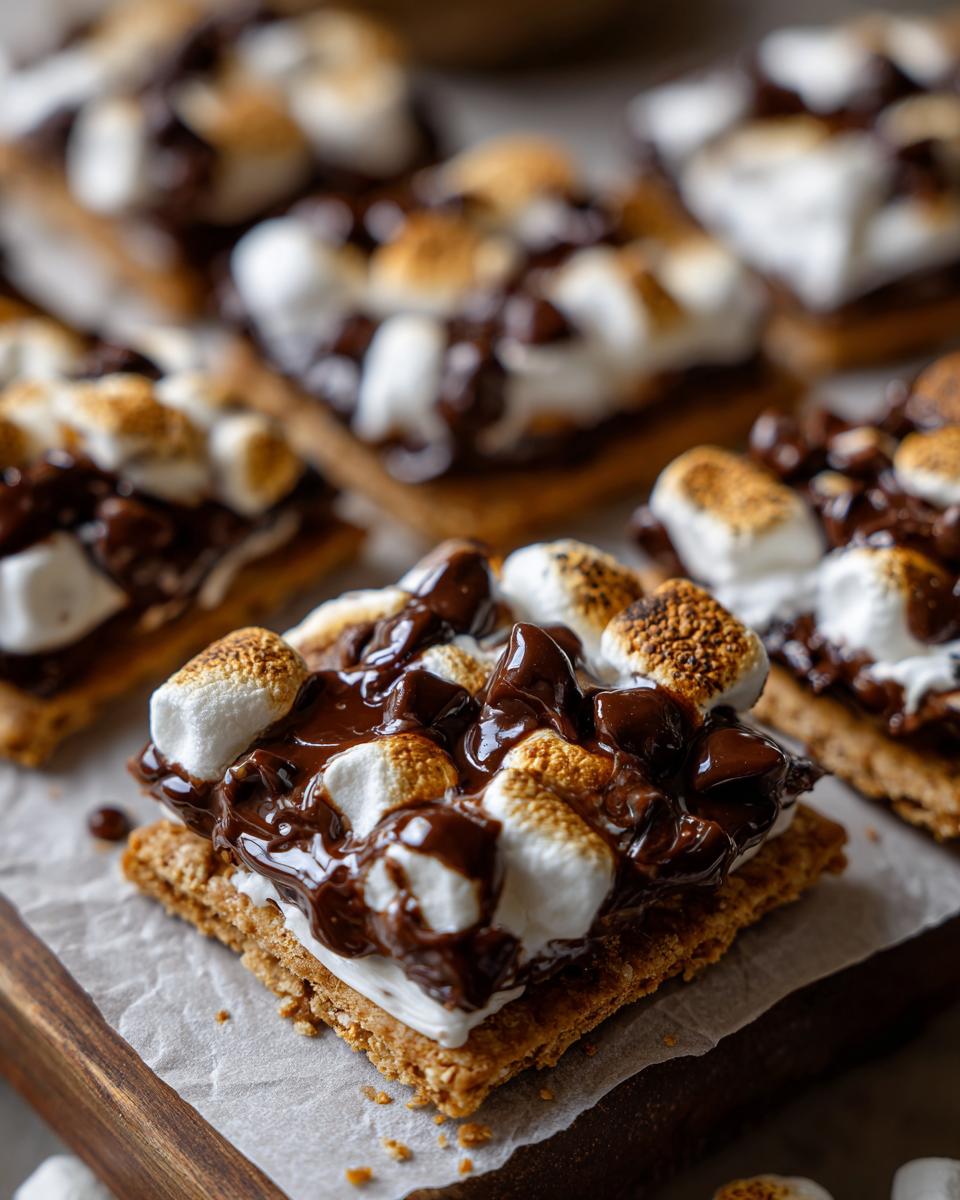
- Add toppings right after removing from the oven. Sprinkle chocolate chips first, then marshmallows. The residual heat will start melting everything beautifully.
- Return to oven for just 2 minutes – watch closely! You want the chocolate shiny and the marshmallows puffed but not browned.
- Let cool completely before serving. I know it’s tempting, but trust me – letting them set makes all the difference in texture!
Looking for more quick sweet treats? These 5-minute snack recipes are perfect when you need something fast!
Tips for Perfect Easy Sweet Finger Foods
After making these dozens of times (okay, maybe hundreds – don’t judge my sweet tooth!), I’ve picked up some tricks:
- Press firmly when forming your bases – this prevents crumbling later. I use the bottom of a glass if I want them extra uniform.
- Cool completely before serving – I know I already said it, but it’s that important! The chocolate needs time to set up properly.
- Add toppings creatively – crushed peppermint for holidays, sprinkles for birthdays, or a drizzle of caramel for extra decadence.
- Store leftovers (if you have any!) in an airtight container at room temperature. They’re best within 2 days, but let’s be real – they never last that long in my house!
Variations for Easy Sweet Finger Foods
Oh, the fun part – playing with flavors! These little sweet bites are like a blank canvas for your creativity. Once you’ve mastered the basic version (which is perfect as-is, don’t get me wrong), try these twists that have become favorites in my kitchen:
- Caramel Drizzle Delight: Swap chocolate chips for butterscotch chips and finish with a zigzag of caramel sauce. The salty-sweet combo makes these disappear faster than I can say “just one more!”
- Birthday Party Special: Mix rainbow sprinkles into the base and top with white chocolate chips. Looks festive and tastes like celebration in every bite!
- Nutty Crunch: Press chopped pecans or almonds into the topping before baking. The extra texture takes these to another level – my dad’s absolute favorite version.
The best part? You can mix and match these ideas based on what’s in your pantry. Last week I did half a batch with peanut butter chips and crushed pretzels – mind blown! For more inspiration, check out these healthy sweet snack ideas that pair wonderfully with our finger foods.
Honestly, I’ve never met a variation I didn’t like. Even my “oops” experiments (looking at you, cinnamon-chili version) turned out surprisingly tasty. That’s the beauty of this recipe – it’s foolproof and endlessly adaptable to whatever flavors you’re craving!
Serving and Storing Easy Sweet Finger Foods
Okay, let’s talk about the best ways to serve and keep these little bites of happiness! First rule – serve them at room temperature. I learned this the hard way when I once served them warm (impatience got the better of me) and ended up with chocolate-covered fingers all around the party. The texture is just perfect when they’ve cooled completely – that crisp base with the slightly chewy topping is pure magic!
As for storing, I swear by airtight containers. These sweet treats stay fresh for about 3 days, though honestly they rarely last that long in my house! Just pop them in a container with a tight lid – no need to refrigerate. If you’re stacking them, I like to put parchment paper between layers so they don’t stick together. Pro tip: hide them in the back of the pantry if you actually want any left for tomorrow!
Nutritional Information for Easy Sweet Finger Foods
Now, I’m no nutritionist, but I do believe in knowing what’s going into my treats! These sweet finger foods are definitely an indulgence – think of them like little bites of happiness rather than health food. The nutritional values are just estimates and can change depending on the brands you use or if you add any extra goodies.
Each piece comes in around 120 calories, with that perfect balance of sweet and satisfying. They’ve got enough chocolatey goodness to curb cravings without being too heavy. Remember, these are treats meant to be enjoyed in moderation – though I won’t judge if you “accidentally” eat three at once!
Frequently Asked Questions
Can I use gluten-free graham crackers?
Absolutely! I’ve made these with gluten-free graham crackers many times for friends with dietary restrictions, and they turn out just as delicious. The texture might be slightly different – sometimes a bit more crumbly – but the taste is spot on. Just be sure to press the base mixture extra firmly if you’re using gluten-free crackers. My favorite brand actually makes them taste even more buttery than regular grahams!
How long do these sweet finger foods last?
In an airtight container at room temperature, they’ll stay fresh for about 3 days – though I’ve never actually tested that limit because they disappear so fast! The marshmallows might lose a bit of their puffiness after day two, but the flavor stays amazing. If you’re making them for a party, I recommend baking them the same day for that perfect just-made texture.
Can I make these ahead of time?
You bet! Here’s my make-ahead secret: prepare the bases up to 2 days in advance and store them in an airtight container. Then just add toppings and do the final bake when you’re ready to serve. The bases actually get better with a little rest time – they develop this wonderful crispness that contrasts perfectly with the melty toppings. Just don’t assemble completely more than a few hours ahead or the marshmallows can get sticky.
Easy Sweet Finger Foods
Ingredients
Equipment
Method
- Preheat the oven to 350°F (175°C). Line a baking sheet with parchment paper.
- Mix graham cracker crumbs and melted butter in a bowl. Press the mixture into small circles on the baking sheet.
- Bake for 8 minutes. Remove from the oven and sprinkle chocolate chips and mini marshmallows on top.
- Return to the oven for 2 minutes or until the chocolate melts. Let cool before serving.