You know that frantic moment when guests arrive unexpectedly and you realize you forgot to make dessert? That used to happen to me all the time until I discovered the magic of easy make ahead desserts. Last summer, my sister surprised me with a visit right before her family reunion—I whipped up this graham cracker delight in 15 minutes flat and let it chill while we caught up. By dessert time? Pure magic, no stress. These no-bake wonders have become my secret weapon for hosting—whether it’s book club nights or last-minute potlucks. Nothing beats pulling a ready-made treat from the fridge when friends pop by!
Why You’ll Love These Easy Make Ahead Desserts
Trust me, once you try these no-fuss desserts, you’ll wonder how you ever hosted without them! Here’s why they’re my go-to:
- Minimal prep time – 15 minutes and you’re done. I’ve literally made these while my coffee brews!
- Stress-free entertaining – No last-minute panic when guests arrive early. The fridge does all the work.
- Endless customization – Top with whatever’s in season. My kids love fresh berries, while my book club goes wild for salted caramel drizzle.
- Crowd-pleasing flavors – That creamy, tangy filling with the buttery crust? Absolute magic every time.
Seriously, these desserts are like having a secret superpower for effortless hosting. The best part? They taste even better after chilling overnight!
Ingredients for Easy Make Ahead Desserts
Okay, let’s talk ingredients – and I promise, nothing fancy here! These are all pantry staples you probably already have. I’ve broken them into two simple groups because that’s how my brain works when I’m throwing this together at midnight before a party.
For the Crust
- 2 cups graham cracker crumbs – Don’t buy the pre-crushed stuff! I just throw whole crackers in a bag and roll them with a wine bottle (my favorite kitchen hack). The texture makes all the difference.
- 1/2 cup melted butter – Real butter only, please! Margarine just doesn’t give that rich, toasty flavor. I use salted because life’s too short for extra steps.
For the Filling
- 2 cups whipped cream – Here’s my confession: I cheat with store-bought when I’m in a rush, but homemade is divine if you’ve got 5 extra minutes. Either works!
- 1 cup cream cheese – Full-fat, softened to room temp. None of that “light” nonsense – we’re making dessert, not salad!
- 1/2 cup sugar – Regular granulated works great, but sometimes I swap half with brown sugar for a caramel vibe. Feel free to check out these fruit-based dessert ideas if you want to get creative with toppings!
See? Told you it was simple. Now let’s get mixing!
How to Make Easy Make Ahead Desserts Step-by-Step
Alright, let’s dive into the fun part – making these ridiculously simple desserts! I’ve made this recipe so many times I could do it in my sleep, but I’ll walk you through each step like I’m right there in your kitchen with you. Don’t worry – it’s foolproof!
- Prep your pan – First things first, grab an 8×8 inch pan and line it with parchment paper (trust me, this makes life SO much easier later). Leave some overhang on the sides – it’ll be your lifesaver when lifting out those perfect squares!
- Mix the crust – Dump those gorgeous graham cracker crumbs into a bowl with the melted butter. Stir until it looks like wet sand. Pro tip: I use a fork to mix – it gets everything evenly coated without making a mess.
- Press it in – Now the satisfying part! Dump the crumbs into your prepared pan and press them down firmly with your fingers or the bottom of a measuring cup. Get it nice and even – this prevents crumbly disasters later.
- Make the magic filling – In another bowl, beat the cream cheese until it’s smooth as silk (lumps are the enemy here!). Gradually add the sugar, then gently fold in the whipped cream. Don’t overmix – we want fluffy clouds, not soup!
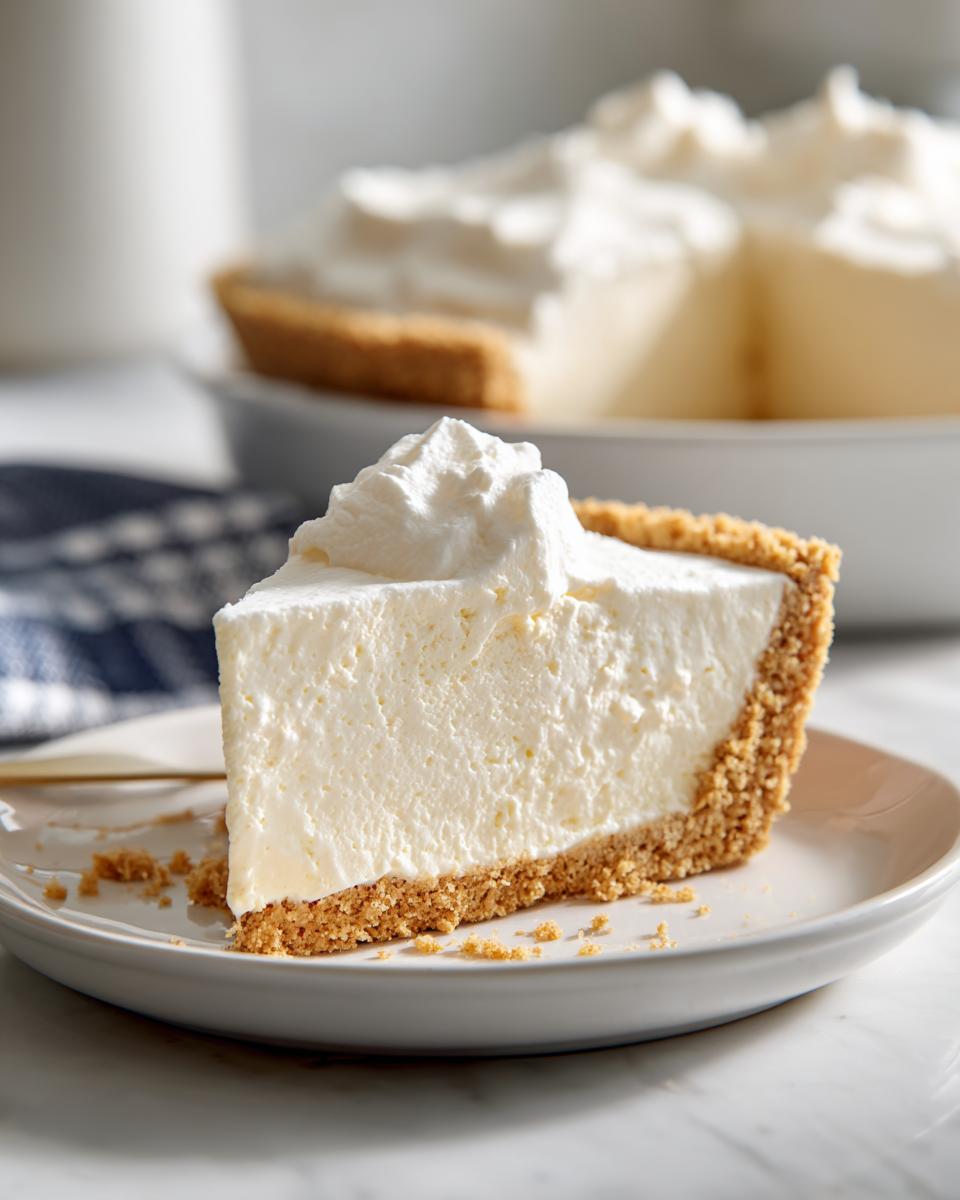
- Chill out – Spread that creamy goodness over your crust and pop it in the fridge. Minimum 4 hours, but overnight is even better. The waiting is the hardest part!

See? Told you it was easy! For more homemade dessert inspiration, check out these simple homemade dessert recipes that are just as fuss-free.
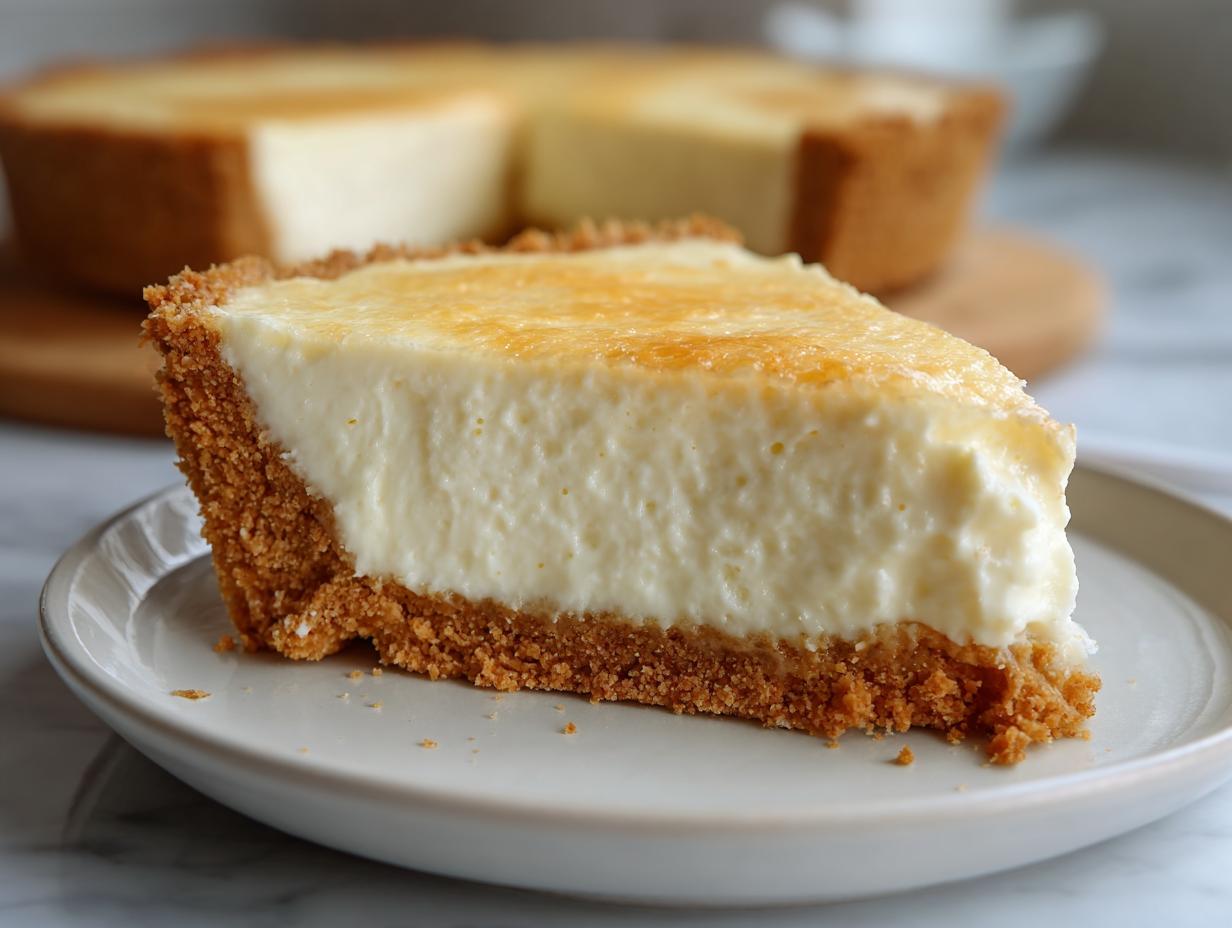
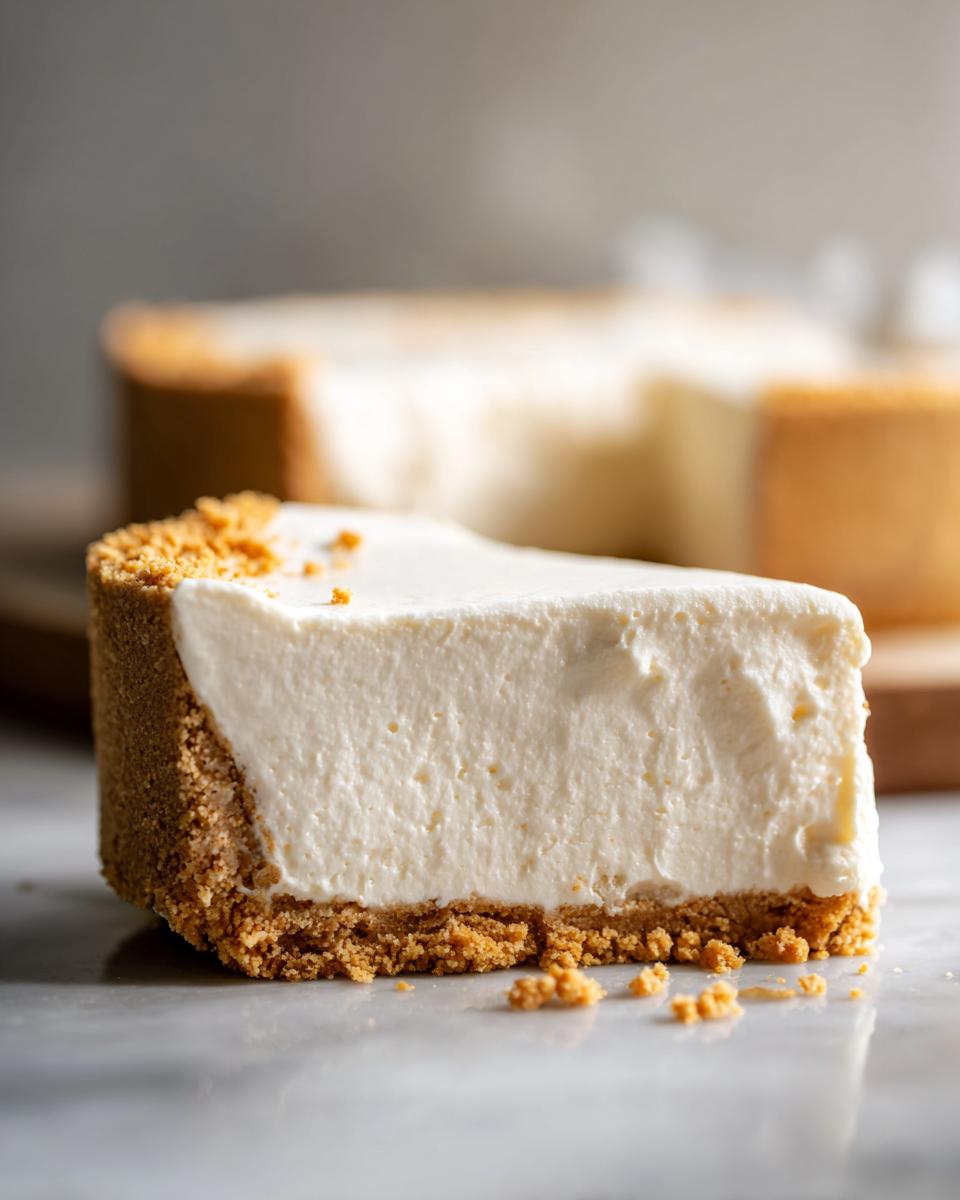
Preparing the Graham Cracker Crust
Okay, let’s talk crust – the foundation of our dessert masterpiece! The key here is getting that perfect texture – not too crumbly, not too dense. Mix your crumbs and butter until they hold together when you squeeze a handful. Press firmly into the pan – I use the bottom of a glass to get it super even. Need gluten-free? No problem! Just swap in gluten-free graham crackers – they work exactly the same.
Whipping Up the Cream Cheese Filling
This filling is where the magic happens! First rule: your cream cheese MUST be room temp – cold cream cheese equals lumpy sadness. Beat it until completely smooth before adding sugar. When folding in whipped cream, use a gentle hand – think “soft clouds” not “cement mixer”! A few streaks are fine; they’ll disappear as you spread it.
Tips for Perfect Easy Make Ahead Desserts
After making these desserts more times than I can count (seriously, my neighbors now expect them at every gathering!), I’ve learned a few tricks that take them from good to “oh-my-gosh-can-I-get-the-recipe” amazing. Here are my can’t-live-without tips:
Chill time is sacred! I know it’s tempting to sneak a bite early, but that full 4 hours makes all the difference. The filling needs time to set up properly – think of it like letting a good soup simmer. Once I rushed it after just 2 hours and ended up with dessert soup (still tasty, but not pretty!).
Keep that crust crisp by pressing it firmly into the pan. Loose crumbs = soggy bottom, and nobody wants that! Here’s my weird trick: after pressing, I pop the crust in the freezer for 10 minutes before adding filling. It creates this magical barrier that stays crisp for days.
Fresh toppings wait till serving – learned this the hard way when my beautiful berry topping turned into a juicy mess overnight. Now I keep toppings separate and add them right before serving. Bonus? It lets everyone customize their own slice!
My secret weapon? A dusting of citrus zest right before serving – lemon with berries, orange with chocolate. It adds this bright pop that makes people think you’re a pastry chef. Shhh, our little secret!
Variations for Your Easy Make Ahead Desserts
Oh, the fun part – playing with flavors! This recipe is like your favorite little black dress – perfect as is, but so easy to dress up for any occasion. Here are my go-to twists when I’m feeling fancy (or just cleaning out the pantry):
Chocolate lover’s dream: Swap half the graham crumbs with crushed Oreos or chocolate wafer cookies. Sometimes I’ll even melt chocolate chips into the butter before mixing – hello, fudgy crust! For extra decadence, drizzle melted chocolate over the top before chilling.
Berry swirl magic: Before chilling, dollop spoonfuls of jam or fresh berry puree onto the filling and swirl with a knife. My neighbor taught me this trick – she uses raspberry for book club nights and it disappears faster than the wine!
Dietary swaps: Vegan? No problem! Use coconut oil instead of butter for the crust and whip up some coconut cream with powdered sugar for the filling. My dairy-free friend swears by this version – says it’s even creamier than the original!
The best part? These variations all keep that magical make-ahead quality. Just don’t blame me when everyone begs you to bring dessert to every gathering!
Storing and Serving Easy Make Ahead Desserts
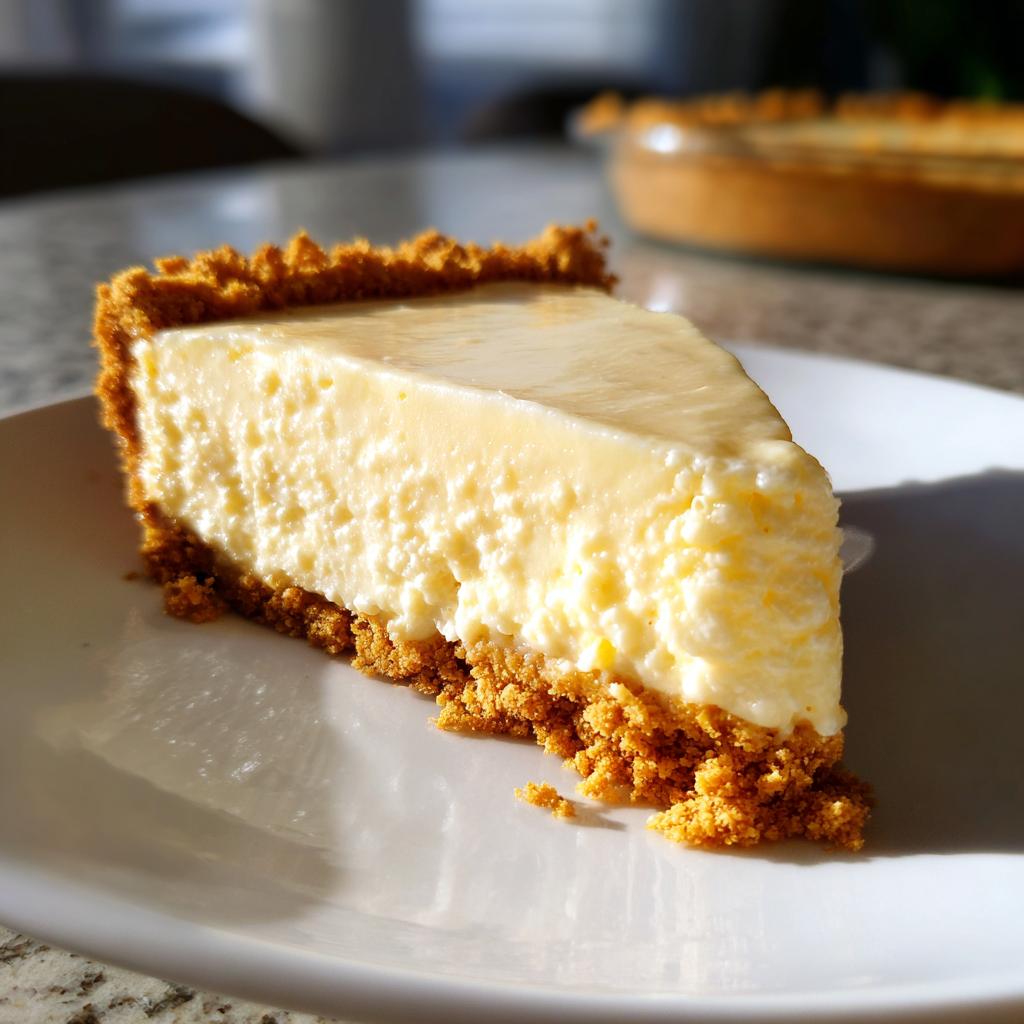
Okay, let’s talk about the best part – enjoying your masterpiece! These desserts are dreamy straight from the fridge – I usually pull mine out about 10 minutes before serving to take the chill off. That sweet spot where the filling’s still firm but not ice-cold? Perfection!
For storage, they’ll keep beautifully in the fridge for up to 3 days (if they last that long!). Just cover tightly with plastic wrap – I press it right against the surface to prevent any fridge smells sneaking in. Want to freeze? Slice first, then wrap individual portions in parchment before bagging. They thaw like a dream overnight in the fridge.
Pro tip from my many (many!) trial and errors: always add fresh fruit right before serving. Those juicy berries or banana slices turn everything soggy if they sit too long. Same goes for whipped cream toppings – a quick dollop at the end keeps everything picture-perfect!
Nutritional Information (Estimate)
Now, I’m no nutritionist (just a dessert enthusiast!), but here’s a rough estimate per serving to help you plan. Remember, these numbers can change based on your specific ingredients – like if you go wild with the chocolate drizzle or use low-fat cream cheese (though why would you?).
Per serving (1/8 of recipe):
- Calories: About 320
- Fat: 22g (worth every bite!)
- Carbs: 28g
- Protein: 3g
See? Not bad for something that tastes this indulgent! Of course, if you pile on fresh berries like I do, you’re adding some vitamins to balance things out. That’s my story and I’m sticking to it!
Frequently Asked Questions
Can I use a different crust?
Absolutely! I’ve used everything from crushed Oreos to gingersnaps – just keep the same 2:1 crumb-to-butter ratio. My weirdest (and tastiest) experiment? Pretzel crumbs with a pinch of brown sugar. Sweet-salty perfection!
How long do these desserts last?
They’re happiest eaten within 3 days, but mine never last that long! Keep them covered in the fridge – the crust might soften slightly by day 4, but it’ll still taste amazing. Pro tip: freeze slices for emergency sweet cravings!
Can I make them dairy-free?
You bet! Swap butter for coconut oil in the crust and use coconut whipped cream with dairy-free cream cheese. My vegan friend says this version tastes even creamier – just don’t skip chilling time!
More Easy Dessert Ideas
Now that you’ve mastered these make-ahead wonders, let me share a few more of my go-to stress-free sweets! When I’m craving something different, I whip up these 5-minute treats – perfect for those “I need dessert NOW” moments. My personal favorite? Chocolate-dipped banana bites that freeze beautifully. Or try no-bake energy balls – they’re basically healthy cookies (wink!). Whatever you choose, remember: the best desserts are the ones that leave you more time for fun!
Easy Make Ahead Desserts
Ingredients
Method
- Mix graham cracker crumbs with melted butter and press into a pan.
- Beat cream cheese and sugar until smooth, then fold in whipped cream.
- Spread the filling over the crust and refrigerate for at least 4 hours.