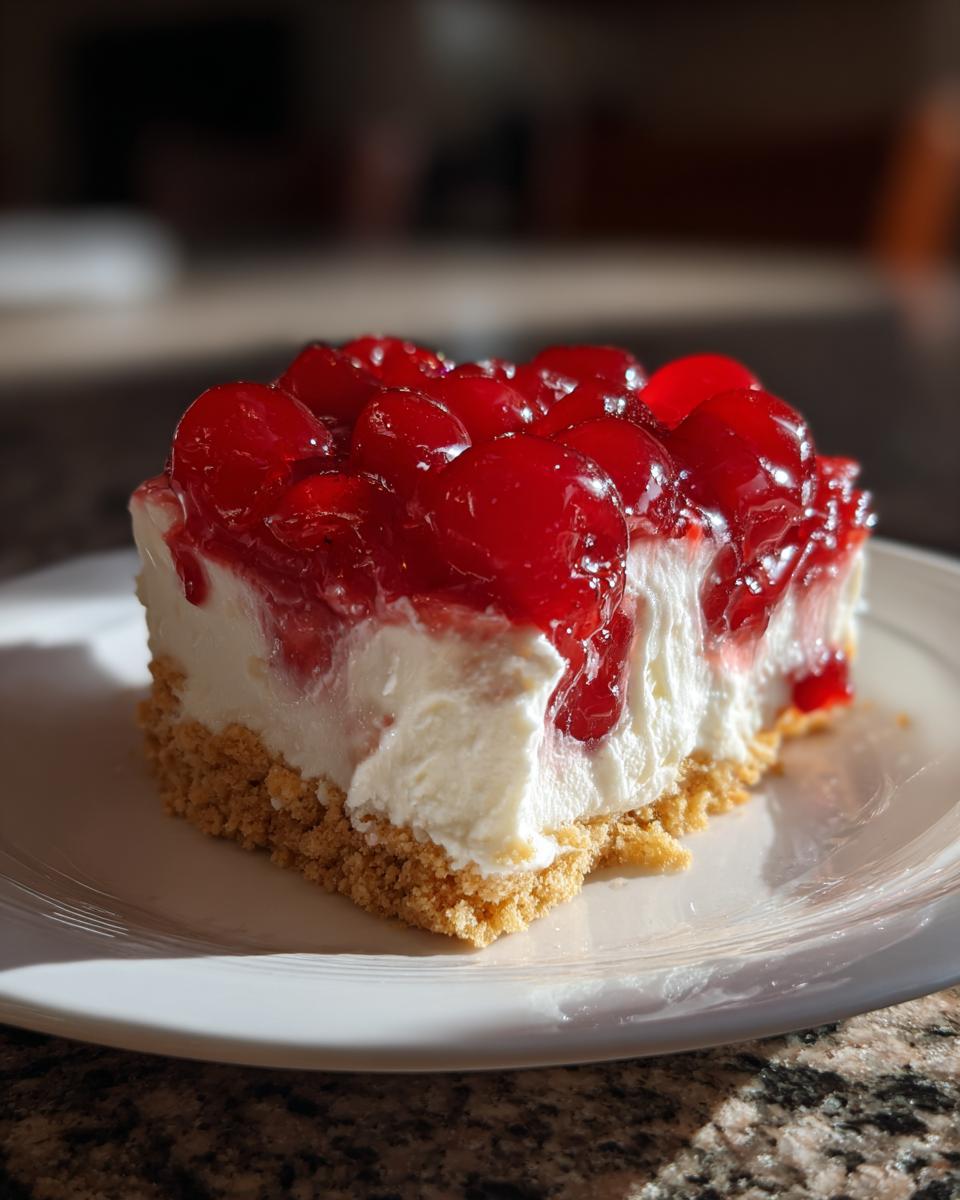
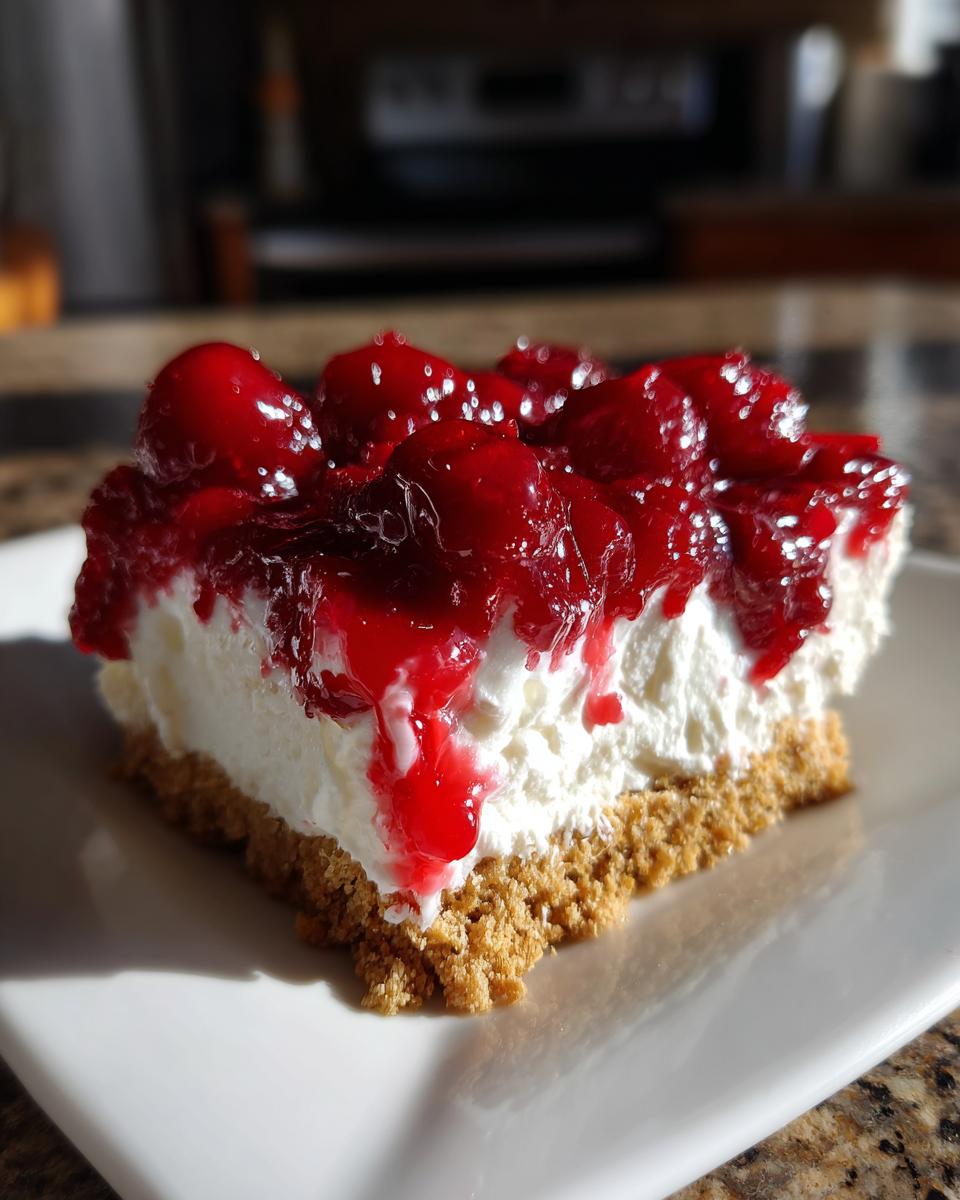
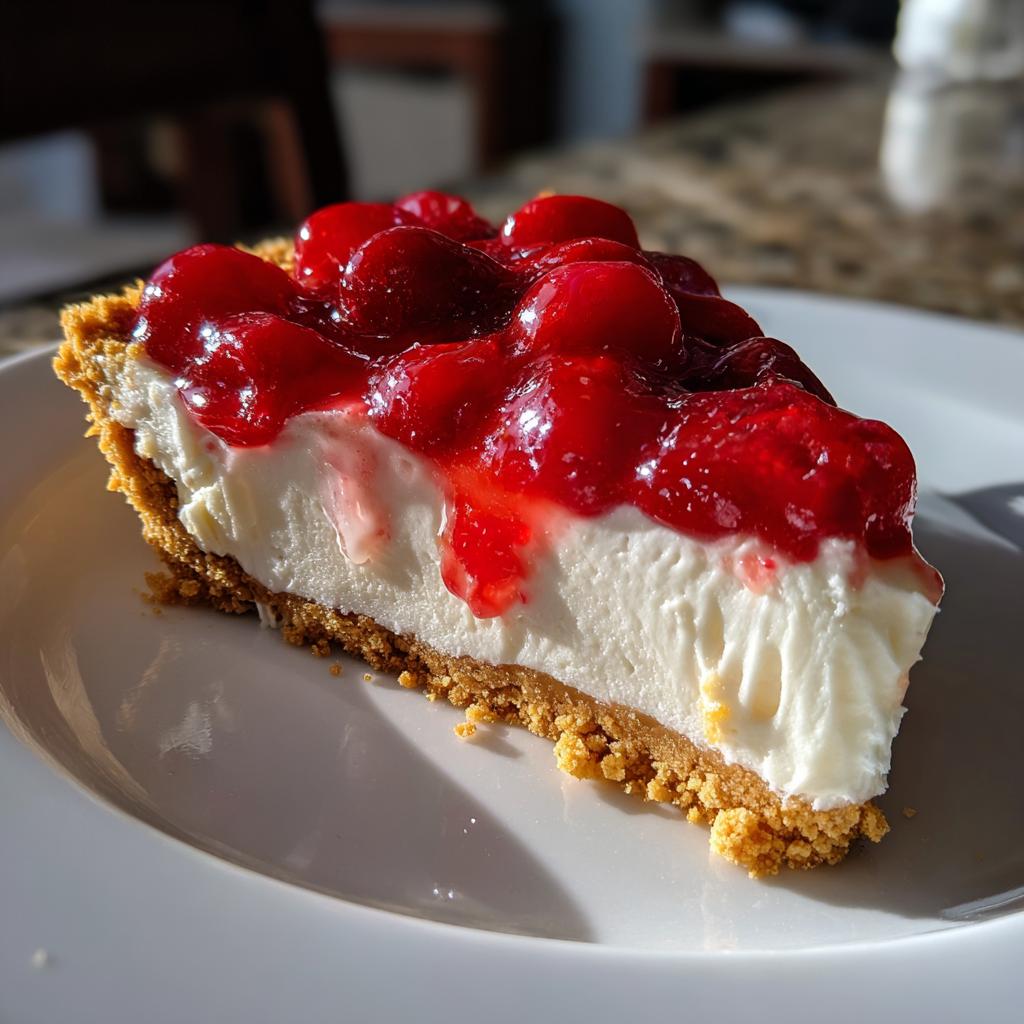
Ever find yourself scrambling for a dessert when unexpected guests show up? Or maybe you’re just craving something sweet but don’t want to turn on the oven in this heat? That’s exactly why I fell in love with easy layered dessert recipes years ago. Picture this: It was my daughter’s last-minute sleepover party, and I needed something impressive fast. Fifteen minutes of layering graham crackers, cream cheese fluff, and cherry topping later, I had a crowd-pleasing hit that disappeared faster than the pizza! These no-bake wonders have saved my sanity (and sweet tooth) more times than I can count, from potlucks to late-night cravings. The best part? You can customize them endlessly with whatever flavors you’re craving – chocolate, lemon, berries, you name it. Check out my go-to fruit-based variations for summer gatherings too!
Why You’ll Love These Easy Layered Dessert Recipes
Let me tell you why these no-bake beauties have become my secret weapon in the kitchen:
- No oven required – Perfect for when it’s too hot to bake or you’re just feeling lazy (no judgment here!)
- Ready in 20 minutes – From fridge to table faster than you can say “Where’s the spoon?”
- Endless customizations – Swap out the fruit, change up the crust, or add chocolate chips when no one’s looking
- Crowd-pleasing magic – I’ve never met anyone who could resist digging into these pretty layers
Seriously, these desserts are so easy they practically make themselves – which means more time for you to enjoy them!
Ingredients for Easy Layered Dessert Recipes
Let’s talk about what makes these layers so dreamy! I’ve broken everything down into three simple parts – because honestly, who wants to dig through a giant list when you’re craving something sweet?
For the Crust
- 2 cups graham cracker crumbs (about 15 full crackers if you’re crushing them yourself)
- 1/2 cup butter, melted (the real stuff – it makes all the difference)
- 1/4 cup sugar (I like granulated here for that little crunch)
For the Filling
- 8 oz cream cheese, softened (leave it out for 30 minutes – trust me on this)
- 1 cup powdered sugar (sifted if you’re feeling fancy)
- 1 tsp vanilla extract (the good stuff, not imitation)
- 8 oz whipped topping, thawed (the whole tub)
For the Topping
- 21 oz can cherry pie filling (or whatever fruit makes you happy)
Ingredient Notes & Substitutions
Here’s where we get creative! If graham crackers aren’t your thing, try crushed Oreos (hello chocolate lovers!) or gluten-free cookies. For the filling, Greek yogurt can stand in for whipped topping in a pinch – just add a bit more powdered sugar. And that cream cheese? Must be full-fat and properly softened, or you’ll end up with lumpy filling (been there!). The pie filling is totally customizable – I’ve used everything from blueberry to peach when cherries weren’t available. The key is keeping the ratios right so each layer shines!
How to Make Easy Layered Dessert Recipes
Alright, let’s get layering! This is where the magic happens, and I promise it’s easier than folding a fitted sheet (why are those things so tricky?). Here’s exactly how I put together my foolproof layered dessert:
- The crust that won’t quit: Grab your favorite mixing bowl and toss in those graham cracker crumbs, melted butter, and sugar. Mix it until it looks like wet sand at the beach. Now here’s my secret – press it FIRMLY into your 9×13 dish with the back of a measuring cup. You want it packed tight so it doesn’t crumble when you cut slices later.
- Creamy dreamy filling: In another bowl (or just wash the first one if you’re like me and hate dishes), beat that softened cream cheese until it’s smooth as silk. No lumps allowed! Then add the powdered sugar and vanilla – beat it again until it’s fluffy like a cloud. Now gently fold in the whipped topping with a spatula. Don’t overmix or you’ll deflate all that airy goodness!
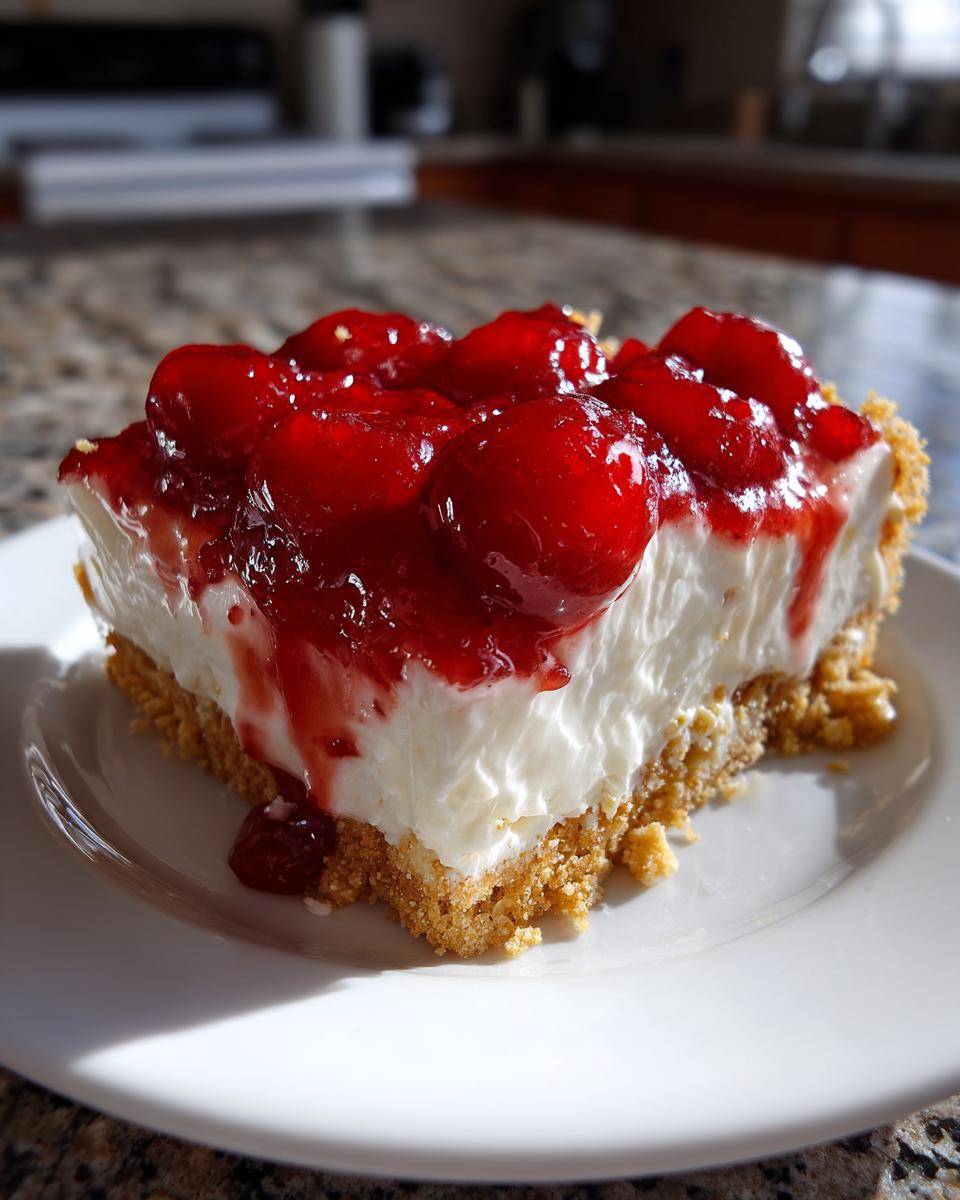
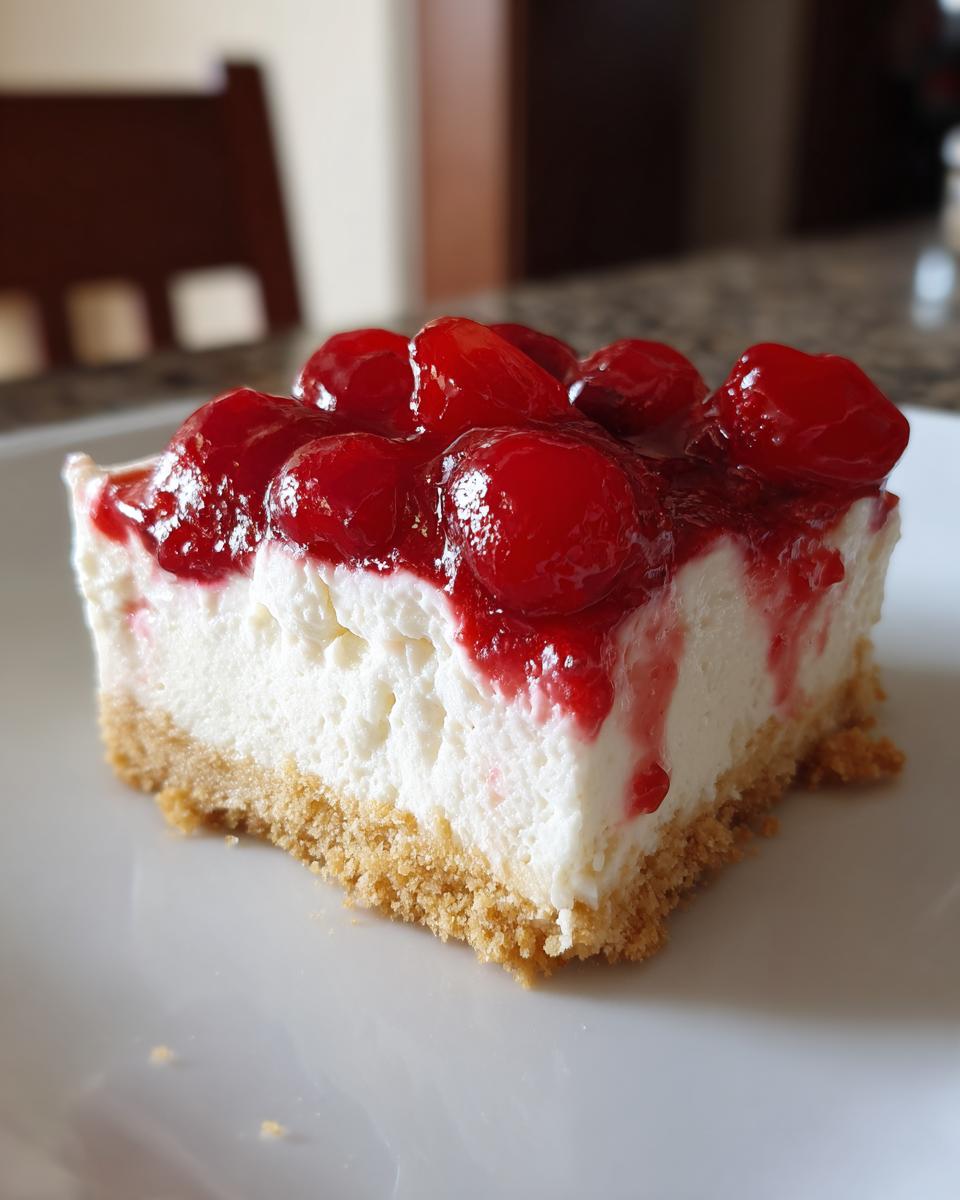
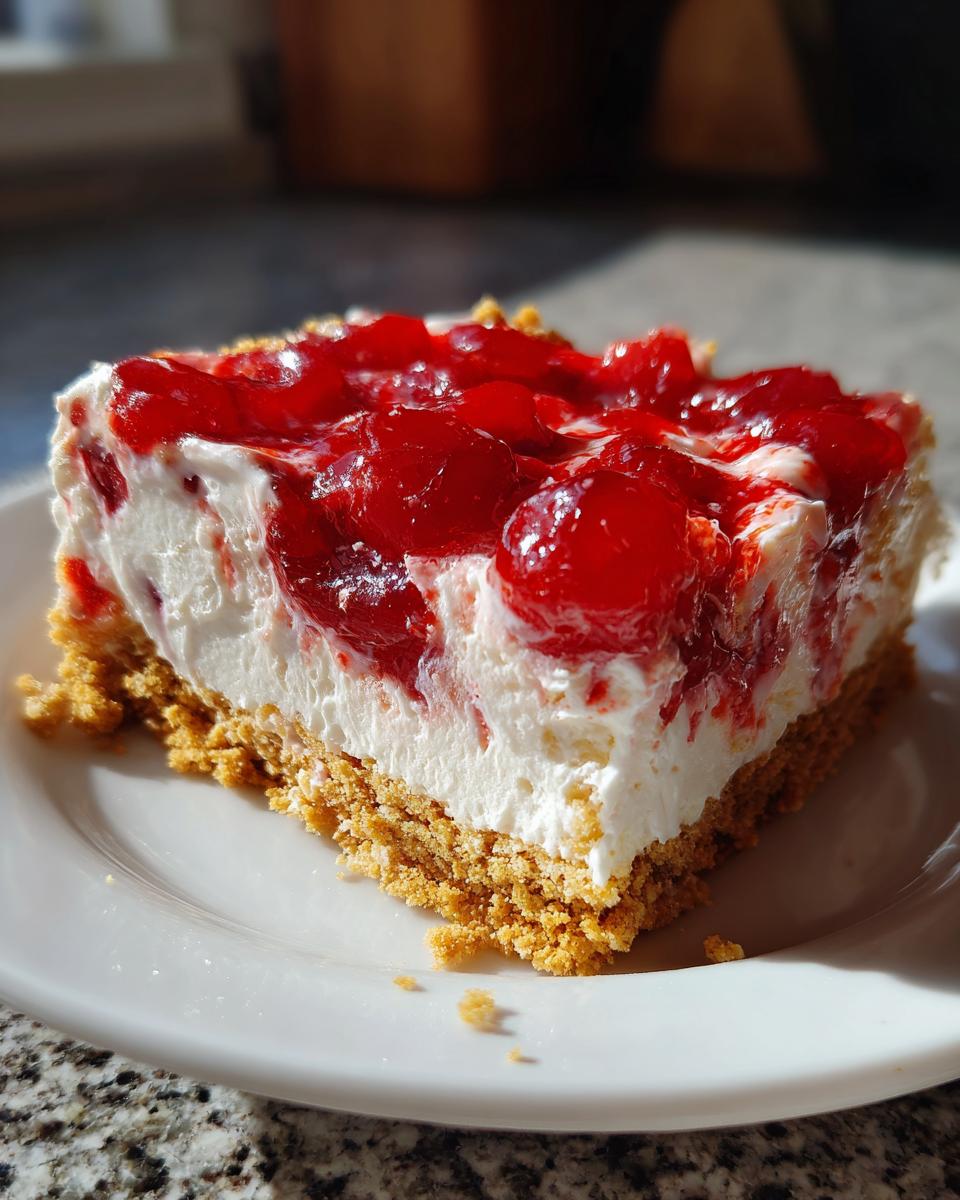
- The grand finale: Spread your creamy filling over the crust like you’re frosting a cake. Smooth it out nice and even. Then comes the fun part – dollop that cherry pie filling (or whatever fruit you’re using) right on top. I like to leave some swirls of white showing through for that pretty marbled effect.
- The hardest part: Pop it in the fridge for at least 2 hours. I know, the waiting is torture! But trust me, this chilling time lets all the layers set up perfectly so you get clean slices.
Pro tip from my many kitchen experiments: If you want super clean cuts, line your dish with parchment paper hanging over the edges before adding the crust. Then you can lift the whole dessert out before slicing! Also, a hot knife wiped clean between cuts makes those picture-perfect portions.
Tips for Perfect Easy Layered Dessert Recipes
After making these layered beauties more times than I can count (and yes, eating my fair share of “test batches”), I’ve picked up some tricks that’ll take your dessert from good to “can I get your recipe?” status:
- Chill between layers – Pop the crust in the fridge for 15 minutes before adding filling. It stops crumbs from mixing into your creamy layer!
- Piping bag magic – Spoon filling can get messy. Pipe it on instead for restaurant-worthy smoothness (a zip-top bag with the corner snipped works in a pinch).
- Fresh fruit garnish – Toss a handful of fresh berries or mint leaves on top right before serving. Makes it look fancy with zero effort!
- Slice cold, serve chilled – That 2-hour chill time isn’t just a suggestion. Cold desserts hold their shape better when slicing.
- The butter trick – Rub a thin layer of butter on your knife before cutting. Wipe between slices for picture-perfect edges every time!
These little touches make all the difference – trust me, your guests will think you spent hours when really it took minutes!
Variations for Easy Layered Dessert Recipes
Oh, the possibilities! Once you’ve mastered the basic layered dessert, it’s time to play with flavors – and believe me, I’ve tried them all! For chocolate lovers, swap graham crackers for crushed Oreos in the crust and add a peanut butter swirl to the filling (just melt 1/4 cup peanut butter and drizzle it on before the fruit topping). Feeling fancy? Lemon curd makes a gorgeous sunny topping that pairs perfectly with a vanilla wafer crust. And don’t even get me started on seasonal twists – my Easter version with pastel-colored layers disappears faster than the Easter eggs!
Here are my favorite ways to mix it up:
- Tropical vibes: Coconut crust with mango puree topping and toasted coconut flakes
- Berry bliss: Shortbread cookie crust layered with mixed berry compote
- Caramel apple: Graham crust with spiced apple pie filling and caramel drizzle
- Mocha madness: Chocolate cookie crust with coffee-flavored filling
The best part? You can create mini versions in mason jars for parties or switch up the pan size for thicker, more indulgent layers. My rule? Whatever makes your taste buds happy goes!
Storing and Serving Easy Layered Dessert Recipes
Here’s the scoop on keeping your layered masterpiece fresh (if it lasts that long!). These desserts stay perfect in the fridge for up to 3 days – just cover tightly with plastic wrap. Want to freeze it? Absolutely! Wrap individual slices in parchment paper before freezing for up to a month. Thaw overnight in the fridge when those midnight cravings hit.
Now for the fun part – serving! I always pull mine straight from the fridge and add a dollop of fresh whipped cream right before serving. The contrast between the cold layers and slightly melty cream is heavenly. For parties, I sometimes sprinkle crushed cookies or chocolate shavings on top – makes everyone feel fancy!
FAQs About Easy Layered Dessert Recipes
Over the years, I’ve gotten so many questions about these layered desserts – and trust me, I’ve made every mistake possible so you don’t have to! Here are the answers to the most common things people ask me:
Can I use frozen fruit instead of pie filling?
Absolutely! I do this all the time when I want fresh fruit flavors. Just thaw the fruit first and drain any excess liquid (a soggy dessert is a sad dessert). Toss the fruit with a tablespoon of cornstarch to thicken the juices – it makes the perfect topping consistency!
How do I keep my crust from getting soggy?
Oh honey, I learned this one the hard way! After pressing your crust into the pan, pop it in the fridge for 15 minutes to let the butter set up. It creates this magical waterproof barrier. Some folks swear by brushing melted chocolate on the crust first – works like a charm if you’re going chocolate anyway!
Can I make this dessert vegan?
You bet! My vegan sister taught me this trick: Use dairy-free cream cheese and coconut whipped topping. For the crust, swap butter for coconut oil – just melt it first so it mixes evenly. The texture comes out nearly identical, and no one will guess it’s plant-based!
Why did my filling turn out lumpy?
Been there, cried over that! The key is SOFTENED cream cheese – I mean really soft, like leave-it-out-for-an-hour soft. Cold cream cheese will never get smooth, no matter how long you beat it. And always mix the cream cheese alone first before adding other ingredients. Your arm might get tired, but your dessert will be silky perfection!
Can I make these desserts ahead of time?
Oh sweetie, that’s the best part! These layered wonders actually taste better after chilling overnight. Just wait to add any fresh fruit garnishes until right before serving. The flavors meld together beautifully in the fridge – it’s like magic happening while you sleep!
Nutritional Information
Now, let’s talk numbers – but remember, these are just estimates! Your actual nutritional values will dance around a bit depending on your exact ingredients (like whether you used full-fat cream cheese or went lighter). Here’s the scoop per serving:
- Calories: Around 280 – perfect for satisfying that sweet tooth without going overboard
- Fat: 16g (but hey, 9g is the good saturated kind from all that delicious butter and cream cheese)
- Carbs: 32g (24g sugars – it is dessert after all!)
- Protein: A surprising 3g – consider it a bonus!
Remember, these numbers can swing based on your crust thickness, how generous you are with toppings, or if you sneak extra whipped cream on top (no judgment here!). The important thing? Every bite is worth it!
Ready to Try This Easy Layered Dessert Recipe?
Alright, my fellow dessert lovers – it’s your turn to create some layered magic! I can’t wait to see what delicious combinations you dream up. Snap a photo of your masterpiece and tag me – nothing makes me happier than seeing your kitchen creations! Now tell me, what’s your all-time favorite layer combo? Mine’s chocolate crust with peanut butter swirl (obviously!), but I’m always looking for new inspiration. Let’s get layering!
Easy Layered Dessert
Ingredients
Equipment
Method
- Mix graham cracker crumbs, melted butter, and sugar in a bowl. Press the mixture into the bottom of a 9×13 inch baking dish.
- In another bowl, beat cream cheese, powdered sugar, and vanilla extract until smooth. Fold in whipped topping.
- Spread the cream cheese mixture over the crust. Top with cherry pie filling.
- Refrigerate for at least 2 hours before serving.