Best Way to Make Kitchenaid Pasta Recipe at Home: A Culinary Adventure 🍝🏡🌟
1. Introduction: Unleash Your Inner Italian Chef
There’s something incredibly satisfying about creating fresh, homemade pasta. It’s a connection to tradition, a chance to express your creativity, and a guarantee of a delicious meal. And when you have a KitchenAid mixer and its pasta attachments, the entire process becomes even smoother, more efficient, and genuinely enjoyable. This article isn’t just a recipe; it’s a guide to transforming your kitchen into a little corner of Italy. We’ll walk you through the best way to make a truly delightful KitchenAid pasta recipe at home. We aim to prove that making pasta from scratch is not intimidating, but rather a fun and rewarding culinary experience. Whether you’re a seasoned home cook or a complete beginner embarking on your very first pasta-making adventure, you’ll find this comprehensive guide easy to follow, helping you create perfect pasta every single time. From mixing the dough to understanding the nuances of different pasta shapes and the proper cooking times, we’ll cover it all. You’ll gain the confidence to create homemade pasta that rivals anything you’d find in a gourmet Italian restaurant. Get ready to impress your friends and family! Let’s embark on this culinary adventure and discover the profound joy of making fresh, authentic homemade pasta with your KitchenAid! Before diving in, consider planning a delicious dinner to serve with your pasta . You can also plan an amazing lunch.
2. Understanding the Basics of Pasta Making: It’s More Than Just Flour and Water
Before diving headfirst into the KitchenAid pasta recipe, let’s take a moment to cover some fundamental basics. Think of this as Pasta Making 101. The truth is, good pasta doesn’t just *happen*; it starts with a deep respect for high-quality ingredients and an understanding of their roles. We’ll be using a specific combination of all-purpose flour and semolina flour to achieve the absolute perfect texture for our pasta. Semolina flour, which is made from durum wheat, is what gives the pasta that characteristic slightly nutty flavor and that satisfyingly firm “bite” that distinguishes fresh pasta from its dried counterpart. All-purpose flour, on the other hand, provides the necessary structure and contributes to the overall elasticity of the dough. Eggs are another key component in our Kitchenaid pasta recipe, acting as a vital binding agent and adding a wonderful richness and depth of flavor to the final product. Finally, just a touch of good quality olive oil helps significantly with the dough’s elasticity, making it far easier to work with during the kneading and rolling processes. Understanding the unique characteristics of each of these elements and how they interact with one another is what will ultimately set you up for unparalleled success in creating truly exceptional homemade pasta. Now that we’ve laid the groundwork, let’s get to the heart of the matter: the perfect recipe! For a delicious dining experience, consider pairing your homemade pasta with beef shank or exploring different cooking methods like beef shank stew. You can also check whether beef shank is good for slow cooking.
3. Ingredients for KitchenAid Pasta Recipe: The Recipe for Success
Alright, let’s get down to brass tacks. Here’s everything you’ll need to make the perfect KitchenAid pasta recipe. Remember, achieving the desired texture and flavor is all about striking that perfect balance with your ingredients, so pay close attention to the measurements and source the highest quality you can find:
- 300g (10.5 oz) all-purpose flour: Provides structure and helps bind the dough.
- 100g (3.5 oz) semolina flour: Adds a nutty flavor and firm texture.
- 4 large eggs: Adds richness and acts as a binding agent.
- 2 tablespoons olive oil: Improves elasticity and makes the dough easier to work with.
- Pinch of salt: Enhances the flavor of all the other ingredients.
With these simple yet essential ingredients, you’ll have the foundation you need to create a truly delicious and authentic homemade pasta experience. Before you get started, take a quick inventory and make absolutely sure you have everything on hand and ready to go. Trust us, there’s nothing worse than getting halfway through a recipe and realizing you’re missing a crucial component!
4. Step-by-Step Guide to Making KitchenAid Pasta: From Humble Ingredients to Culinary Masterpiece
Now for the moment you’ve all been waiting for! Follow these detailed steps carefully and you’ll be well on your way to creating truly amazing homemade pasta using your trusty KitchenAid pasta machine. Each step is designed to build on the previous one, leading you to pasta perfection!
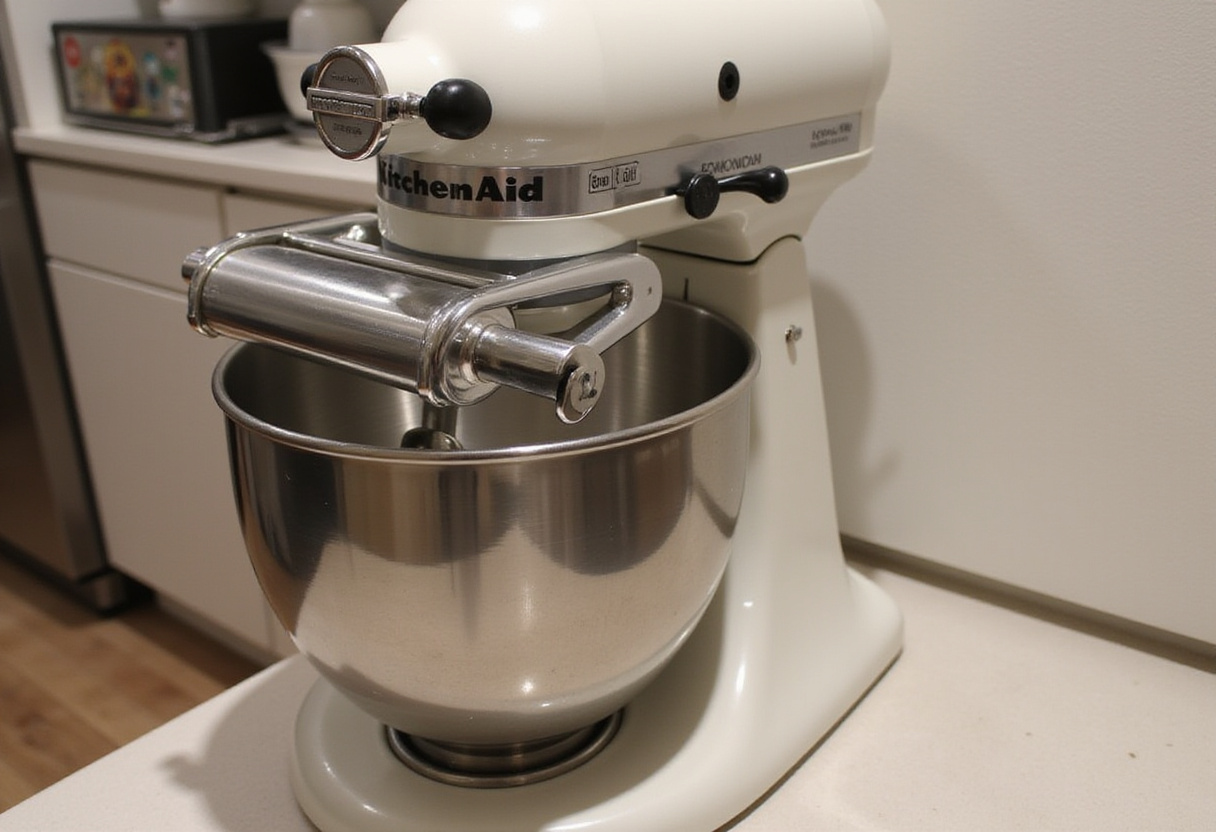
Step 1: Prepare the KitchenAid Mixer: Setting the Stage for Success
The very first thing you’ll want to do is securely attach the pasta roller attachment to your KitchenAid pasta machine. This is the workhorse that will help you transform your humble ball of dough into silky smooth sheets of pasta. Double-check to ensure that the attachment is securely locked in place and ready to go. This brilliant attachment simplifies what used to be a tedious and labor-intensive rolling process, giving you incredibly consistent results every single time. Also, make sure your KitchenAid is on a stable surface.
Step 2: Mix the Dry Ingredients: Laying the Foundation for Flavor
In a large mixing bowl (you can use the KitchenAid bowl for this!), carefully combine the all-purpose flour, the semolina flour, and the pinch of salt. Now, using a whisk or a fork, mix these dry ingredients together incredibly well to ensure that they are evenly distributed throughout the mixture. This seemingly simple step is vitally important, as this blend of flours will form the very foundation of your KitchenAid pasta recipe, providing the ideal texture, the perfect structure, and the subtle, yet satisfying, flavor that we’re after.
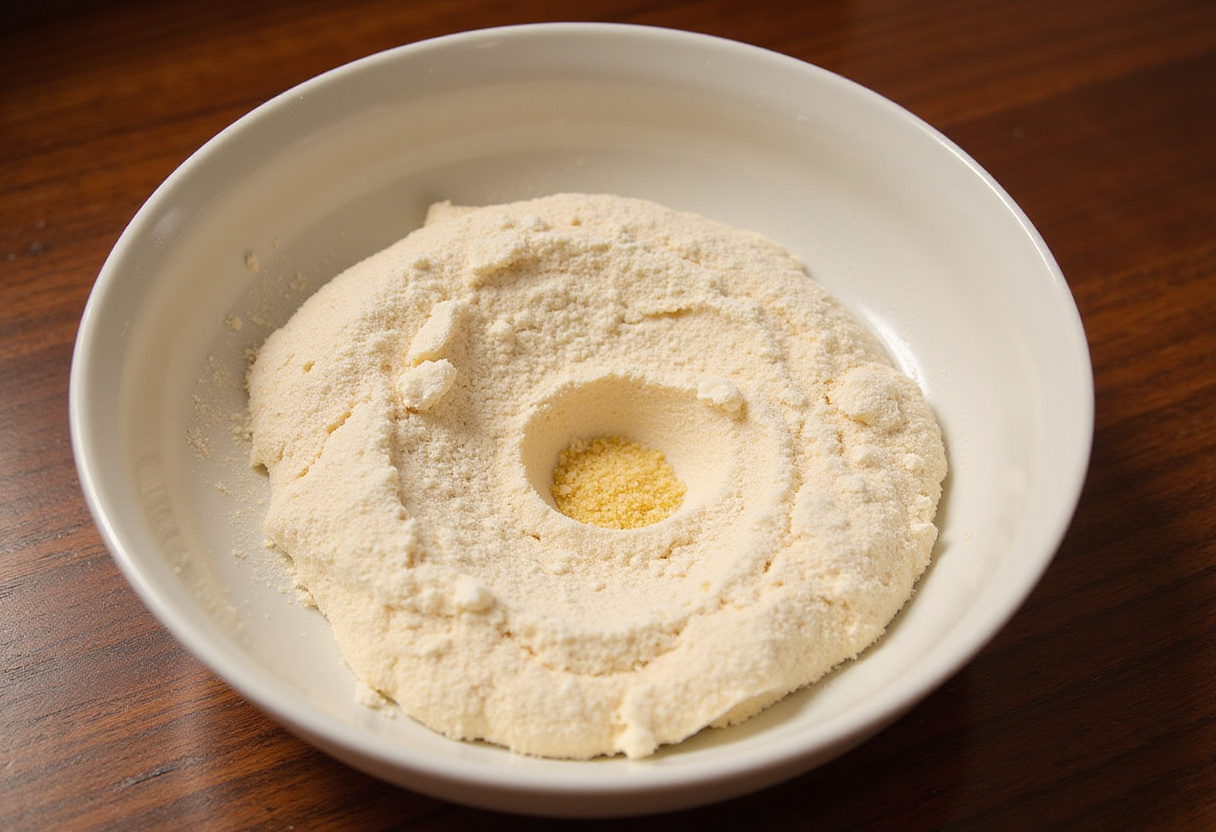
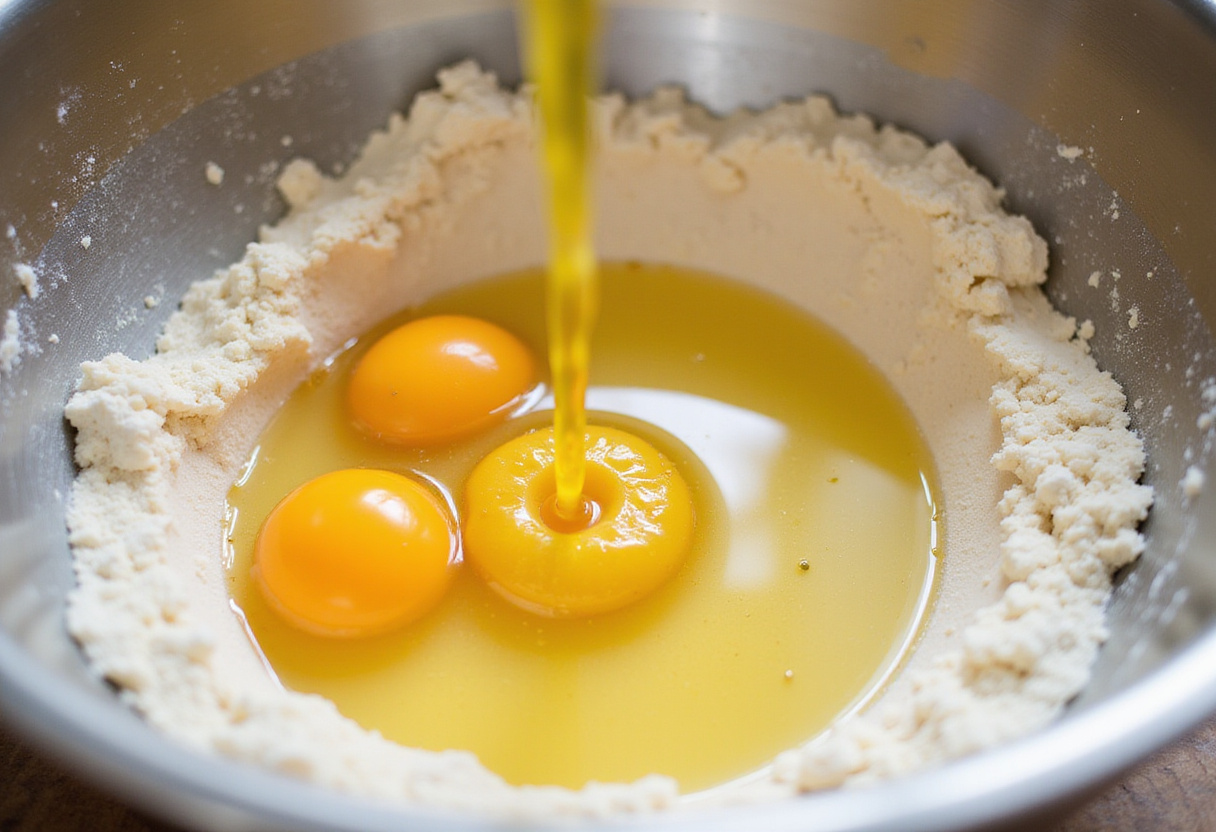
Step 3: Combine Wet and Dry Ingredients: Bringing It All Together
Now comes the fun part! Create a generous well in the very center of your carefully mixed flour mixture. Gently crack the eggs into this well and add the olive oil. Using a fork, *gradually* incorporate the dry ingredients into the wet ingredients, mixing continuously until a shaggy, somewhat loose dough begins to form. The key here is to be patient and work slowly, allowing the eggs and oil to fully hydrate the flour. Don’t be afraid to get your hands in there!
Step 4: Knead the Dough: The Key to Silky Smooth Pasta
Once you’ve reached the “shaggy dough” stage, carefully transfer the mixture to your KitchenAid pasta machine. Now, attach the dough hook attachment – this is what will do the hard work of kneading for you! Set the mixer to low speed and knead the dough for approximately 8-10 minutes, or until it transforms into a beautifully smooth and elastic ball. Pay close attention to the consistency of the dough as it’s being kneaded. If the dough appears to be too dry (i.e., it’s crumbly and not coming together), add a teaspoon of water at a time until it reaches the desired consistency. Conversely, if the dough seems too sticky and is clinging to the sides of the bowl, add a small amount of flour, a tablespoon at a time. The ideal dough should be slightly firm to the touch, but still pliable and elastic.

5. Rolling and Cutting the Pasta: From Dough Ball to Pasta Perfection
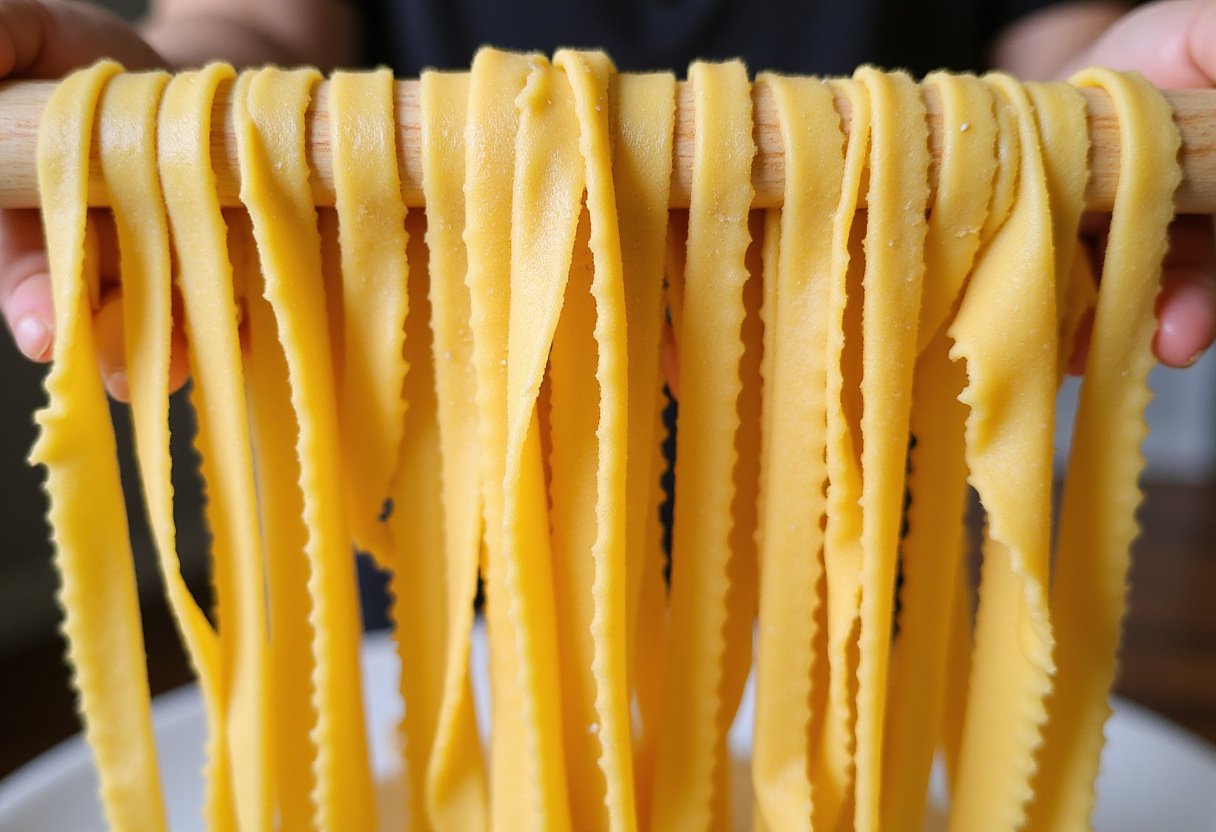
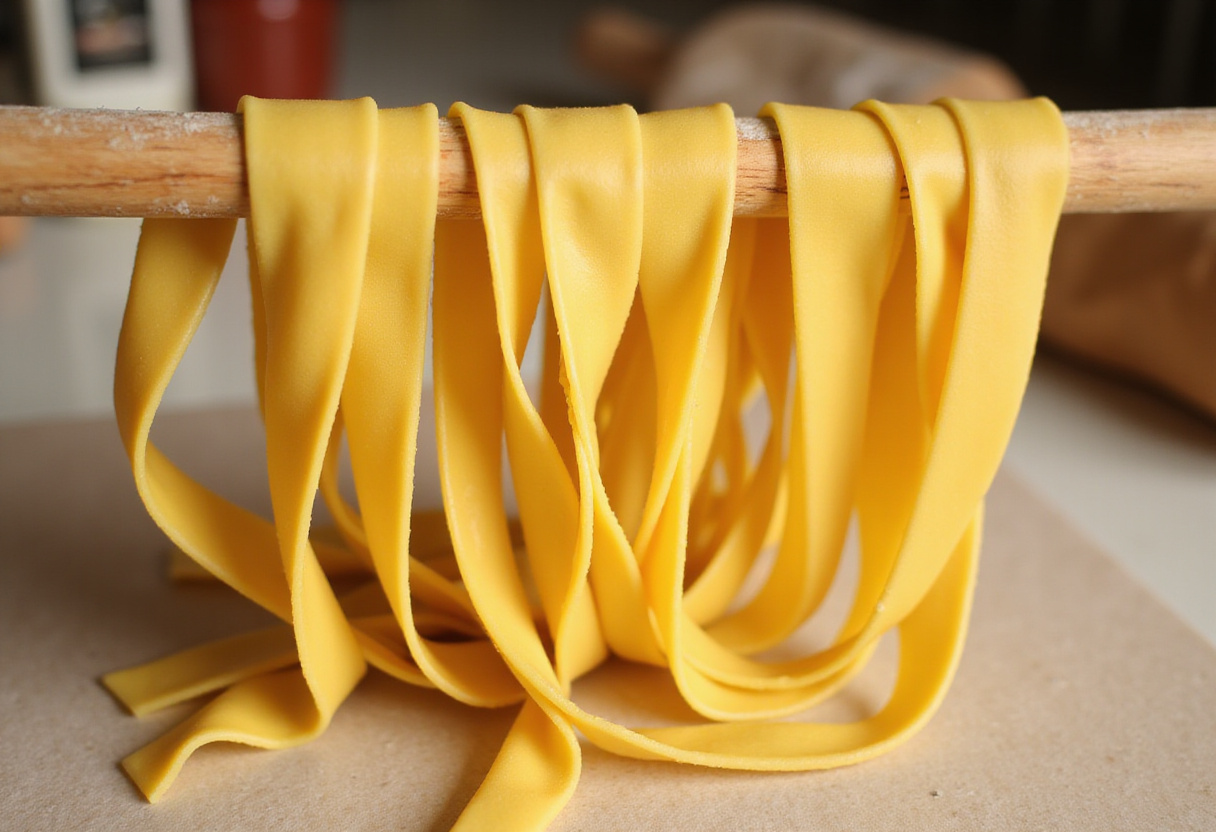
Once your dough has been thoroughly kneaded, the next critical step is to let it rest. Wrap the dough tightly in plastic wrap and allow it to rest at room temperature for at least 20 minutes (or even longer, up to an hour). This resting period allows the gluten in the flour to relax, which will make the dough much easier to roll out and prevent it from becoming tough or springy. After the dough has rested, remove the plastic wrap and divide it into smaller, more manageable portions. Take one portion of the dough and flatten it slightly with your hands. Now, feed this flattened portion through the pasta roller attachment of your Kitchenaid pasta machine, starting with the widest setting. As the dough emerges from the rollers, fold it in half and repeat this process several times. This initial process of repeatedly rolling and folding the dough is essential for developing its elasticity and creating that signature smooth texture of fresh pasta. After several passes on the widest setting, gradually decrease the thickness setting on the pasta roller and continue rolling the dough until you reach your desired thickness. The ideal thickness will depend on the type of pasta you’re making. For example, lasagna sheets should be quite thin, while fettuccine can be slightly thicker. Once you’ve achieved the desired thickness, you can use the pasta cutter attachment on your KitchenAid (if you have one) or a sharp knife to cut the pasta sheets into your preferred shape. Common shapes include fettuccine, spaghetti, tagliatelle, and pappardelle. The possibilities are endless! Remember to dust the cut pasta generously with flour to prevent it from sticking together.
6. Cooking Your Homemade Pasta: From Kitchen to Table in Minutes
You’ve made it! You now have a pile of beautiful, fresh, homemade pasta, ready to be transformed into a culinary masterpiece. The cooking process is incredibly simple, but vitally important. Bring a large pot of water to a rolling boil. The key here is *salty* water. Don’t be shy with the salt – it’s what seasons the pasta from the inside out. Once the water is boiling vigorously, carefully add your fresh pasta. Be careful not to overcrowd the pot, as this will lower the water temperature and cause the pasta to stick together. Fresh homemade pasta cooks considerably faster than dried pasta from the store, so you’ll want to keep a very close eye on it. Generally, fresh pasta will only need to cook for about 2-3 minutes, or until it floats to the surface of the water and is “al dente” – meaning it’s cooked through but still has a slight resistance to the bite. As soon as the pasta is cooked, immediately drain it in a colander. Be sure to reserve a little bit of the pasta water, as this starchy water can be added to your sauce to help it cling to the pasta more effectively. Now, toss the cooked pasta with your favorite sauce and serve immediately. The beauty of fresh homemade pasta is that it pairs well with just about any sauce you can imagine, from simple tomato sauces to rich and creamy concoctions. Enjoy!
7. Tips and Tricks for Perfect Pasta: Secrets from the Pasta Pros
While the KitchenAid pasta recipe itself is relatively straightforward, here are a few extra tips and tricks that will help you elevate your pasta-making game to the next level and ensure perfect results every time:
- Invest in a good kitchen scale: Precision is key in baking and pasta making. Using a kitchen scale to measure your ingredients accurately will ensure the right consistency and texture.
- Don’t be afraid to adjust the hydration: As we mentioned earlier, the amount of water your dough needs can vary depending on the humidity and the type of flour you’re using. If the dough is too dry, add water a teaspoon at a time. If it’s too sticky, add flour a tablespoon at a time.
- The resting period is crucial: Don’t skip the resting period after kneading! This allows the gluten to relax, resulting in a more tender and less chewy pasta.
- Dust generously with flour: After cutting your pasta into the desired shape, dust it generously with flour to prevent it from sticking together. You can also toss it with semolina flour for extra insurance.
8. Variations and Serving Suggestions: Unleash Your Culinary Creativity
Once you’ve mastered the basic KitchenAid pasta recipe, the real fun begins! Don’t be afraid to experiment with different flours and flavorings to create unique and exciting pasta variations. Try substituting some of the all-purpose flour with whole wheat flour for a nuttier, more wholesome pasta. You could also try adding a pinch of saffron to the dough for a vibrant yellow color and a subtle floral flavor. For a more savory pasta, try incorporating finely chopped fresh herbs, such as rosemary, thyme, or basil, directly into the dough. You can even add a pinch of red pepper flakes for a little bit of heat! As for serving suggestions, the possibilities are truly endless. Fresh homemade pasta is incredibly versatile and pairs well with a wide variety of sauces and toppings. For a classic and comforting meal, try serving your pasta with a simple marinara sauce and a sprinkle of Parmesan cheese. For a richer and more decadent dish, try pairing it with a creamy Alfredo sauce or a flavorful pesto. You can even use your fresh pasta to make homemade ravioli or lasagna! For inspiration, take a look at this external link. If you’re looking for a lighter and healthier option, try tossing your pasta with some sauteed vegetables and a drizzle of olive oil. No matter how you choose to serve it, fresh homemade pasta is guaranteed to be a crowd-pleaser! Looking for another great recipe? How about beef shoulder roast? You can also learn how to cook a beef shoulder roast, find the best seasoning for beef shoulder roast, and even discover if beef shoulder roast can be cooked in a crockpot.
9. Conclusion: The End of the Beginning of Your Pasta Journey
Making homemade pasta with a KitchenAid pasta machine is so much more than just cooking; it’s a rewarding and deeply satisfying experience that brings the authentic taste of Italy directly to your home kitchen. By faithfully following this detailed KitchenAid pasta recipe and the comprehensive step-by-step guide we’ve provided, you’ll undoubtedly be able to consistently create the most delicious, fresh, and flavorful pasta imaginable – pasta that will truly impress even the most discerning of palates. More importantly, have fun with the entire process, savor the delightful aromas that fill your kitchen, and take immense pride in the fact that you created something truly special from scratch. Now, go forth and enjoy the incredible flavors of your very own homemade pasta creation! Please contact us if you require assistance.