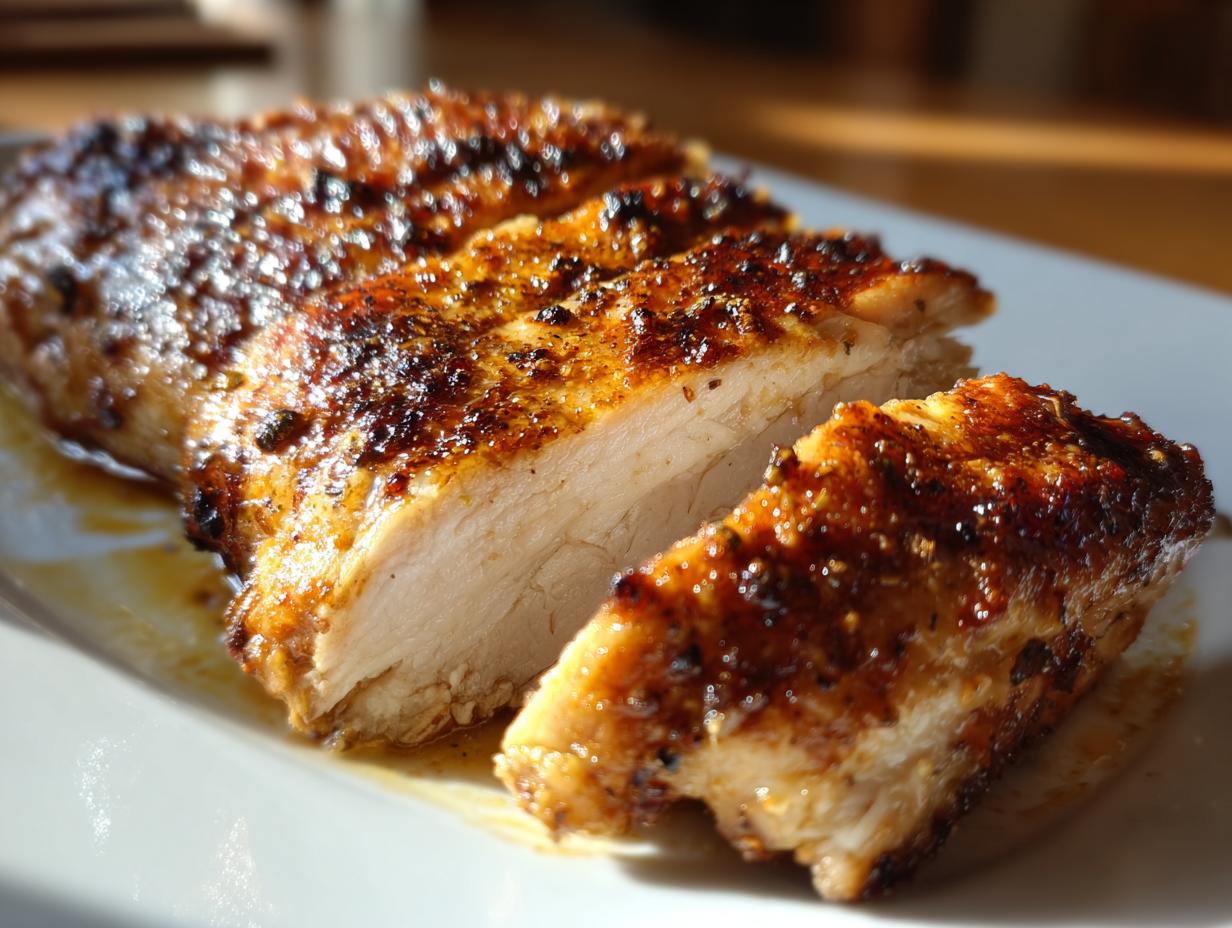
Let me tell you about my weeknight dinner hero – baked chicken breast! This simple dish has saved me more times than I can count when I’m racing against the clock. Just last Tuesday, I walked in the door at 6:15 pm with two hungry kids and a rumbling stomach myself. In less than 30 minutes, we were sitting down to juicy, flavorful baked chicken breasts that tasted way fancier than the effort required. That’s the beauty of great chicken breast dinner ideas – they’re fast, healthy, and endlessly adaptable. Whether I’m cooking for family dinners or meal prepping lunches, this basic baked chicken method never lets me down. The prep is so simple (just 10 minutes!) and the oven does most of the work while I throw together a quick salad or roast some veggies.
Why You’ll Love These Chicken Breast Dinner Ideas
Let me count the ways this baked chicken breast recipe has become my kitchen MVP! First off, it’s ridiculously quick – we’re talking 30 minutes from fridge to table. Perfect for those “what’s for dinner?!” panic moments. But here’s what really makes it special:
- Healthy without tasting like diet food: With just a drizzle of olive oil and simple spices, you get juicy, flavorful chicken that’s actually good for you.
- Your personal flavor playground: I’ve used this base recipe with Italian herbs, Mexican spices, even lemon and thyme – it’s like a blank canvas for your taste buds.
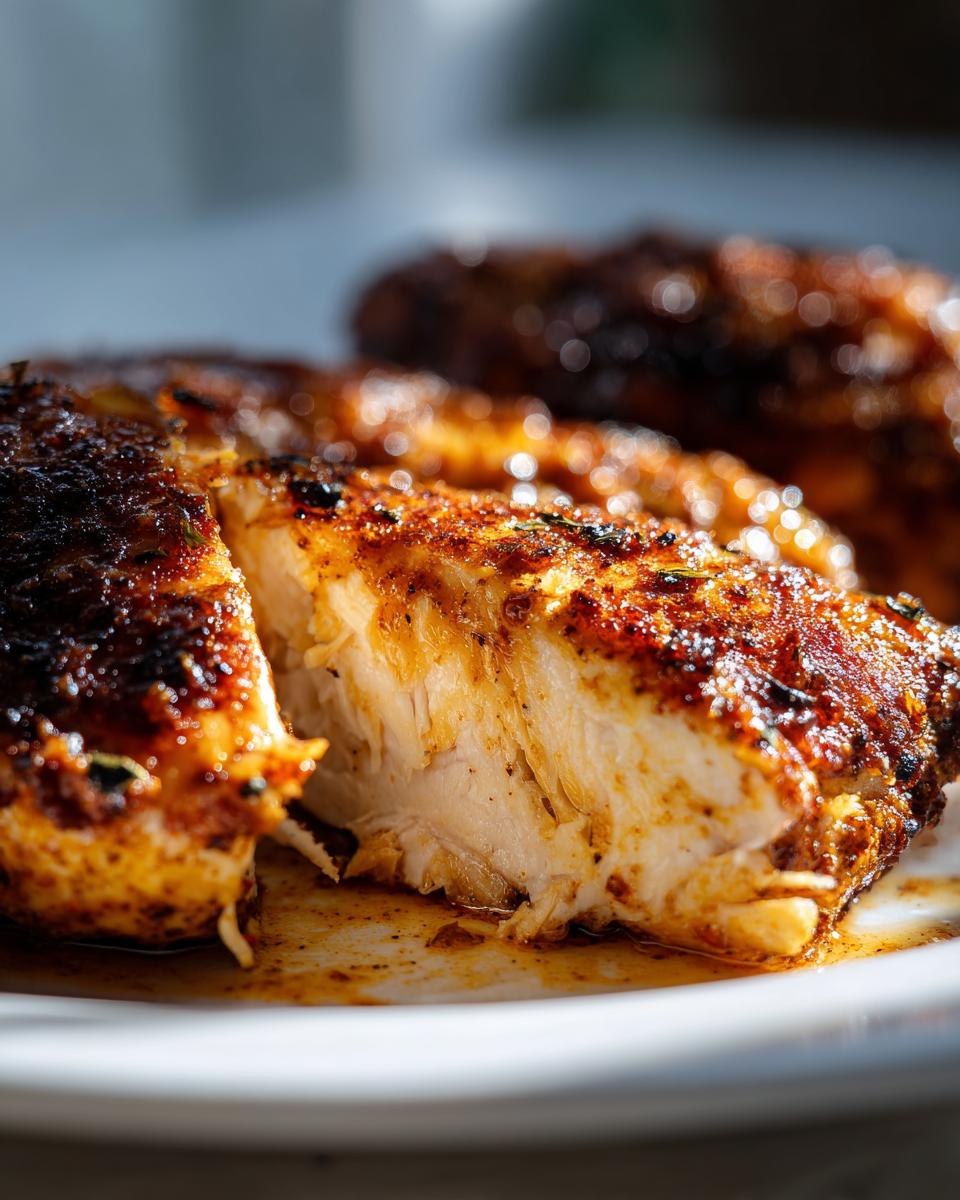
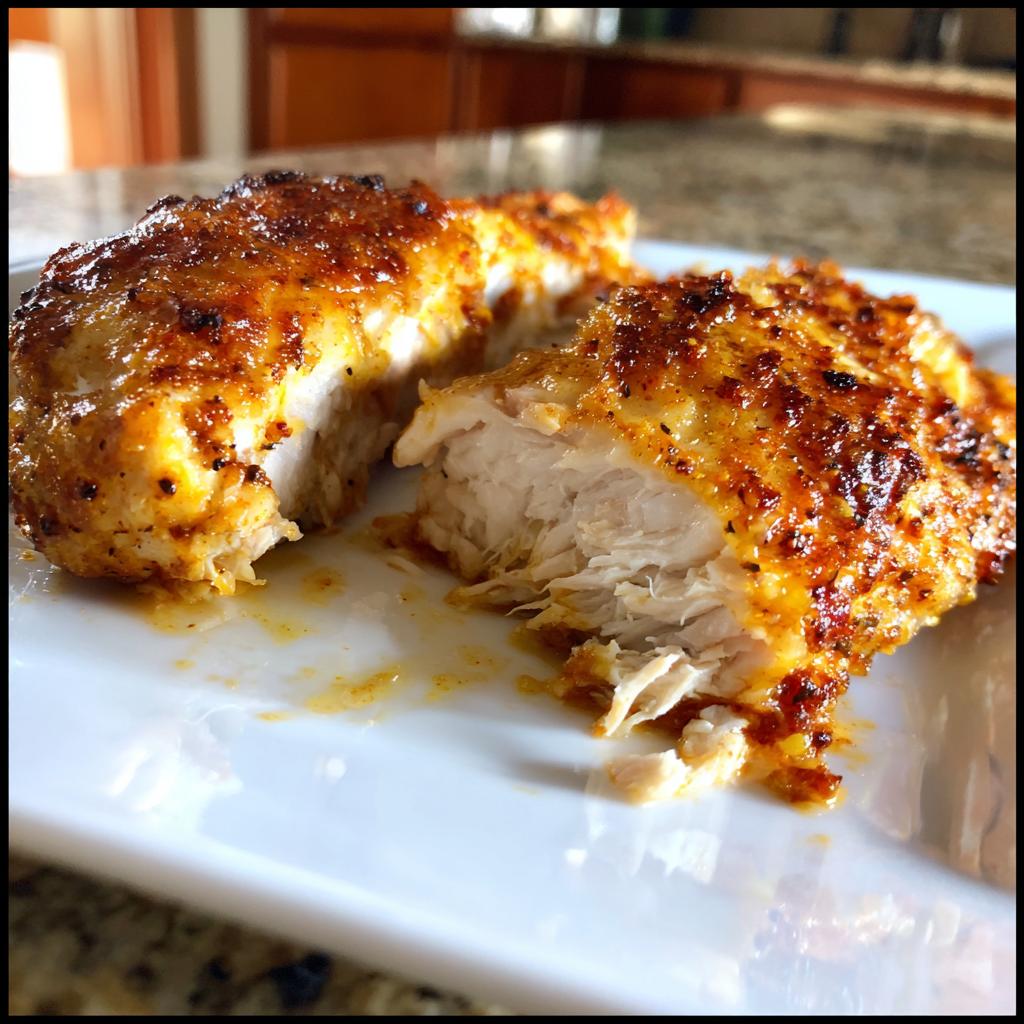
- Kid-approved (and picky-eater tested): My nephew who “hates chicken” gobbles this up every time. The secret? That perfect golden crust from baking at high heat.
- Leftovers that don’t quit: These stay moist for days, making killer salads, wraps, or quick protein boosts for any meal.
Trust me, once this recipe becomes part of your rotation, you’ll wonder how you ever survived weeknights without it!
Ingredients for Baked Chicken Breast Dinner Ideas
Okay, let’s talk ingredients – and I promise, this is one of those “less is more” situations where simple really does equal delicious. Here’s what you’ll need for my go-to baked chicken breast recipe (makes enough for 4 hungry people, or meal prep for the week!):
- The star of the show: 4 boneless, skinless chicken breasts (look for ones that are similar in size so they cook evenly – trust me, this matters!)
- The magic moisture-maker: 2 tablespoons olive oil (the good stuff – it makes a difference!)
- The flavor dream team:
- 1 teaspoon salt (I use kosher – it sticks better)
- 1 teaspoon black pepper (freshly ground if you can)
- 1 teaspoon garlic powder (my secret weapon!)
- 1 teaspoon paprika (smoked or sweet – your call!)
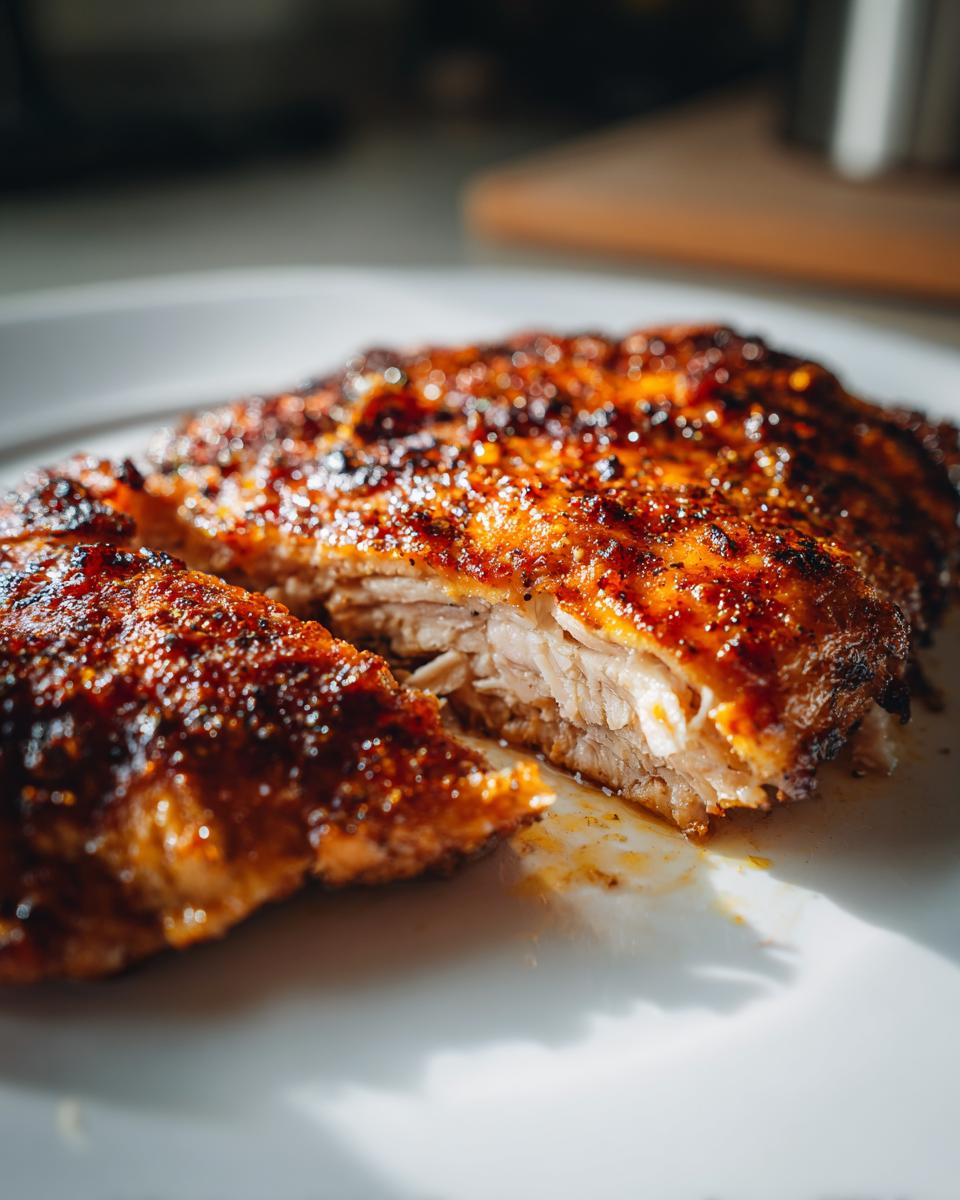
See? Nothing fancy, just pantry staples that work together beautifully. I’ve tried fancier spice blends, but this simple combo lets the chicken shine while giving it that perfect golden crust we all crave. Pro tip: measure your spices into a little bowl first – it makes the seasoning process so much smoother when you’re ready to cook!
How to Prepare These Chicken Breast Dinner Ideas
Alright, let’s get cooking! This is where the magic happens, and I promise it’s easier than you think. I’ve made this baked chicken breast recipe so many times, I could do it in my sleep—but don’t worry, I’ll walk you through every step. The key here is simplicity and patience (especially when resting the chicken—more on that later!). Follow these steps, and you’ll have juicy, flavorful chicken every single time. For even more tips, check out our full guide on baked chicken breast dinner ideas.
Step 1: Preheat and Prep
First things first—get that oven nice and hot! Crank it up to 400°F (200°C). While it heats up, grab your chicken breasts and pat them dry with paper towels. This little trick helps the seasoning stick better and gives you that beautiful golden crust. Arrange them on a baking sheet with a little space between each piece so they cook evenly.
Step 2: Season the Chicken
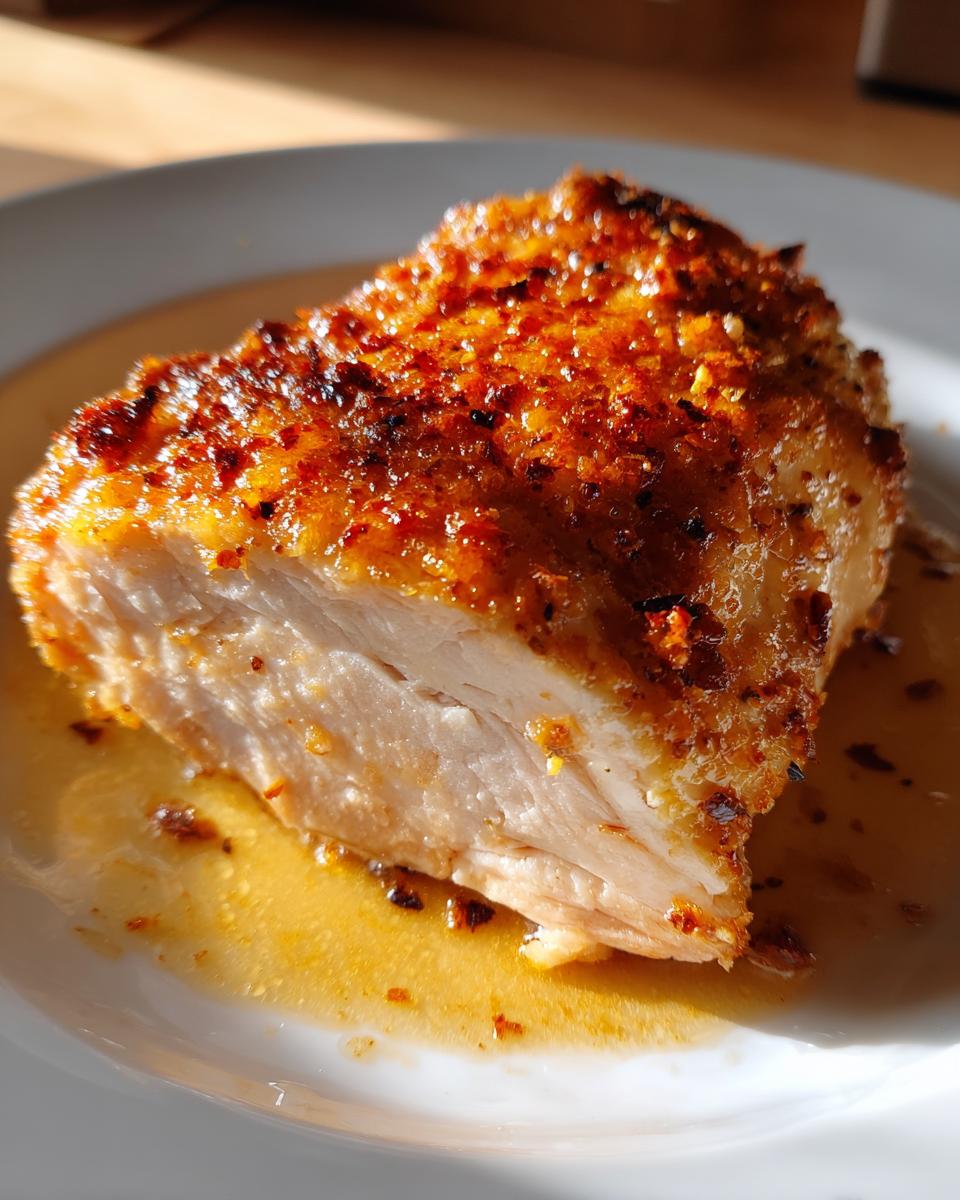
Now for the fun part—seasoning! Drizzle the chicken with olive oil, then sprinkle evenly with the salt, pepper, garlic powder, and paprika. Here’s my pro move: use your hands to rub the spices in gently. You’ll know it’s perfect when each breast looks evenly coated but not caked in seasoning. Less is more—you can always add more flavor later!
Step 3: Bake to Perfection
Pop those beauties into the oven and set a timer for 20 minutes. No peeking! When the timer goes off, check the internal temp with a meat thermometer—it should read 165°F (74°C). If you don’t have one, make a small cut to check for clear juices. Here’s the golden rule: let the chicken rest for 5 minutes before slicing. It keeps all those delicious juices inside instead of on your cutting board. Trust me, it’s worth the wait!
Tips for Perfect Chicken Breast Dinner Ideas
Alright, let me share my hard-earned kitchen wisdom to make sure your baked chicken breasts turn out juicy and flavorful every single time. These little tricks have saved me from many dried-out chicken disasters!
First – embrace your inner thermometer nerd. That meat thermometer isn’t just for fancy chefs – it’s your best friend here. I learned this the hard way after serving rubbery chicken one too many times. Pull the breasts at 165°F (74°C) exactly, and they’ll be perfect after resting.
Give your chicken some breathing room! Overcrowding the baking sheet creates steamed chicken instead of that beautiful golden crust we love. I leave at least an inch between each piece – it makes all the difference.
That resting time isn’t optional. I know it’s tempting to dive right in, but those 5 minutes of patience let the juices redistribute. Cut too soon and all that flavor ends up on your plate instead of in the chicken!
Finally – pound them evenly if needed. If I get super thick chicken breasts, I gently pound the thicker ends to even them out. This way everything cooks at the same rate – no dry edges with raw centers!
Serving Suggestions for Chicken Breast Dinner Ideas
Now that you’ve got perfect baked chicken breasts, let’s talk about what to serve with them! I love how versatile this is – it practically begs to be paired with different sides depending on my mood. My weeknight go-to? Simple steamed veggies (broccoli or green beans are perfect) and roasted baby potatoes. That golden chicken with crispy potatoes makes a meal that feels special but takes no effort.
When I’m feeling fancy, I’ll whip up this amazing quinoa bowl with chicken – just slice the baked breasts over quinoa with avocado and a squeeze of lime. Leftovers transform into killer chopped salads for lunch the next day too!
Pro tip: keep it balanced! The chicken is your protein powerhouse, so pair it with colorful veggies and your favorite wholesome grain. My kids love it with sweet potato fries (okay, I do too) for an easy crowd-pleaser. The possibilities are endless – that’s why this is my number one chicken breast dinner idea!
Storage and Reheating Instructions
Let me tell you my secrets for keeping leftover chicken breasts just as juicy as when they first came out of the oven! First, always let them cool completely before storing – I learned this the hard way after creating a steamy mess in my fridge. Pop them in an airtight container, and they’ll stay fresh for 3-4 days. For longer storage, freeze them individually wrapped – perfect for quick protein boosts later!
Now, reheating is where most people go wrong. If you’ve got time, the oven is your best bet – 350°F for about 10 minutes with a splash of broth keeps them moist. In a rush? Microwave works too, but do it in 30-second bursts with a damp paper towel on top. Trust me, nobody wants rubber chicken! Pro tip: slice cold leftovers for salads or wraps – they’re delicious without reheating at all.
Nutritional Information
Okay, let’s talk numbers – but keep in mind these are estimates! The exact nutrition can vary depending on your chicken’s size, the olive oil brand, and even how much seasoning sticks. A typical serving (one 4-oz baked chicken breast) comes in around 165 calories with 31g protein – perfect for healthy dinners! But honestly? I don’t stress over exact counts. What matters is you’re eating real, simple ingredients that make you feel good. Just focus on that golden, juicy chicken coming out of your oven!
Here’s the HTML content for the Frequently Asked Questions section:
Frequently Asked Questions
Can I use frozen chicken breasts for this recipe?
You can, but here’s what I’ve learned from trial and error: thaw them completely first! Frozen chicken breasts release too much water during baking, making them steam instead of getting that beautiful golden crust. I usually thaw mine overnight in the fridge – much safer than the microwave method. If you’re in a pinch, place the sealed chicken in cold water, changing it every 30 minutes until thawed.
How do I prevent dry chicken breasts when baking?
Oh honey, this was my biggest struggle for years! Two game-changing tips: 1) Don’t overcook – pull them at 165°F (they’ll keep cooking as they rest), and 2) Brine them for 15 minutes in saltwater first if you have time. But honestly? The number one trick is that 5-minute rest after baking. I know it’s hard to wait, but it makes all the difference in juicy versus dry chicken!
Can I use chicken thighs instead of breasts?
Absolutely! Thighs are actually more forgiving because they have more fat. Just bump up the cooking time by about 5 minutes and check that they reach 165°F internally. The spice mix works beautifully on thighs too – my family actually prefers them because they stay so moist. Either way, you’ll have fantastic chicken dinner ideas ready in no time!
What’s the best way to reheat leftovers without drying them out?
After ruining too many perfectly good leftovers, I’ve mastered this: wrap the chicken in aluminum foil with a teaspoon of water or broth and heat at 350°F for 10-15 minutes. The steam keeps it tender. Microwave works in a pinch – just cover with a damp paper towel and use 50% power. Better yet? Slice it cold over a salad – some of my best chicken breast dinner ideas come from next-day leftovers!
Baked Chicken Breast
Ingredients
Equipment
Method
- Preheat oven to 400°F (200°C).
- Place chicken breasts on a baking sheet.
- Drizzle with olive oil and season with salt, pepper, garlic powder, and paprika.
- Bake for 20 minutes or until internal temperature reaches 165°F (74°C).
- Let rest for 5 minutes before serving.
Nutrition
Notes
Tried this recipe?
Let us know how it was!For more amazing recipes, be sure to check out our other sections to explore a variety of ideas that will enrich your cooking experience. Each section offers its own unique flavors to ensure a delightful culinary journey:
Easy and Quick Recipes: A collection of dishes that guarantee delicious meals with minimal effort and time.
Healthy Recipes: Discover healthy and delicious options that fit your lifestyle.
Desserts: A diverse selection of sweets that will add a special touch of sweetness to your table.
Dinner Recipes: Delicious and easy-to-make recipes that will make your dinner a memorable occasion.