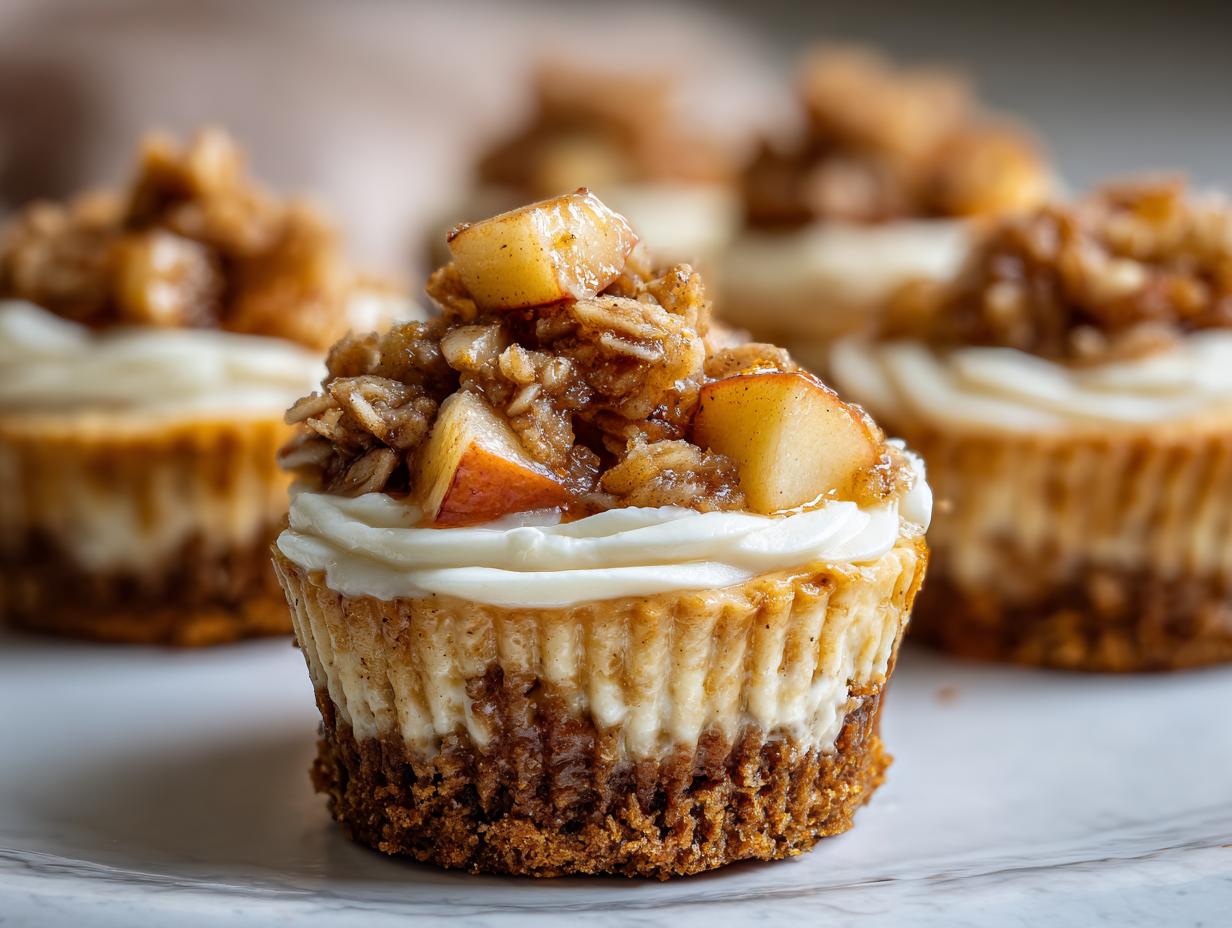
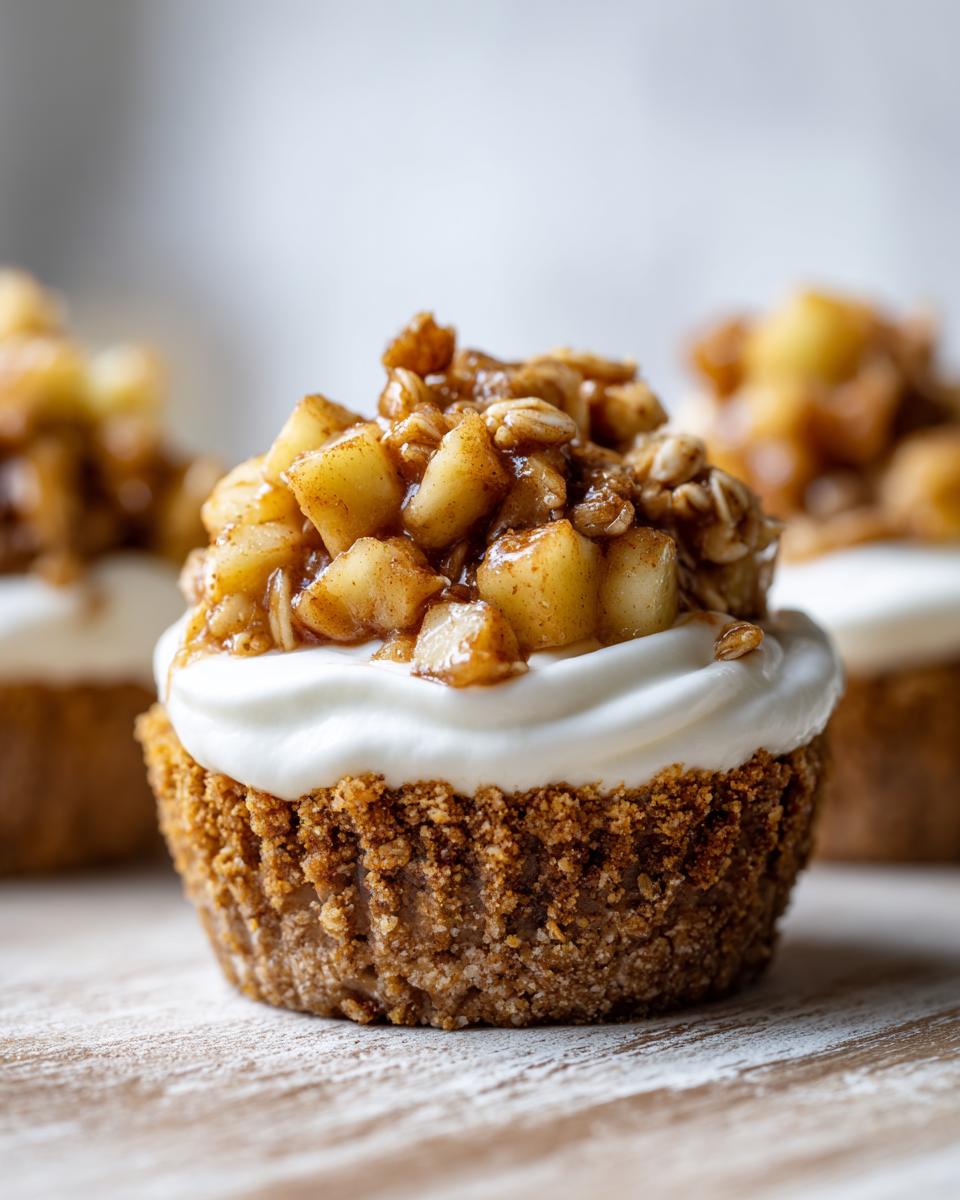
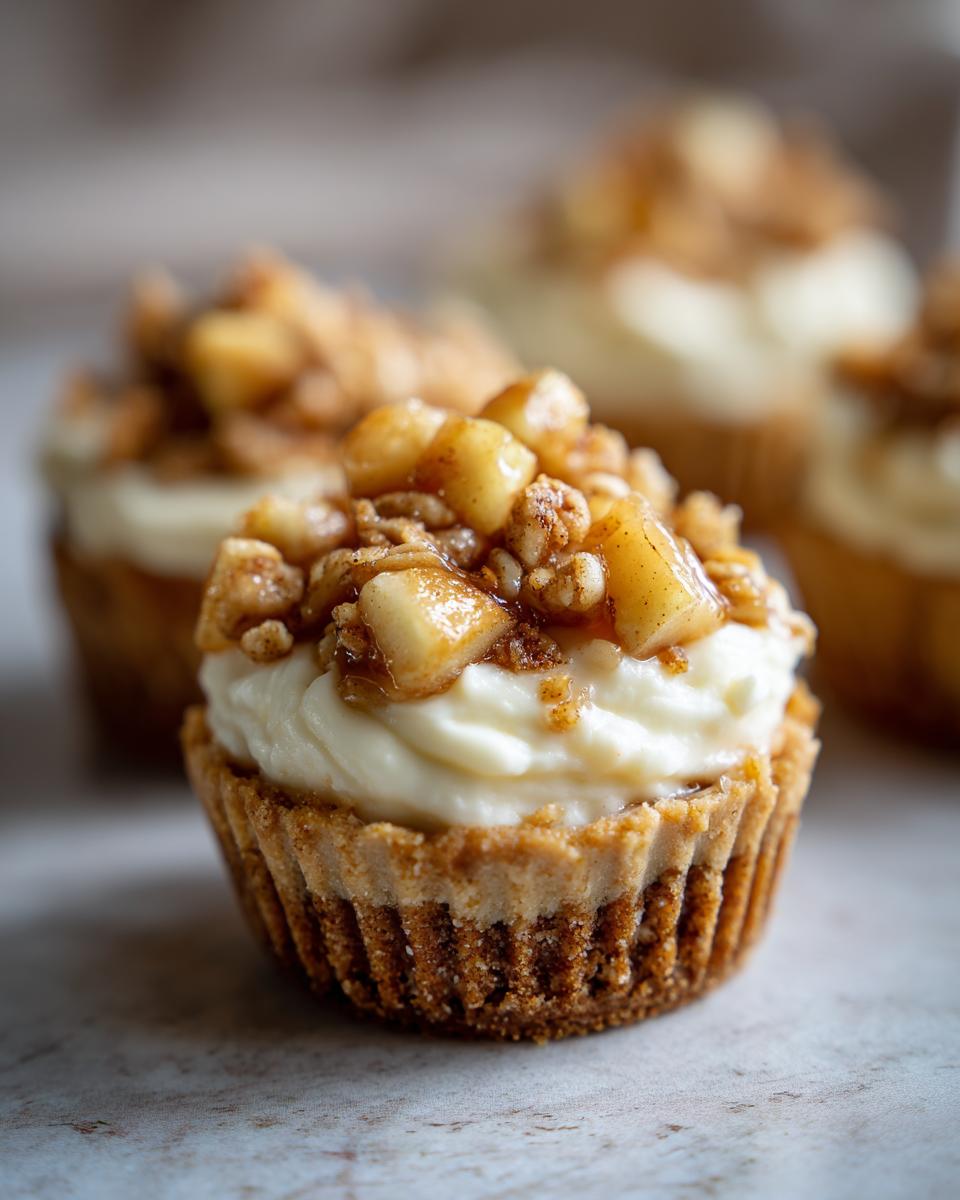
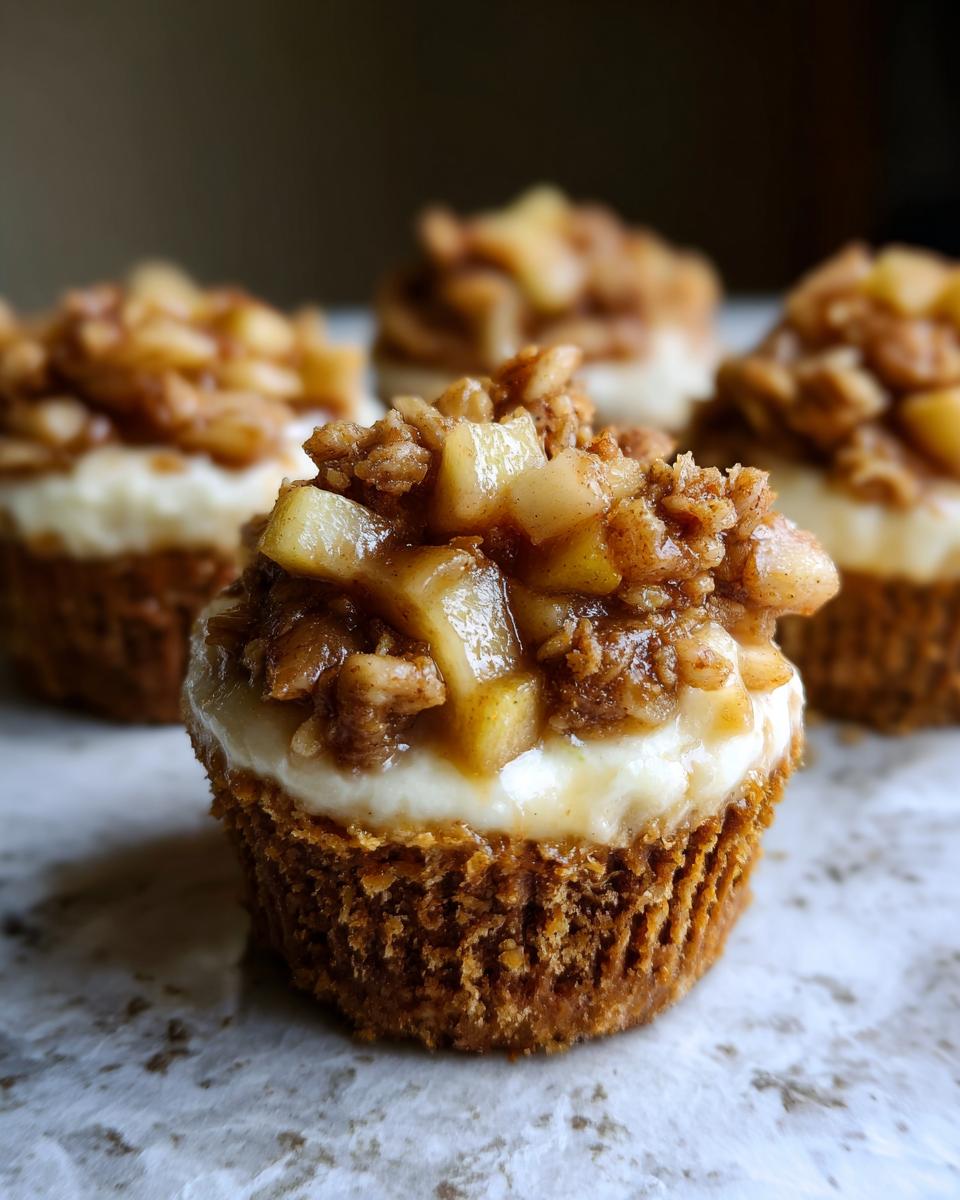
It was one of those cozy fall afternoons when I first fell in love with apple crisp mini cheesecakes. I had friends dropping by unexpectedly, and I needed a quick dessert that would wow them without turning on the oven. That’s when I threw together these no-bake beauties – creamy cheesecake meets crunchy apple crisp, all in adorable single-serve portions. The best part? Everyone went crazy for them! Now they’re my go-to when I need a crowd-pleaser that feels special but takes barely any effort. Seriously, these little guys combine everything we love about fall flavors – warm cinnamon, sweet apples, that buttery crumble – in one perfect bite that’ll have people begging for the recipe.
Why You’ll Love These Apple Crisp Mini Cheesecakes
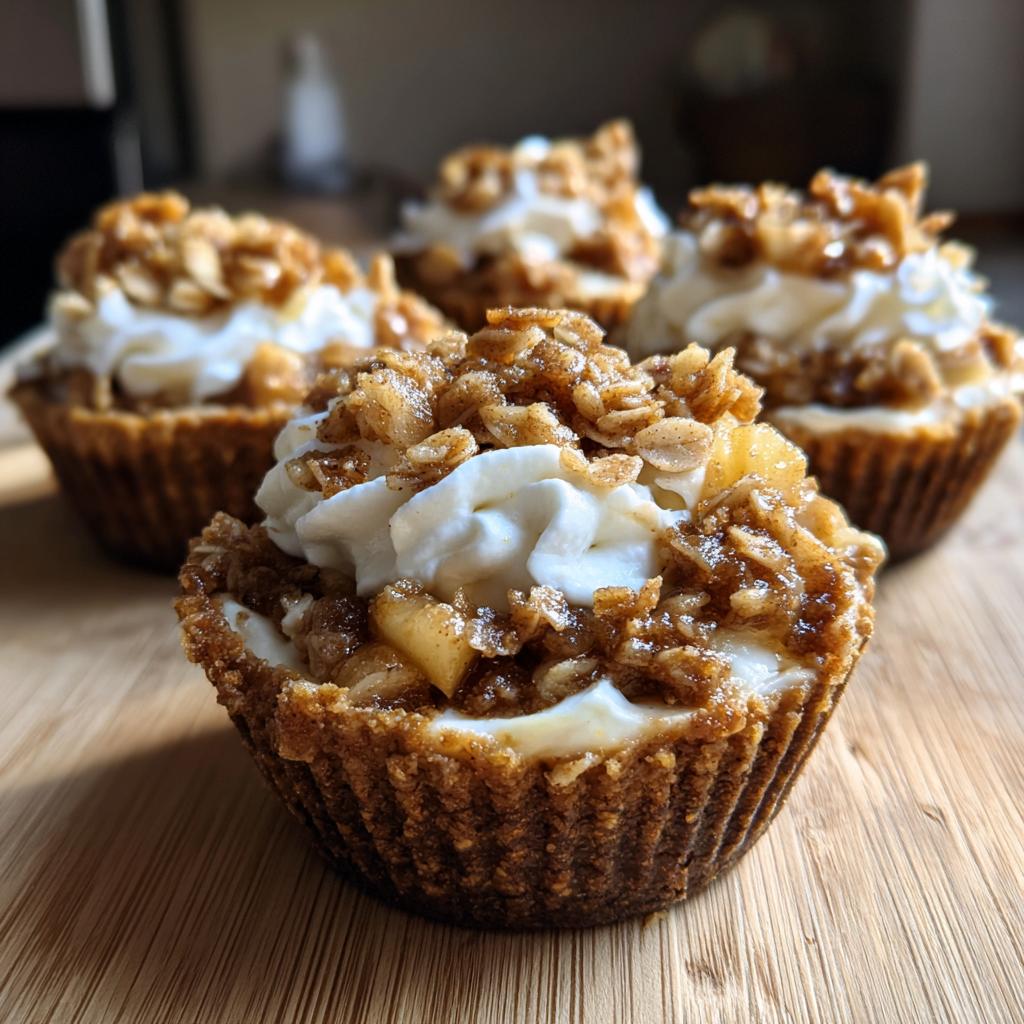
Listen, I know you’re going to adore these little guys as much as I do! Here’s why they’re absolutely magical:
- No oven required – my saving grace when I’m craving something sweet but don’t want to heat up the whole kitchen
- Ready in about 20 minutes hands-on time (plus chilling, but who’s counting?)
- The perfect bite of fall with cinnamon-kissed apples and that irresistible crumbly topping
- Total crowd-pleasers – I bring them to every autumn gathering and always get recipe requests
- Super easy to customize – swap in different no-bake cheesecake flavors or toppings based on what you’ve got on hand
Honestly, what’s not to love? They’re like portable, perfectly portioned autumn happiness!
Ingredients for Apple Crisp Mini Cheesecakes
Gathering ingredients is half the fun with these little treats! I always organize everything into three neat piles on my counter – crust, filling, and topping. It makes assembly a breeze and ensures I don’t forget anything in my excitement to get baking (okay, no-baking!). Trust me, having everything measured and ready before you start? Total game-changer.
For the Crust
You’ll need just three simple ingredients:
- 1 1/2 cups graham cracker crumbs (I pulse mine fresh for extra crunch)
- 6 tablespoons melted butter (don’t skimp – this is what gives that perfect press-in texture)
- 2 tablespoons sugar (granulated white works great)
Pro tip: Really press that crust mixture firmly into your lined muffin cups. A shot glass works wonders for getting it nice and compact!
For the Cheesecake Filling
The creamy dreamy part:
- 16 oz cream cheese (must be softened – I leave mine out for a good hour)
- 1/2 cup sugar
- 1 teaspoon vanilla extract (the real stuff makes all the difference)
- 1 cup whipped topping (lightly thawed if frozen)
Here’s my secret: beat the cream cheese until it’s absolutely silky before adding anything else. Any little lumps now mean lumps forever!
For the Apple Crisp Topping
The autumn magic:
- 1 cup diced apples (peeled or unpeeled – I love Honeycrisp for sweetness)
- 1/2 cup packed brown sugar
- 1/2 cup flour
- 1/2 cup oats (old-fashioned give the best texture)
- 1/4 cup cold butter (cubed – cold, cold, cold!)
- 1 teaspoon cinnamon (go ahead, add an extra pinch – I always do!)
The cold butter here is non-negotiable – it’s what creates those perfect crisp crumbles we all love!
How to Make Apple Crisp Mini Cheesecakes
Okay friends, let’s get to the fun part – putting these beauties together! I know you’re tempted to eat them immediately (I totally get it), but resist for just a bit while we walk through each step. The best part about these mini cheesecakes? They come together so quickly you’ll wonder why you ever turned on your oven for dessert. By the way, if you’re curious about other techniques, I’ve got some favorite tips from this classic cheesecake recipe that translate beautifully to our no-bake version. Or check out visual guides on YouTube if you’re more of a watch-and-learn type!
Step 1: Prepare the Crust
First things first – let’s make that buttery graham cracker base! Grab a medium bowl and toss in your crumbs, melted butter, and sugar. Mix until it looks like wet sand – you want every crumb coated in that golden butter goodness. Now, line your muffin tin with paper liners (trust me, they’ll save you so much frustration later) and press about 2 tablespoons of the mixture into each one. I use the bottom of a shot glass to really pack it down nice and tight – this prevents any sad, crumbly cheesecake mishaps when you’re serving them!
Step 2: Make the Cheesecake Filling
Now for the creamy dreamy part! Throw that softened cream cheese into a large bowl – and I mean really softened, none of that still-chilly-from-the-fridge business. Beat it until it’s completely smooth (about 2 minutes with a hand mixer). Add your sugar and vanilla, then beat another minute until fluffy. Here’s my pro tip: fold in the whipped topping by hand with a rubber spatula – overmixing can make your filling a bit too loose. Spoon this heavenly mixture over your crusts, filling each cup about 3/4 full. Try to resist sneaking tastes… though I won’t judge if you do!

Step 3: Add the Apple Crisp Topping
Time for the pièce de résistance! In a medium bowl, combine all your topping ingredients except the apples – toss in those crisp little apple cubes last so they don’t get mushy. Use your fingers to work the cold butter into the dry ingredients until you’ve got nice clumpy crumbs. Now sprinkle this magic (plus plenty of love) over each cheesecake, pressing lightly so it stays put. Finally – the hardest part – pop them in the fridge for at least 2 hours so they can set up properly. I know, the waiting is torture, but it makes ALL the difference in creating that perfect cheesecake texture we’re craving!
Tips for Perfect Apple Crisp Mini Cheesecakes
Oh friends, let me share all my hard-earned wisdom for making these little guys absolutely foolproof! First up – that cream cheese must be softer than your favorite sweatpants. I learned this the hard way when I got impatient and tried to use slightly chilled cream cheese – let’s just say my arm got quite the workout trying to beat out those stubborn lumps! Now I leave mine out for a full hour before starting.
For the topping – keep that butter icy cold! I even pop my cubed butter back in the fridge while I prep everything else. Cold butter = perfect little crumbles that’ll make your apple crisp topping look straight out of a bakery case. And whatever you do, don’t skip the full 2 hour chill time – I know it’s tempting to sneak one early (I’ve been there!), but patient waiting means that gorgeous, sliceable cheesecake texture we’re all after.
One last pro move? Let your cheesecakes sit at room temperature for about 10 minutes before serving. That little bit of warmth makes all the flavors sing while still keeping that perfect no-bake texture. Now go forth and make the most epic batch yet!
Variations and Substitutions
You know what I love most about these apple crisp mini cheesecakes? How easily you can mix them up to suit any crowd or craving! First off, if you’re baking for gluten-free friends, swap in gluten-free graham crackers for the crust – they work like a charm. Dairy-free? No problem! Use your favorite dairy-free cream cheese and whipped topping – I’ve had great results with coconut-based versions that add the slightest tropical hint (kind of fun with the apples!).
Want to get fancy? Drizzle warm caramel sauce over the top just before serving – it turns them into total showstoppers! I sometimes mix a tablespoon of bourbon into the apple crisp topping for grown-up gatherings (trust me, it’s amazing). Or check out more inspiration from these apple dessert recipes if you’re feeling adventurous. The possibilities are endless, so don’t be afraid to make them your own!
How to Store and Serve
Okay, so you’ve made these gorgeous apple crisp mini cheesecakes – now let’s talk about keeping them perfect until showtime! Pop them in an airtight container (I swear by my glass ones with snap lids) and they’ll stay dreamy in the fridge for up to 3 days. Want to get ahead? They freeze amazingly well – just wrap each one individually in plastic wrap before freezing for up to a month. When serving, I love adding dollops of fresh whipped cream and maybe an extra sprinkle of cinnamon sugar – totally optional, but oh-so-pretty!
Frequently Asked Questions
Can I use pre-made apple pie filling instead of fresh apples?
Oh, I get this one all the time! While you totally can use the canned stuff in a pinch, fresh diced apples give these no-bake cheesecakes that perfect crisp-tender texture. Pre-made filling tends to get a bit too mushy and sweet for my taste. But hey – if that’s all you’ve got, just drain it well and maybe cut back on the brown sugar in the topping. Your cheesecakes, your rules!
How long do these mini cheesecakes last in the fridge?
These crowd-pleasing treats stay perfect in an airtight container for about 3 days – if they last that long! The crust might soften slightly by day 3, but that’s part of the charm. I actually think the flavors get even better overnight as the apples mingle with the creamy filling. Just resist opening the fridge every five minutes to admire them (easier said than done, I know!).
Can I freeze these for later?
Absolutely! This is my favorite make-ahead fall dessert trick. Wrap each cheesecake individually in plastic wrap, then pop them in a freezer bag. They’ll keep beautifully for up to a month. When that autumn sweet tooth hits, just transfer one to the fridge in the morning – by dessert time, you’ve got a perfect single-serving treat without any extra work!
Nutritional Information
Just a quick heads up – these nutritional values are rough estimates and can vary depending on the specific ingredients and brands you use. I always say it’s better to focus on the joy these little cheesecakes bring than to stress over exact numbers. After all, happiness is the best nutrient of all!
Apple Crisp Mini Cheesecakes
Ingredients
Equipment
Method
- Mix graham cracker crumbs, melted butter, and sugar in a bowl.
- Press the mixture into the bottom of muffin tin cups lined with liners.
- Beat cream cheese, sugar, and vanilla until smooth.
- Fold in whipped topping.
- Spoon the cheesecake filling over the crusts.
- Combine diced apples, brown sugar, flour, oats, cold butter, and cinnamon for the topping.
- Sprinkle the apple crisp mixture over each cheesecake.
- Refrigerate for at least 2 hours before serving.