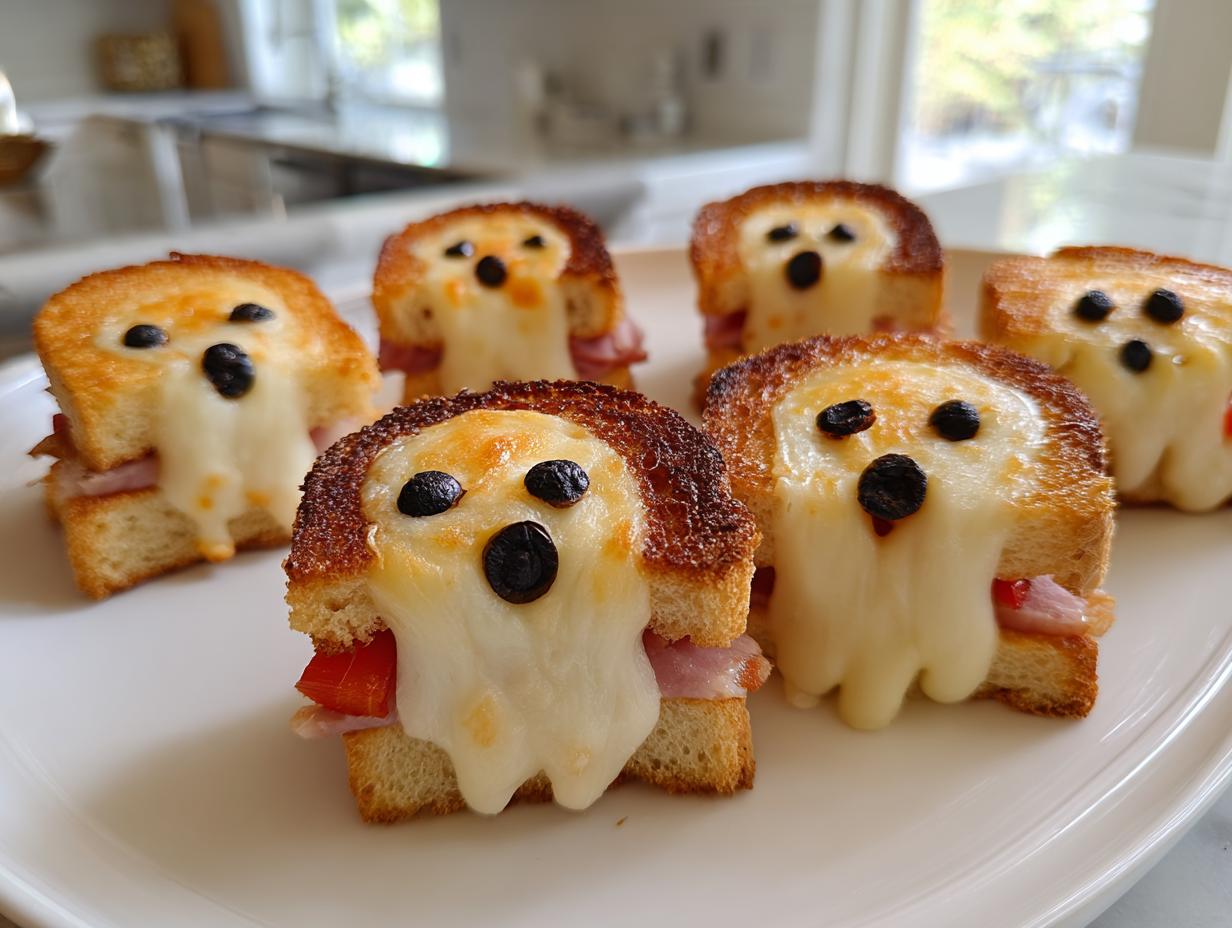
Oh my gosh, you guys, Halloween lunch is my absolute favorite meal of the year! There’s just something magical about turning ordinary sandwiches into spooky little edible works of art. I remember the first time I made jack-o-lantern sandwiches for my nieces – their squeals of delight when they saw their lunch grinning up at them! Now it’s our little tradition every October. The best part? This Halloween lunch idea is ridiculously simple – no fancy skills needed. Just some basic ingredients and a playful spirit. Whether you’re packing lunchboxes or serving a festive midday meal at home, these cute Halloween sandwiches always bring smiles to both kids and grown-ups alike.
Why You’ll Love This Halloween Lunch
Listen, I know what you’re thinking – “Do I really have time for fancy Halloween food?” But trust me, this is one of those rare recipes that’s actually as easy as it looks. Here’s why it’s become my go-to:
• Ready in just 25 minutes – including baking time! Who says spooky has to be complicated?
• Basic ingredients you probably have right now – bread, cheese, and deli meat are the budget-friendly heroes here
• Those cute Halloween shapes take regular sandwiches from “meh” to magical in one simple cut
• Kids go absolutely nuts for them (mine beg for pumpkin sandwiches year-round)
• Completely flexible – make ghosts one day, bats the next, or let everyone decorate their own
Seriously, I’ve served these at Halloween potlucks for years, and they always disappear first. The best part? You get all the credit for being “crafty” when really it took barely any effort at all!
Ingredients for Your Halloween Lunch
Okay, let’s raid the fridge and pantry for our Halloween sandwich magic! I promise you don’t need anything fancy – just some everyday staples plus a few fun extras for decorating. Here’s what I always use:
For the Sandwiches:
- 8 slices of bread (white works best for clean cuts, but use what you love)
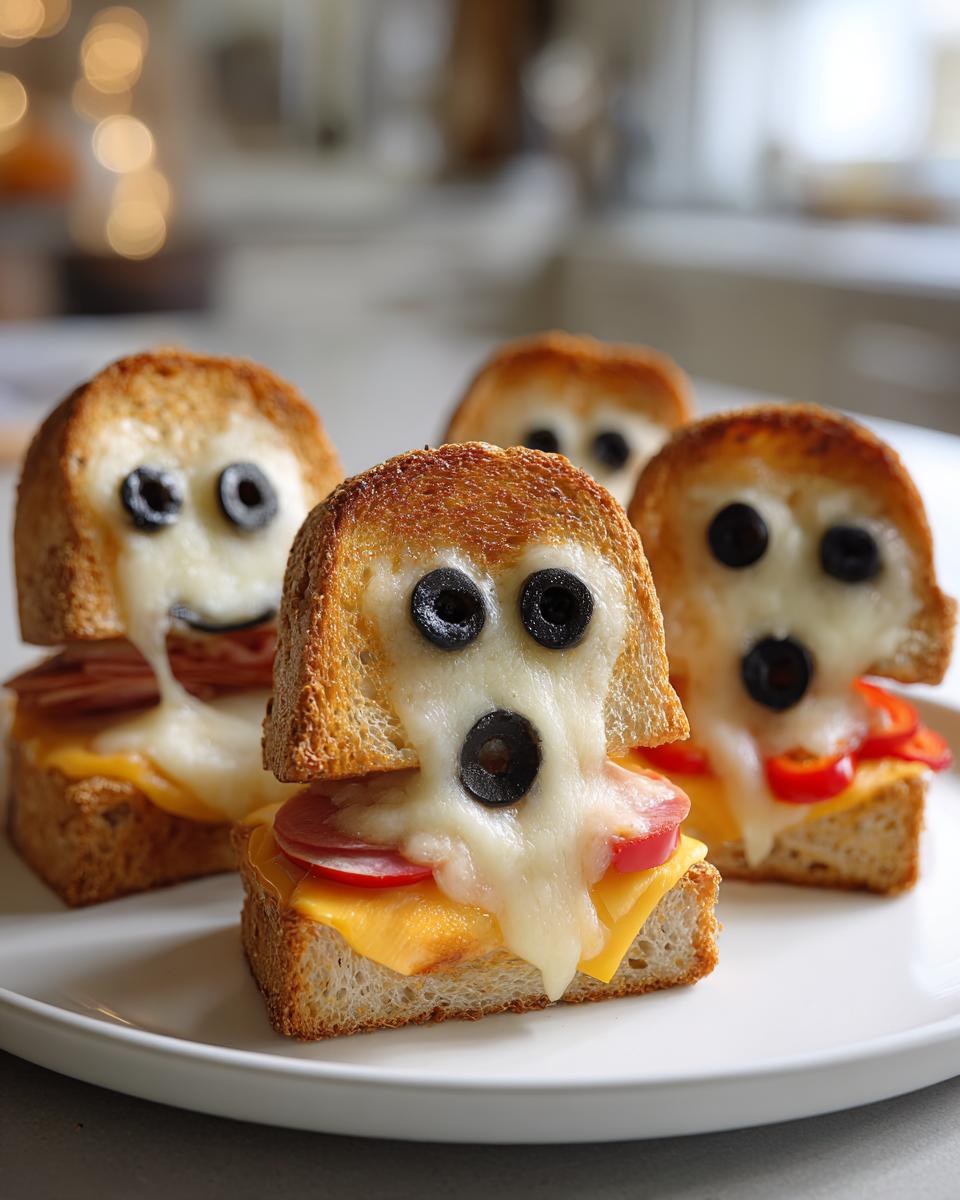
- 4 slices of cheese (orange cheddar makes perfect pumpkin colors!)
- 4 slices of ham or turkey (or hey, go wild with both)
For the Decorations:
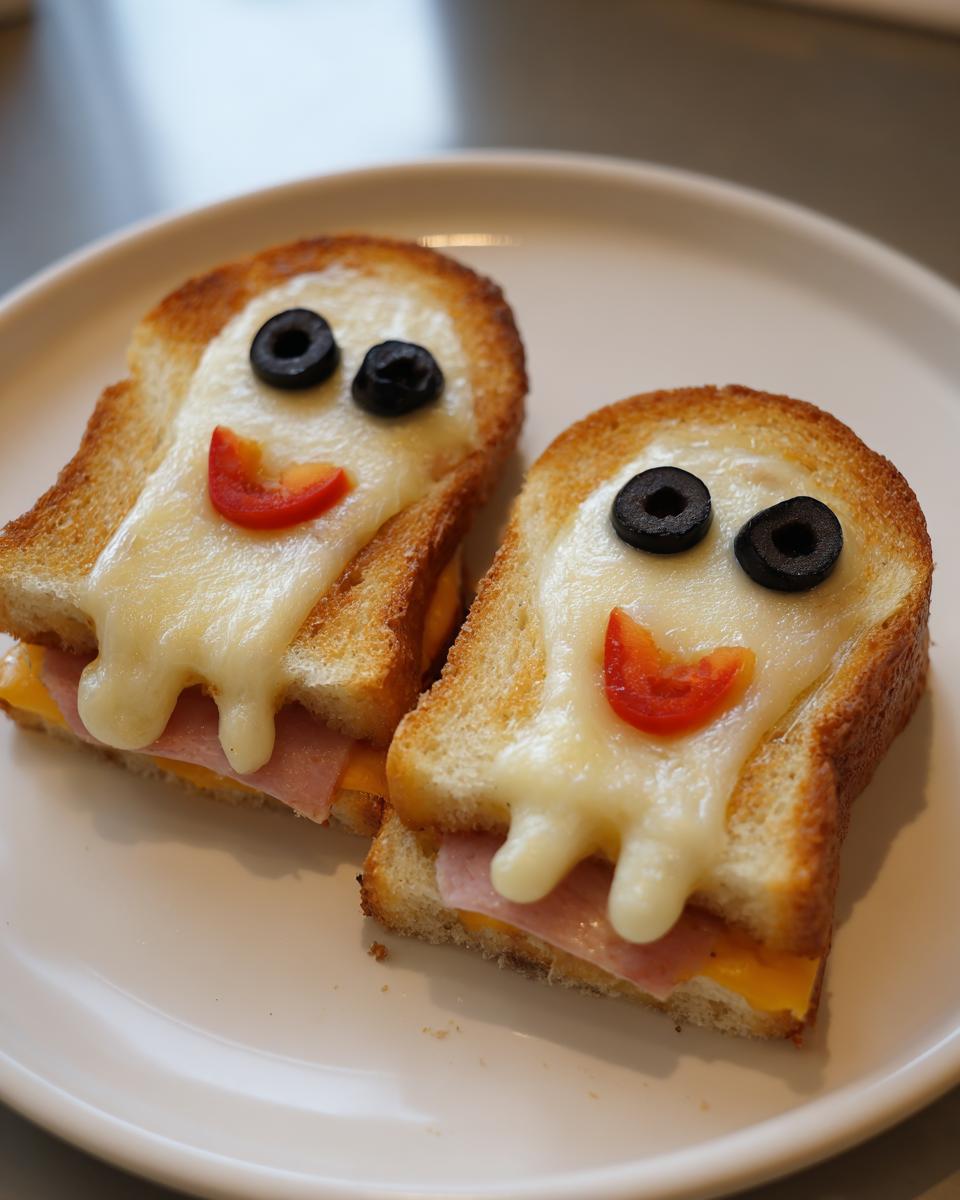
- 1 black olive, sliced into little rounds for spooky eyes
- 1 red bell pepper, cut into thin strips for all those jack-o-lantern grins
See? Told you it was simple! The decorations make all the difference – I once used cucumber slices for ghost eyes when I ran out of olives, and guess what? Still adorable. Halloween lunch is all about playing with your food!
Equipment Needed for Halloween Lunch
Gathering your tools for this Halloween lunch is almost as easy as the recipe itself! Here’s what you’ll need:
First, the absolute must-haves: a sharp knife for cutting those silly faces (I like using a small paring knife – gives me better control for those tricky grin details), a trusty cutting board (mine has little ghosts on it from last year’s Halloween sale – not required but totally adds to the spirit!), and a baking sheet to crisp up those sandwiches.
Now for the fun extras: if you’ve got Halloween cookie cutters lying around from last year’s sugar cookies, bust ’em out! I especially love the pumpkin and ghost shapes – makes uniform sandwiches a breeze. No cutters? No problem! Freehand cutting adds character (my lopsided bats are legendary in our house).
How to Make Your Halloween Lunch
Alright, time for the fun part! Making these Halloween sandwiches is seriously easier than carving a pumpkin, I promise. Here’s how I do it every single time:
1. Preheat and Prep: First, crank that oven to 350°F – takes about 5 minutes to heat up while you assemble everything. Pro tip: while you wait, slice your olives and bell pepper for decorations. Little hands love helping with this part!
2. Build Your Base: Lay out your bread slices and layer on the cheese and ham. For extra melty goodness (and to prevent soggy bread), I always put cheese on both sides – it acts like a moisture barrier! Learned that trick from my Mom’s grilled cheese days.
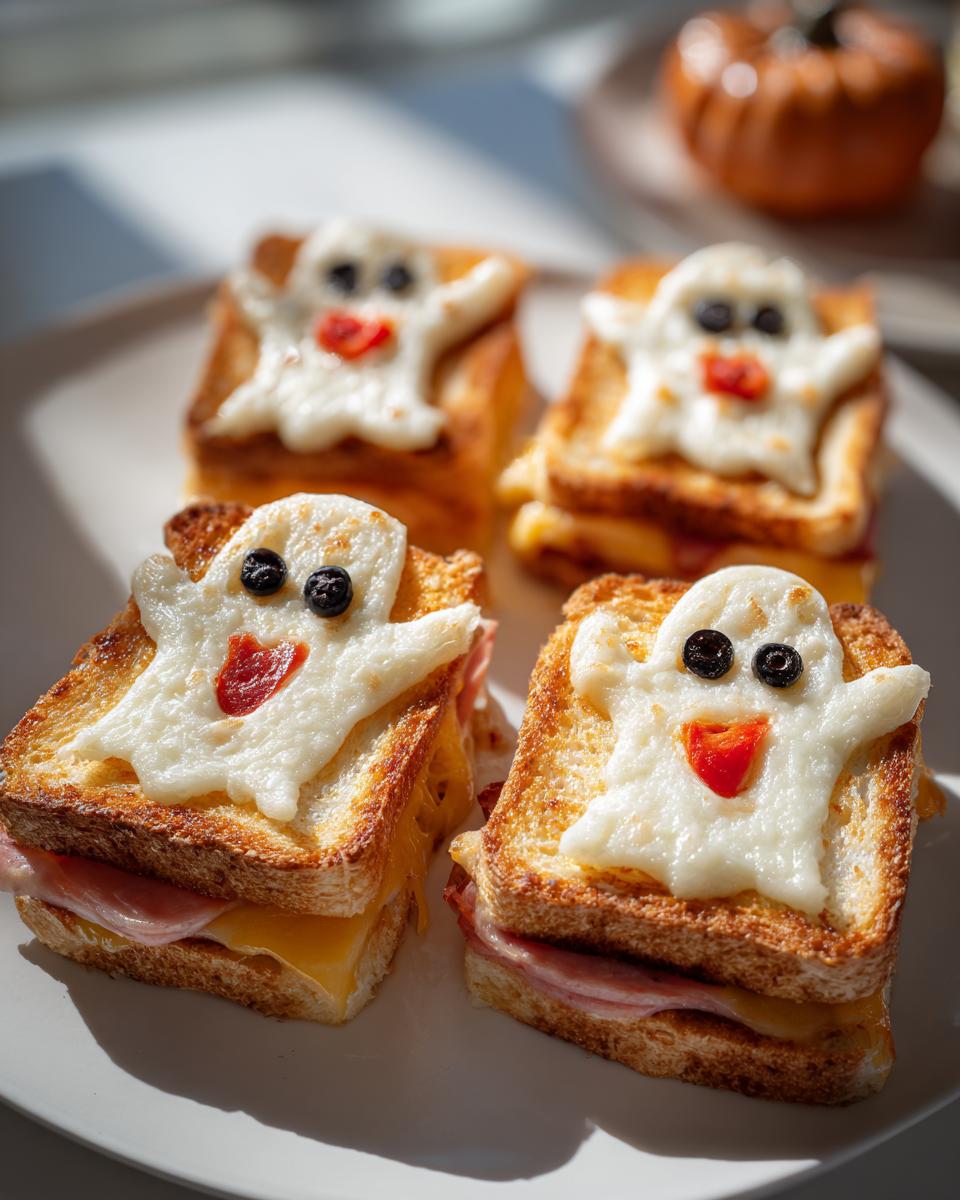
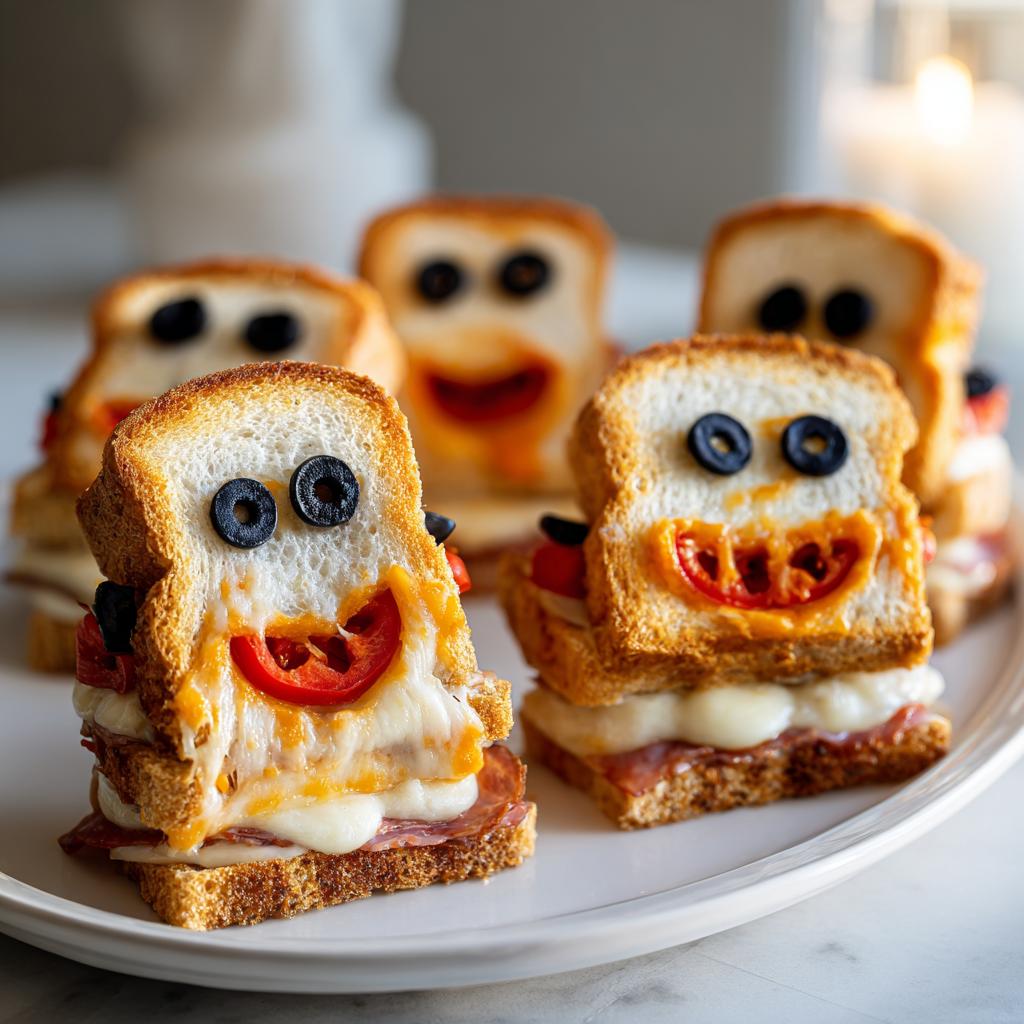
3. Spooky Cutouts: Now the creative fun begins! Use a sharp knife or Halloween cookie cutters to make shapes. Pumpkins are easiest – just round with a little stem. Ghosts? Simple wavy tops. If you’re feeling adventurous, try bats! My kids love when I make “mummy” ones with zig-zag cuts.
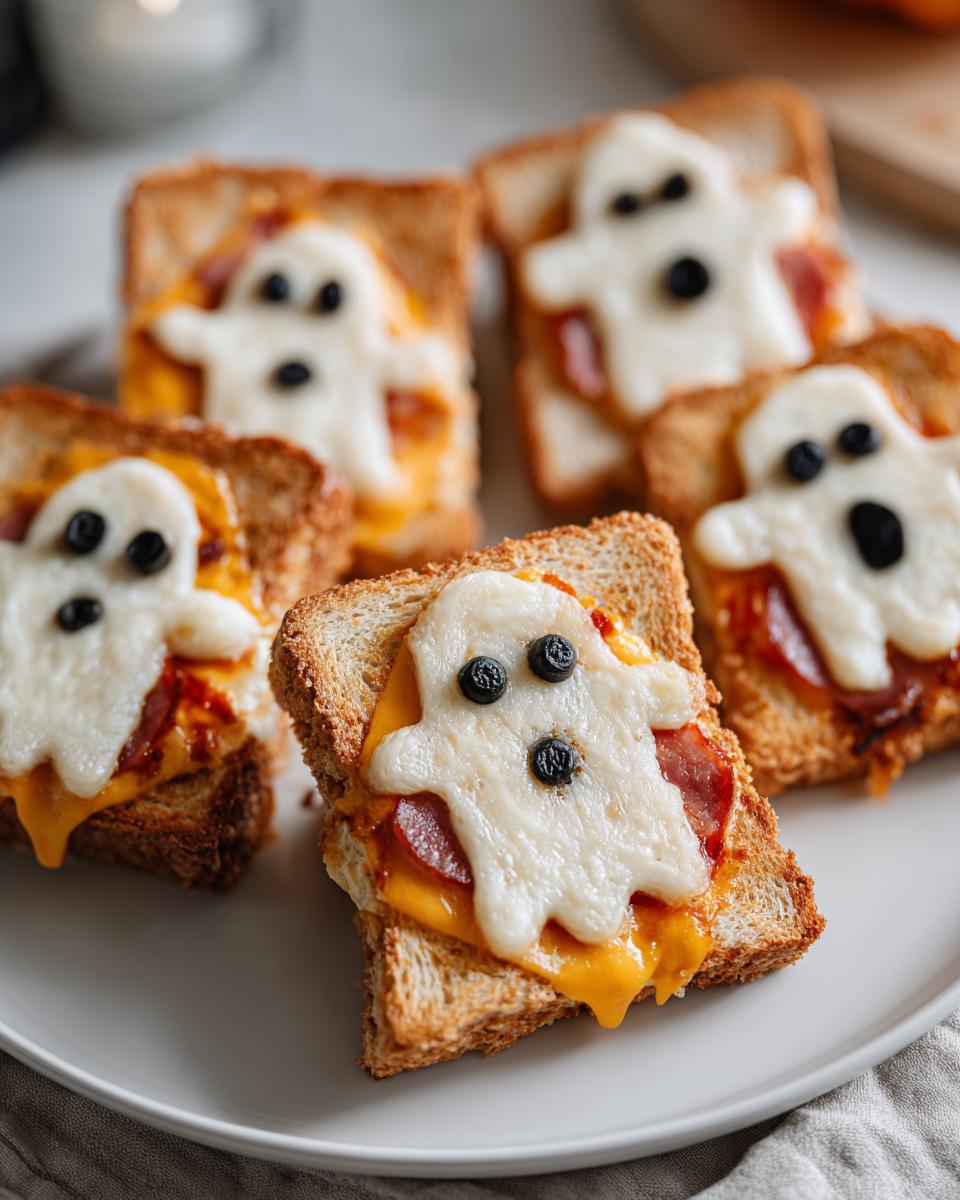
4. Bake to Perfection: Pop your creations on a baking sheet for 10 minutes – just until the cheese gets all gooey and the edges crisp slightly. Watch closely after 8 minutes though – burnt jack-o-lanterns aren’t spooky, just sad!
5. Dress to Impress: Let sandwiches cool for 2 minutes (hot cheese burns tiny fingers!), then decorate with olive eyes and pepper mouths. Want extra credit? Add parsley “hair” or carrot “teeth.” The more personality, the better!
See? I told you it was simple! The whole process takes less time than watching a Halloween cartoon special. And trust me, the “oohs” and “aahs” when you serve these up? Priceless. Might want to make extras – they disappear faster than candy on trick-or-treat night!
Tips for the Perfect Halloween Lunch
After making these Halloween sandwiches more times than I can count (seriously, my neighbors start requesting them in September!), I’ve picked up some foolproof tricks:
First – patience is key! Let those little sandwiches cool for 2-3 minutes before decorating. Hot cheese makes olive eyes slide right off (learned that the messy way). Fresh ingredients make all the difference too – crisp bell peppers and plump olives give the brightest colors. My secret? Buy the ingredients the day before so everything’s at its peak.
Get the kids involved! My nieces love “operating” on their sandwiches – giving them silly faces with the toppings. Pro tip: put out small bowls of different decorations and let everyone create their own monster. The messier, the better – it’s Halloween after all!
Oh! And if you’re making these ahead, assemble but wait to bake until serving time. Nobody likes a soggy ghost sandwich – trust me on that one.
Halloween Lunch Variations
Okay, let’s get creative with our Halloween lunch! The beauty of this recipe is how easily you can switch things up. Here are some of my favorite twists that always get rave reviews:
• Turkey makes a fantastic swap for ham – I love how the lighter color looks with the cheese. Bonus: it’s usually what I have leftover from Sunday dinners!
• Going vegan? No problem! Use dairy-free cheese slices and plant-based deli slices – they work just as well for spooky shapes.
• Out of olives? Try cucumber rounds for ghostly pale eyes or raisins for a sweet twist (my nephew calls them “monster eyeballs”).
• For extra crunch, add lettuce or spinach between layers – the green peeking out makes great “Frankenstein” effects!
The possibilities are endless – just like Halloween itself. Last year I even made a “zombie” version with avocado “brains” oozing out. Gross? Maybe. Delicious? Absolutely!
Serving Your Halloween Lunch
Alright, time for my favorite part – making this Halloween lunch into a proper spooky feast! These sandwiches shine brightest when served with playful sides that keep the theme going. My go-to? Carrot sticks with almond “fingernails” – just slice one end and pop in a slivered almond. So creepy, so simple!
Other faves include apple monster mouths (cut slices with peanut butter and mini marshmallow “teeth”) or even just grapes pretending to be eyeballs. One Halloween I went all out with orange-colored yogurt dips – the kids lost their minds!
This recipe comfortably serves four hungry monsters (or two very enthusiastic adults). Trust me, you’ll want extras – my nieces always beg for “just one more ghost sandwich.” And who can say no when they’re this much fun?
Nutritional Information
Let’s keep it real – we’re not counting calories when it comes to Halloween fun! These sandwiches are all about creativity, not complicated nutrition math. That said, the nutritional value can vary depending on your bread choice, cheese type, and how generous you are with those delicious decorations.
As with any recipe, your specific ingredients will affect the final numbers. Maybe you went for whole grain bread or low-fat cheese? Used turkey instead of ham? Every swap changes things. Bottom line: enjoy your spooky creation without stressing the details!
FAQs About Halloween Lunch
I get asked these questions every single Halloween – so let me save you some time with my tried-and-true answers!
Can I make these Halloween sandwiches ahead of time?
Absolutely! Here’s my trick: assemble the sandwiches the night before, but wait to bake them until right before serving. Just wrap them tightly in plastic wrap and pop in the fridge. The bread might get slightly softer, but that melty cheese will make everyone forget about it!
How should I store leftovers?
If you somehow have leftovers (rare in my house!), they’ll keep in the fridge for about 2 days. Just separate any decorated ones from plain ones – those olive eyes get weird when squished. Reheat in the toaster oven for best results!
Can I use gluten-free bread?
You bet! I’ve made these with all sorts of specialty breads – gluten-free, whole grain, even pita pockets in a pinch. The key is using slightly thicker slices so they hold up to cutting. Bonus: gluten-free bread often toasts up extra crispy for that perfect crunch!
What if I don’t have cookie cutters?
No worries at all! I freehand cut mine more often than not. A small sharp knife and some imagination go a long way. Pro tip: draw your shapes on the bread with a toothpick first if you’re nervous. Wobbly ghosts and lopsided pumpkins have way more personality anyway!
Halloween Lunch
Ingredients
Equipment
Method
- Preheat the oven to 350°F (175°C).
- Assemble the sandwiches with cheese and ham between the bread slices.
- Use a knife to cut the sandwiches into Halloween shapes like pumpkins or ghosts.
- Place the sandwiches on a baking sheet and bake for 10 minutes until the cheese melts.
- Decorate the sandwiches with black olive slices for eyes and red bell pepper for mouths.