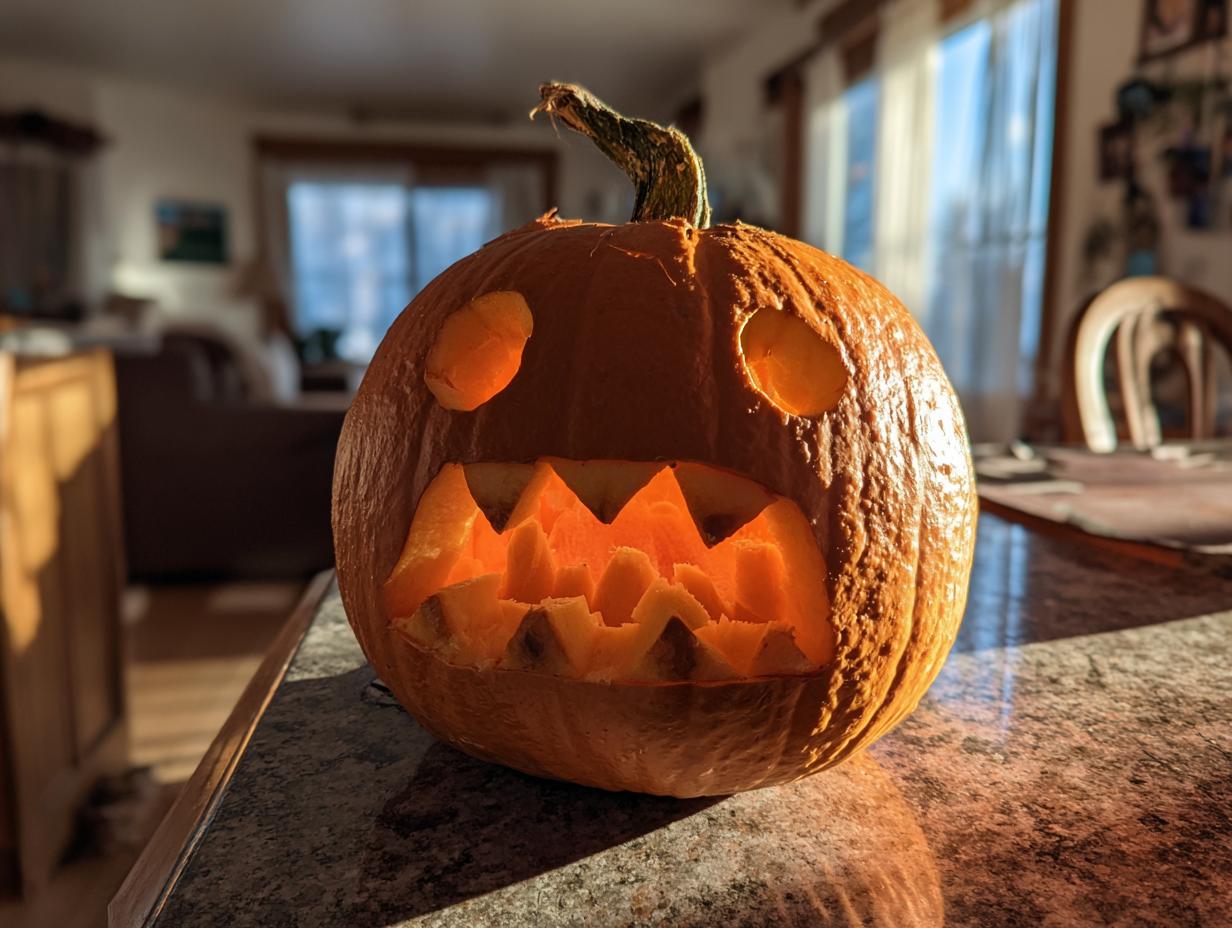
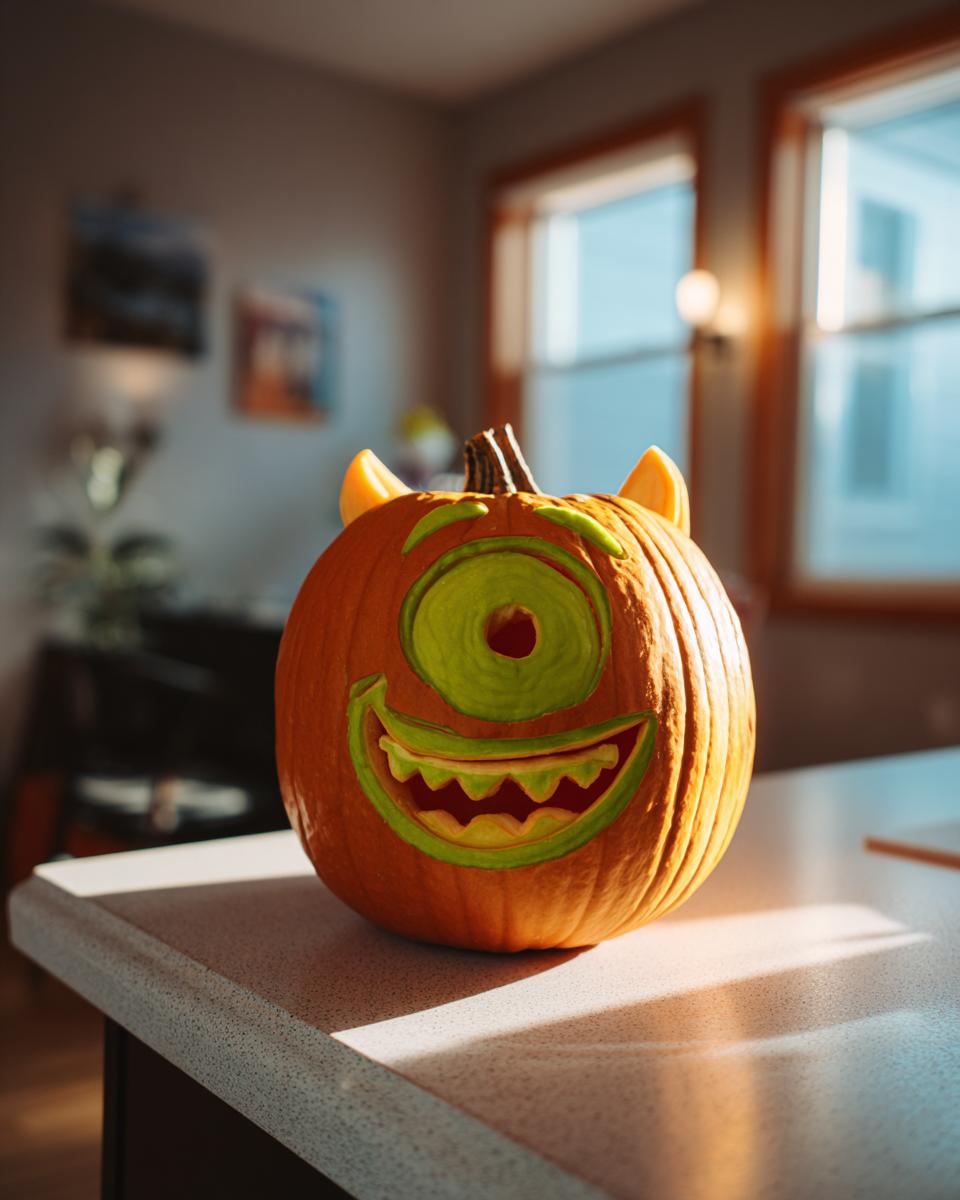
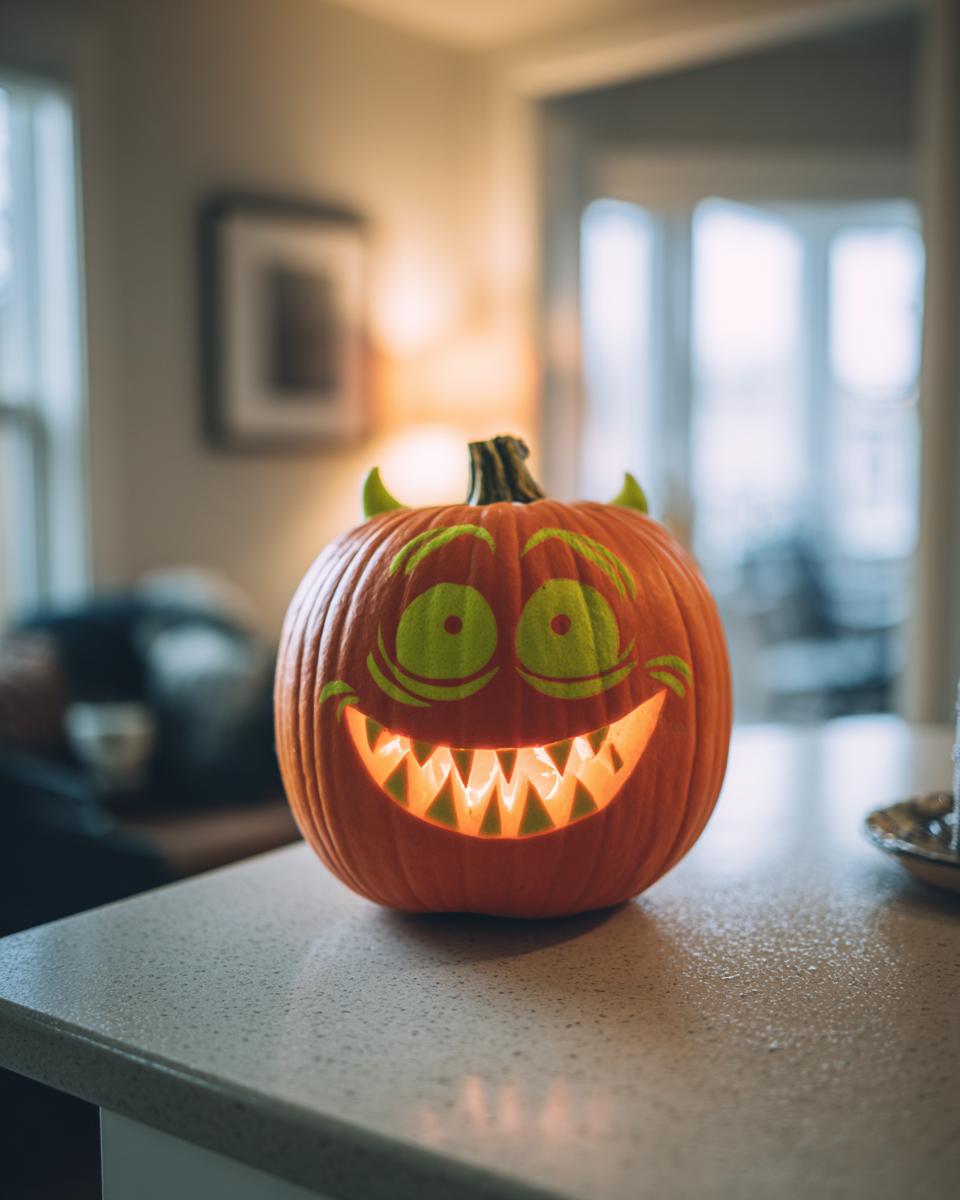
You know what I love most about Halloween? It’s not just the candy (though let’s be real, that’s a big part of it). It’s the moment when you flip the switch on your Mike Wazowski pumpkin for the first time and that big green eye comes to life! I still remember the year my niece begged me to help her make one – we laughed so hard when we accidentally gave Mike a lopsided grin. That’s the magic of this design – it turns your ordinary jack-o’-lantern into something playful and unexpected. Whether you’re a Monsters, Inc. superfan or just looking for a fresh twist on pumpkin carving, this little guy is guaranteed to be the star of your Halloween spread. Trust me, nothing gets more “oohs” and “ahhs” than when Mike’s single glowing eye peeks out from your porch!
Why You’ll Love This Mike Wazowski Pumpkin
This isn’t just any old jack-o’-lantern – it’s Mike Wazowski brought to life! Here’s why it’s my absolute favorite pumpkin project:
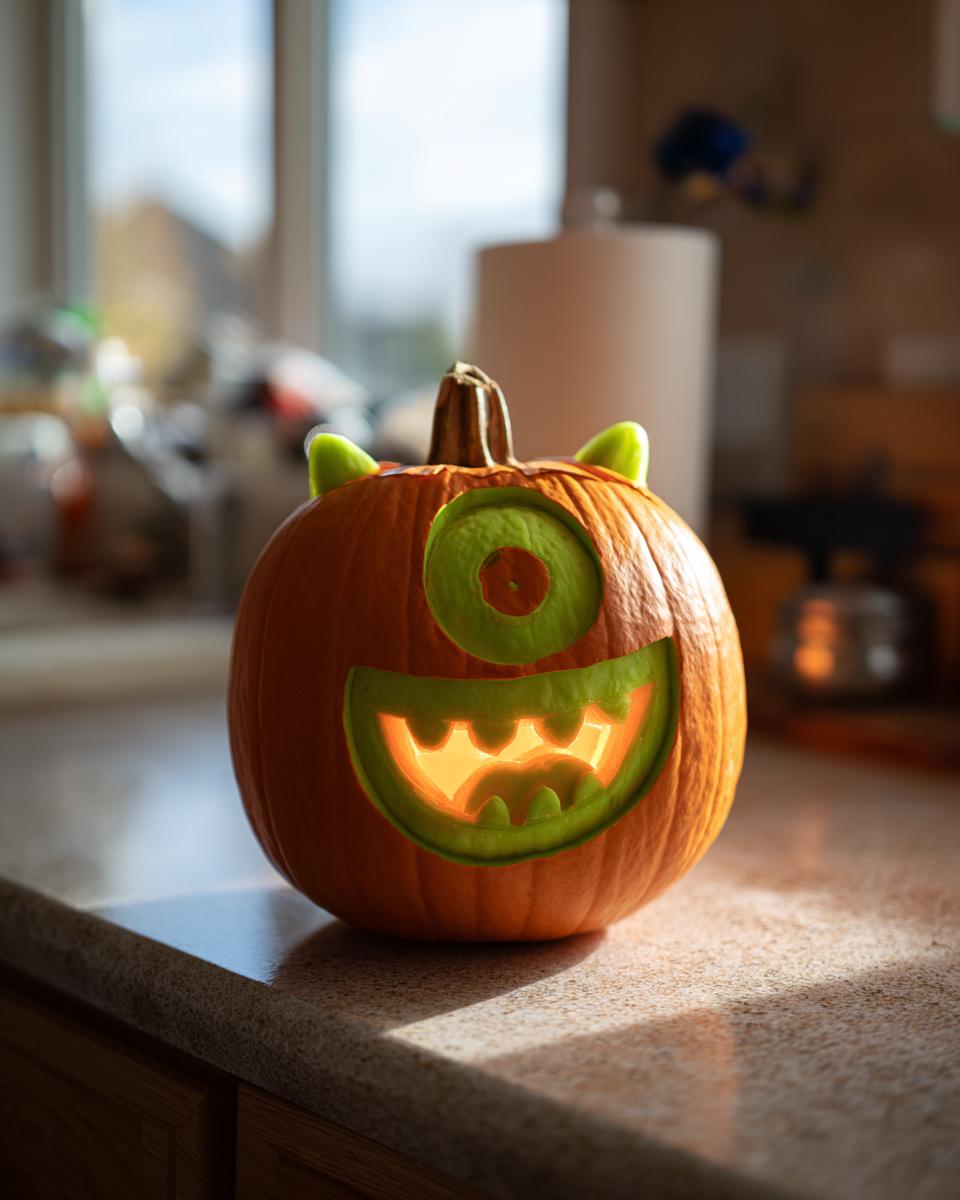
- Super simple: With just one big eye outline (no tricky teeth or complicated patterns!), this is the easiest character pumpkin I’ve ever carved. Perfect for beginners!
- Instant personality: That single googly-eyed expression makes everyone smile – it’s impossible not to laugh when Mike’s face glows on your doorstep.
- Family-friendly fun: Kids can help with every step, from scooping seeds to proudly showing off their monster creation.
- No artistic skills needed: Just download and trace the template. I promise – if I can do it (and I can’t draw a straight line!), you absolutely can too.
Mike Wazowski Pumpkin Ingredients
Gathering your supplies for this project is a breeze – you probably have most of them already! Here’s exactly what you’ll need to bring Mike to life:
For the Pumpkin:
- 1 medium pumpkin (look for one that’s nice and round – just like Mike’s head!)
For the Design:
- 1 printed Mike Wazowski template (I like the ones with the big, simple eye outline)
- 1 LED tea light (the flickering battery-operated kind is safest – and trust me, you’ll want to keep Mike glowing all night long!)
See? Told you it was simple! Now let’s get carving.
Equipment Needed for Your Mike Wazowski Pumpkin
You don’t need fancy tools to make Mike Wazowski come to life – just grab these basics from your kitchen and junk drawer. My must-haves:
- Carving knife: A small, sharp one works best for those smooth curves (be careful with those fingers!)
- Spoon: That big ice cream scoop you never use is perfect for gutting the pumpkin
- Marker: A dry-erase or washable one so you can fix Mike’s grin if your hand slips
Trust me, that’s it! I’ve made dozens of these and never needed anything fancier than what’s already in my kitchen.
How to Carve a Mike Wazowski Pumpkin Step by Step
Ready to bring our favorite one-eyed monster to life? This is the fun part! I’ve carved so many Mike Wazowski pumpkins over the years that I could probably do it in my sleep – and I’m going to walk you through every simple step. From picking the perfect pumpkin to making that iconic eye glow, you’ll be done in about 30 minutes flat. Safety first though – that’s why I always use battery-operated LED lights instead of candles (no singed eyebrows on my watch!). Let’s get started.
Preparing the Pumpkin
First things first – let’s get that pumpkin prepped! Place your pumpkin on a stable surface (I use a folded towel to keep it from rolling). Carefully angle your knife at 45 degrees and cut a circle around the stem – make it big enough for your hand to fit through. Scoop out all those slippery seeds and stringy guts with your spoon – save the seeds if you want to roast them later! Wipe the inside walls clean so Mike’s face will glow evenly. Pro tip: A damp paper towel works wonders for cleaning stubborn pumpkin gunk.
Transferring the Mike Wazowski Design
Now for the magic moment – bringing Mike’s face to your pumpkin! Tape your printed template tightly against the smoothest side of your pumpkin. Use your marker to trace along the outline, pressing firmly enough that you’ll see indentations in the pumpkin’s skin. Peek under occasionally to make sure you’re transferring the whole design – especially that signature big circular eye! Once all lines are transferred, remove the paper and darken any faint marks with your marker. Easy peasy!
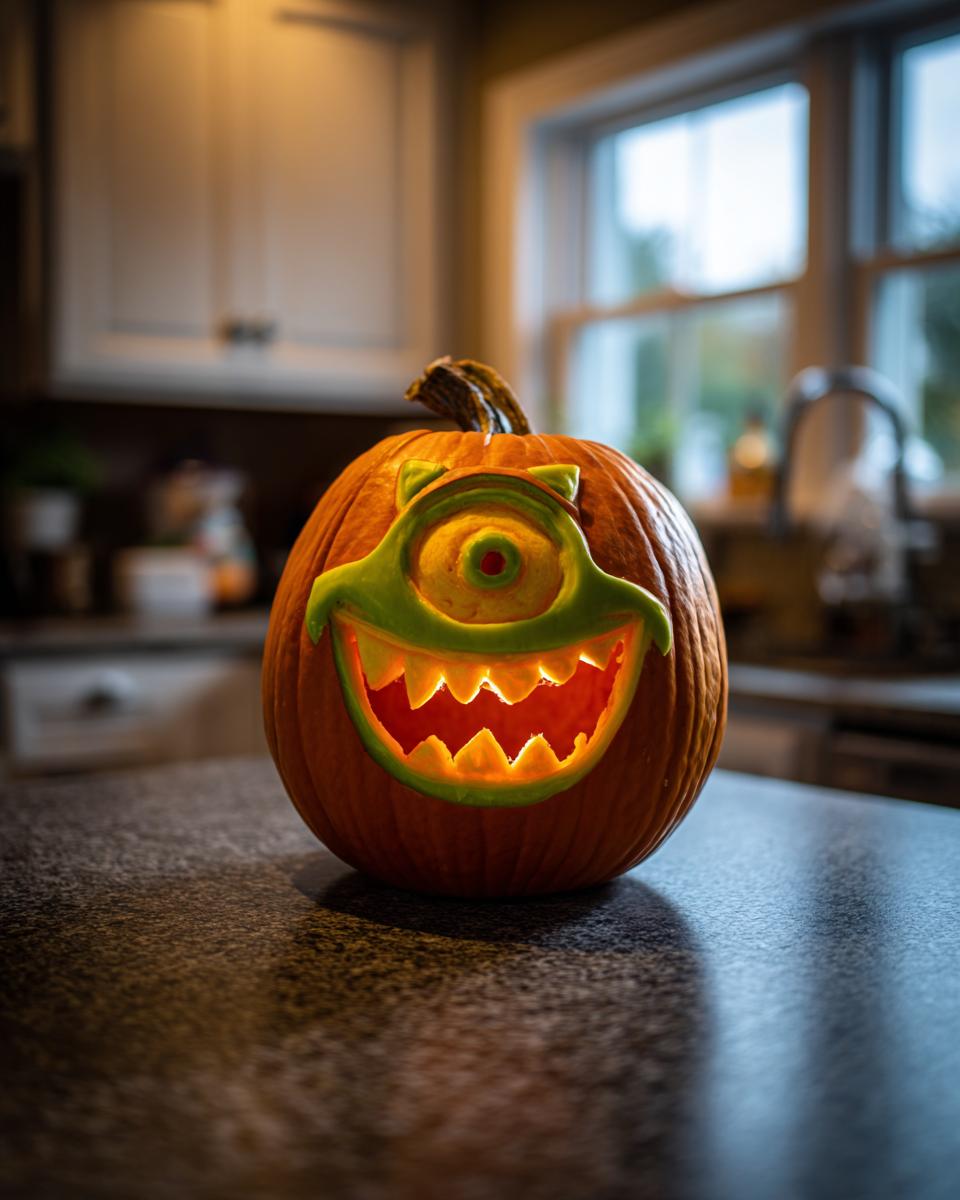
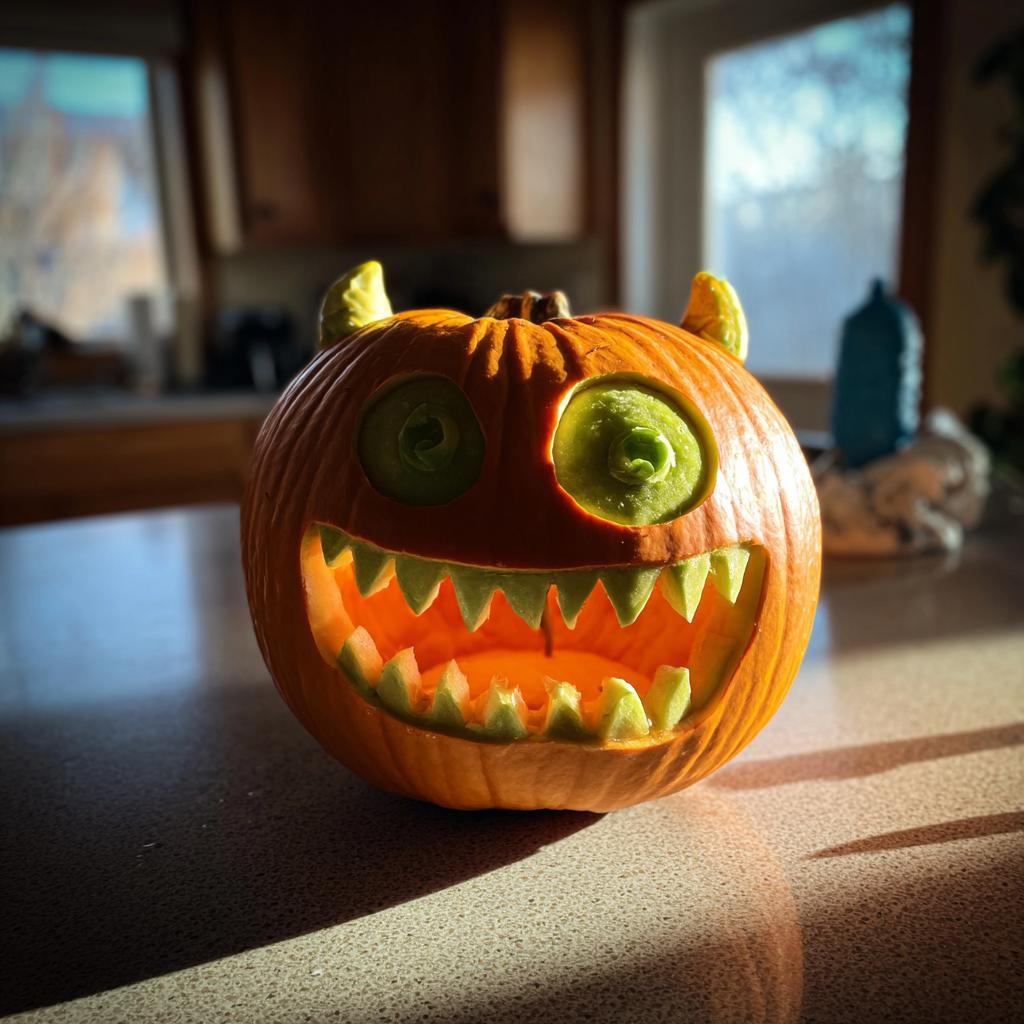
Next, grab your carving knife and carefully cut along your traced lines – I like to start with the outer edges of Mike’s eye shape first. Work slowly, pushing the knife straight in and out (no sawing motions – that’s how accidents happen!). The beauty of Mike’s design is that curved cuts are much easier than sharp angles. Once all pieces are removed, wipe away any stray marker lines with a damp cloth. Drop in that LED light, put the lid back on, and step back to admire your handiwork as Mike Wazowski comes to life before your eyes!
Tips for the Perfect Mike Wazowski Pumpkin
After making more Mike Wazowski pumpkins than I can count, I’ve picked up some tricks to keep yours looking scary-good all Halloween long. First, always go with a battery-powered light instead of a candle—nobody wants a crispy Mike! Second, rub petroleum jelly on the cut edges to slow down shriveling. And here’s my secret: carve it the day before Halloween if you can—Mike gets more expressive as he slightly wilts, just like in the movies! Finally, store him in the fridge overnight (yes, really) to keep him fresh.
Mike Wazowski Pumpkin FAQs
Since I started making these adorable one-eyed pumpkins, I’ve gotten all sorts of questions from friends and neighbors. Here are the ones I hear most often – and all my hard-earned answers after years of Mike-ifying pumpkins!
Can I use a stencil for my Mike Wazowski pumpkin?
Absolutely! In fact, I always use one – it makes the whole process foolproof. You can find tons of free printable templates online. My trick? Tape it really tight to the pumpkin so your tracing doesn’t shift, and go over the lines with a marker afterward for extra clarity before carving.
How long will my Mike Wazowski pumpkin last?
With proper care, my Mike usually stays photo-ready for 3-5 days. The secret? Keep him out of direct sunlight during the day and pop him in the fridge overnight (sounds silly, but it works!). A light spritz of water mixed with a teaspoon of vinegar also helps slow down the shriveling.
What if I mess up while carving?
Oh honey, I’ve botched plenty of Mike’s eyes over the years! Here’s my fix: if a piece breaks off, just toothpick it back in place. Got a wonky cut? Turn it into Mike’s “nervous” expression – it adds character! Remember, Monsters aren’t perfect, and that’s what makes them fun.
Can kids help with this project?
You bet! This is one of the easiest, most kid-friendly designs. Little ones love scooping seeds (it’s like digging for monster guts!) and can help trace the stencil. For safety, I let kids draw the face with markers and leave the actual cutting to grown-ups. Wins all around!
More Halloween Fun
Had a blast making your Mike Wazowski pumpkin? Wait until you see what other Halloween magic you can whip up! My personal favorite is these creepy-cute mummy hot dogs that kids go monster for. And you absolutely have to try the dirt cups with gummy worms – they’re so easy the kids can make them while you carve more pumpkins! Every year I swear I won’t go overboard… and then my kitchen ends up looking like a monster mash. Happy haunting!
Mike Wazowski Pumpkin
Ingredients
Equipment
Method
- Cut off the top of the pumpkin and scoop out the seeds and pulp.
- Attach the Mike Wazowski template to the pumpkin and trace the design with a marker.
- Carve out the traced areas carefully using a knife.
- Place the LED tea light inside the pumpkin and replace the top.