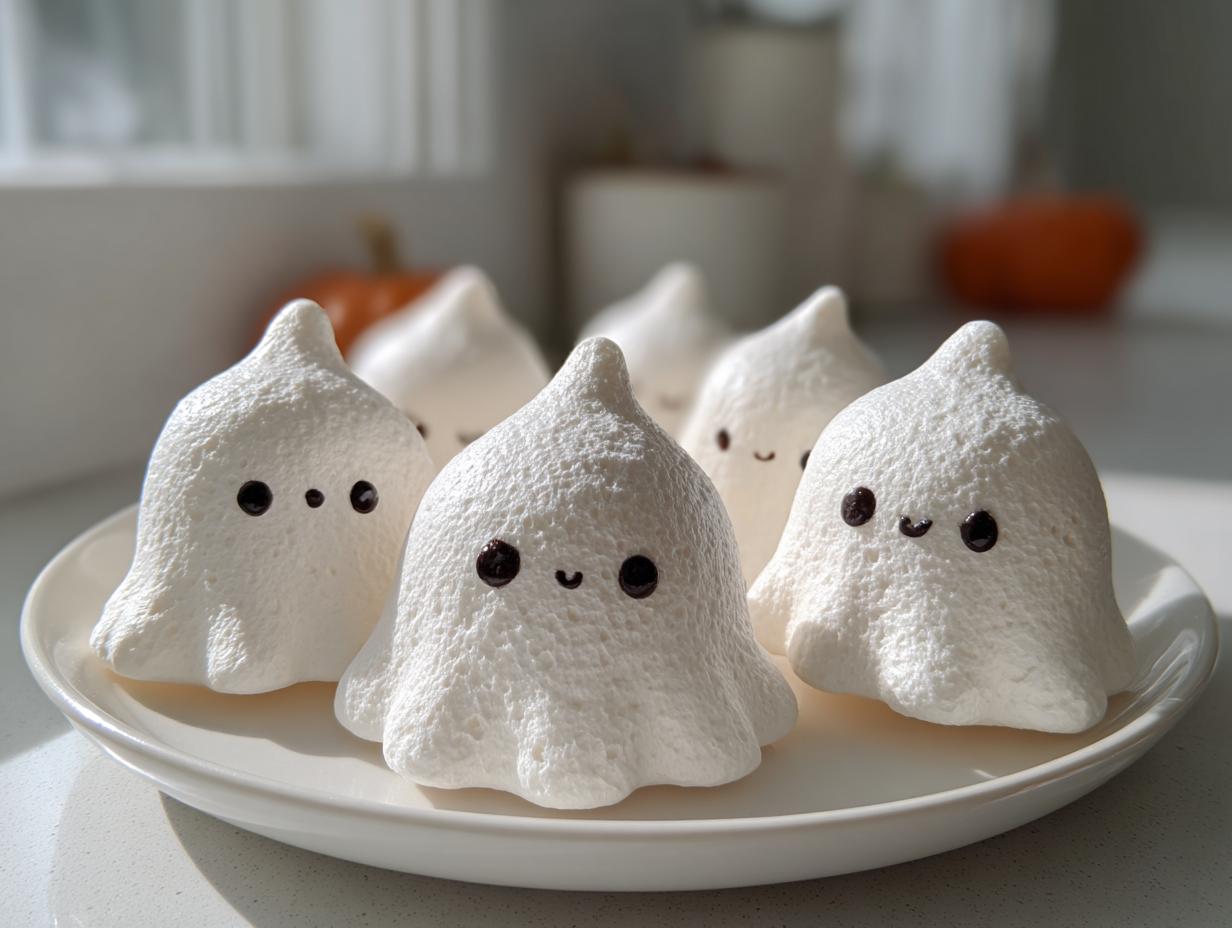
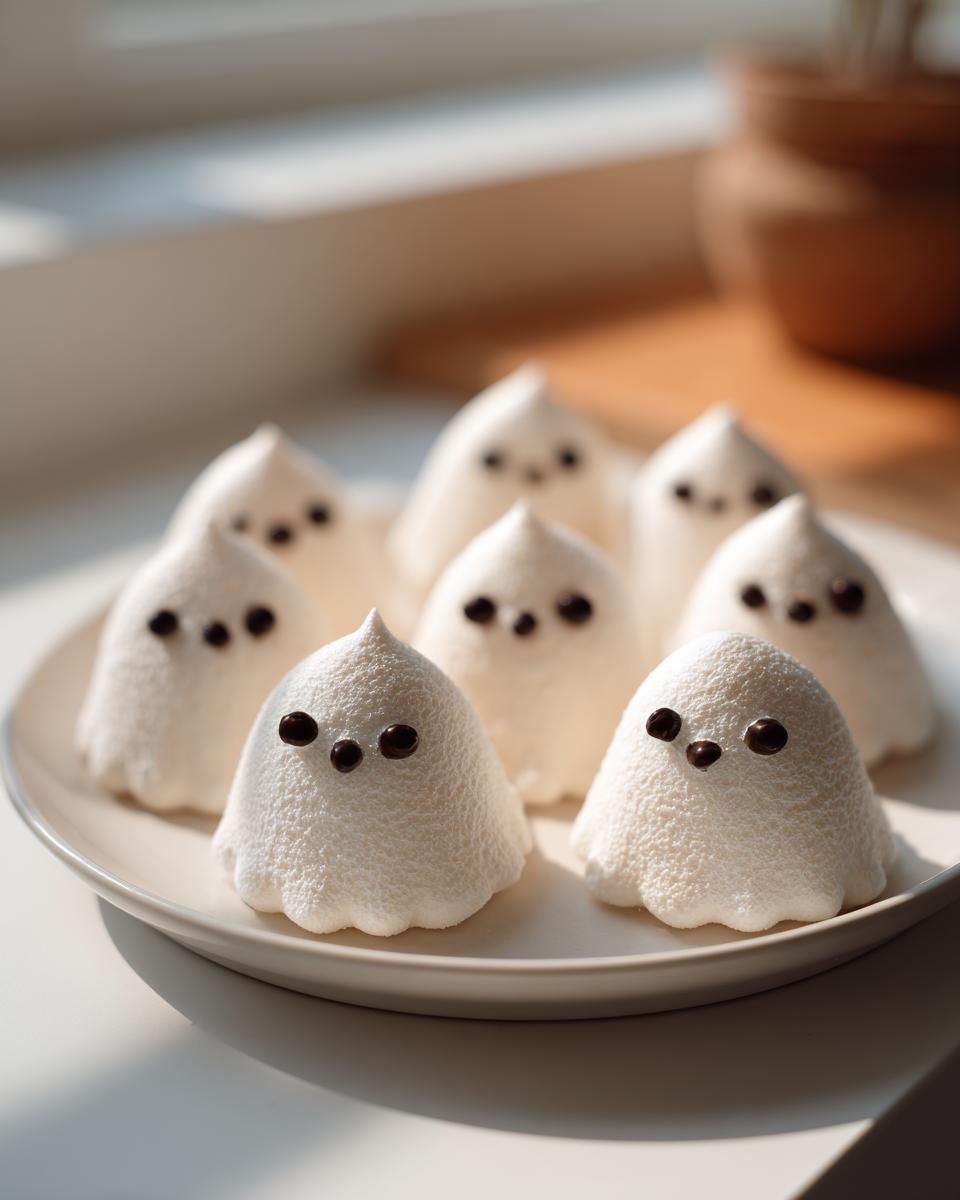
Oh my gosh, Halloween is my absolute favorite time of year for baking! There’s just something so fun about whipping up treats that are a little bit spooky and totally delicious. If you’re looking for a super cute and not-too-scary treat this year, you HAVE to try these ghost meringue cookies halloween creations. They’re honestly the lightest, airiest little bites that practically dissolve in your mouth, and they look absolutely adorable lined up on a platter. I remember making a batch last year, and my little niece shrieked with delight – that’s when I knew I’d struck Halloween baking gold!
Why You’ll Love These Ghost Meringue Cookies for Halloween
Seriously, these ghost meringue cookies are a Halloween dream come true! Here’s why you’ll adore them:
- So Easy to Make: Even if you’re new to meringues, these are super forgiving!
- Spooktacularly Cute: They look absolutely darling, perfect for any Halloween party.
- Melt-in-Your-Mouth Goodness: They’re unbelievably light and airy, a total delight!
- Kid-Friendly Fun: Easy for little hands to help decorate and enjoy.
Essential Ingredients for Your Ghost Meringue Cookies
Gathering your ingredients is the first fun step for these adorable ghost meringue cookies halloween! You don’t need much, which is part of why I love them so much. We’ll start with the meringue itself, and trust me, the temperature of your egg whites makes a difference! Make sure you’ve got:
- 3 large egg whites: And here’s a little secret, they really should be at room temperature. It helps them whip up so much better!
- 3/4 cup granulated sugar: This isn’t too much, just enough to sweeten them up and help those stiff peaks form.
- 1/4 teaspoon cream of tartar: This is my secret weapon for stable meringues! It helps them hold those cute ghost shapes.
- 1/2 teaspoon vanilla extract: Just a splash for that yummy sweet flavor.
And for the spooky little faces, you’ll only need:
- 1 ounce semi-sweet chocolate: You’ll want to melt this down. Then, a toothpick is your best friend for drawing on those cute little eyes and mouths! It’s amazing how far a little melted chocolate can go to make these so festive. For more Halloween inspiration, check out these Halloween food and drink ideas!
Step-by-Step Guide to Making Ghost Meringue Cookies
Okay, let’s get down to business and make these adorable spooky treats! It’s really not as tricky as it sounds, I promise. Just follow along!
Preparing Your Ghost Meringue Cookies
First things first, we need to get our oven all toasty! Preheat it to a low 200°F (95°C). Now, grab your baking sheets and line them with parchment paper. This is super important because meringues can be a bit sticky, and we want them to lift off easily. Make sure your mixer bowl and beaters are sparkling clean – any little bit of grease or yolk can mess with how your egg whites whip up! If you’re ever looking for other quick recipes, don’t forget to check out these easy dinner recipes!
Achieving Perfect Meringue Peaks for Ghost Meringue Cookies
This is where the magic really happens. Pop those room-temperature egg whites into your clean bowl. Start the mixer on medium speed until they get all foamy and soft-looking. Then, toss in the cream of tartar – it’s like a little stabilizer for our fluffy clouds. Keep beating, and slowly, I mean slowly, start adding that granulated sugar a tablespoon at a time while the mixer is still going on high. You want to keep going until you have stiff, glossy peaks. That means when you lift the beater, a peak forms and stays put, maybe with a little curl at the tip. Stir in that vanilla extract, and you’re golden!
Piping and Baking Your Spooky Ghost Meringue Cookies
Now for the fun part! Get your meringue into a piping bag fitted with a round tip. If you don’t have one, a sturdy zip-top bag with a corner snipped off works in a pinch! Pipe little ghost shapes onto the parchment paper – aim for about 1.5 inches tall, giving them a nice rounded body and maybe a little swirl on top for a spooky effect. Make sure they have a little space between them. Pop these into the oven for about 60 minutes. They won’t really brown, but they’ll feel dry and lift off the paper. Turn the oven off, leave the door cracked open a tiny bit (I just wedge a wooden spoon there), and let them cool completely inside for at least an hour. This slow cooling is key to getting that perfect crisp texture for your ghost meringue cookies halloween!
Decorating Your Ghost Meringue Cookies
Almost there! Once your little ghosts are totally cool, melt your semi-sweet chocolate. A few seconds in the microwave or a quick double boiler works great. Then, use a toothpick or a tiny piping tip with the melted chocolate to draw on those cute little ghost eyes and a mouth. It’s so satisfying to see them come to life! Don’t worry if they aren’t perfect; wobbly eyes just add to their charm, don’t you think? It’s the final spooky touch for these ghost meringue cookies halloween!
Tips for the Best Ghost Meringue Cookies
Making perfect meringues, especially these cute little ghosts, is all about a few key things. First off, humidity is NOT your friend with meringues. If it’s super muggy outside, consider postponing your baking day because extra moisture in the air can make your meringues sticky or even prevent them from crisping up properly. Also, pay attention to your egg whites! Make sure they’re at room temperature and free from any yolk. Over-whipping is a common mistake; stop when you have those firm, glossy peaks, not when it looks dry and clumpy. And for the cooling part? Don’t rush it! Letting them cool slowly in the oven is crucial for that crisp exterior and chewy interior. Trust me on this one!
Ingredient Notes and Substitutions for Ghost Meringue Cookies
Let’s chat about a few things that really make these ghost meringue cookies halloween sing! First up, those egg whites. It might sound a bit fussy, but using room-temperature egg whites is a game-changer. They whip up so much fluffier and hold their shape way better than cold ones. If you forget to take them out, no worries! Just pop them in a bowl of warm (not hot!) water for about 5-10 minutes. For the sugar, while granulated is what I always use, some folks have success with superfine sugar as it dissolves a little easier. Honestly though, for these, stick with what works! And if you’re exploring other cookie adventures, you might find these flour substitutes for sugar cookies interesting!
Storage and Make-Ahead Tips for Your Halloween Treat
Alright, the best part (besides eating them, obviously!) is how easy these ghost meringue cookies halloween treats are to store. Once they’re completely cool, pop them into an airtight container. Seriously, an airtight container is your best bet! Meringues soak up moisture like a sponge, so you want to keep any humidity out. They’ll stay perfectly crisp and delightful at room temperature for about a week. This makes them totally make-ahead friendly, which is a lifesaver when you’re getting ready for a Halloween party!
Frequently Asked Questions About Ghost Meringue Cookies
Got questions about making these oh-so-cute ghost meringue cookies halloween treats? I’ve got you covered!
Why are my meringue cookies weeping or sticky?
Oh, the dreaded weeping meringue! This usually happens if there’s still sugar in the mixture that hasn’t dissolved properly, or if the humidity is too high while you’re baking and cooling them. Make sure you beat the sugar in *really* well until the mixture is glossy and stiff. Also, try to bake and cool them on a dry day!
My ghost meringues are still soft inside, what did I do wrong?
The key to those wonderfully crisp meringues—that classic melt-in-your-mouth texture we love for our ghost meringue cookies halloween—is a low, slow bake and a thorough cooling process. If they’re still soft, they might just need a bit more time in the oven, or perhaps a longer cooling period in the oven with the door slightly ajar. Don’t pull them out too soon!
Can I make the chocolate decorations ahead of time?
You sure can! You can melt your chocolate and pour it into a small piping bag or even just a little bowl with a toothpick ready to go a day or two before you plan to decorate. Just make sure it’s stored in a cool, dry place. Then, when your ghosts are ready, you can quickly draw on those adorable faces. It saves so much time if you’re prepping for your big Halloween bash!
Is there another way to decorate the ghost meringue cookies besides chocolate?
Absolutely! If chocolate isn’t your thing, or you want to try something different, you can use edible black food coloring mixed with a tiny bit of water to draw the faces with a fine paintbrush. Edible marker pens work great too! For a super simple look, sometimes just two little dots of black food coloring pressed gently onto the meringue is enough to give them that sweet, spooky vibe.
What are some other fun Halloween cookie ideas I could try?
Oh gosh, there are so many! If you love slightly more unusual ingredients, you might find these uncommon ingredients to use in cookies super inspiring for future baking projects! Besides these ghosts, I love making little spiderweb cookies or monster cookies with candy eyes. Baking for Halloween is just the best, isn’t it?
Enjoying Your Homemade Ghost Meringue Cookies
And there you have it! Your very own batch of spooky, sweet ghost meringue cookies halloween treats are ready to be enjoyed. I really hope you have a blast making them and even more fun sharing them with friends and family. Don’t forget to snap a picture of your adorable ghost creations and tag me or leave a comment below – I’d absolutely love to see them! If you’re always on the hunt for more fun baking ideas, be sure to check out these unique cookie recipes for your next kitchen adventure!

Ghost Meringue Cookies
Ingredients
Equipment
Method
- Preheat your oven to 200°F (95°C). Line two baking sheets with parchment paper.
- In a clean, dry bowl, beat the egg whites with an electric mixer on medium speed until foamy. Add the cream of tartar and continue beating until soft peaks form.
- Gradually add the granulated sugar, one tablespoon at a time, beating on high speed until stiff, glossy peaks form and the sugar is dissolved. Stir in the vanilla extract.
- Transfer the meringue to a piping bag fitted with a round tip. Pipe ghost shapes onto the prepared baking sheets, about 1.5 inches tall.
- Bake for 60 minutes, or until the meringues are dry to the touch and lift easily off the parchment paper. Turn off the oven, crack the door open slightly, and let the meringues cool completely in the oven for at least 1 hour.
- Once cooled, use a small amount of melted chocolate and a toothpick or a fine piping tip to draw eyes and a mouth on each ghost.