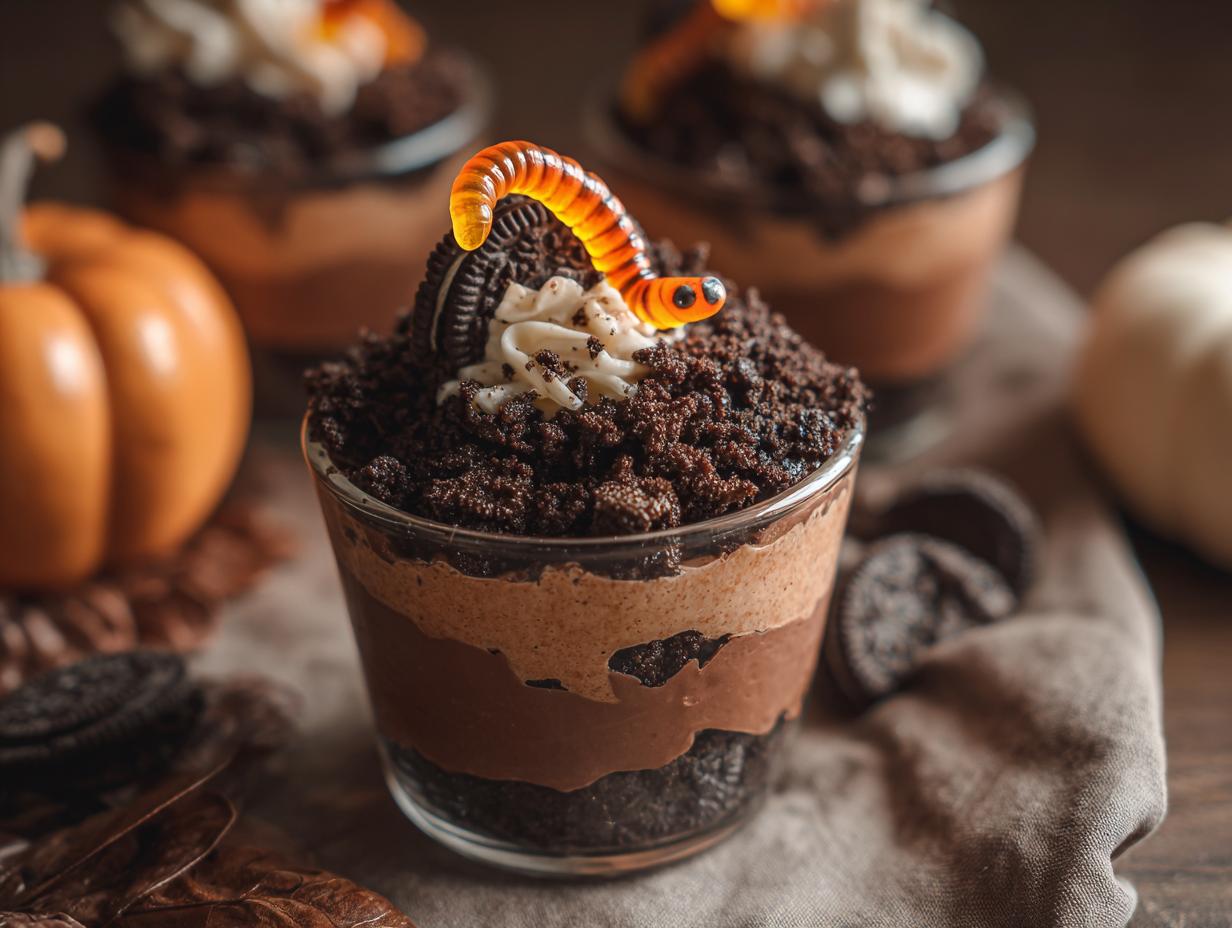
Okay, so Halloween night is all about the candy haul, right? But what about a fun, spooky treat you can actually *make* that feels just as special? These Halloween dirt cups recipe are seriously my go-to! They’re super easy, totally kid-friendly, and just look SO perfectly creepy with those little gummy worms popping out. I remember making these with my cousins when we were little, and the sheer joy of digging my spoon into that chocolatey ‘dirt’ was pure magic. It’s hands-down the best halloween dirt cups recipe to bring some extra fun to your spooky celebrations.

Why You’ll Love This Halloween Dirt Cups Recipe
Seriously, this halloween dirt cups recipe is a total win for so many reasons:
- Super Simple to Make: Honestly, you can whip these up in minutes. Perfect for when you need a quick Halloween treat!
- Kid-Approved Fun: Kids adore these! They get to help with crushing cookies and arranging the worms, making it a fun activity.
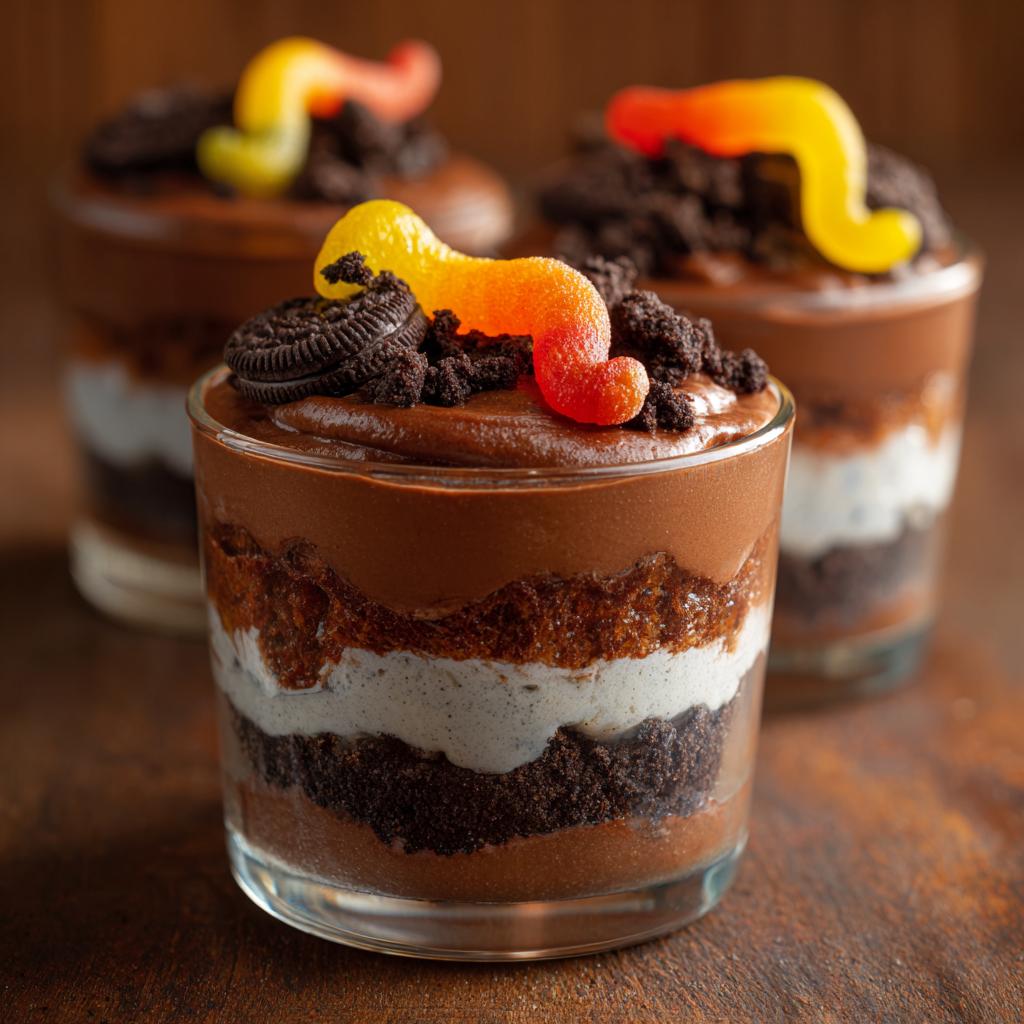
- Spooky & Fun Presentation: Those gummy worms peeking out of the crushed cookie “dirt” are just too cute and perfectly creepy for Halloween.
- Deliciously Chocolatey: It’s chocolate pudding and crushed chocolate cookies – what’s not to love? It’s a classic combo that always hits the spot.
Gather Your Ingredients for the Perfect Halloween Dirt Cups
Alright, let’s get our spooky supplies ready! For our awesome halloween dirt cups recipe, you won’t need much, and that’s part of why I love it so much. Here’s the breakdown:
- Chocolate Pudding: Grab one package of instant chocolate pudding mix. The instant kind is so much easier!
- Milk: You’ll need 3 cups of cold milk. Whole milk makes it extra rich, but any milk works.
- Chocolate Sandwich Cookies: I like using about 18-20 cookies, like the classic Oreos, all crushed up. You want them to resemble dirt!
- Gummy Worms: You’ll need six of these! These are the stars of the show, peeking out like little creepy crawlies.
That’s pretty much it! Simple, right? Having everything measured out makes the whole process a breeze.
Step-by-Step Guide to Making Halloween Dirt Cups
Alright, let’s get these spooky Halloween dirt cups assembled! It’s honestly so satisfying to see them come together. Follow these steps, and you’ll have a creepy-crawly treat in no time.
Prepare the Chocolate Pudding Base
First things first, we need that yummy chocolate pudding! Just grab your instant chocolate pudding mix and whisk it up with the cold milk. Keep whisking until it’s super smooth – nobody wants lumpy pudding, right? Make sure you’re using the exact amount of milk the package suggests, or it might get too thin or too thick.
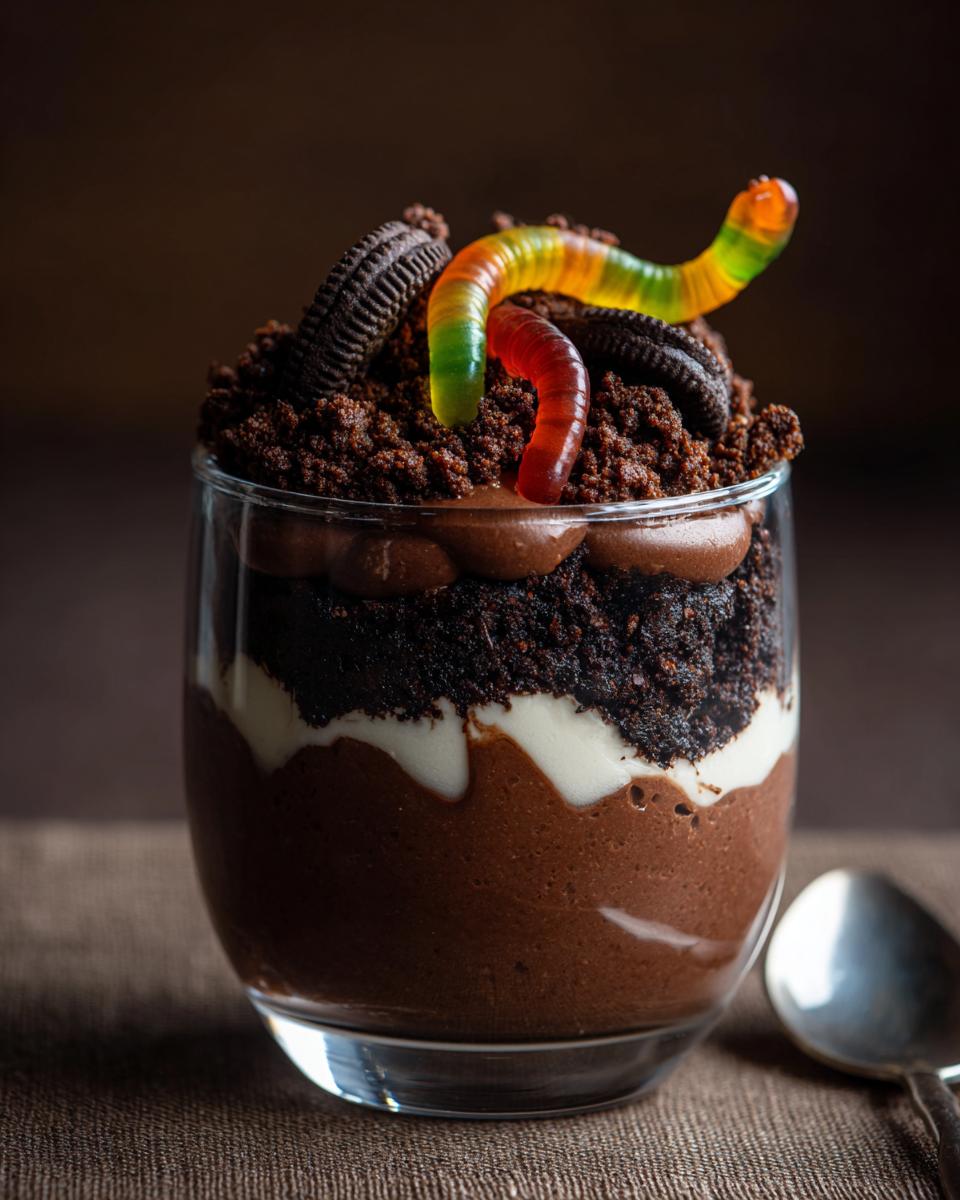
Layering Your Spooky Halloween Dirt Cups
Now for the fun part – building our dirt cups! Get your little cups or jars ready. Start by putting a nice layer of those crushed chocolate cookies – think of it as the rich soil. Then, spoon in a layer of your prepared chocolate pudding right on top. Keep going, alternating between the cookie ‘dirt’ and the pudding, until your cups are almost full. Always try to finish with a layer of those crushed cookies so it looks like a fresh patch of dirt for our worms!
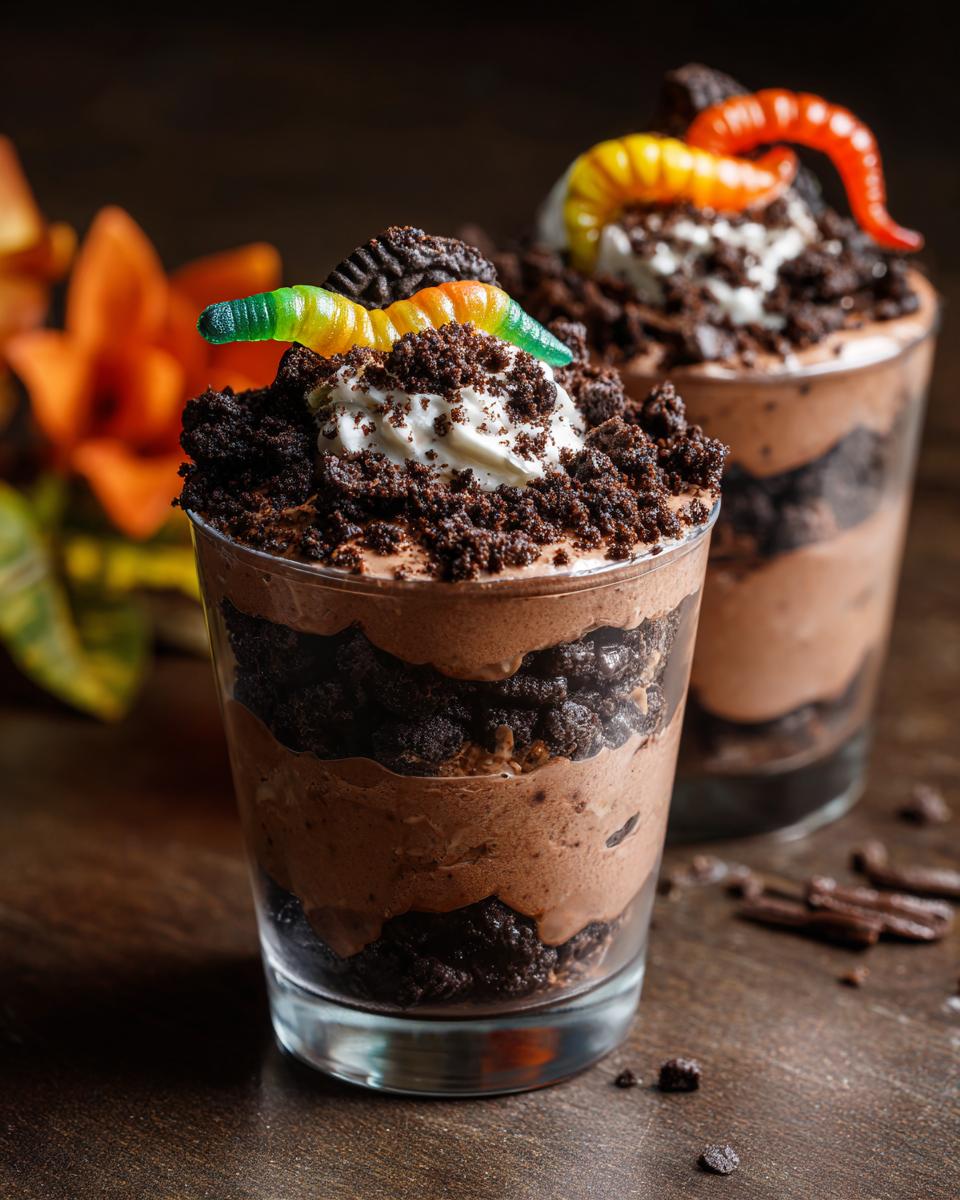
Adding the ‘Worms’ and Final Touches
This is where the magic really happens! Take one gummy worm for each cup and gently stick it into the pudding and cookie layers. I like to angle mine a bit so it looks like it’s really trying to crawl out of the dirt. It’s such a simple touch, but wow, it makes these halloween dirt cups extra spooky and fun!
Chilling for Perfect Texture
So, the hardest part? Waiting! You’ve gotta pop these into the fridge for at least 30 minutes. This lets the pudding set up nicely and helps all those yummy flavors meld together. Trust me, they taste SO much better when they’re nice and chilled.
Tips for the Best Halloween Dirt Cups
Okay, so you’ve got the basic halloween dirt cups recipe down, but let me give you a couple of my favorite little tricks to make them truly spectacular. First, when you’re crushing those chocolate sandwich cookies, don’t be afraid to leave some slightly bigger chunks in there! It makes the ‘dirt’ look way more realistic, like actual soil with bits of debris. I usually just toss them into a zip-top bag and give them a good whack with a rolling pin – so much fun, and way easier than a food processor sometimes, plus you get that awesome texture.
Also, for the pudding, really make sure it’s perfectly smooth when you mix it. Lumps are just… not spooky! Whisk it well until you see no dry pudding bits. And for presentation? I often save just a few of the best crushed cookie crumbs to sprinkle on top right before serving, and of course, make sure those gummy worms are peeking out at just the right angle. It’s all about those little details!
Variations and Creative Twists on Halloween Dirt Cups
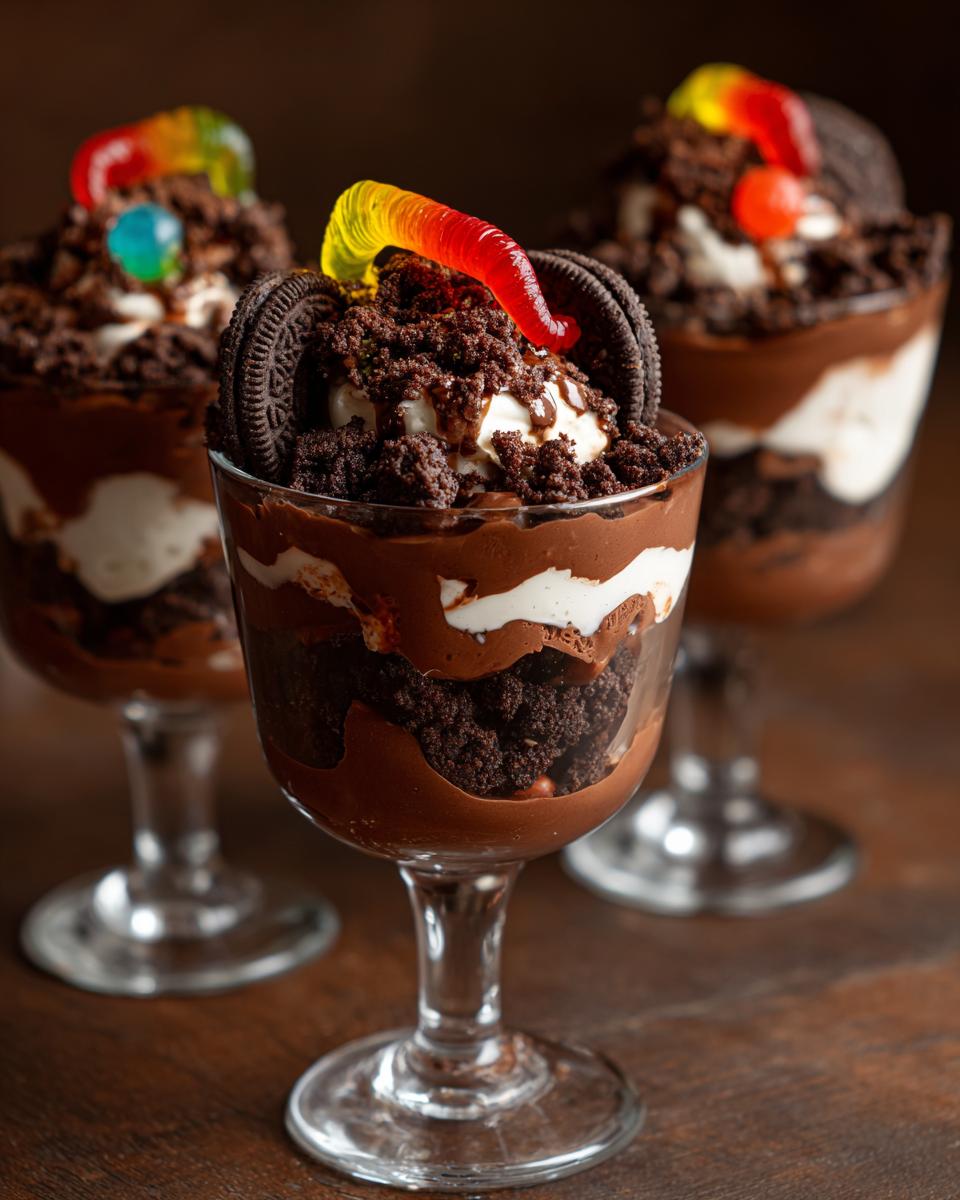
Now that you’ve mastered the basic halloween dirt cups recipe, let’s have some fun and get creative! You can totally switch things up to make spooky season even more exciting. Instead of classic chocolate sandwich cookies, try using chocolate graham crackers or even chocolate cookies made with a hint of espresso for a richer flavor. For that ultimate Halloween vibe, I love adding a few candy pumpkins or spooky candy eyes nestled in the ‘dirt’ layer. You could even mix a tiny bit of green food coloring into some of the pudding to make it look like monster insides, or use chocolate pudding made with dark chocolate for a deeper flavor. It’s all about making it your own!
Frequently Asked Questions about Halloween Dirt Cups
Got questions about our spooky dirt cups? I’ve got answers! These are some things people often ask me when I whip up a batch of these halloween dirt cups recipe delights.
Can I make these ahead of time?
Oh, absolutely! That’s one of the best parts about this halloween dirt cups recipe. You can totally make them a day in advance. Just cover them tightly with plastic wrap and pop them in the fridge. They actually taste even better after sitting for a bit as the flavors really get to know each other!
What if I don’t have gummy worms?
No gummy worms? No problem! You can totally get creative here. Candied spiders, little candy pumpkins, or even just a few extra chocolate cookie crumbs sprinkled on top can work wonderfully. Sometimes I even use green Sour Gummy Worms for an extra creepy effect. Anything that looks a little “off” or spooky will fit the theme!
Can I use a different pudding flavor?
Sure, you can! While chocolate is the classic for ‘dirt,’ feel free to experiment. Vanilla pudding is nice, or you could even try a butterscotch or caramel flavor. For an extra-special touch, you could even mix a little green food coloring into vanilla pudding for a “monster slime” effect. Just make sure it’s an instant pudding so it sets up nicely!
Estimated Nutritional Information
Now, keep in mind these numbers are just rough estimates, because every kitchen and every brand can be a *little* different, right? But for one of these darling halloween dirt cups, you’re generally looking at somewhere around 300-350 calories. You’ll get a good bit of carbs from those cookies and pudding, some fat from the milk and cookies, and a little bit of protein. It’s definitely a treat, so enjoy it!
Share Your Spooky Creations!
I absolutely LOVE seeing what you all create in your kitchens! When you make this fun halloween dirt cups recipe, please, please, please share your spooky masterpieces with me. Drop a comment below, give it a rating, or even tag me on social media. I can’t wait to see your gummy worms crawling out and your cookie dirt looking perfectly creepy!
Ingredients
Equipment
Method
- Prepare the chocolate pudding according to package directions using the milk. Whisk until smooth.
- Layer the crushed cookies and pudding in your cups. Start with a layer of crushed cookies, then a layer of pudding.
- Repeat the layers until the cups are full, ending with a layer of crushed cookies on top.
- Insert a gummy worm into each cup so it looks like it’s crawling out.
- Chill for at least 30 minutes before serving.