Sourdough bread stands out in the world of baking for its unique flavor, texture, and the artistry involved in creating it. Unlike other breads, sourdough relies on wild yeast and bacteria to naturally leaven the dough, giving it a distinct tangy taste and a chewy, flavorful crumb. The process of making perfect sourdough bread is a labor of love, requiring patience, precision, and a bit of science.
But what truly makes perfect sourdough bread so special? It’s more than just the ingredients—it’s the skillful interplay of fermentation, hydration, and time. The result is a loaf that is not only delicious but also a testament to the craft of traditional bread-making. In this post, we’ll dive into what sets sourdough apart, from its wild yeast culture to the techniques that elevate it to perfection. Whether you’re a seasoned baker or a beginner, mastering the art of perfect sourdough bread will open the door to a whole new world of bread-making possibilities.

Introduction to Sourdough Bread
Sourdough bread is loved by bakers and bread enthusiasts. It stands out as a top artisan bread. Unlike other breads, sourdough uses wild yeast and bacteria for fermentation. This gives it a tangy flavor, chewy texture, and crisp crust. These qualities make sourdough unique. The history of sourdough dates back thousands of years. Ancient Egyptians are believed to have used it. Sourdough was discovered when wild yeast fermented flour and water. This led to the first rise of dough. Over time, bakers improved the process. Sourdough became a common bread worldwide.
Key Ingredients for Perfect Sourdough Bread
The beauty of sourdough bread lies not only in its fermentation process but also in the simplicity of its ingredients. Sourdough has complex flavors but needs only a few essential ingredients. Each ingredient is important for the bread’s quality. Wild yeast and bacteria ferment the dough. The right ingredients and proportions make a big difference. These are key to crafting perfect sourdough bread. Let’s look at the essential ingredients for a flawless loaf.

Sourdough Starter: The Heart of the Bread
The sourdough starter is key to great sourdough bread. It’s a mix of flour and water. This mix captures wild yeast and bacteria from the air. Over time, these microorganisms become active. They ferment the dough and help it rise.
A healthy starter is important for successful sourdough. A strong starter ensures proper rise and flavor. The wild yeast feeds on flour sugars. Bacteria produce acids that create the sour taste.
Creating a starter takes time, but it’s worth the wait. Regularly feed the starter with flour and water. A good starter becomes more predictable over time. It develops a unique character influenced by the environment.
Flour and Hydration Levels
Flour is crucial in sourdough bread. Bread flour is often preferred for its higher protein content. Whole grain flours like whole wheat or rye add flavor. These flours help yeast and bacteria grow, boosting fermentation.
Hydration levels affect dough texture. Higher hydration leads to an open, airy crumb with large holes. Lower hydration results in a denser texture. Most sourdough recipes use a hydration level of 70-80%.
Flour and water form the dough. As dough ferments, gluten develops. Gluten gives sourdough its chewy texture and traps gas. The right balance of flour and water is key for the perfect crumb.
Salt: Enhancing Flavor and Gluten Development
Salt is important in sourdough bread. It enhances the bread’s flavor and controls fermentation. Salt slows yeast activity, allowing for a longer rise. This helps develop complex flavors.
Salt also strengthens gluten, improving dough structure. This keeps the dough from spreading too much. It helps the dough hold shape during proofing and baking.
Most sourdough recipes use 2% salt by weight. This small amount makes a big difference in flavor and texture. Too much salt can slow down yeast, so it’s important to measure carefully.
Mastering the Techniques of Sourdough Baking
Baking Sourdough: Art and Science
Baking sourdough is both an art and science. The right techniques make your bread exceptional. While ingredients are important, technique elevates the final product. Sourdough requires patience, precision, and practice. Understanding the key techniques will help you create flavorful loaves. Let’s explore the essential sourdough baking techniques.
The Autolyse Method
The autolyse method is key to sourdough baking. It involves mixing flour and water and letting it rest. After resting, you add starter and salt. This resting period helps the flour absorb water. Gluten develops without interference from salt or yeast.
Autolyse improves dough extensibility and makes shaping easier. It also helps create a more open crumb. The resting period allows enzymes to break down starches. This provides food for the yeast. The autolyse period typically lasts 20 minutes to 1 hour.
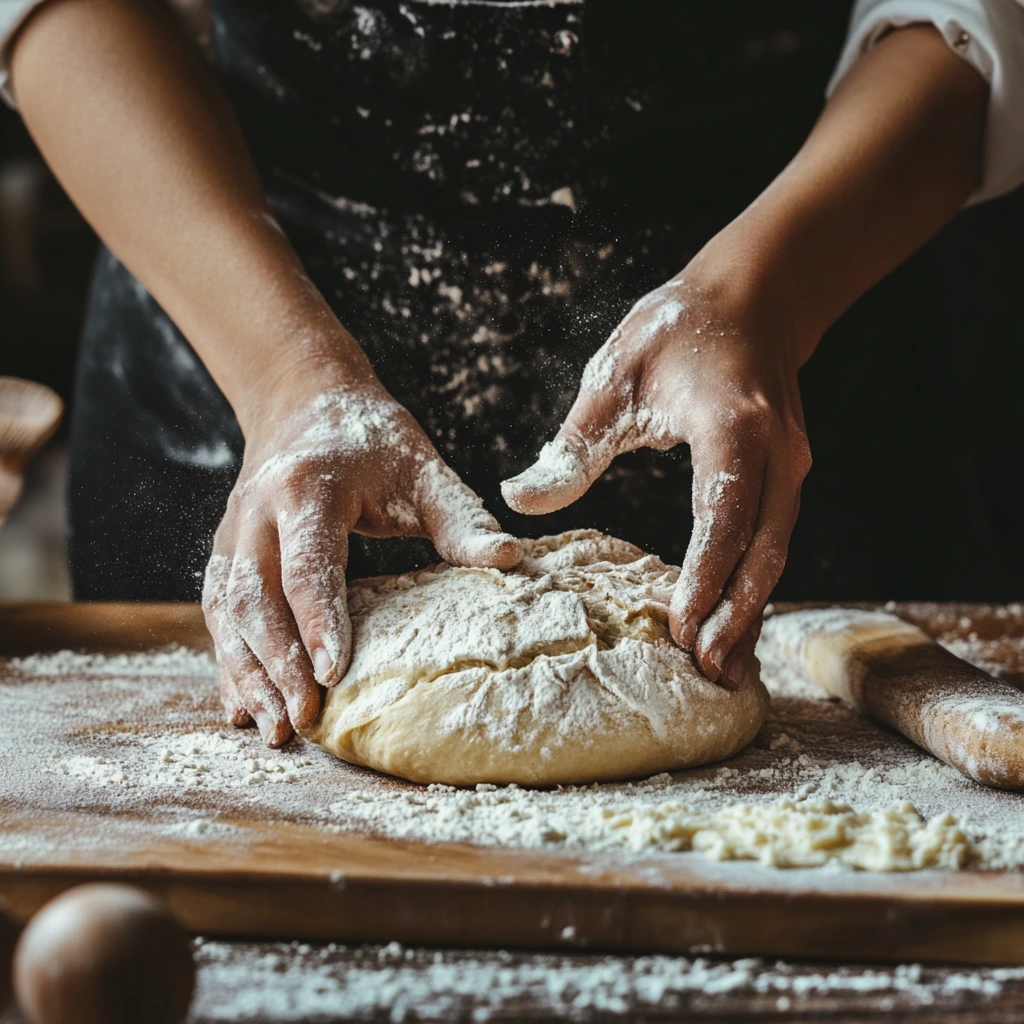
Kneading and Folding
Sourdough doesn’t require intense kneading like other breads. It benefits from careful folding and handling. After autolyse, knead or fold the dough. This strengthens the gluten network and traps gases. Folding is done every 30 minutes during bulk fermentation.
Folding strengthens the dough without overworking it. It ensures the dough remains elastic and holds its shape. Multiple folds over hours create balance in texture. This contributes to a longer fermentation and deeper flavors.
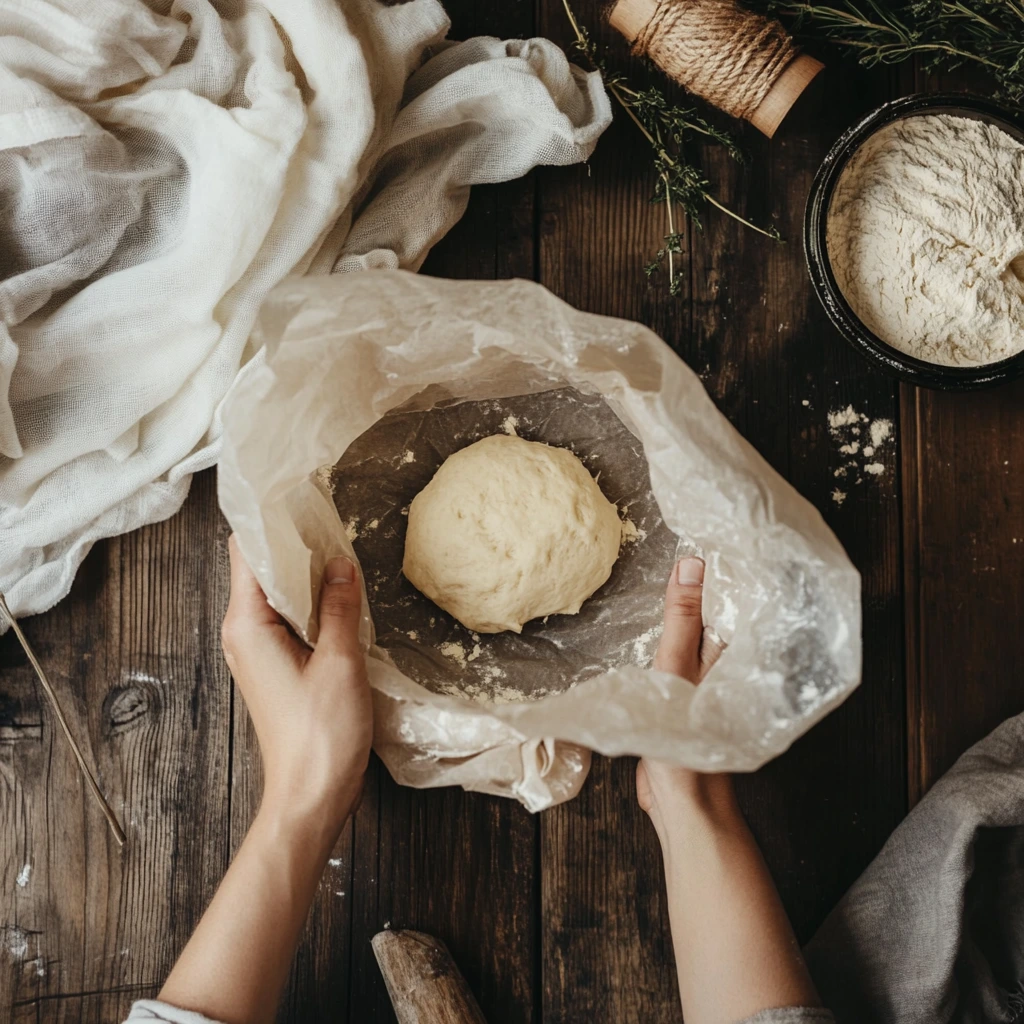
Proofing and Shaping the Dough
After fermentation and folding, it’s time to proof the dough. Proofing is the final rise before baking. It develops volume, texture, and appearance. During proofing, yeast produces carbon dioxide and helps the dough rise.
Proofing can be bulk proofing or final proofing. Bulk proofing occurs after mixing and folding. It lasts 3 to 6 hours at room temperature. Refrigeration can extend it to 12 hours, slowing fermentation.
After bulk fermentation, divide and shape the dough. Shaping creates a tight, smooth surface while maintaining air pockets. Common shapes are boule (round) or batard (oval). Gentle handling prevents deflating the dough.
Final proofing is the last rise before baking. It can take 30 minutes to 2 hours at room temperature. If the dough was refrigerated, it takes longer to come to room temperature.
The Secret to a Perfect Sourdough Loaf
Achieving the Perfect Sourdough Loaf
A perfect sourdough loaf takes patience and practice. It requires attention to every step of the process. Sourdough is made with simple ingredients, but it requires precision. The journey to the perfect loaf includes creating a strong starter, timing, and temperature control. Let’s uncover the secrets to baking the perfect sourdough bread.

The Importance of a Healthy Starter
A healthy starter is essential for great sourdough. It’s a mix of wild yeast and bacteria. The starter should be bubbly and double in size in 4 to 6 hours. A weak starter leads to poor rise and flavor. Feed the starter regularly with equal parts flour and water. Keep it in a warm spot for best results. Some bakers use a discard method to keep the starter healthy. The age of the starter affects the flavor profile of your bread. Over time, the starter adapts to its environment and becomes more flavorful.
Perfecting the Proofing Process
Proofing is a delicate process that affects texture and volume. Bulk fermentation should be slow for flavor development. A temperature of around 70°F (21°C) is ideal for fermentation. Cold fermentation (refrigeration) slows fermentation and develops deeper flavors. Final proofing is critical for proper rise during baking. The poke test can determine if the dough is proofed correctly. Gently poke the dough; if it springs back slowly, it’s ready. Over-proofing causes collapse, while under-proofing affects rise and texture. Shaping the dough correctly ensures an even rise and structure.
The Perfect Baking Environment
Sourdough requires high heat and steam for the best results. Preheat your oven to 450°F (232°C) to 500°F (260°C). Steam helps create a glossy crust and allows the bread to rise. You can add steam by placing a pan of water in the oven. Using a Dutch oven or baking cloche traps steam and heat. Bake your bread in a covered vessel for the first 20 minutes. After this, remove the lid to crisp the crust. Scoring the dough helps control expansion and adds an artistic touch. It also prevents the loaf from bursting unevenly.
Achieving the Perfect Crust and Crumb
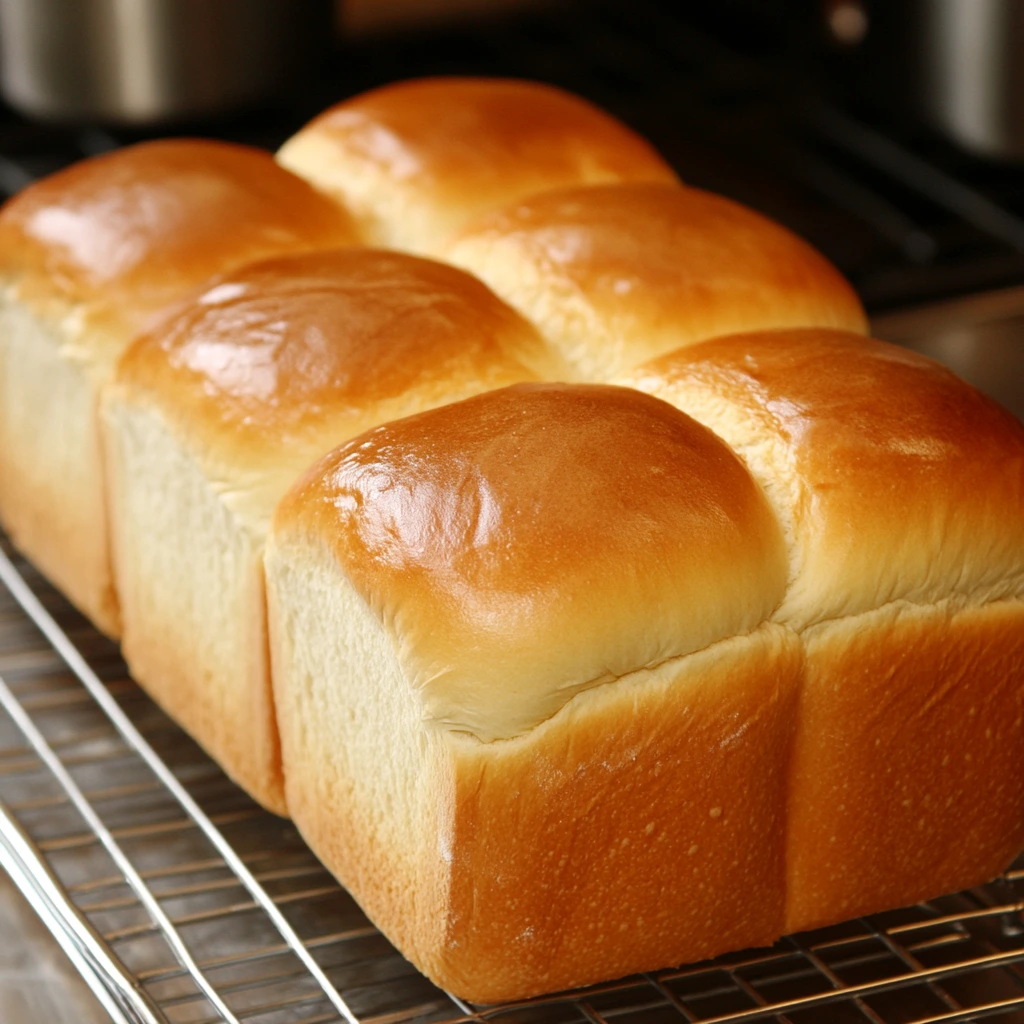
The perfect sourdough loaf has a golden-brown, crispy crust and an airy, chewy crumb. Higher hydration creates a more open crumb with larger holes. If the dough is too stiff, the crumb will be denser. A hot oven with steam helps create a perfect crust. The bread should bake for 40 to 50 minutes. It should reach an internal temperature of 200°F (93°C). Let the bread cool for at least an hour before cutting. Cutting too soon results in a gummy texture. Cooling helps the crumb set and enhances the flavor.
Chef’s Note:
Sourdough bread is a beautiful, satisfying journey of patience and precision. From nurturing a healthy starter to mastering the perfect proofing and baking techniques, every step plays a vital role in crafting a loaf that’s both delicious and rewarding. Remember, sourdough baking is an art—each loaf tells a story, shaped by your hands, your environment, and the ingredients you use. Don’t be discouraged by the occasional misstep; baking sourdough is as much about learning from the process as it is about achieving perfection. With practice, attention to detail, and a bit of creativity, you’ll be able to produce sourdough that rivals any bakery. So, trust in your starter, embrace the rhythm of fermentation, and savor the satisfaction of pulling a perfectly baked loaf from your oven. Happy baking!

