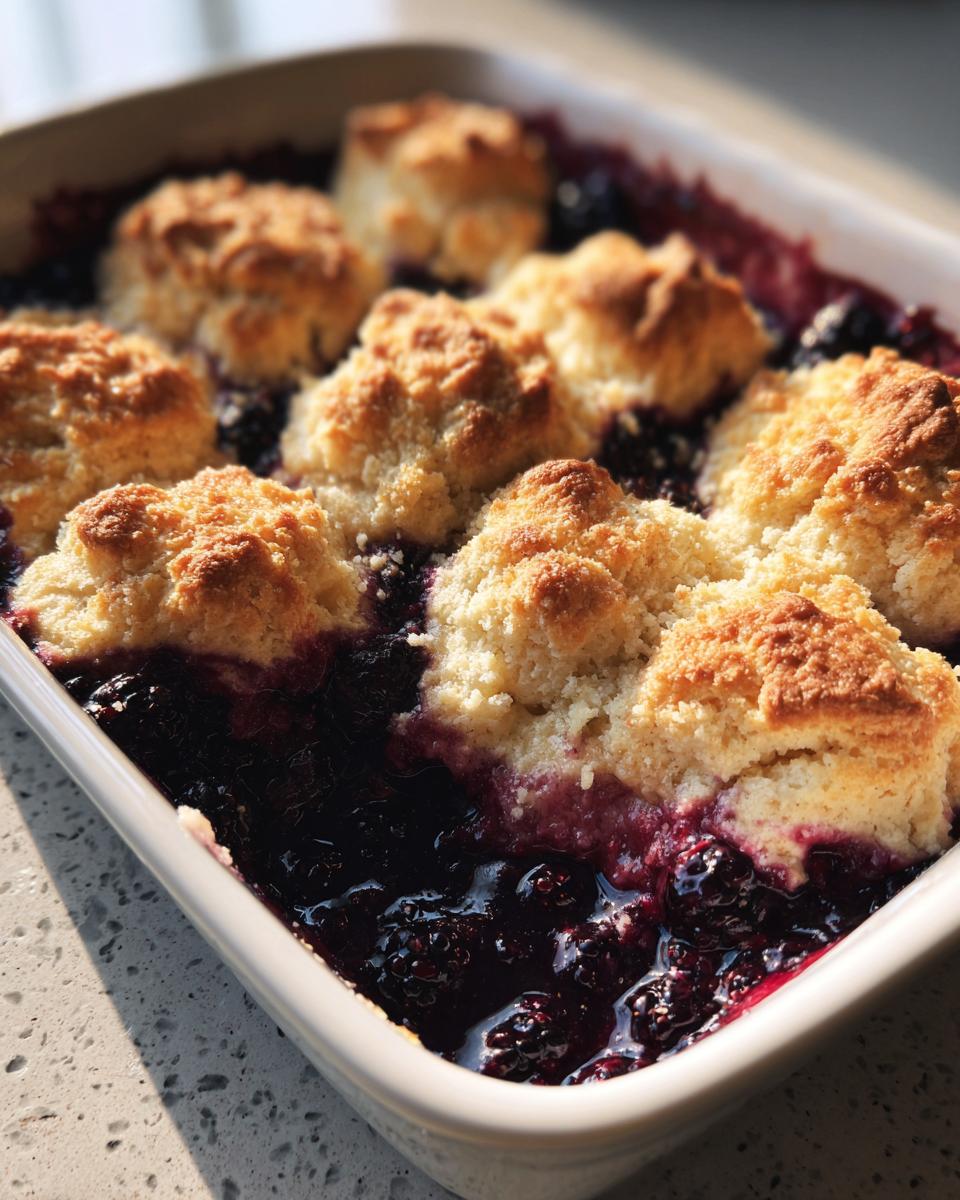
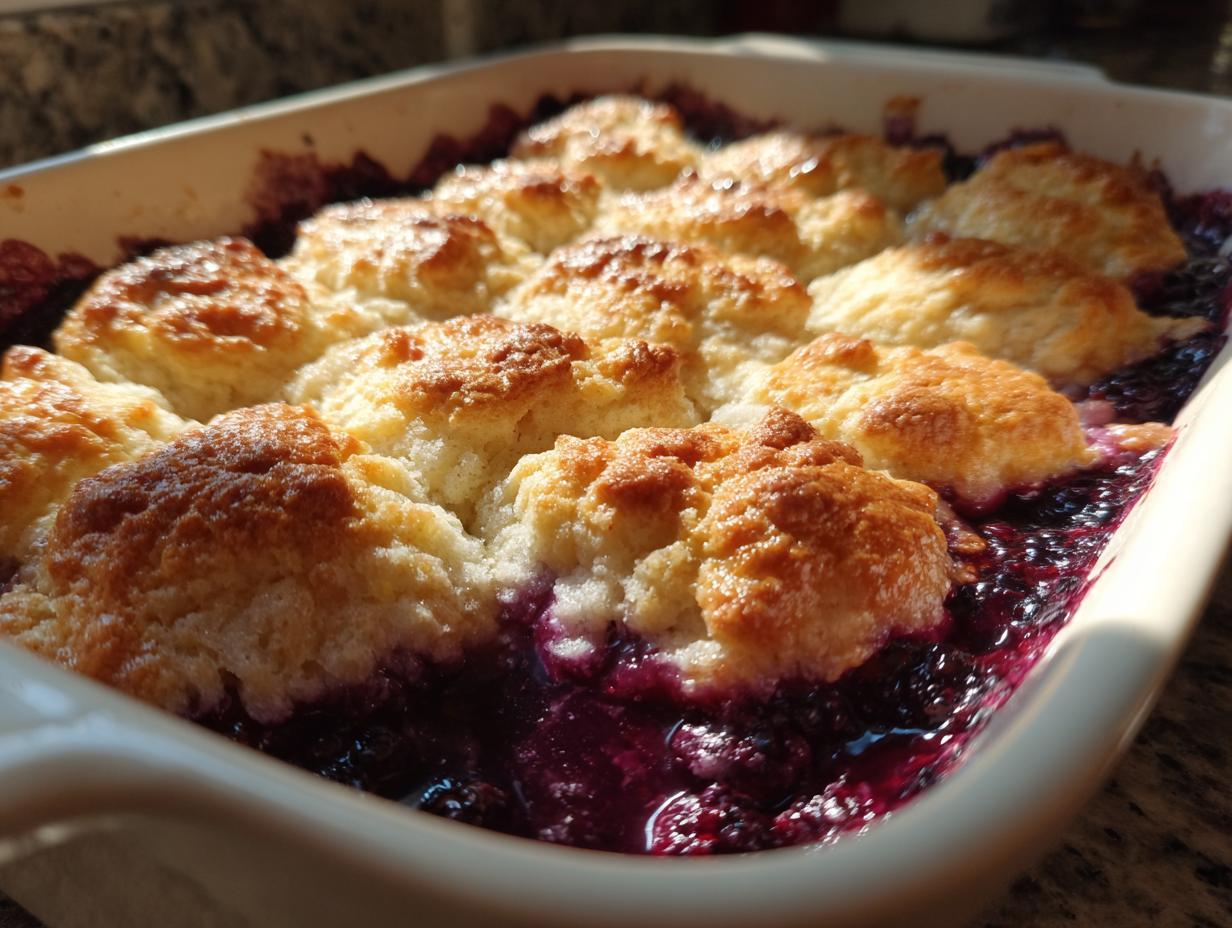
Oh, Kentucky blackberry cobbler—just saying those words makes me smile! There’s something magical about that bubbling berry filling peeking through golden biscuit topping. This dessert has been my go-to for family reunions since I was knee-high to a grasshopper. I can still picture Grandma pulling hers out of the oven when we’d visit her farm in July, the sweet-tart scent mixing with summer air as we waited (im)patiently for it to cool. What makes this Kentucky blackberry cobbler special isn’t just the juicy berries or buttery crust—it’s how effortlessly it brings people together. One bite and suddenly you’re swapping stories with cousins you haven’t seen in years.
Why You’ll Love This Kentucky Blackberry Cobbler
Let me tell you why this cobbler recipe has been my summer staple for years—it’s the kind of dessert that makes people lick their plates (and I’ve seen it happen!). Here’s what makes it so darn special:
- That perfect berry bliss: Juicy blackberries bubble up through golden biscuit topping like little pockets of purple happiness
- Sweet-tart magic: Just enough sugar to highlight the berries’ natural tang without making your teeth ache
- Berry flexible: Fresh-picked or frozen berries both work beautifully—I’ve even used last summer’s haul from the freezer in a pinch
- Foolproof baking: No fancy techniques here, just honest-to-goodness stirring and baking
- Instant crowd-pleaser: Served warm with vanilla ice cream? You’ll be everyone’s favorite cook
Honestly, what’s not to love? It’s like summer in a baking dish—simple, comforting, and packed with flavor that’ll have your family begging for seconds.
Ingredients for Kentucky Blackberry Cobbler
Now, let’s talk ingredients—because trust me, the magic of this cobbler starts with what you put in it. I’ve made this enough times to know exactly what works (and what doesn’t). Here’s everything you’ll need, split between that luscious berry filling and that dreamy biscuit topping we all fight over:
For the Filling
- 6 cups fresh blackberries: The star of the show! Look for plump, juicy ones—I like to pick mine slightly tart so they balance the sugar perfectly. Frozen work too (no need to thaw first).
- 1 cup granulated sugar: Just enough to sweeten those berries without overpowering their natural flavor.
- 2 tablespoons cornstarch: Our secret weapon against soupy cobbler. It thickens those berry juices beautifully.
- 1 teaspoon lemon juice: A bright little zing that makes all the flavors pop. Freshly squeezed is best!
For the Topping
- 2 cups all-purpose flour: The foundation of our fluffy biscuit blanket.
- ½ cup granulated sugar: Because who doesn’t love a slightly sweet crust?
- 1 tablespoon baking powder: Gives that perfect lift—make sure yours’s fresh!
- ½ teaspoon salt: Balances all that sweetness like a charm.
- ½ cup cold unsalted butter, cubed: I keep mine in the freezer until the last second—cold butter means flaky layers.
- ¾ cup milk: Whole milk makes the richest topping, but any kind will do in a pinch.
See? Nothing fancy—just good, honest ingredients that come together to make something extraordinary. Now grab your berries and let’s get baking!
How to Make Kentucky Blackberry Cobbler
Alright, let’s get to the fun part—turning those beautiful berries into the most irresistible cobbler you’ve ever tasted! I’ve made this recipe more times than I can count, and I’ll walk you through each step like we’re standing side by side in my kitchen. Don’t worry—it’s easier than you think, and the smell alone will have your family hovering around the oven! If you love cobblers as much as I do, you might also enjoy this peach cobbler recipe for when berry season ends.
Preparing the Blackberry Filling
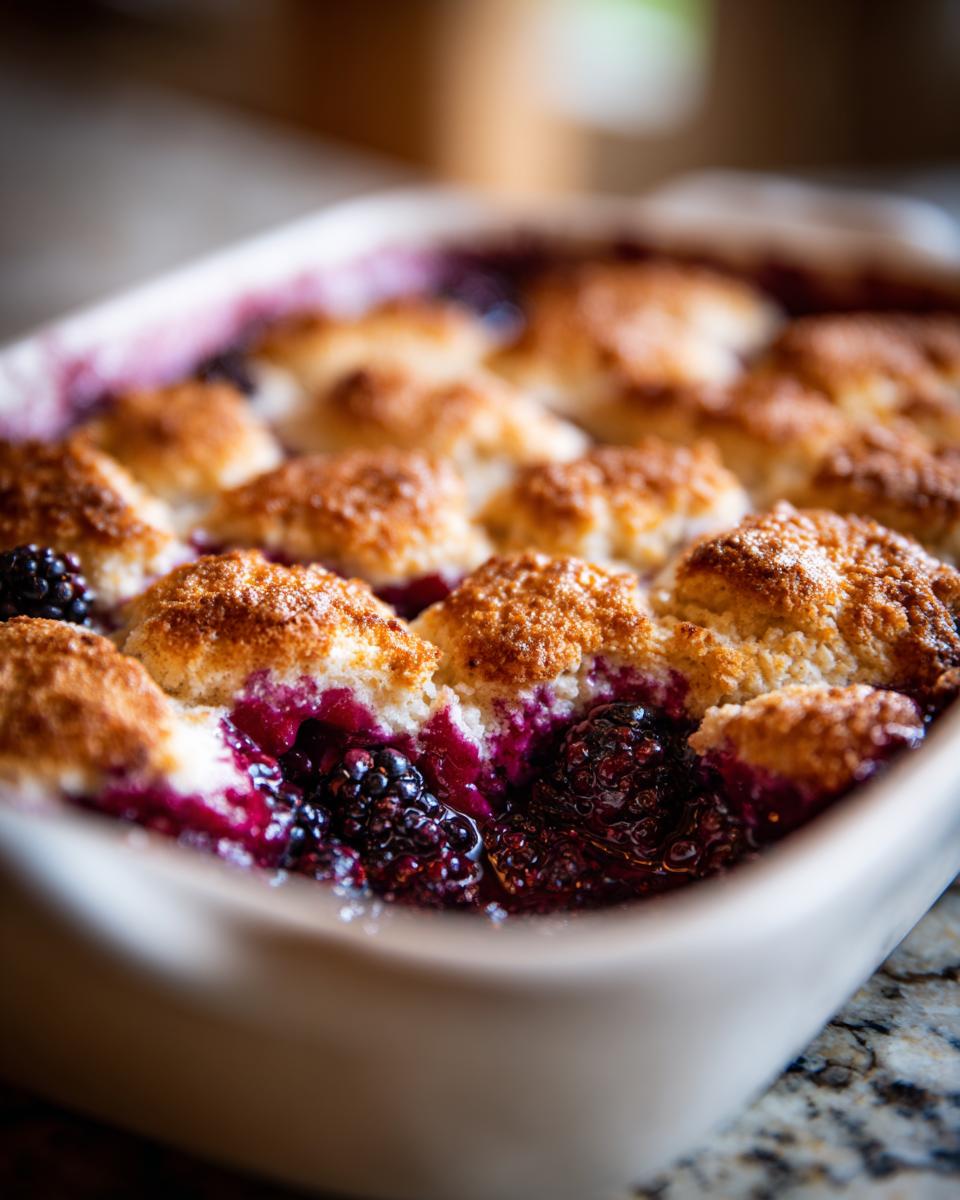
First things first—let’s get those berries ready to bubble into juicy perfection. Grab your biggest mixing bowl (trust me, you’ll want the extra space) and toss in your blackberries. Now sprinkle that sugar and cornstarch over them like you’re dusting fairy dust—this combo is what keeps our filling thick and luscious instead of runny. A quick squeeze of lemon juice brightens everything up beautifully. Gently stir it all together—no need to be rough, we’re not making jam here! You’ll see the berries start to glisten as the sugar draws out their natural juices. Pour this gorgeous purple mixture into your greased baking dish, and we’re ready for the next magic trick!
Making the Biscuit Topping
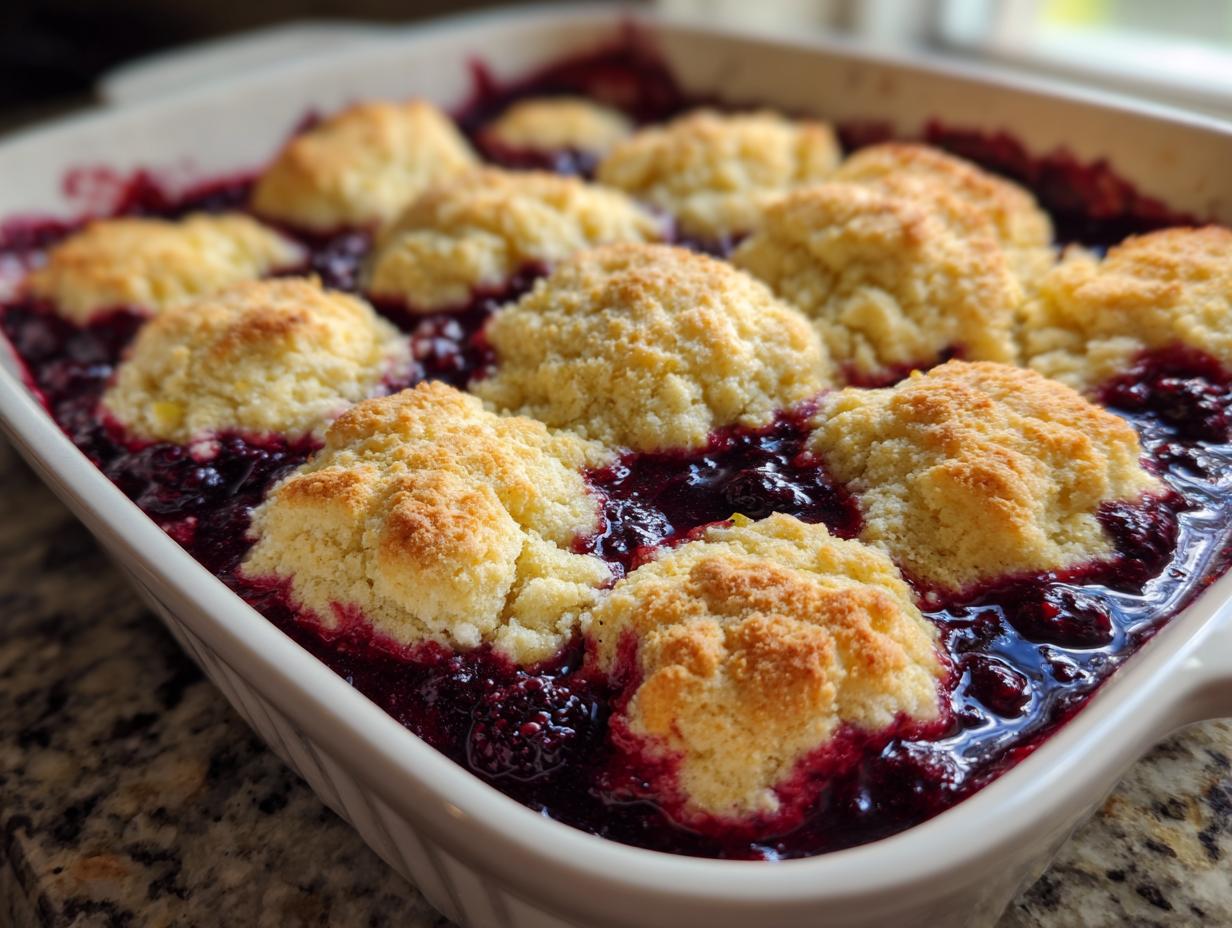
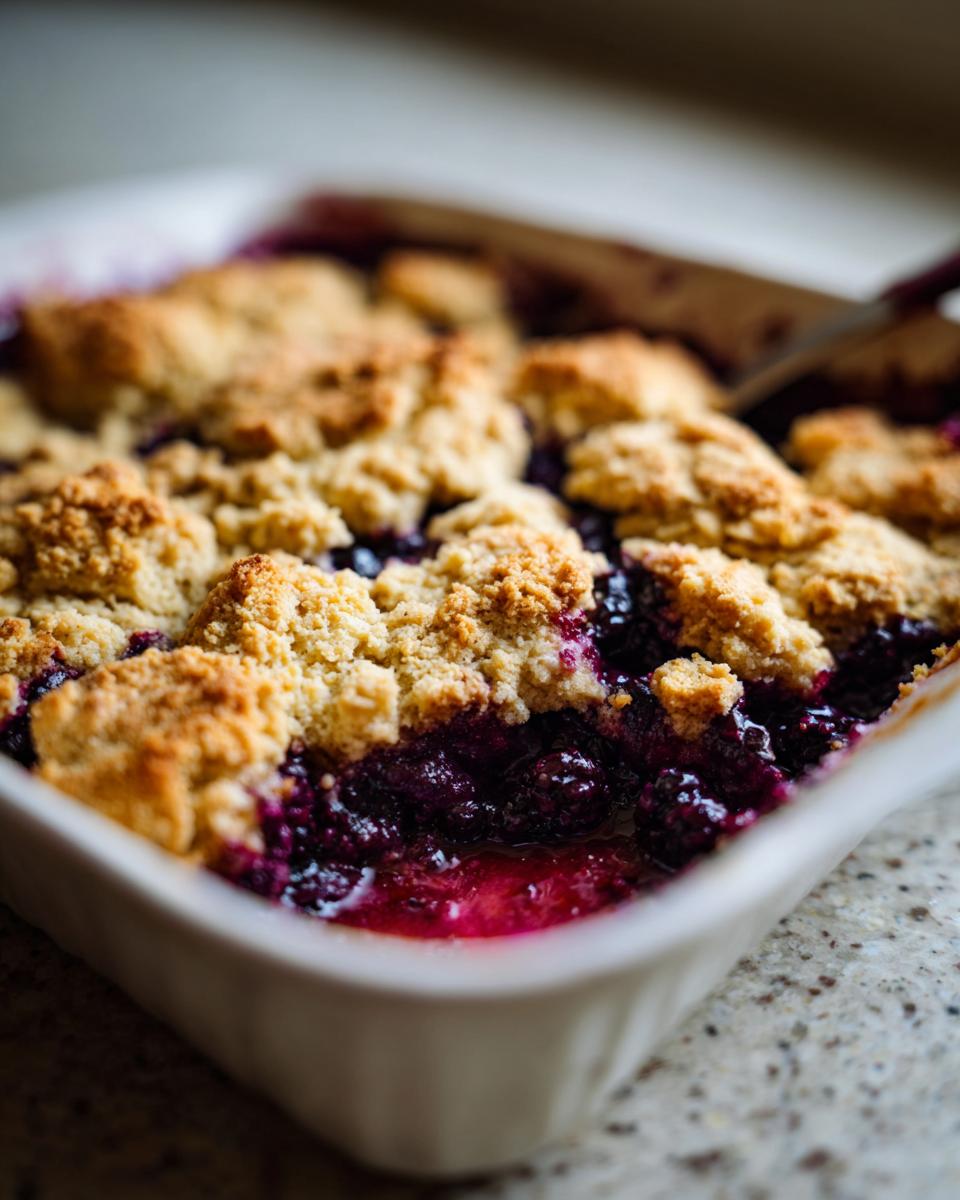
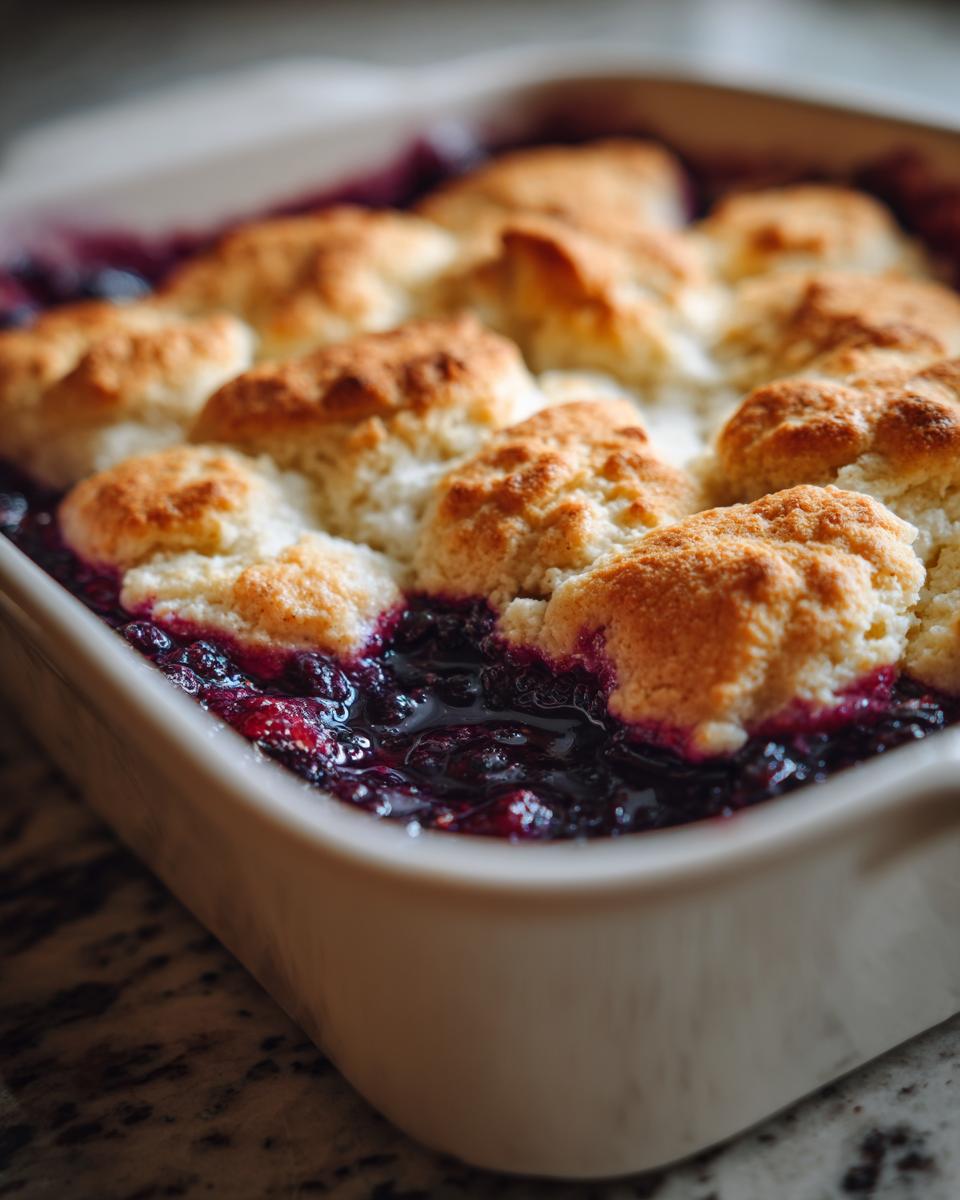
Now for my favorite part—the cloud-like biscuit topping that’ll have everyone fighting for the crispy edges! Whisk together your dry ingredients first—flour, sugar, baking powder, and that pinch of salt that makes all the flavors sing. Here’s where things get fun: take your ice-cold butter cubes (I pop mine in the freezer for 10 minutes beforehand) and work them into the flour mixture. You can use a pastry cutter, two forks, or even your fingertips—just work quickly so the butter stays cold. You’re aiming for pea-sized crumbs that’ll melt into flaky layers as they bake. Now drizzle in the milk and stir just until the dough comes together—lumps are totally fine! Overmixing makes tough biscuits, and we want pillowy perfection. Drop spoonfuls over your berry filling (don’t worry about covering every inch—those gaps let the juices bubble up beautifully), and we’re ready for the oven!
Pop your masterpiece into that preheated 375°F oven and let the magic happen. In about 45 minutes, you’ll have golden-brown biscuits floating on a sea of bubbling purple goodness. The hardest part? Waiting those agonizing 10 minutes before digging in—but trust me, letting it rest means no burnt tongues and perfect serving consistency. Now, who’s ready for dessert?
Tips for the Best Kentucky Blackberry Cobbler
After making this cobbler more times than I can count (and eating more than my fair share!), I’ve picked up some tricks that’ll take yours from good to “can I have the recipe?” greatness. Here’s the inside scoop:
Berry picking wisdom: If you’re using fresh blackberries, pick them at peak ripeness—deep purple with no red tinge. Underripe berries taste tart and sad, while overripe ones turn to mush. When they’re in season, I’ll freeze extra batches for winter baking—just spread them on a tray first so they don’t clump together.
Butter secrets: Keep that butter ice-cold until the very last second. I cube mine and chuck it back in the freezer while I prep the berries. Cold butter = steam pockets = that heavenly flaky topping we all fight over.
Patience pays: Let your cobbler rest for at least 10 minutes after baking—I know, torture! But this lets the juices thicken so you get perfect slices instead of berry soup. Worth the wait, promise.
Want to mix things up? Try this blueberry crumble recipe for picnic-friendly versions—just as delicious but portable!
Serving Suggestions for Kentucky Blackberry Cobbler
Let’s talk about the absolute best ways to enjoy this Kentucky blackberry cobbler—because honestly, it’s delicious straight from the pan, but a few simple touches can turn it into pure magic! My family always fights over who gets to lick the spoon when I’m dolloping vanilla bean ice cream on top of warm cobbler—the way it melts into those berry pockets is downright heavenly.
For special occasions, I’ll whip up fresh cream with a splash of bourbon (Kentucky style!) and sprinkle toasted pecans on top. Morning after breakfast? Don’t judge—but leftover cobbler with Greek yogurt makes me feel slightly virtuous. Pro tip: reheat individual portions for 15 seconds before serving—that warmth wakes up all those berry flavors perfectly!
How to Store and Reheat Kentucky Blackberry Cobbler
Now bayi, let me tell you how to keep your leftover cobbler tasting just as amazing as when it first came out of the oven—because who are we kidding, there are never leftovers in my house, but just in case!
Fridge friendly: For longer storage, pop it in the refrigerator where it’ll keep beautifully for 3-4 days. The biscuit topping might soften a bit, but trust me—your family will still devour it!
Freezer magic: Yes, you can freeze this cobbler! I like to portion it into individual servings first—that way I can thaw just what I need. Wrap each piece tightly in plastic wrap, then aluminum foil. They’ll keep for about 3 months. When those winter blues hit, just thaw overnight in the fridge and warm it up—instant summer vibes!
Reheating right: The key to perfect reheating? Lowน้ำอกจากDefaults.true
. Pop individual servings in the microwave for 30-45 seconds, or warm the whole dish in a 300°F oven for 10-15 minutes until heated through. Better yet—throw it under the broiler for a minute to crisp up that biscuit topping again! Could result in something like gradient scale>Kentucky Blackberry Cobbler FAQs
I’ve gotten so many questions about this cobbler over the years—let me share the answers to what folks ask me most often! Trust me, I’ve made every mistake so you don’t have to.
Can I use frozen blackberries?
Absolutely! Frozen berries work like a charm—just toss them in frozen (no need to thaw) and add an extra tablespoon of cornstarch since they release more liquid. Some of my best cobblers have been made with berries I picked and froze last summer!
How do I keep the biscuit topping from getting soggy?
Two secrets: first, make sure your filling has enough cornstarch (that’s why I always measure carefully). Second—and this is golden—don’t press the biscuit dough down into the berries. Just drop spoonfuls lightly on top, letting those juicy berries bubble up around the edges.
Can I make this gluten-free?
You bet! I’ve had great success using a 1:1 gluten-free flour blend. Just be sure it contains xanthan gum for structure. The texture comes out nearly identical—my gluten-free friends go wild for it!
Why is my filling too runny?
Oh honey, we’ve all been there! Usually means the berries were extra juicy or the cornstarch wasn’t mixed evenly. Next time, let the cobbler cool completely—it’ll thicken as it sits. If it’s still soupy? A little extra cornstarch slurry stirred in before baking never hurts.
Can I prep this ahead?
Smart thinking! You can mix the dry ingredients for the topping and keep them in a bag overnight. The berry filling? Mix it and refrigerate up to 6 hours before baking. But honestly? Nothing beats fresh-from-the-oven cobbler—trust me!
Nutritional Information
Now, let’s chat real quick about nutrition—because even dessert deserves some honest talk! Keep in mind these numbers are ballpark figures that dance around depending on your exact ingredients. A tablespoon more sugar here, a handful extra berries there—it all adds up differently in each batch. That said, I always feel better knowing this cobbler packs some vitamin C and fiber from those gorgeous blackberries! Nutritional values are estimates and vary based on ingredients used.
Ready to Make This Delicious Dessert?
Alright, what are you waiting for? Grab those berries and let’s get baking! I can already smell that sweet blackberry magic wafting through your kitchen. When you pull this Kentucky blackberry cobbler out of the oven—golden, bubbling, irresistible—you’ll understand why it’s been my family’s favorite for generations. Don’t forget to snap a photo of your masterpiece—I’d love to see how yours turns out! Nothing beats that first warm bite smothered in melting ice cream. Go on, get stirring—summer’s calling!
Kentucky Blackberry Cobbler
Ingredients
Equipment
Method
- Preheat the oven to 375°F (190°C). Lightly grease a 9×13-inch baking dish.
- In a large bowl, mix blackberries, sugar, cornstarch, and lemon juice. Pour into the prepared baking dish.
- In another bowl, whisk flour, sugar, baking powder, and salt. Cut in the butter until the mixture resembles coarse crumbs.
- Stir in milk until just combined. Drop spoonfuls of dough over the blackberry filling.
- Bake for 45 minutes or until the topping is golden and the filling is bubbly. Let cool slightly before serving.