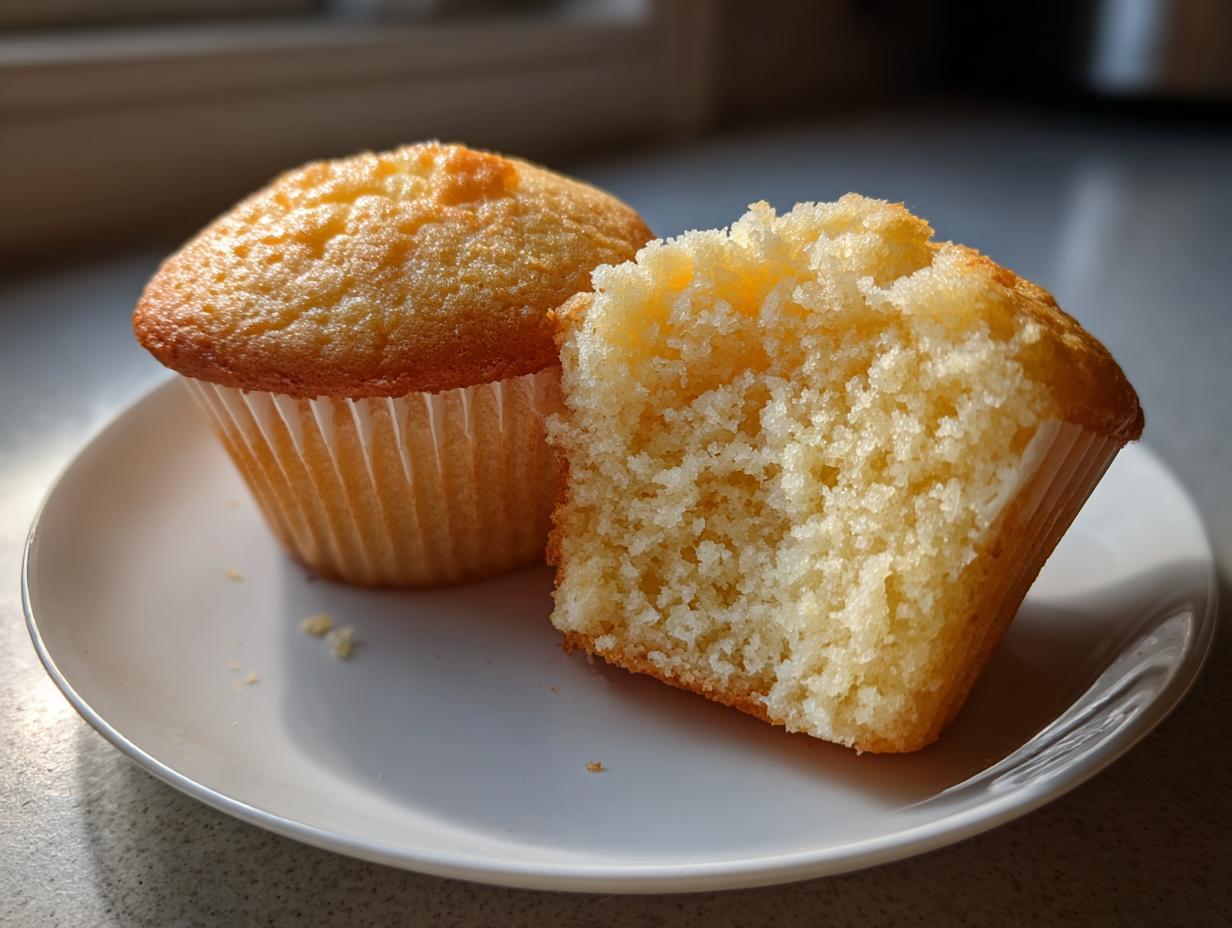
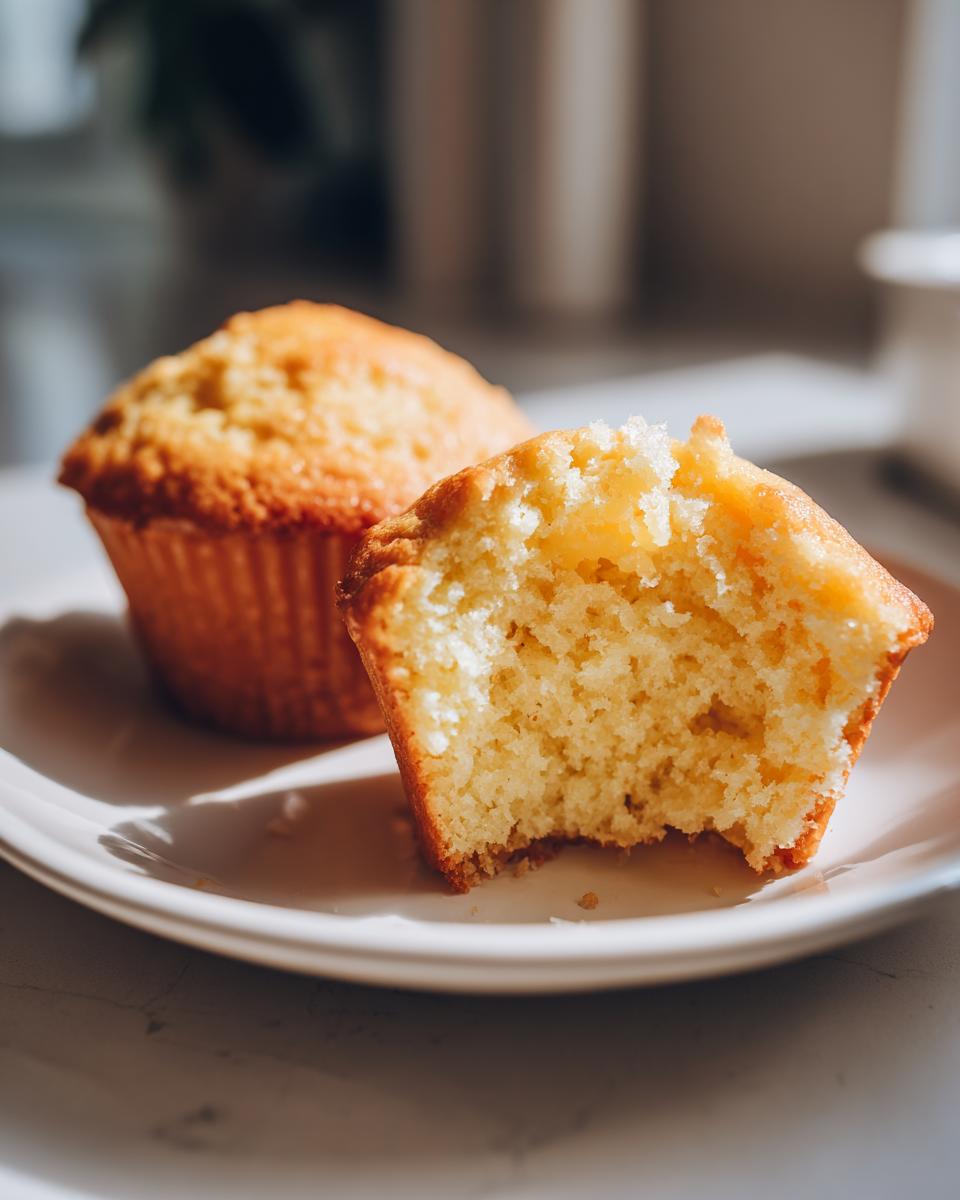
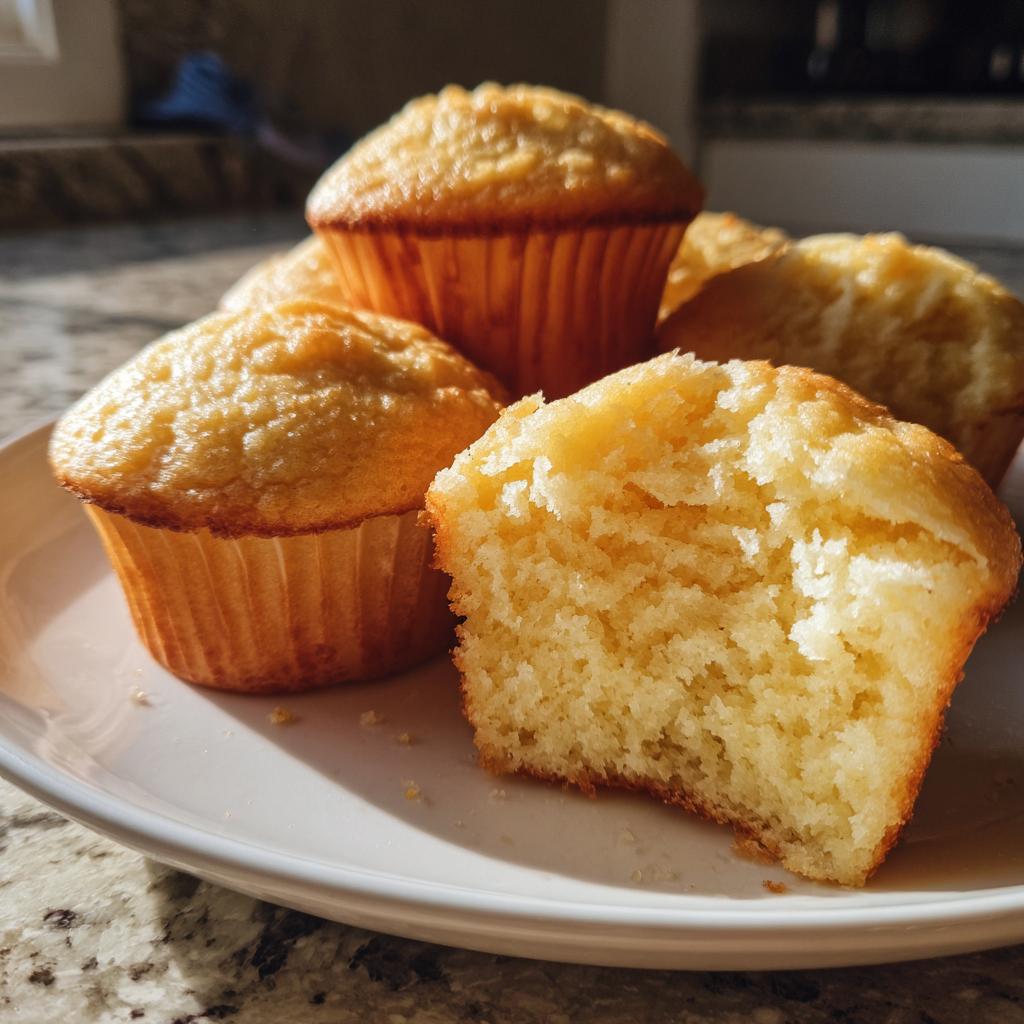
Oh, cupcakes! Is there anything more joyful than pulling a batch of golden vanilla cupcakes fresh from the oven? I still remember baking my first dozen with my mom when I was six – flour everywhere, mismatched sprinkles, and that proud feeling when they came out perfectly domed. These vanilla cupcakes have been my go-to recipe ever since, working for everything from last-minute cupcake ideas to fancy birthday parties. What I love most is how they’re like little blank canvases – dress them up with frosting for special occasions or keep them simple for afternoon tea. The smell alone takes me right back to that sunny childhood kitchen!
Why You’ll Love These Vanilla Cupcake Ideas
These vanilla cupcakes are my absolute favorite for so many reasons! Let me tell you why they’re always a hit:
- Easy as can be: Just 15 minutes of prep, and you’re ready to bake!
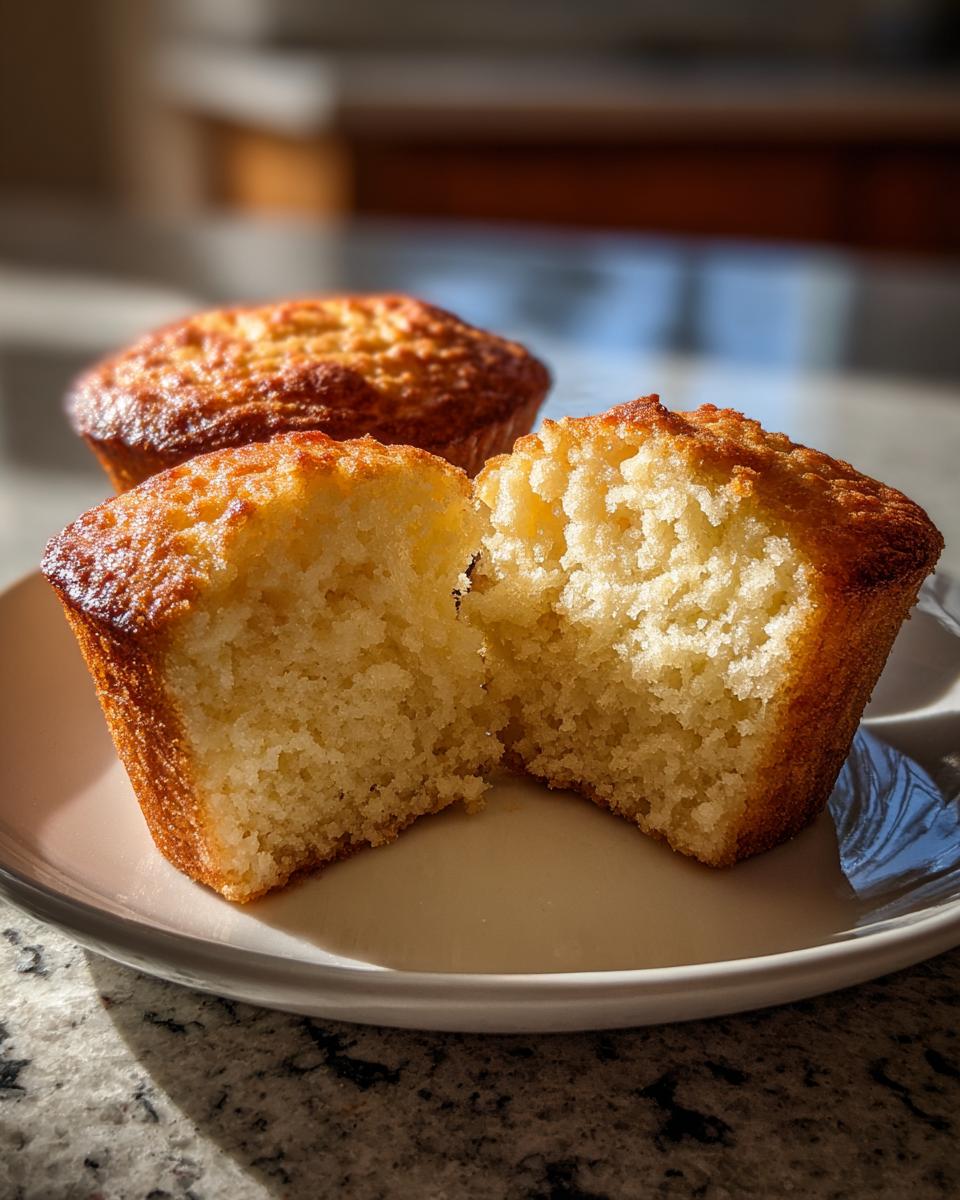
- Fluffy clouds of joy: The texture is so light and tender, they practically melt in your mouth.
- Your personal playground: Add sprinkles, chocolate chips, or zest – these cupcakes love going on flavor adventures.
- Party superstars: I’ve never seen a crowd – kids or adults – that didn’t go crazy for these.
- Happy accident-proof: Even when I’m rushing (which is often), they turn out perfect every time.
Honestly? This recipe has saved me from so many last-minute dessert emergencies. The vanilla flavor shines through beautifully, making them the perfect base for any of your cupcake ideas!
Ingredients for Vanilla Cupcake Ideas
Let me tell you about the simple magic that goes into these cupcakes – I’ve learned the hard way that quality ingredients make all the difference! Here’s what you’ll need:
For the Cupcakes
- 1.5 cups all-purpose flour: Spoon it lightly into your measuring cup – no packing!
- 1 tsp baking powder: Make sure it’s fresh for maximum lift.
- 0.5 tsp salt: Just enough to balance the sweetness.
- 0.5 cup unsalted butter, softened: Leave it out for 30 minutes – your fingers should leave a slight dent.
- 1 cup granulated sugar: The perfect amount for sweetness without being overwhelming.
- 2 large eggs: Room temperature blends better – I just pop them in warm water for 5 minutes if I forget to take them out.
- 2 tsp vanilla extract: Splurge on the good stuff – it makes all the difference!
- 0.5 cup whole milk: The fat content gives these cupcakes their irresistible tenderness.
See? Nothing fancy or complicated – just good, honest ingredients that work together beautifully. I always double check my butter is truly softened (not melted!) and my eggs are at room temp – those little details make these cupcakes extra special.
Equipment Needed for Your Cupcake Ideas
You won’t need anything fancy to make these vanilla cupcakes – just a few basic tools that I bet you already have in your kitchen! Here’s what I always grab:
- Muffin tin: My trusty 12-cup pan has seen hundreds of batches – nonstick is great, but any will do if you use liners.
- Cupcake liners: I’m obsessed with collecting fun patterns, but plain white works just as well!
- Electric mixer: A hand mixer works perfectly – though I’ve been known to mix by hand when I’m feeling nostalgic.
- Mixing bowls: One for dry ingredients, one for wet – keeps everything organized.
- Ice cream scoop: My secret weapon for perfectly even cupcakes every time!
That’s it! No special gadgets required – just simple tools that help turn basic ingredients into little bites of happiness.
How to Make Vanilla Cupcake Ideas
Alright, let’s get baking! I’ve made these vanilla cupcakes so many times I could probably do it in my sleep, but I’ll walk you through each step carefully. Trust me, once you get the hang of it, you’ll be whipping up batches like a pro!
Preparing the Batter
First things first – preheat that oven to 350°F (175°C). While it’s heating up, let’s tackle the batter. Here’s my golden rule: don’t rush the mixing! I whisk together the flour, baking powder, and salt in one bowl – this helps everything distribute evenly. In another bowl, I cream the softened butter and sugar until it’s light and fluffy – about 2 minutes with my mixer. Then comes the fun part – adding the eggs one at a time, mixing well after each, followed by that glorious vanilla extract.
Now, the alternating part seems tricky but it’s easy once you get the rhythm. I add a third of the flour mixture, mix just until combined, then half the milk, another third of flour, the rest of the milk, and finish with flour. Pro tip: this method works for most cakes! The batter should be smooth but don’t overmix – a few small lumps are totally fine.
Baking and Cooling
Time to fill those liners! I use an ice cream scoop (about 3 tablespoons) for perfect, even cupcakes – filling each about two-thirds full. This prevents overflow disasters – learned that the hard way! Pop them in the oven for 18-20 minutes. Around minute 15, I start peeking – they’re done when a toothpick comes out clean and the tops spring back when lightly pressed.
Here’s my cooling routine: 5 minutes in the pan (no more!), then transfer to a wire rack. If you leave them too long, they’ll get soggy bottoms – yuck! Let them cool completely before frosting, unless you want melty mess (been there!). The wait is torture, but trust me, warm cupcakes + frosting = puddles, not pretty swirls!
Tips for Perfect Vanilla Cupcake Ideas
After years of cupcake experiments (and a few hilarious failures), I’ve collected my best baking secrets to help you nail these vanilla cupcakes every time. First – and I can’t stress this enough – room temperature ingredients are non-negotiable. Cold eggs and butter just won’t incorporate properly, leading to dense cupcakes. I leave my butter out overnight if I’m baking first thing in the morning!
When measuring flour, I always use the spoon-and-level method – scooping directly from the bag packs in too much. A kitchen scale is even better if you have one! And here’s my favorite trick: set a timer for 2 minutes less than the recipe suggests. Ovens vary wildly, and overbaked cupcakes break my heart. Check early – they continue cooking as they cool anyway.
Feeling adventurous? I love adding a teaspoon of lemon zest to the batter – it brightens the vanilla beautifully without overpowering it. Just be sure to only grate the yellow part of the peel! And one last pro tip: if your cupcakes ever come out too crumbly, try replacing 2 tablespoons of milk with sour cream next time. It’s my secret weapon for the most tender crumb.
Creative Cupcake Ideas for Decorating
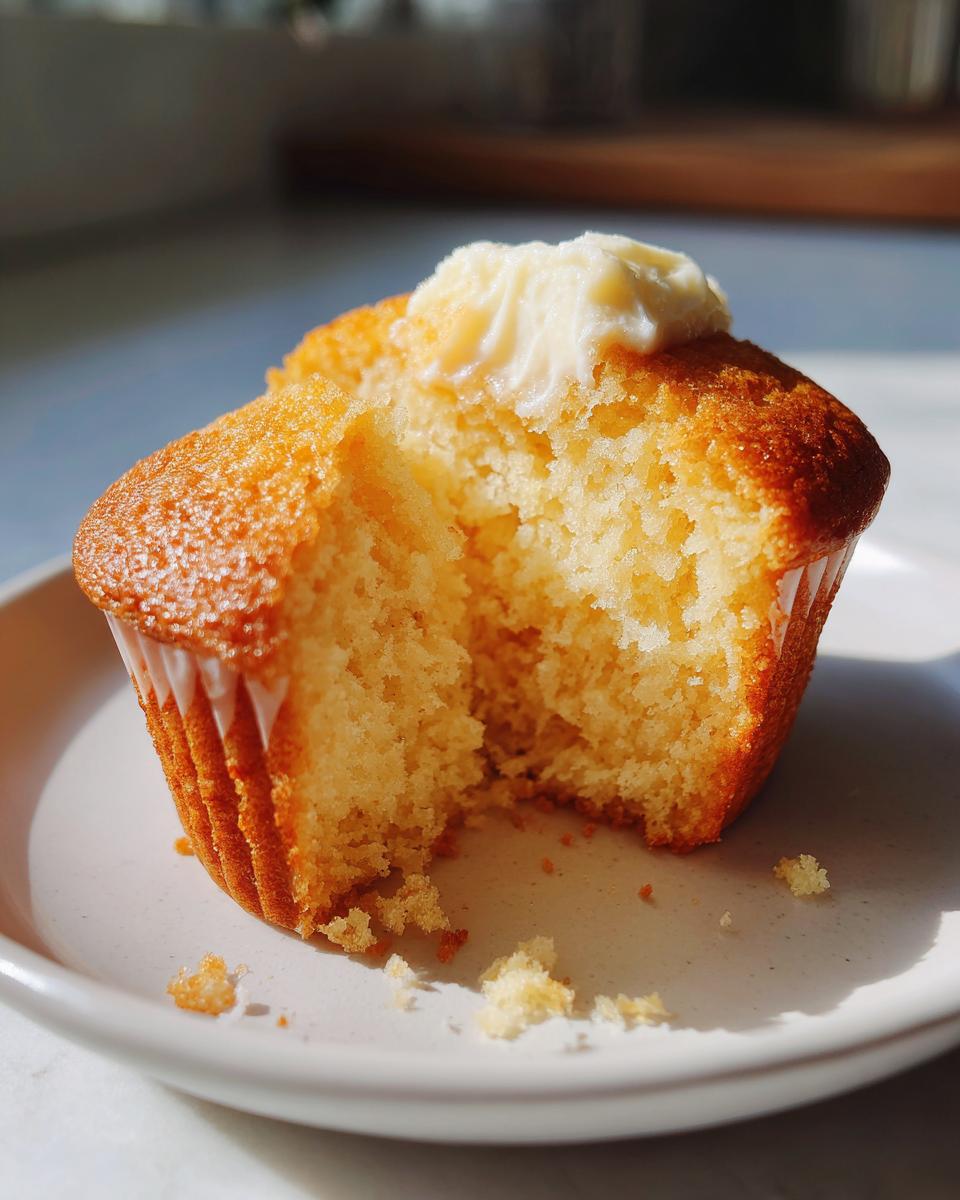
Oh, this is where the real fun begins! These vanilla cupcakes are like little blank canvases just waiting for your creative touch. I’ve lost count of how many different ways I’ve dressed them up over the years. My absolute go-to is a simple swirl of vanilla buttercream – classic, elegant, and always a crowd-pleaser. But when I’m feeling fancy, I’ll pipe on some chocolate ganache or cream cheese frosting. Pro tip: tint your frosting with gel food coloring for vibrant hues that won’t water down the texture.
Sprinkles are my happy place – I keep an entire drawer dedicated to them! Rainbow jimmies for birthdays, gold stars for New Year’s, or pastel nonpareils for baby showers. For a more grown-up look, try edible flowers or a dusting of edible glitter. Last Christmas, I made “ugly sweater” cupcakes with piped frosting designs that had everyone laughing. The possibilities are endless – that’s what makes these vanilla cupcakes so magical!
Nutritional Information for Vanilla Cupcake Ideas
Now, I’m no nutritionist, but here’s the scoop on what’s in these sweet little treats. Keep in mind these numbers can change depending on your specific ingredients – that fancy European butter I splurge on has different numbers than the store brand! Each cupcake runs about 180 calories, with 25g carbs (15g sugar) and 8g fat. They’ve got a little protein punch too at 3g per cake. The way I see it? Everything in moderation, including moderation! One cupcake won’t hurt, and happiness counts as nutrition too, right?
Frequently Asked Questions About Cupcake Ideas
Over the years, I’ve gotten so many questions about these vanilla cupcakes – let me share the answers to the ones that come up most often! First up: Can you freeze these cupcakes? Absolutely! I freeze them all the time. Just wrap unfrosted cupcakes tightly in plastic wrap, then pop them in a freezer bag. They’ll keep beautifully for up to 3 months. When you’re ready, thaw at room temperature for about an hour before frosting.
How should I store leftover cupcakes? If they’re frosted, keep them in an airtight container at room temperature for up to 2 days (unless you used perishable frosting). Unfrosted, they’ll stay fresh for about 3 days. Pro tip: slide a piece of bread into the container – it keeps the cupcakes soft by absorbing excess moisture!
Can I make these cupcakes ahead for a party? You bet! I always bake them the day before and frost them the morning of the event. The flavors actually develop more when they sit overnight! Just keep them covered at room temperature.
My cupcakes sunk in the middle – what went wrong? Oh no! Usually this means they needed another minute or two in the oven, or maybe your leavener was old. Test your baking powder by stirring ½ tsp into ¼ cup hot water – if it doesn’t bubble vigorously, it’s time for a fresh can.
Can I make mini cupcakes with this recipe? Of course! Just adjust the bake time to about 10-12 minutes for minis. You’ll get about 36 adorable bite-sized treats. Perfect for parties where people want to sample different cupcake ideas without committing to a whole one!
Vanilla Cupcakes
Ingredients
Equipment
Method
- Preheat the oven to 350°F (175°C). Line a muffin tin with cupcake liners.
- In a bowl, whisk together the flour, baking powder, and salt.
- In another bowl, beat the butter and sugar until light and fluffy. Add the eggs one at a time, then mix in the vanilla extract.
- Alternately add the flour mixture and milk to the butter mixture, beginning and ending with the flour mixture.
- Divide the batter evenly among the cupcake liners, filling each about two-thirds full.
- Bake for 18-20 minutes or until a toothpick inserted into the center comes out clean.
- Let the cupcakes cool in the pan for 5 minutes, then transfer to a wire rack to cool completely.
Nutrition
Notes
Tried this recipe?
Let us know how it was!For more amazing recipes, be sure to check out our other sections to explore a variety of ideas that will enrich your cooking experience. Each section offers its own unique flavors to ensure a delightful culinary journey:
Easy and Quick Recipes: A collection of dishes that guarantee delicious meals with minimal effort and time.
Healthy Recipes: Discover healthy and delicious options that fit your lifestyle.
Desserts: A diverse selection of sweets that will add a special touch of sweetness to your table.
Dinner Recipes: Delicious and easy-to-make recipes that will make your dinner a memorable occasion.